How to Stop Foundation Collecting Around Your Nose
Figuring out how to stop foundation collecting around nose starts with understanding your skin's unique behavior. It isn’t just about the product you use. The issue usually stems from a mismatch between your prep routine and your specific skin type.
We’ve seen countless readers struggle with this exact frustration, especially in humid conditions or during long workdays.
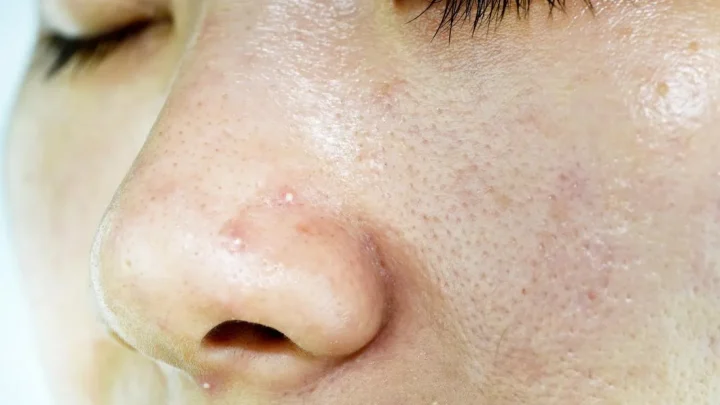
The nasolabial fold is a high-movement zone that traps oil and sweat. According to dermatological standards, sebum production peaks in the T-zone within two hours of cleansing for many people. If your base isn’t locked down correctly, gravity takes over.
Let’s break down the diagnostic process so you can fix this permanently.
Quick Answer
To stop foundation collecting around your nose, identify your root cause first. Oily skin needs matte primers and setting powders. Dry skin requires hydrating bases and minimal powder.
Always apply thin layers using pressing motions. Set immediately with translucent powder while the foundation is still tacky. Avoid heavy creams in deep folds.
Blot excess oil before touching up. This workflow prevents separation and creasing effectively.
Why Foundation Collects Around Your Nose (It’s Not Just Bad Luck)
Foundation separates because it cannot adhere to an unstable surface. Think of your skin like a canvas. If the canvas is slick with oil, paint slides off.
If it’s too dry, the paint cracks. The nose area is particularly tricky because it has larger pores and more sebaceous glands than the rest of your face. These glands produce sebum continuously throughout the day.
When you layer makeup on top, the sebum pushes upward. It breaks the bond between the pigment and your skin. This creates those unsightly white lines or patchy spots.
Humidity accelerates this process significantly. Sweat mixes with sebum, creating a slippery film that destabilizes even the most expensive formulas. As of 2026, modern formulations try to combat this with flexible polymers, but biology always wins if the prep is wrong.
Another factor is movement. You talk, smile, and frown constantly. The skin around the nose stretches and compresses hundreds of times a day.
Rigid foundations crack under this stress. Flexible ones might slide if they lack grip. Understanding this mechanical reality helps you choose the right strategy.
It’s not magic. It’s physics meeting chemistry.
Diagnose Your Root Cause: Oily Skin, Dry Patches, or Product Mismatch?
Before fixing anything, you must know what you’re dealing with. Are you oily, dry, or combination? Most people assume they are oily because their nose shines.
However, dehydrated skin often overcompensates by producing excess oil. This is called rebound seborrhea. If you strip your skin with harsh cleansers, it panics and floods with grease.
Here is a quick diagnostic checklist to determine your primary issue:
| Symptom | Likely Cause | Primary Solution Focus |
|---|---|---|
| Shiny nose within 2 hours | Excess Sebum Production | Oil-control primer + Matte powder |
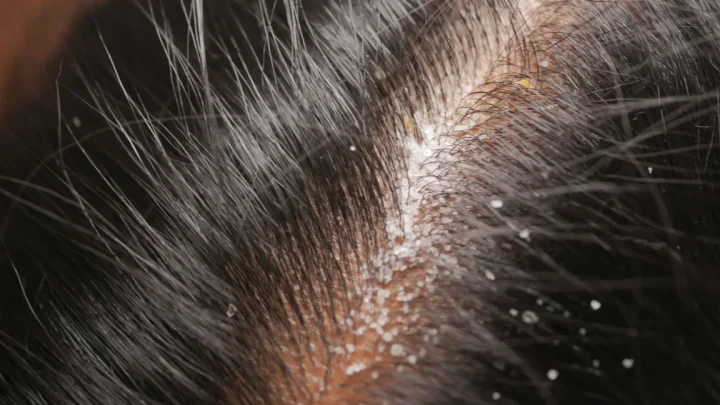
| Flaky patches around nostrils | Dehydration / Dead Skin | Gentle exfoliation + Hydrating serum |
| Foundation slides off completely | Wrong Formula Base | Switch from water-based to silicone-based |
| Cracking in fine lines | Too Heavy / Rigid | Thinner application + Flexible setting spray |
| White cast in folds | Oxidation / Poor Blend | Color-corrector + Pressed powder technique |
If your skin feels tight after washing, you likely have dehydration masking as oiliness. In this case, adding more drying products will make things worse. You need to restore the moisture barrier first.
Use a lightweight, non-comedogenic moisturizer. Wait five minutes for it to absorb fully. Then proceed with makeup.
Conversely, if your skin feels greasy immediately upon waking, you have true oily skin. Here, hydration is less critical than oil absorption. Look for ingredients like silica or dimethicone crosspolymers in your primer.
These create a slip-resistant surface. Identifying whether you are fighting oil, dryness, or incompatibility saves you from wasting money on the wrong solutions.
The Prep Workflow: Stabilizing the Nasolabial Zone Before Makeup
Preparation accounts for eighty percent of success. You cannot skip steps here if you want longevity. Start with a gentle cleanser.
Avoid sulfates if possible, as they disrupt the acid mantle. Pat your skin dry; do not rub. Rubbing irritates the capillaries around the nose, leading to redness that foundation struggles to cover.
Next, apply a targeted treatment. For oily zones, use a niacinamide serum. Niacinamide regulates sebum production over time.
Apply it specifically to the nose and chin. Let it sink in for at least sixty seconds. Rushing this step leaves residue that interferes with primer adhesion.
Manufacturer specifications indicate that serums need time to penetrate the stratum corneum effectively.
Now comes the crucial primer stage. Choose your weapon based on your diagnosis. Silicone-based primers fill pores and create a smooth, hydrophobic barrier.
They are ideal for large pores on the nose. Water-based primers offer lightweight hydration but less oil control. Apply a pea-sized amount only to the problem areas.
Do not slather it everywhere unless necessary. Less is more when building a stable base.
Wait two minutes for the primer to set. It should feel slightly tacky, not wet. This tackiness grabs the foundation particles.
If you apply foundation too soon, it mixes with the primer and turns muddy. If you wait too long, the primer dries flat and loses its gripping power. Timing is everything in this workflow.
Application Techniques That Prevent Sliding and Creasing
How you apply matters as much as what you use. Dragging brushes across the skin creates friction. Friction generates heat.
Heat melts wax and oil components in foundation, causing immediate breakdown. Instead, use a pressing motion. Load a dense, synthetic brush or a damp beauty sponge with a small amount of product.
Start in the center of the face and work outward. When you reach the nose, use tiny circular presses. Do not swipe back and forth.
Swiping pulls the product into the folds. Pressing packs it onto the surface. Imagine you are stamping the color onto your skin, not painting it.
This ensures an even, thin layer that adheres properly.
Layering is another common mistake. One thick coat fails faster than three thin coats. Apply your first layer.
Check for coverage gaps. Add a second layer only where needed. This builds opacity without weight.
Heavy layers sit on top of the skin rather than merging with it. They slide off easily when you move your face.
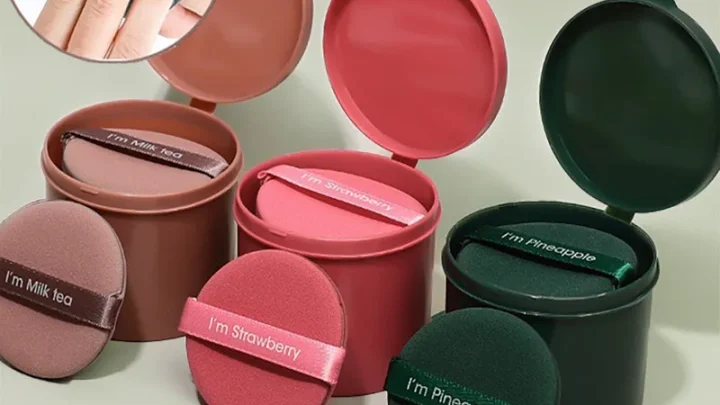
Consider the tools you use. Sponges absorb some product, which helps keep layers thin. Brushes provide fuller coverage but require more skill to avoid streaks.
Whichever tool you pick, ensure it is clean. Bacteria buildup alters the texture of your foundation. Dirty sponges harbor oils that compete with your primer.
Wash your tools weekly to maintain hygiene and performance. Aggregate reviews report that dirty applicators contribute significantly to premature makeup failure.
Setting Strategies: Powder vs. Spray for Long-Lasting Hold
Setting locks your progress in place. Without it, even perfect application will fade. There are two main methods: powder and spray.
Each serves a different purpose depending on your skin type and environment. Using both strategically gives you the best defense against separation.
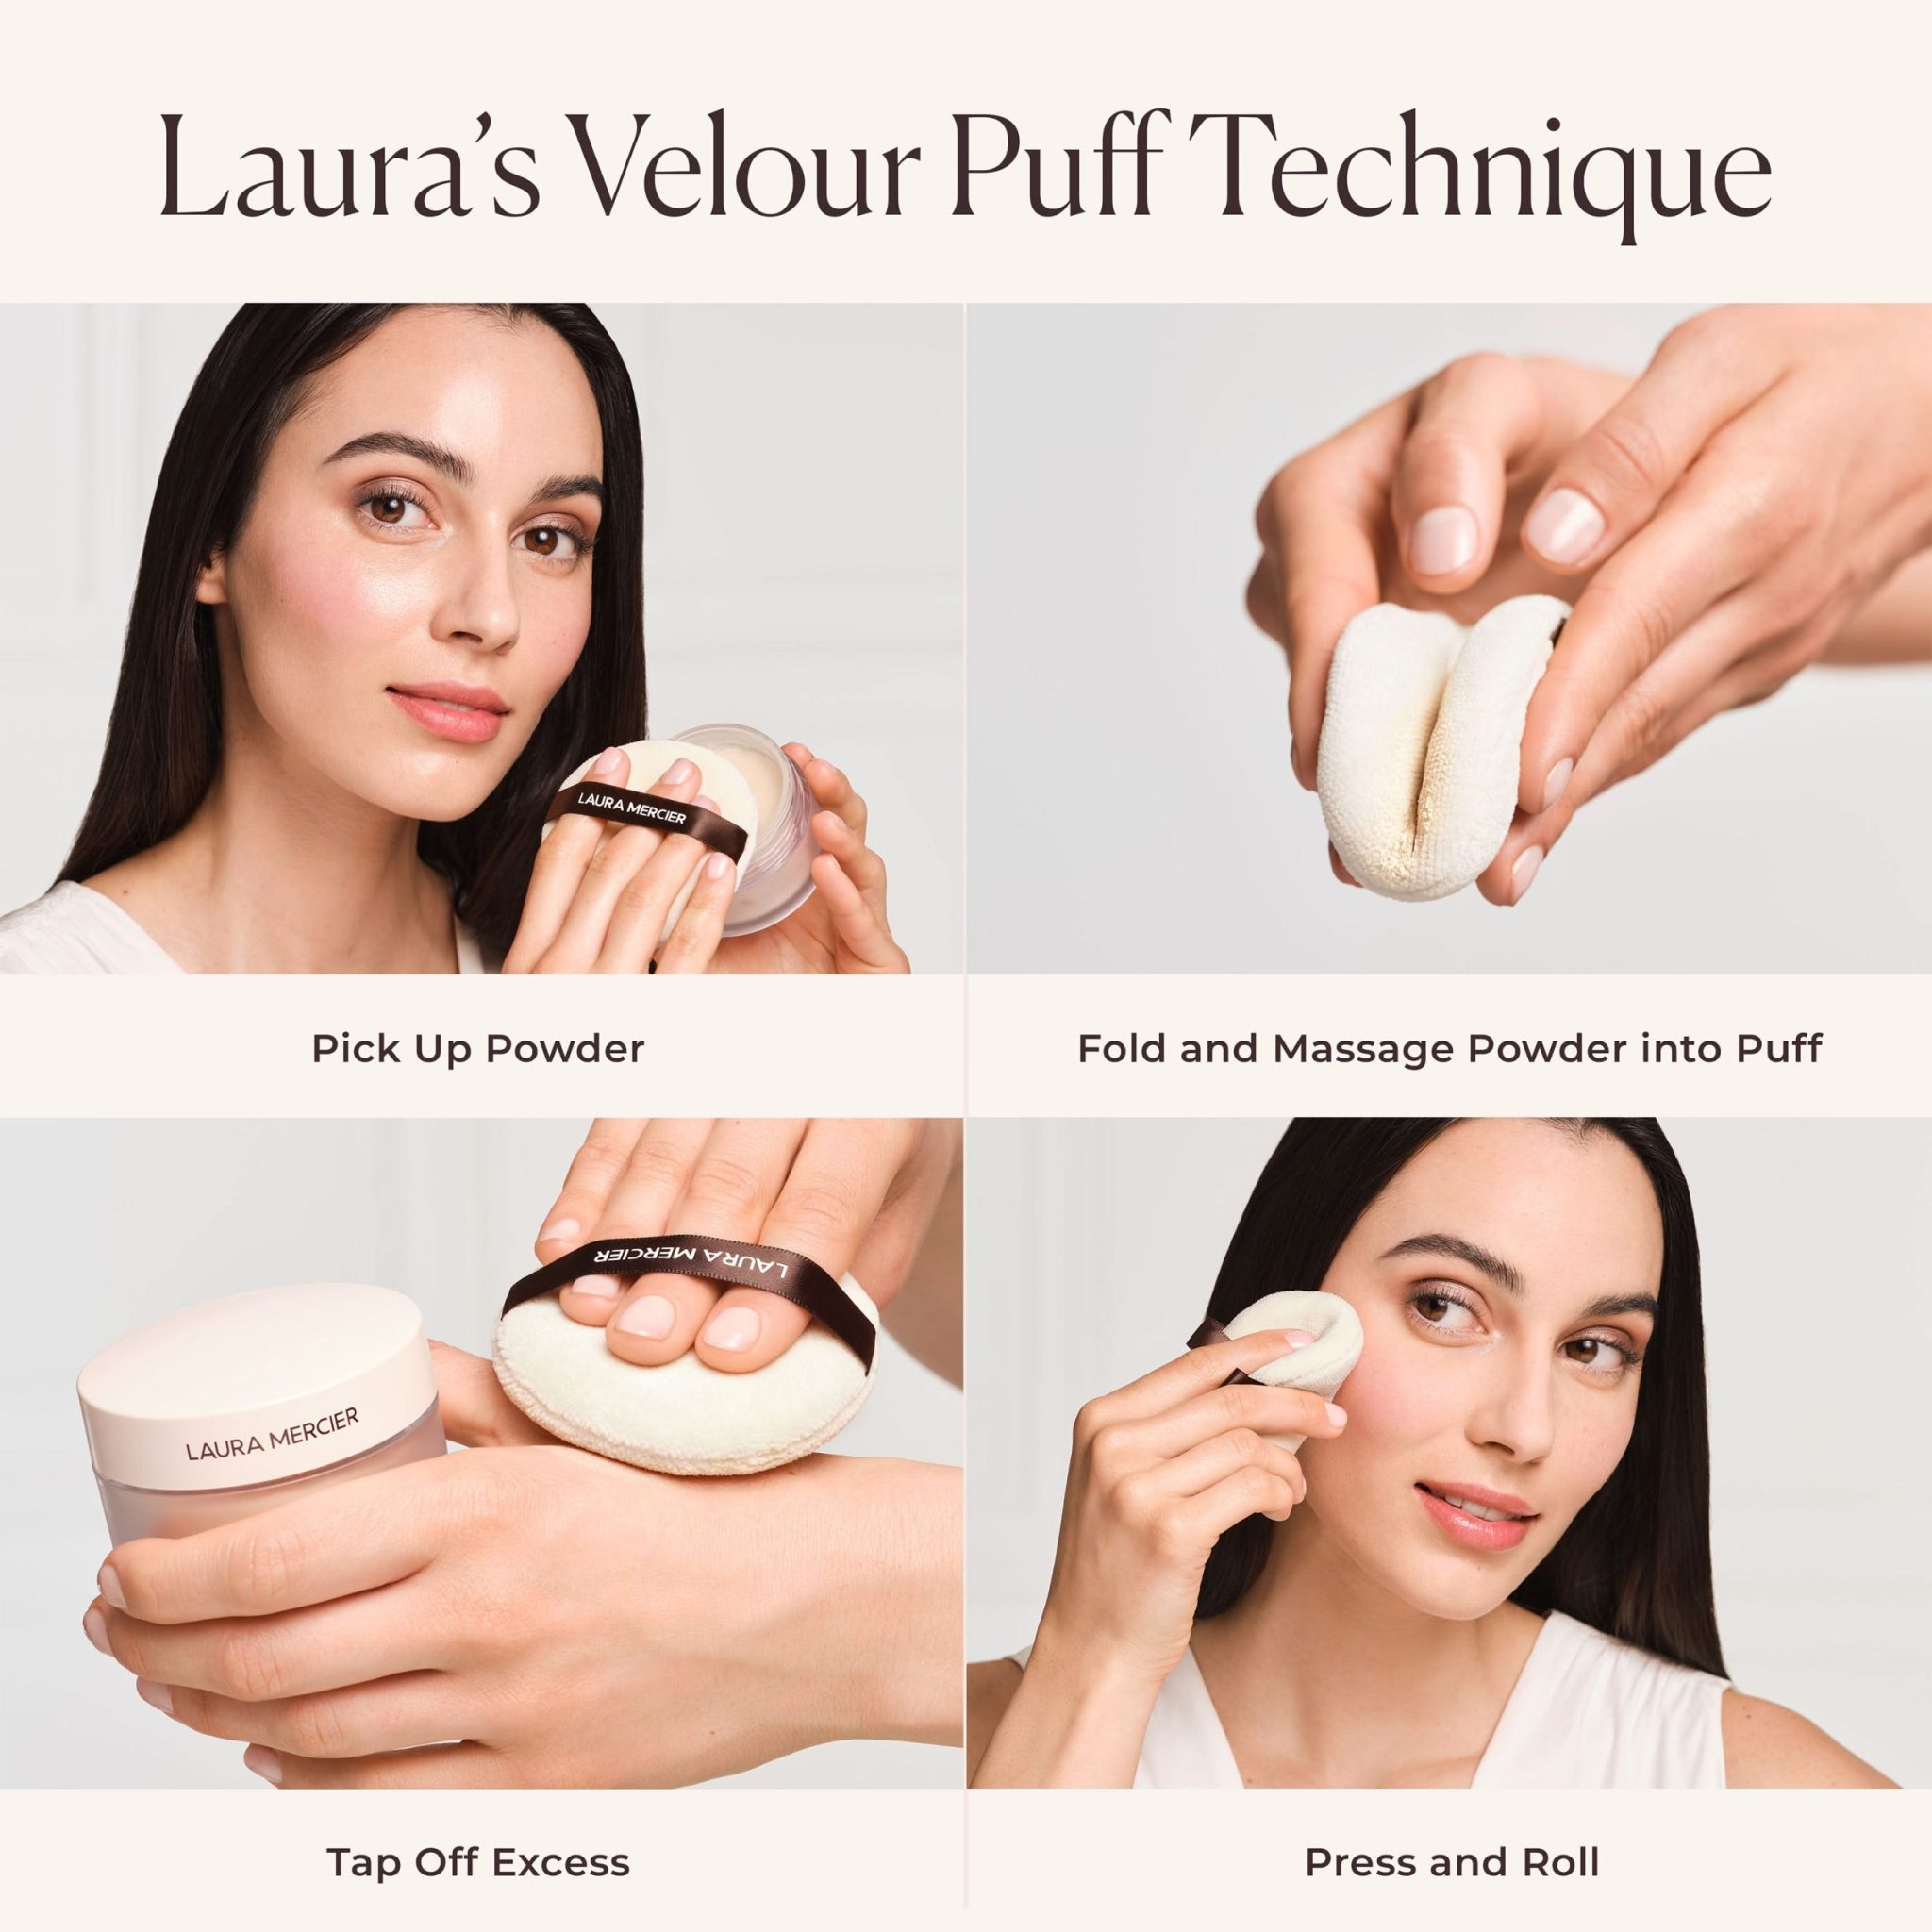
Powder absorbs residual oil and reduces shine. Translucent loose powders are superior to pressed powders for this task. Loose particles distribute evenly and don’t clump in folds.
Use a fluffy brush to dust powder over the entire face. Then, switch to a smaller, denser puff for the nose area. Press the powder gently into the skin.
This technique, often called "baking" or "cooking," allows body heat to fuse the powder and foundation. Leave it for thirty seconds, then brush away the excess.
Setting sprays act as a final sealant. They contain polymers that form a flexible film over the makeup. This film resists water and sweat.
Spritz the spray from arm’s length away. Close your eyes and mouth. Let it air dry naturally.
Do not fan it or touch your face. Touching disturbs the forming film and creates smudges.
For oily skin, prioritize powder. For dry skin, prioritize spray. Combination skin benefits from a hybrid approach.
Powder the T-zone heavily. Lightly mist the cheeks with spray. This balances moisture retention with oil control.
Remember that alcohol-heavy sprays can dry out mature skin. Look for glycerin-infused formulas if you have fine lines around the nose. These hydrate while they set.
Common Mistakes That Accelerate Breakdown in the T-Zone
Most failures happen because of rushed prep or incompatible layering. You might skip waiting for moisturizer to absorb, then apply primer immediately. This traps water under the silicone barrier.
The result is pilling and rapid separation. Always respect absorption times. Let each layer dry before adding the next.
This simple patience step prevents most midday disasters.
Another error is using too much product in the folds. People often think more coverage hides texture better. It does the opposite.
Heavy pigment settles into crevices and looks cakey within hours. Stick to thin, pressed layers. If you need more coverage, add a second thin coat rather than one thick slab.
Your skin needs to breathe through the makeup.
Finally, ignore the condition of your tools at your peril. Dirty sponges harbor bacteria and old oils. These contaminants break down fresh foundation faster.
Wash your applicators weekly with gentle soap. Also, check your product expiration dates. Old formulas lose their binding polymers.
They become watery and separate easily. Using expired makeup guarantees failure regardless of your technique.
Mid-Day Rescue Protocol: Fixing Separation Without Wiping It Off
You don’t need to redo your entire face when trouble starts. Blotting is your first line of defense. Use oil-absorbing sheets or a clean tissue.
Press gently against the nose area. Do not wipe. Wiping removes makeup along with the oil.
Pressing lifts the sebum while leaving the pigment intact. This restores matte finish without disturbing the base.
If blotting isn’t enough, use a targeted powder touch-up. Take a small fluffy brush with translucent powder. Lightly dust it over the affected areas.
Avoid heavy application. You just want to reset the surface tension. For deeper creases, use a concealer stick sparingly.
Dot it only on the worst spots. Blend edges with a fingertip warmth. Keep it minimal to avoid looking mask-like.
Hydration plays a role here too. Sometimes skin feels oily but is actually dehydrated. A facial mist can help rebalance pH levels.
Spritz lightly from six inches away. Let it air dry completely before touching up again. This refreshes the skin barrier without adding grease.
Remember that less is more during rescue missions. Aggressive corrections often make things worse.
FAQs: Quick Answers on Nose-Specific Makeup Issues
Can I use setting spray instead of powder?
Yes, but it depends on your skin type. Setting sprays work well for dry or normal skin. They add hydration and flexibility.
Oily skin usually needs powder first to absorb excess sebum. Then use spray as a final seal. Combining both offers maximum protection.
Pure spray alone may slide off very oily noses. Test this combination in humid conditions to see if it holds for you.
Why does my foundation oxidize around the nose?
Oxidation happens when pigments react with oxygen and skin oils. The nose produces more sebum, speeding up this reaction. To slow it down, use an antioxidant serum underneath.
Vitamin C or niacinamide helps stabilize the formula. Also, choose foundations labeled "transfer-resistant" or "long-wear." These contain stronger binders that resist chemical breakdown. Keeping your skin cool also reduces oxidation rates significantly.
Should I exfoliate before applying foundation?
Exfoliation removes dead skin cells that cause patchiness. However, do not scrub aggressively right before makeup. This irritates the skin and increases redness.
Exfoliate the night before instead. This allows your moisture barrier to recover overnight. On makeup day, use a gentle enzyme cleanser if needed.
Smooth skin accepts product better. Rough patches catch pigment and look uneven quickly. Consistency matters more than intensity here.
How long should I wait between primer and foundation?
Wait until the primer feels tacky but not wet. This usually takes two to three minutes. If it’s still sliding, give it another minute.
If it’s fully dry, it may have lost its grip. Timing varies by brand and humidity. Check the bottle instructions for specific guidance.
Applying foundation too early causes mixing. Too late causes poor adhesion. Find your sweet spot through trial and observation.