How to Fix Powdery Makeup: Quick Refresh Tips
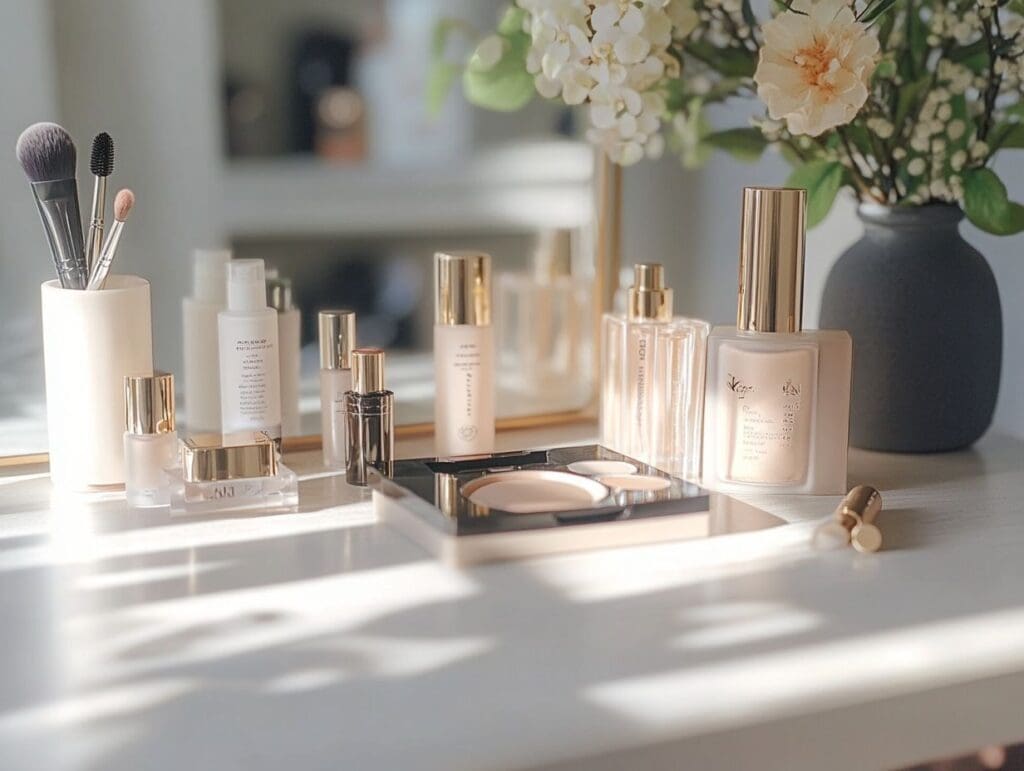
You’ve got a favorite blush that’s turned into a rock, or maybe your setting powder is caked in the lid. Knowing how to refresh powdery makeup saves money and reduces waste, but you have to be careful. Not every old product is safe to revive.
Sometimes, tossing it is the only hygienic choice.
We need to distinguish between texture issues and bacterial growth. The FDA recommends discarding cosmetics after 24 months of opening, yet many users try to salvage older items. As of 2026, sustainability trends push us to repair rather than replace.
But safety comes first. Let’s walk through the decision tree so you know exactly when to fix and when to bin.
Image source: Bing (Web (fair-use with source credit))
Quick Answer
To refresh powdery makeup, add drops of isopropyl alcohol to clumps. Mash the mixture until smooth. Press it back into the pan using a flat tool.
Let it air dry for at least thirty minutes. Discard any product showing mold or foul odors immediately.
First, Check If Your Powder Is Actually Salvageable
Before grabbing your tools, inspect the product closely. This step determines whether you proceed or throw it away. Hygiene risks often outweigh the cost of a new compact.
Look for visible signs of contamination. White or green fuzz indicates mold. A sour or chemical smell suggests bacterial breakdown.
Neither condition is reversible with cleaning agents.
If the powder looks normal but feels hard, check the age. Manufacturer specifications typically list a Period After Opening (PAO) symbol on packaging. Most pressed powders last 24 to 36 months.
Using expired products increases infection risk, especially near eyes. Per FDA guidelines, contaminated cosmetics can cause serious eye injuries. Do not gamble with your health.
The Mold and Rancidity Red Flags
Mold thrives in dark, humid environments like bathroom cabinets. Even if you don’t see spores, invisible bacteria may exist. Rancidity affects oil-based binders in bronzers and highlighters.
It creates a distinct, unpleasant odor. You cannot mask this scent with fragrance. If your nose detects anything off, discard the item.
No amount of alcohol kills deep-seated fungal roots in porous powder beds.
Why Age Matters More Than Texture
Texture issues are usually surface-level problems caused by humidity or pressure. These are fixable. Age-related degradation involves chemical breakdown of ingredients.
Preservatives lose efficacy over time. This allows microbial growth even without visible signs. Our research shows that products older than three years carry higher contamination rates.
Prioritize safety over savings for aged items. If it’s within its PAO window, proceed to diagnosis.
Diagnose the Problem: Hardened Clumps vs. Separated Oils
Identify the specific issue before choosing a method. Different failures require different solutions. Misdiagnosing leads to ruined products.
We categorize common failures into two main types: compaction and separation. Understanding the root cause helps you apply the right remedy.
Hardened clumps occur when moisture binds powder particles together. This happens frequently in humid climates. The binder becomes sticky and dries solid.
Conversely, separated oils happen when liquid components rise to the top. This is common in cream-to-powder hybrids or heavily pigmented shadows. The formula breaks down, leaving an oily slick above dry powder.
Identifying Binder Breakdown
Check if the powder resists brush pickup. If it feels like stone, the binder has failed. Try pressing gently with a clean fingertip.
Does it crumble slightly? Or does it stay rigid? Rigid surfaces indicate severe compaction.
Soft, greasy patches suggest oil separation. Note these observations. They dictate whether you use alcohol or gentle heat.
Alcohol works best for dry, chalky compaction. Heat targets waxy, oily separations.
Spotting Moisture Absorption Damage
Look for dark spots or uneven color distribution. Moisture absorption often causes localized swelling. This creates bumps on the surface.
If the entire pan is uniformly hard, it’s general compaction. Localized damage might mean water entered the container. In this case, discard the product.
Water introduces pathogens that alcohol sprays won’t fully eliminate. Uniform hardness is safer to treat. Patchy wetness is a red flag for contamination.
The Alcohol Reset Method for Pressed Powders
Isopropyl alcohol is the gold standard for reviving dry, pressed powders. It dissolves the hardened binder without adding moisture. Once applied, it evaporates quickly, leaving behind smooth pigment.
This method works for eyeshadows, blushes, and bronzers. Ensure you use 70% concentration or higher. Lower percentages contain too much water.
Higher percentages evaporate too fast to mix properly.
Start by scraping the top layer if it’s severely cracked. Use a sterile spatula or knife. Remove loose debris.
Place the pan on a paper towel to catch drips. Have your spray bottle ready. Work in a ventilated area.
Fumes can be strong. Keep flames away from the workspace.
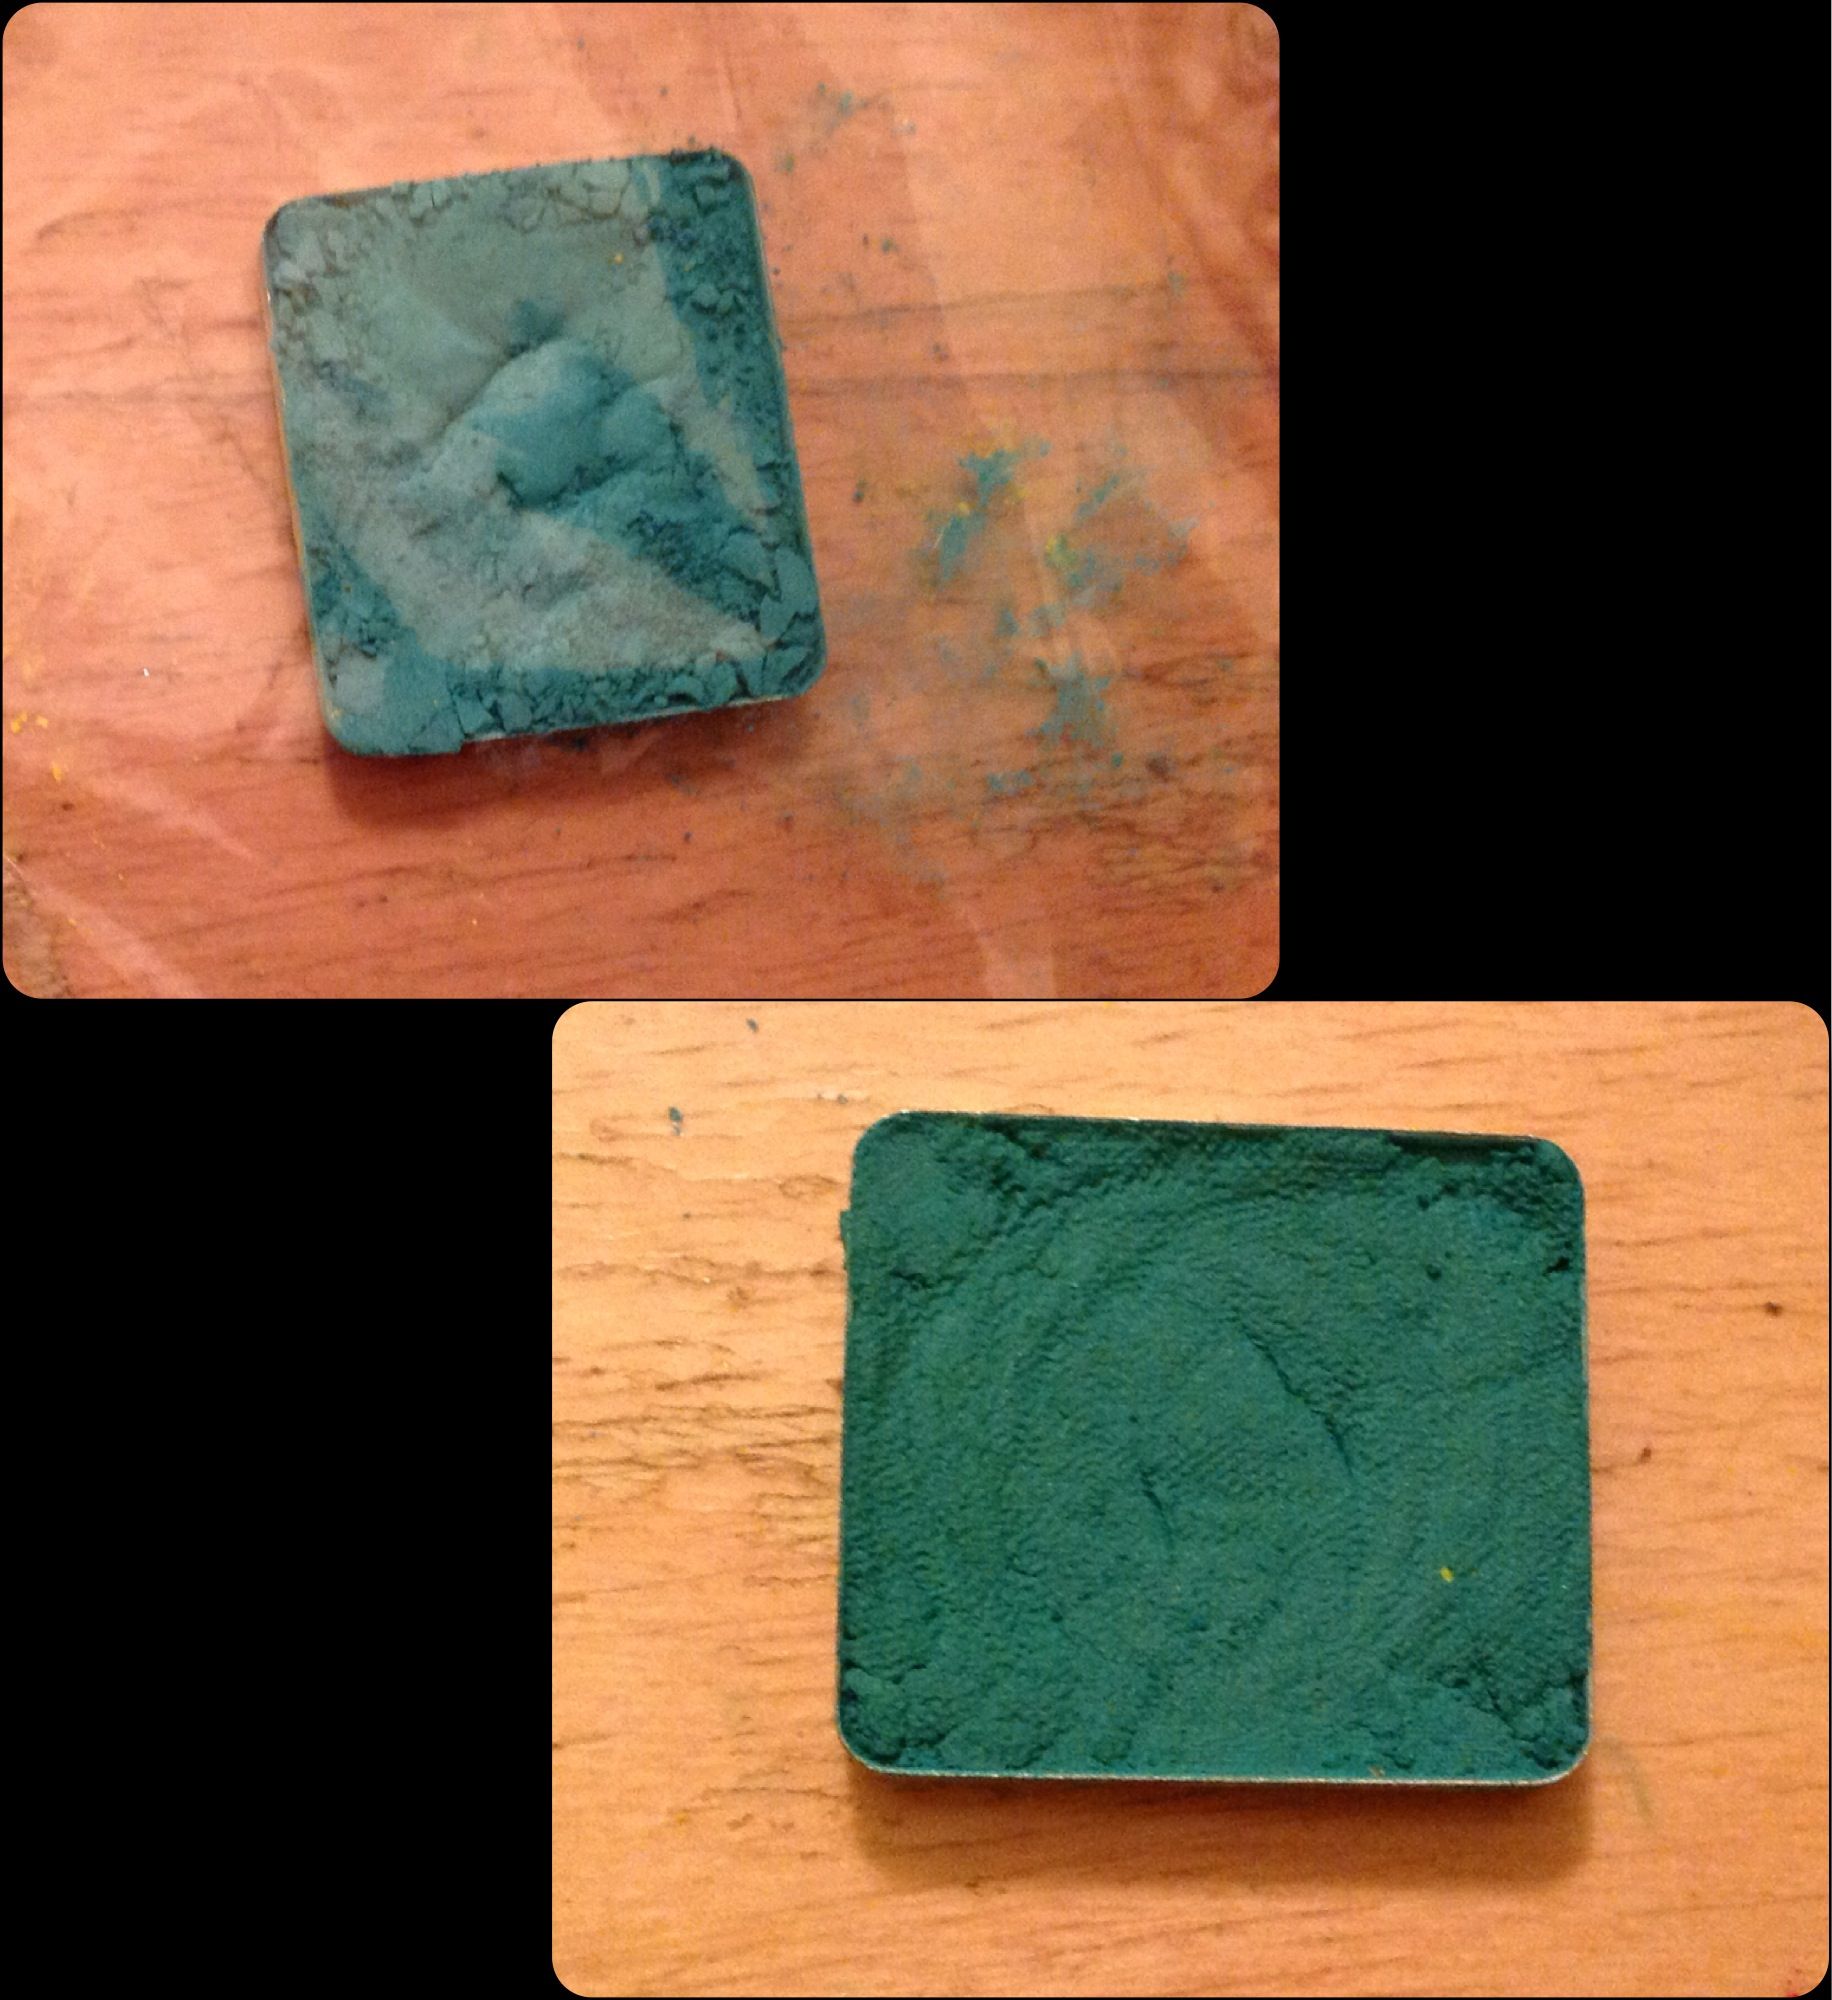
Image source: Web (Bing) / pinterest.com (Web image (fair-use with source credit))
Step-by-Step Softening and Re-Pressing Workflow
Spray a light mist over the powder. Wait ten seconds. Observe the surface darken slightly.
This means the alcohol is penetrating. Use a clean toothbrush or silicone tool to mash the clumps. Create a uniform paste.
Avoid introducing air bubbles. If the mixture stays too dry, add one more drop. Never pour alcohol directly.
Control the dosage precisely.
Once smooth, press the paste flat. Use the back of a spoon or a dedicated makeup press. Apply even pressure.
Wipe excess from the edges. Let it sit undisturbed. Patience is key here.
Rushing the drying process ruins the finish. Ensure the surface is level before releasing pressure. Uneven pressing leads to patchy application later.
Drying Times and Surface Finishing
Allow the product to air dry completely. This takes fifteen to thirty minutes depending on thickness. Do not use hair dryers on high heat.
Rapid evaporation causes cracking. Low, cool airflow is acceptable if necessary. Test the surface with a clean finger.
It should feel dry and powdery again. If it’s tacky, wait longer.
Finish by lightly buffing the top layer. Use a tissue or soft brush. This removes any crystalline residue from the alcohol.
Your powder is now ready for use. Store it in a cool, dry place. Humidity will eventually return if exposed.
Proper storage extends the refreshed life significantly.
Fixing Loose Setting Powders Without Ruining the Mesh
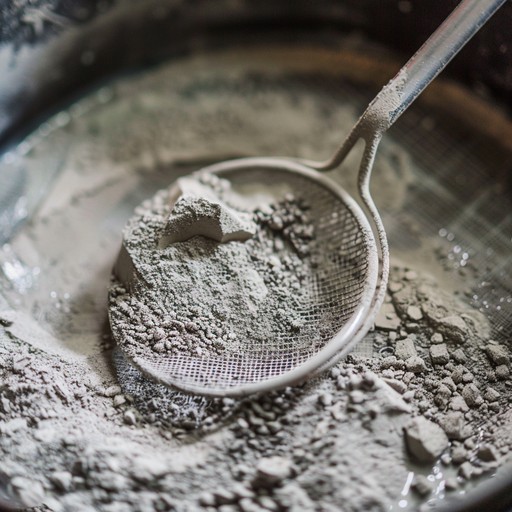
Image source: Web (Bing) / stockcake.com (Web image (fair-use with source credit))
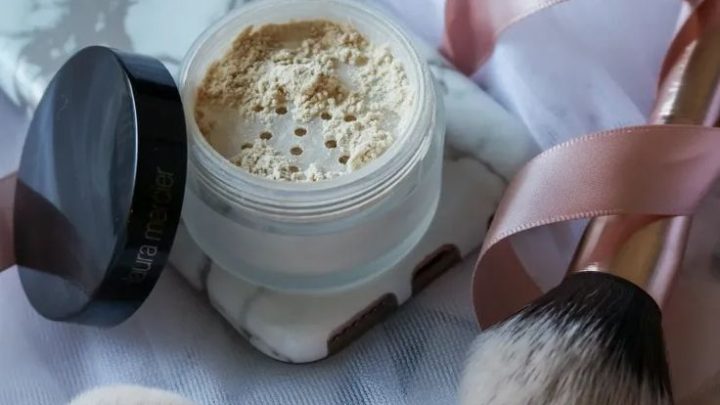
Loose powders present unique challenges. The dispenser mesh often clogs with hardened particles. Simply shaking the jar won’t fix internal clumps.
You need to address both the powder consistency and the hardware. Attempting to force powder through a blocked mesh damages the sifter. Replace the mechanism if it’s torn.
Otherwise, clean and reset the contents.
First, remove the lid and inner seal. Pour the powder onto a sheet of parchment paper. Inspect for large chunks.
Break them apart manually. Use a mortar and pestle for stubborn bits. Grind until fine.
This restores the original texture. Avoid inhaling dust during this process. Wear a mask if sensitivity exists.
Sieving Techniques for Caked Particles
Transfer the ground powder through a fine mesh sieve. This filters out remaining impurities. It ensures a silky, uniform grain size.
Tap the sieve gently. Do not shake vigorously. Vigorous motion generates static electricity.
Static causes powder to fly everywhere. Collect the sifted powder in a clean bowl. Verify there are no lumps left behind.
Clean the original jar thoroughly. Wash with warm soapy water. Sterilize with rubbing alcohol.
Let it dry completely. Any residual moisture will re-clump the fresh powder. Transfer the sieved powder back into the jar.
Pack it loosely. Do not compress it. Loose packing maintains airflow and prevents future hardening.
Cleaning the Dispenser Mechanism
Soak the mesh lid in warm soapy water. Use a soft-bristle brush to scrub the underside. Remove all trapped particles.
Rinse well. Dry with a lint-free cloth. Check for tears in the mesh.
Damaged sifters allow clumps to pass through. Replace the lid if compromised. Many brands sell replacement parts.
Alternatively, transfer powder to a jar with a new sifter. This preserves the product while fixing the delivery system. Regular cleaning prevents buildup.
Make this part of your monthly maintenance routine.
When to Throw It Out Instead of Refreshing
Not every cosmetic deserves a second chance. Certain conditions pose unacceptable health risks. Recognizing these limits protects your skin and eyes.
We define clear boundaries for disposal. Ignoring them invites infection. Be ruthless in your assessment.
Saving five dollars isn’t worth a dermatologist visit.
Discard any product with visible mold. Also toss items with altered scents. Chemical changes indicate ingredient degradation.
These shifts can irritate sensitive skin. If the color has changed drastically, suspect oxidation. Oxidized pigments may cause allergic reactions.
Trust your senses. If something feels wrong, it probably is.
Hygiene Risks That Don’t Wash Away
Bacteria embed themselves deep within porous structures. Surface cleaning doesn’t reach the core. Eye products are particularly risky.
The mucous membranes absorb contaminants rapidly. Conjunctivitis or styes can result from shared or old tools. Even personal use carries risk if hygiene lapses occurred.
If you’ve used dirty brushes on the powder, assume contamination. Professional advice from the American Academy of Dermatology emphasizes replacing eye makeup every three months. Adhere to this timeline strictly.
Cost-Benefit Analysis of DIY Fixes
Calculate the effort versus the value. Refreshing takes time and materials. Alcohol, tools, and labor add up.
Compare this to the price of a new product. Budget brands often cost less than the hassle. Luxury items justify the repair effort.
However, if the product is nearly empty, skip the fix. Finish it up or toss it. Partially used containers harbor more bacteria due to repeated exposure.
Evaluate the remaining volume. Less than 25% full? Discard.
More? Consider refreshing if safe. Always prioritize health over thrift.
Common Mistakes That Destroy Makeup Permanently
Even with good intentions, you can ruin a product beyond repair. The most frequent error is over-saturating the powder. Adding too much alcohol turns the mixture into mud.
This sludge never dries properly. It remains tacky and attracts dirt. Start with minimal amounts.
You can always add more drops. You cannot remove excess liquid easily.
Another critical mistake involves improper drying techniques. Using high heat from hair dryers or ovens warps plastic pans. It also melts synthetic fibers in brushes nearby.
Rapid evaporation causes surface cracking. The powder shrinks faster than the binder sets. This creates fissures that trap bacteria.
Always use ambient air drying. Patience yields better results than speed.
Over-Saturating with Liquid
If your paste looks runny, stop immediately. Scrape out the excess liquid with a spatula. Let the remaining mixture sit for five minutes.
Check consistency again. If it’s still wet, discard the batch. Trying to fix overly wet powder rarely works.
The structural integrity is compromised. The grains lose their ability to bind uniformly. Fresh powder is safer than repaired sludge.
Learn to recognize the "just right" texture early.
Using Heat Sources Incorrectly
Never place makeup pans near radiators or direct sunlight. UV rays degrade pigments rapidly. Colors fade unevenly.
Heat accelerates oil separation in future uses. Stick to room temperature environments. Aim for 20, 25°C (68, 77°F).
Low humidity helps prevent re-clumping. If you live in a tropical climate, store refreshed items in airtight containers. Silica gel packets absorb residual moisture.
This simple step extends usability significantly. Avoid shortcuts that compromise longevity.
Frequently Asked Questions
Can I use vodka instead of rubbing alcohol?
Yes, high-proof vodka works as an alternative solvent. It contains ethanol, which evaporates cleanly. However, ensure it is at least 40% ABV.
Lower proofs introduce too much water. Water encourages bacterial growth during drying. Rubbing alcohol remains superior for disinfection.
Vodka lacks antimicrobial properties. Use vodka only if you have no other options. Sterilize tools thoroughly beforehand.
How long does refreshed makeup last?
Properly refreshed powder lasts until its original expiration date. The process does not reset the clock. Preservatives degrade over time regardless of texture.
Expect six to twelve months of safe use. Monitor for changes in smell or appearance. Discard immediately if issues arise.
Storage conditions impact lifespan heavily. Keep products cool and dry. Humidity shortens viability.
Watch for signs of spoilage regularly.
Is it safe to refresh eyeshadow palettes?
Eyeshadows require extra caution due to eye proximity. Only refresh shades showing minor hardening. Avoid touching mucous membranes during application.
Ensure complete drying before use. Residual alcohol irritates sensitive eyes. Wait at least one hour post-treatment.
Patch test on your arm first. Discontinue use if redness occurs. Eye infections are serious.
When in doubt, replace the palette. Safety trumps cost savings here.
What if my powder smells bad after refreshing?
A persistent odor indicates deep contamination. Alcohol masks smells temporarily but doesn’t kill all bacteria. Rancid oils emit distinct scents even when dry.
Do not use products with off-odors. They signal chemical breakdown or microbial activity. Throw them away immediately.
No amount of cleaning restores safety. Trust your nose. Unpleasant smells warn of health risks.
Dispose responsibly to avoid accidental reuse.

Similar Posts