How to Apply Concealer Without Cakiness: Flawless Tips
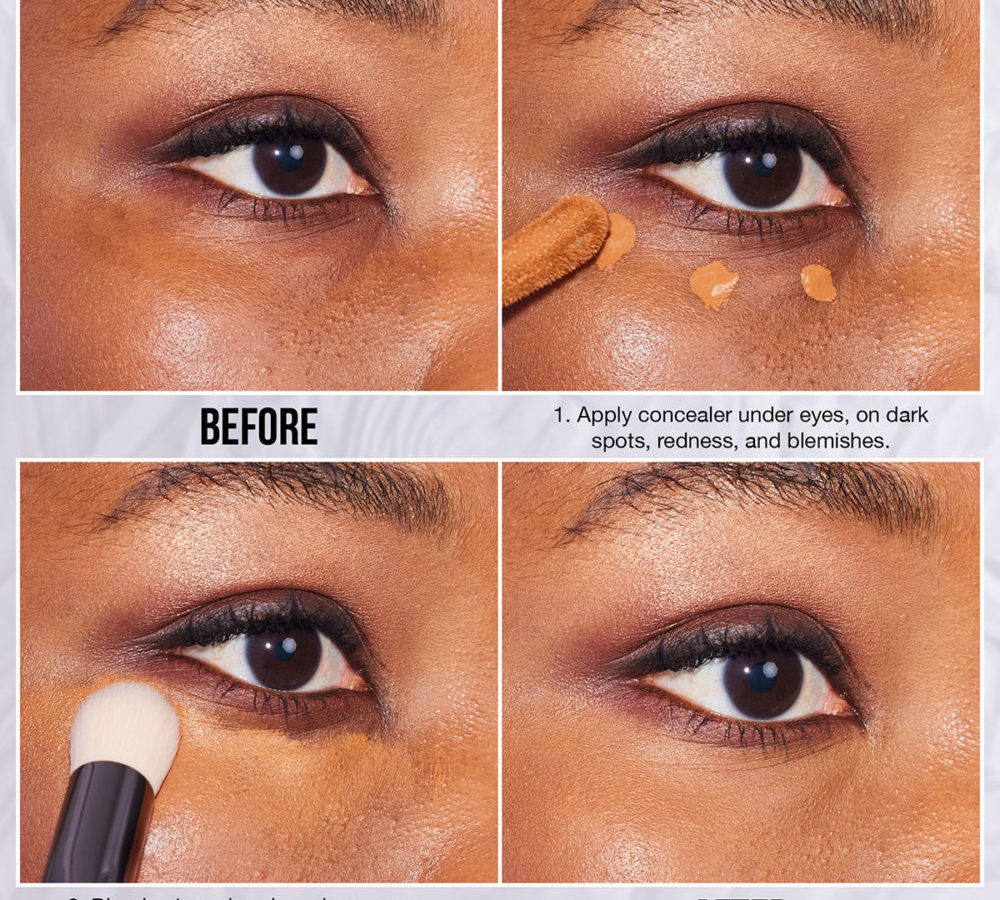
Knowing how to apply concealer without cakiness starts with understanding your skin’s moisture balance. Most people pile on thick layers, hoping for perfect coverage, but this approach usually fails. The product dries out quickly and settles into fine lines, creating a textured, unnatural finish.
We’ve found that the secret isn’t more product, but better prep and technique. Manufacturer specifications indicate that most liquid concealers contain volatile silicones designed to evaporate after application. If you don’t lock them in properly during that brief window, the formula becomes brittle.
Let’s break down exactly where things go wrong and how to fix it.
Why Your Concealer Cakes (And How to Stop It)
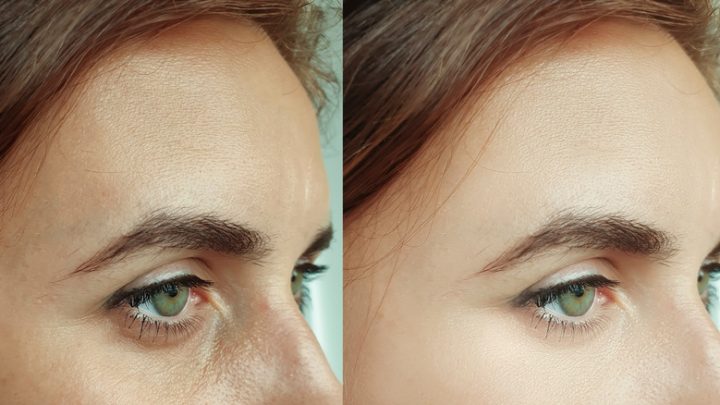
Cakiness happens when the concealer film separates from the skin or clumps together due to lack of flexibility. This is rarely just about the brand you chose. It’s almost always a mismatch between your skincare base and the makeup formula.
If your skin is dehydrated, the concealer pulls moisture from your face to stay flexible. As it dries, it shrinks and cracks. Conversely, if you use too much heavy cream on oily skin, the excess oil breaks down the binder, causing the product to slide and bunch up.
The root cause is usually one of two variables: hydration levels or application volume. You need to identify which one applies to you before picking up a brush. Dry skin needs emollients.
Oily skin needs lightweight, long-wear formulas. Getting this diagnostic step right saves you from wasting expensive products later.
Step 1: Prep Skin for Seamless Adhesion
Your makeup routine begins long before you open the compact. Skipping skincare prep is the fastest way to guarantee a patchy result. We recommend cleansing gently to remove barriers like old sunscreen or sebum that repel new product.
Next, apply a hydrating moisturizer suited to your skin type. For dry areas, look for ingredients like hyaluronic acid or glycerin. These humectants draw water into the upper epidermis, plumping fine lines so there’s nothing for the concealer to settle into.
Choosing the Right Primer Based on Skin Type
Primer acts as a bridge between your skincare and makeup. If you have oily skin, a mattifying primer controls shine throughout the day. For dry or mature skin, a luminous or hydrating primer adds slip, allowing the concealer to glide smoothly rather than drag.
You must let these layers absorb completely. Applying concealer over wet moisturizer causes pilling, where the products roll off the skin in little balls. Wait at least three to five minutes after priming.
This ensures the base is tacky but not slick, providing the ideal canvas for adhesion.
Step 2: Select Formula and Tool That Match Your Goal
Not all concealers are created equal, and neither are the tools used to apply them. Using the wrong combination creates friction and uneven distribution. Liquid concealers offer buildable coverage and work best with synthetic brushes or damp sponges.
Cream sticks provide higher opacity but require warmer temperatures to blend seamlessly.
Liquid vs. Cream: When to Use Which
Choose liquid formulas for under-eye circles where flexibility is key. They move with your facial expressions without cracking. Opt for creams only for stubborn blemishes or scars that need full camouflage.
Even then, use them sparingly. Overloading a spot with thick cream highlights texture instead of hiding it.
Sponge vs. Brush: Impact on Finish and Coverage
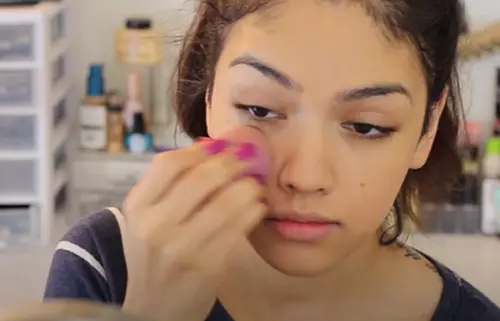
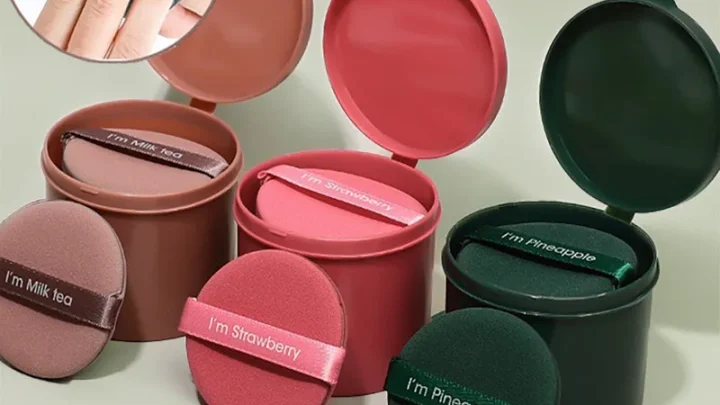
A damp beauty sponge presses product into the skin, sheering it out for a natural look. It absorbs excess oil and prevents buildup. A flat synthetic brush offers precision and fuller coverage by laying pigment on top of the skin.
For beginners, the sponge is safer. It forgivingly blends edges and removes extra product automatically. Brushes demand more skill to avoid streaks.
Whichever tool you pick, ensure it is clean. Dirty tools harbor bacteria and dried residue that disrupt smooth application.
Step 3: Apply Thin Layers, Not One Thick Coat
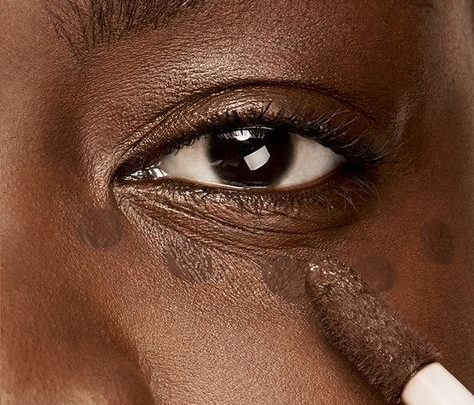
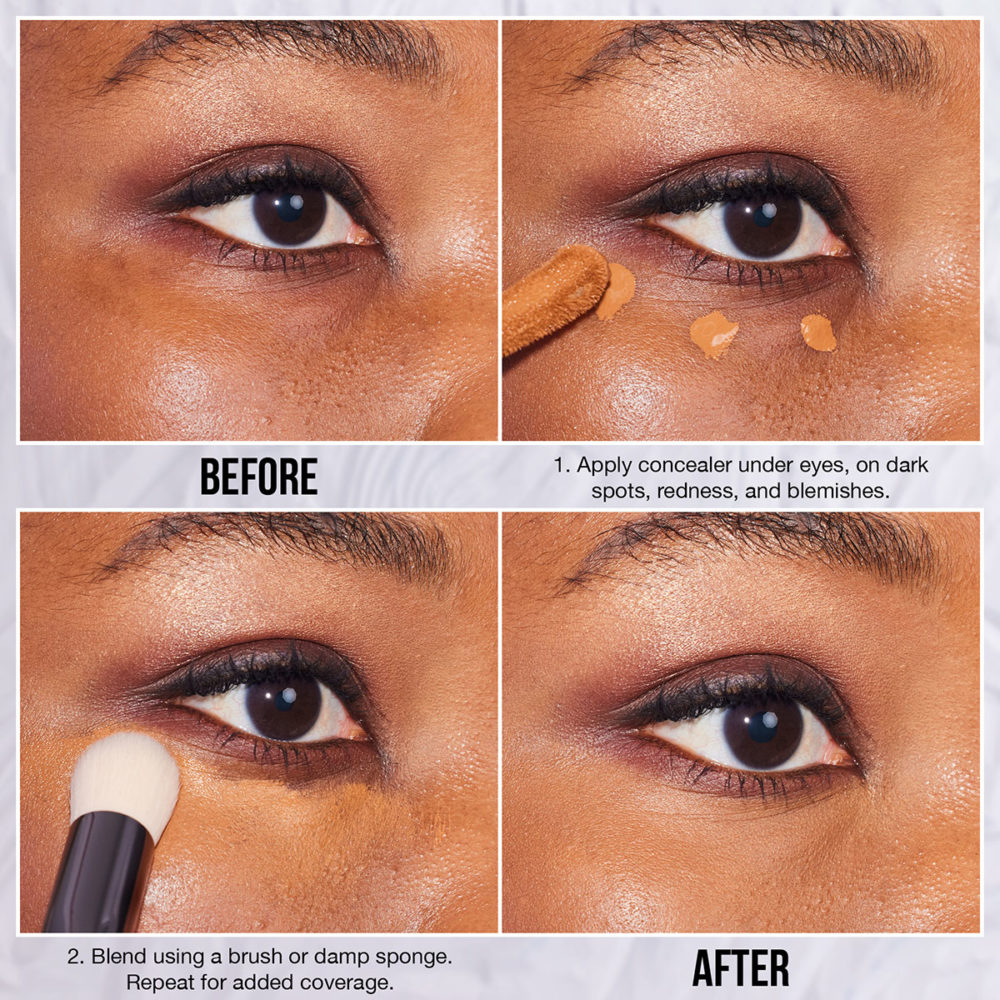
The biggest mistake we see is trying to cover everything in one go. Concealer works best in thin, translucent layers. Start with a tiny amount, roughly the size of a grain of rice per eye.
Dot this along the tear trough and blend outward.
The Dot-and-Stipple Method for Under-Eyes
Do not swipe back and forth aggressively. Instead, use a stippling motion. Tap the sponge or brush gently against the skin.
This pushes pigment into the crevices without dragging the delicate under-eye tissue. Swiping stretches the skin and causes immediate creasing once you relax your face.
Build coverage gradually. Check in a mirror after each tap. If you still see darkness, add another micro-layer.
This method maintains skin texture visibility, preventing the "mask" effect. Remember, less is truly more here. You can always add, but removing excess product often strips away the base layer beneath.
Spot-Concealing Technique for Blemishes
For acne spots, place a single dot directly on the imperfection. Do not spread it wide. Let it sit for thirty seconds to warm up slightly.
Then, pat the edges softly to feather it into the surrounding skin. Leaving the center untouched preserves maximum coverage where you need it most.
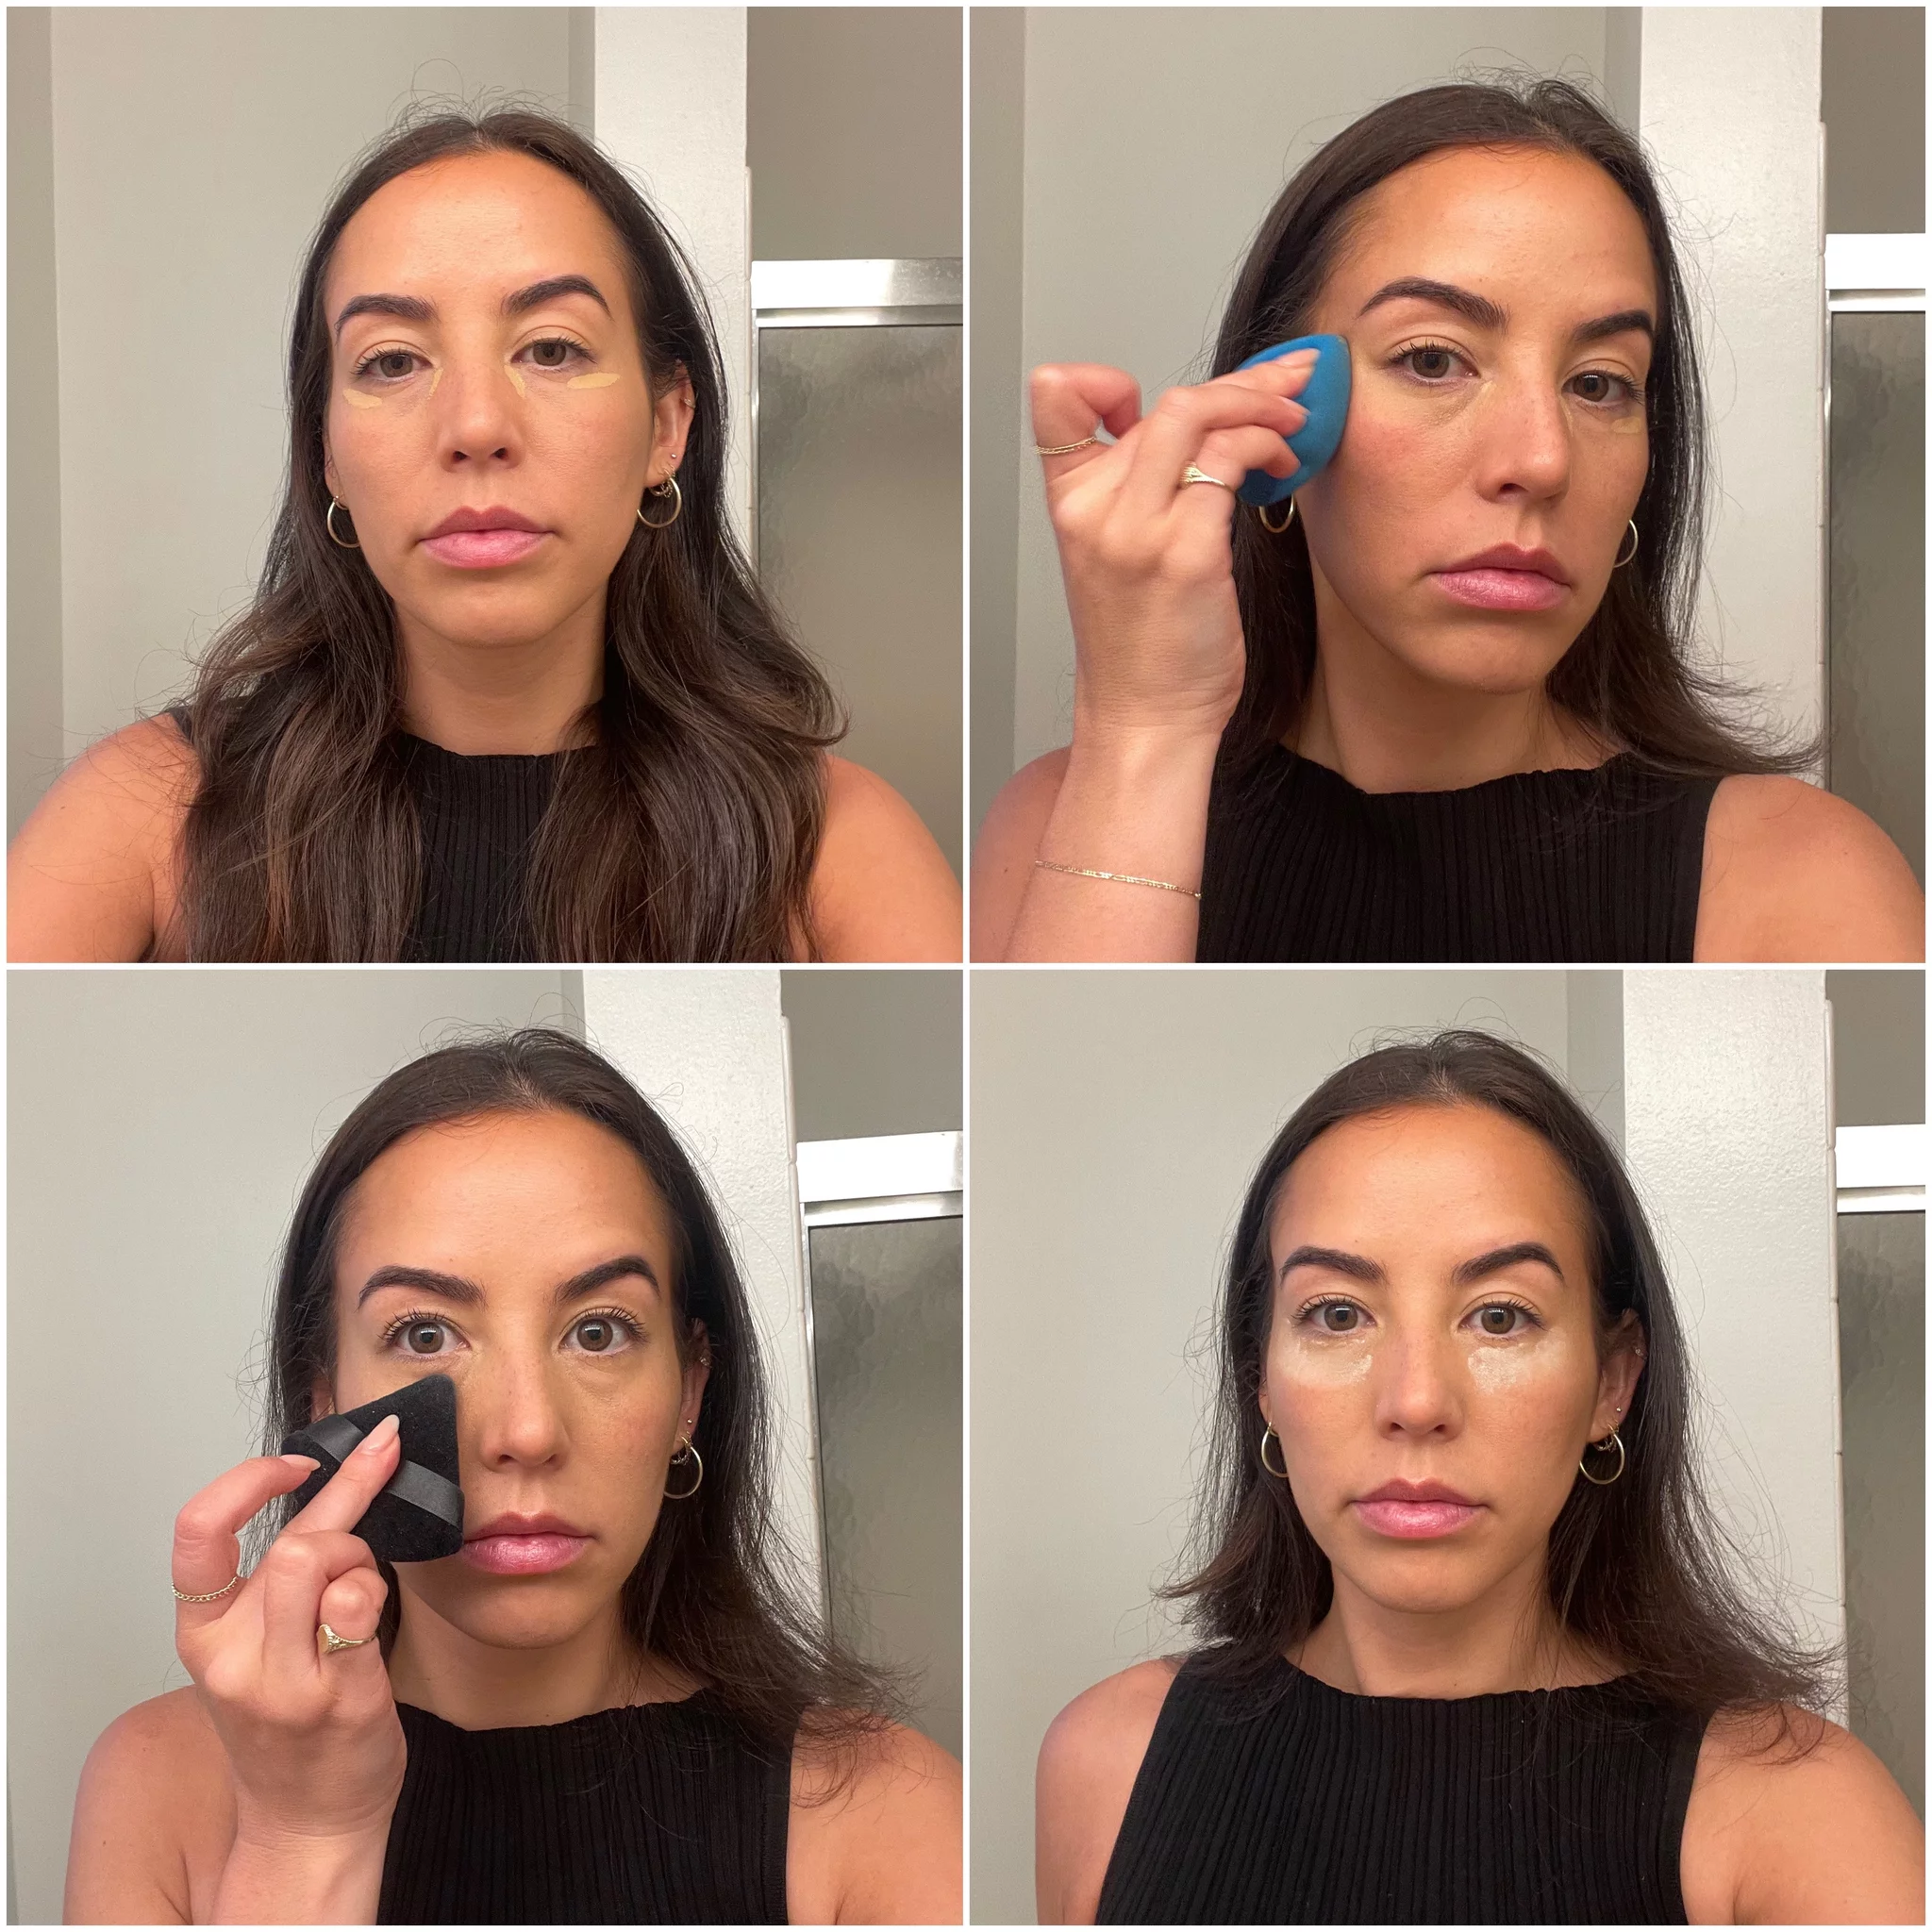
Step 4: Set Immediately While Still Tacky
Concealer has a short working time. Once it dries completely, it locks in place. If you wait too long to set it, the product may shift or oxidize.
However, applying powder while the concealer is still wet can cause clumping.
Find the sweet spot. The formula should feel slightly tacky to the touch, not slippery or dry. This usually happens within sixty to ninety seconds of application.
At this stage, the binder is active enough to grab onto powder particles without disturbing the underlying layer.
Translucent Powder Selection for Dry vs. Oily Zones
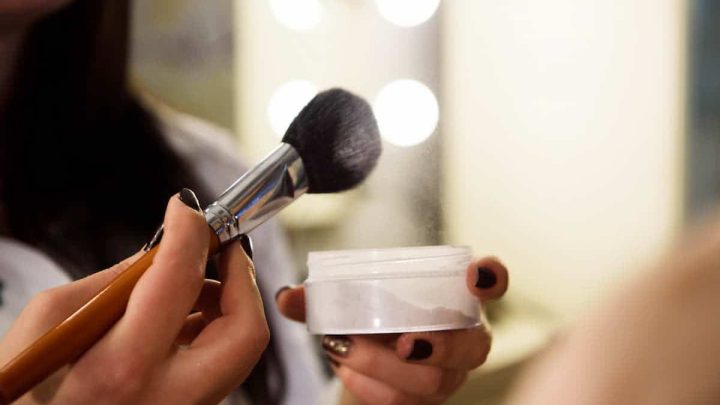
Use a finely milled translucent powder for general setting. Coarse powders highlight texture and look chalky. For oily zones like the T-zone, a silica-based powder helps control shine.
On dry under-eyes, skip heavy powders entirely. Instead, use a minimal amount of pressed powder or a setting spray mist.
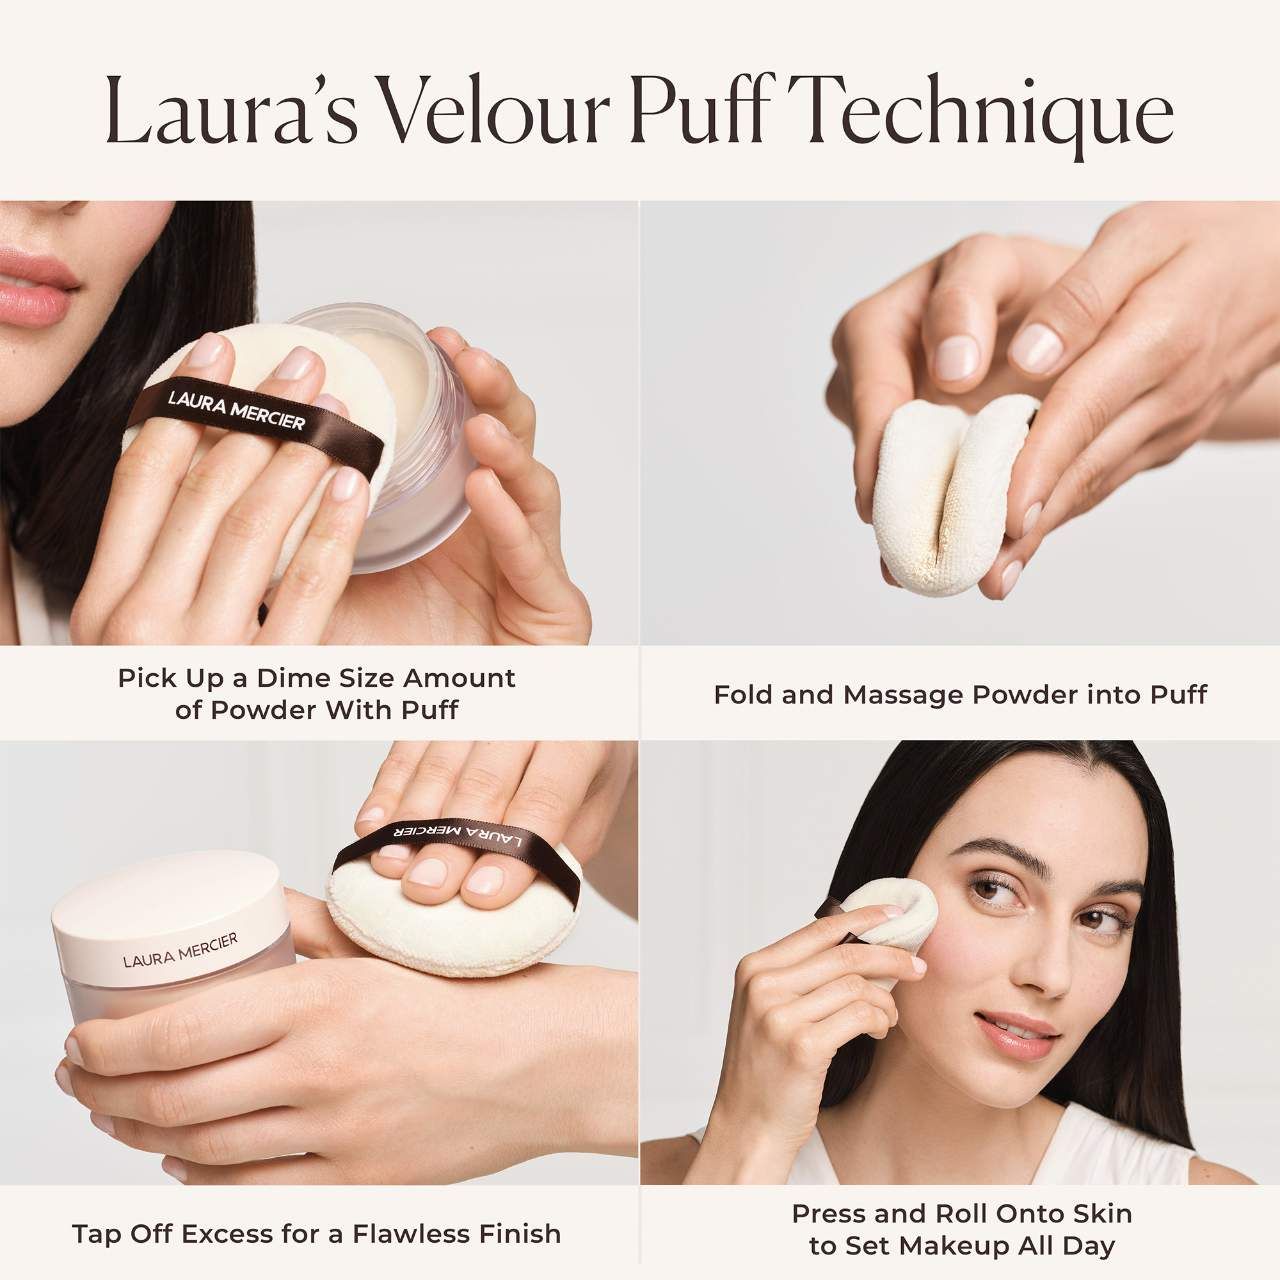
Press the powder into the skin using a fluffy brush or puff. Do not sweep it across the surface. Sweeping drags the fresh concealer around, ruining your hard work.
Pressing sets the pigment firmly while maintaining the smooth finish you achieved earlier.
Common Mistakes That Trigger Cakiness
Even with perfect prep, small errors can ruin the finish. The most frequent culprit is mixing incompatible ingredients. If you layer silicone-based primer under water-based concealer, they will separate.
This creates a curdled texture that looks patchy within hours. Always check your product labels for base types. Stick to one system, either all-silicone or all-water, across your routine.
Another major error involves active skincare ingredients. Retinol and alpha-hydroxy acids (AHAs) exfoliate the skin surface. Applying makeup immediately after using these actives traps dead cells beneath the concealer.
This leads to uneven adhesion and visible flaking. Our research suggests waiting at least twenty minutes after applying strong actives. Let them absorb fully before touching your face with makeup tools.
Over-Exfoliating or Using Active Ingredients Too Close to Application
If your skin feels tight or rough, stop exfoliating. Aggressive scrubbing damages the moisture barrier. A compromised barrier cannot hold hydration, causing concealer to cling to dry patches.
Focus on gentle cleansing instead. Use a mild, fragrance-free cleanser to preserve natural oils. This keeps the skin supple and ready for smooth application.
Ignoring Undertones Leads to Visible Gray Casts
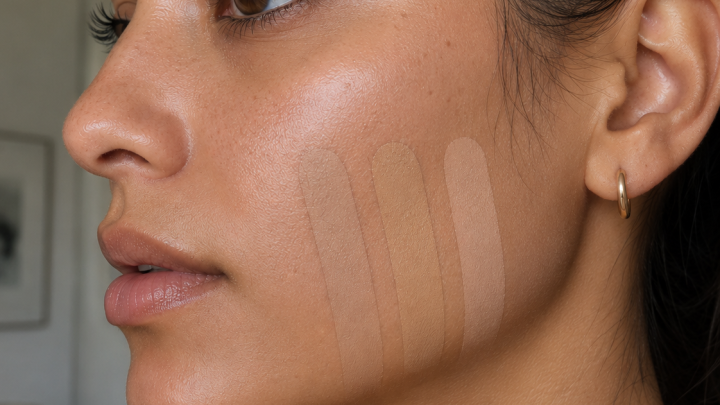
Shade matching isn't just about lightness. It’s about undertone correction. Using a cool-toned concealer on warm-toned dark circles turns gray.
This dullness highlights shadows rather than hiding them. Aggregate user reviews indicate that peach or orange correctors neutralize blue-purple tones first. Apply the corrector thinly, then layer your skin-tone concealer on top.
Skipping this step often forces you to use more product, increasing cakiness risk.
FAQ: Troubleshooting Specific Concealer Issues
Why does my concealer crease even when I set it?
Creasing usually stems from excess product accumulation in movement lines. You likely applied too much thickness in one spot. Try reducing the initial amount by half.
Blend thoroughly into the surrounding skin so edges disappear. If creases persist, use a tiny brush to press powder directly into the line while the concealer is still tacky. This locks the pigment without adding bulk.
Can I use setting spray instead of powder?
Yes, especially for dry skin types. Setting sprays provide a flexible film that doesn’t emphasize texture like powder can. Hold the bottle six to eight inches away from your face.
Mist lightly in an X pattern. Avoid soaking the area, as too much liquid can dissolve fresh makeup. This method works well if you want a dewy, natural finish without the chalky look of heavy powders.
How do I fix caked concealer mid-day?
Do not add more product on top. This builds up layers and worsens the texture. Instead, take a clean cotton swab dipped in micellar water or oil-free remover.
Gently wipe away the caked area only. Re-prep the spot with a dab of moisturizer. Allow it to absorb for thirty seconds.
Then, reapply a minimal amount of concealer using the stippling technique described earlier.
Does humidity affect how long my concealer lasts?
High humidity accelerates oxidation and breakdown of binders. In humid climates, opt for transfer-resistant formulas labeled "long-wear." These contain polymers that resist sweat and moisture. Pair them with a mattifying primer to control oil production.
In dry environments, switch to hydrating concealers with added emollients. Adjusting your product choice based on weather prevents premature fading and caking throughout the day.

Similar Posts