How to Fix Patchy Primer: Easy DIY Solutions
Fixing patchy primer starts with diagnosis, not more paint. You need to identify if the issue is absorption, lap marks, or substrate contamination. Most DIYers grab a roller too soon.
This wastes material and ruins the finish. Understanding the visual cues saves you hours of rework. We’ve seen countless projects fail because the root cause was ignored.
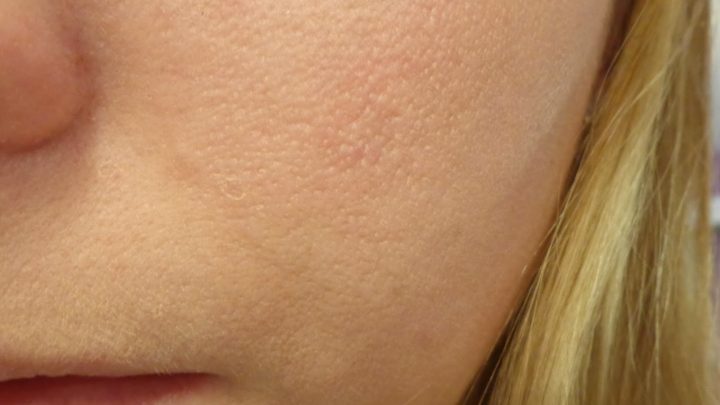
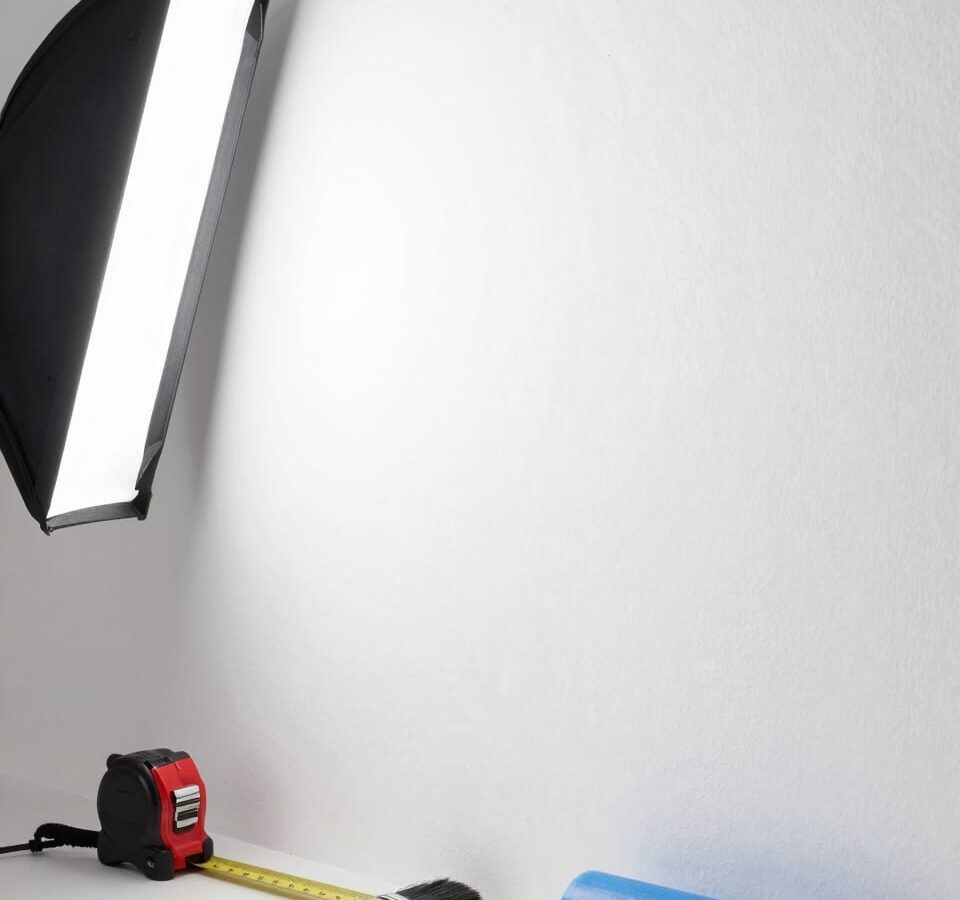
Raking light reveals surface imperfections that normal lighting hides. Per ASTM D4214 standards, artificial weathering tests highlight these flaws clearly. As of 2026, professional painters still rely on this simple trick.
It exposes thin spots and texture differences instantly. Let’s look at how to read your wall before touching it.
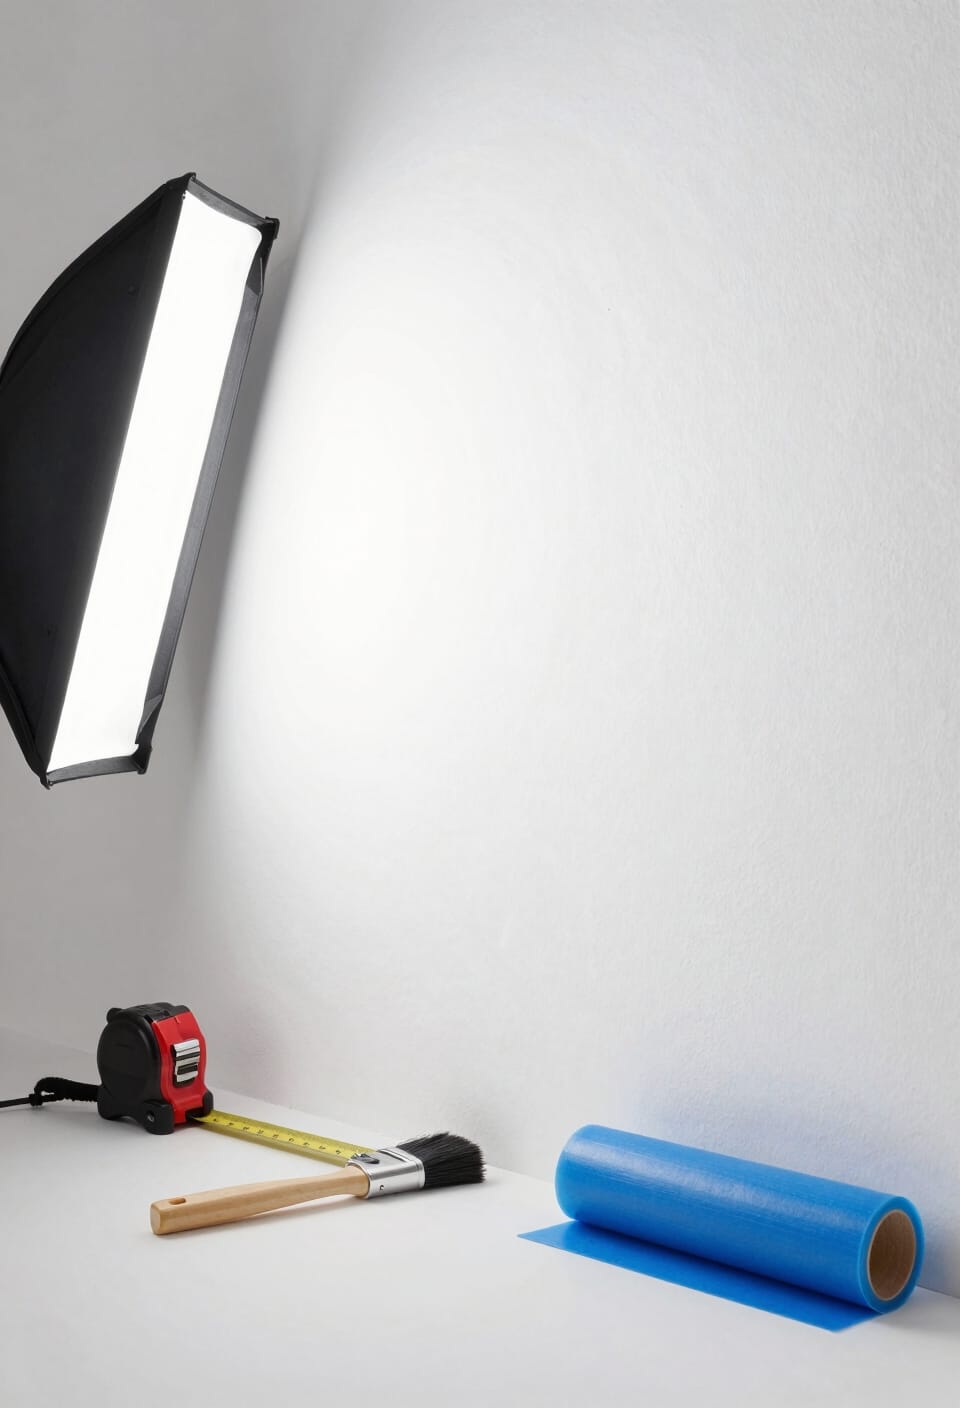
Image source: Web (Bing) / surfacepreppro.com (Web image (fair-use with source credit))
Diagnose the Patch: Reading Your Wall Under Raking Light
Why Texture and Porosity Create Visual Blotches
Patchiness often stems from uneven substrate porosity. Drywall paper faces absorb liquid differently than joint compound. Wood grains vary in density across a single board.
These differences cause some areas to soak up binder quickly. Pigment remains behind, creating lighter, chalky spots. This phenomenon is called flashing.
It looks like bad application but is actually a material reaction. You must distinguish between physical defects and chemical absorption issues.
Identifying Lap Marks vs. Absorption Flashing
Lap marks appear as distinct lines where wet primer met dried edges. They feel slightly raised or show color shifts under angle light. Flashing presents as irregular blotches without defined boundaries.
It follows the grain or patch pattern of the substrate. Check the sheen difference. Lap marks often retain gloss longer than surrounding areas.
Flashing creates dull, matte patches due to binder loss. Use a flashlight held parallel to the wall. Move it slowly across the surface.
Shadows will deepen over lap marks. Blotchy areas will change intensity based on absorption rates. This visual test dictates your repair strategy.
Do not sand blindly. Identify the defect type first.
Prep Work That Actually Fixes the Root Cause
Cleaning Oils, Grease, and Old Finish Residue
Contamination prevents proper adhesion and causes beading. Silicone dust from drywall tools repels water-based primers. Kitchen grease attracts dirt and blocks penetration.
Clean surfaces with a trisodium phosphate substitute or dedicated degreaser. Rinse thoroughly with clean water. Allow full drying time.
Manufacturer specs confirm that residual moisture traps solvents. This leads to blistering later. Inspect for wax buildup on previously painted walls.
Scrub stubborn spots gently. Avoid abrasive pads that scratch the substrate. A clean surface ensures uniform absorption.
This step eliminates false positives in your diagnosis.
Feather-Edging Repairs to Eliminate Physical Bumps
Physical bumps create shadow lines that mimic patchiness. Sand high spots flush with the surrounding wall. Use 120-grit sandpaper for initial leveling.
Switch to 220-grit for final smoothing. Feather-edge the perimeter of any patched area. Blend the repair into the existing surface gradually.
This removes abrupt transitions. Dust removal is critical after sanding. Use a tack cloth to capture fine particles.
Vacuum crevices to prevent debris inclusion. Smooth substrates accept primer evenly. Rough patches absorb excess binder.
Consistent texture aids uniform film build. Check your work under raking light again. No shadows means no bumps.
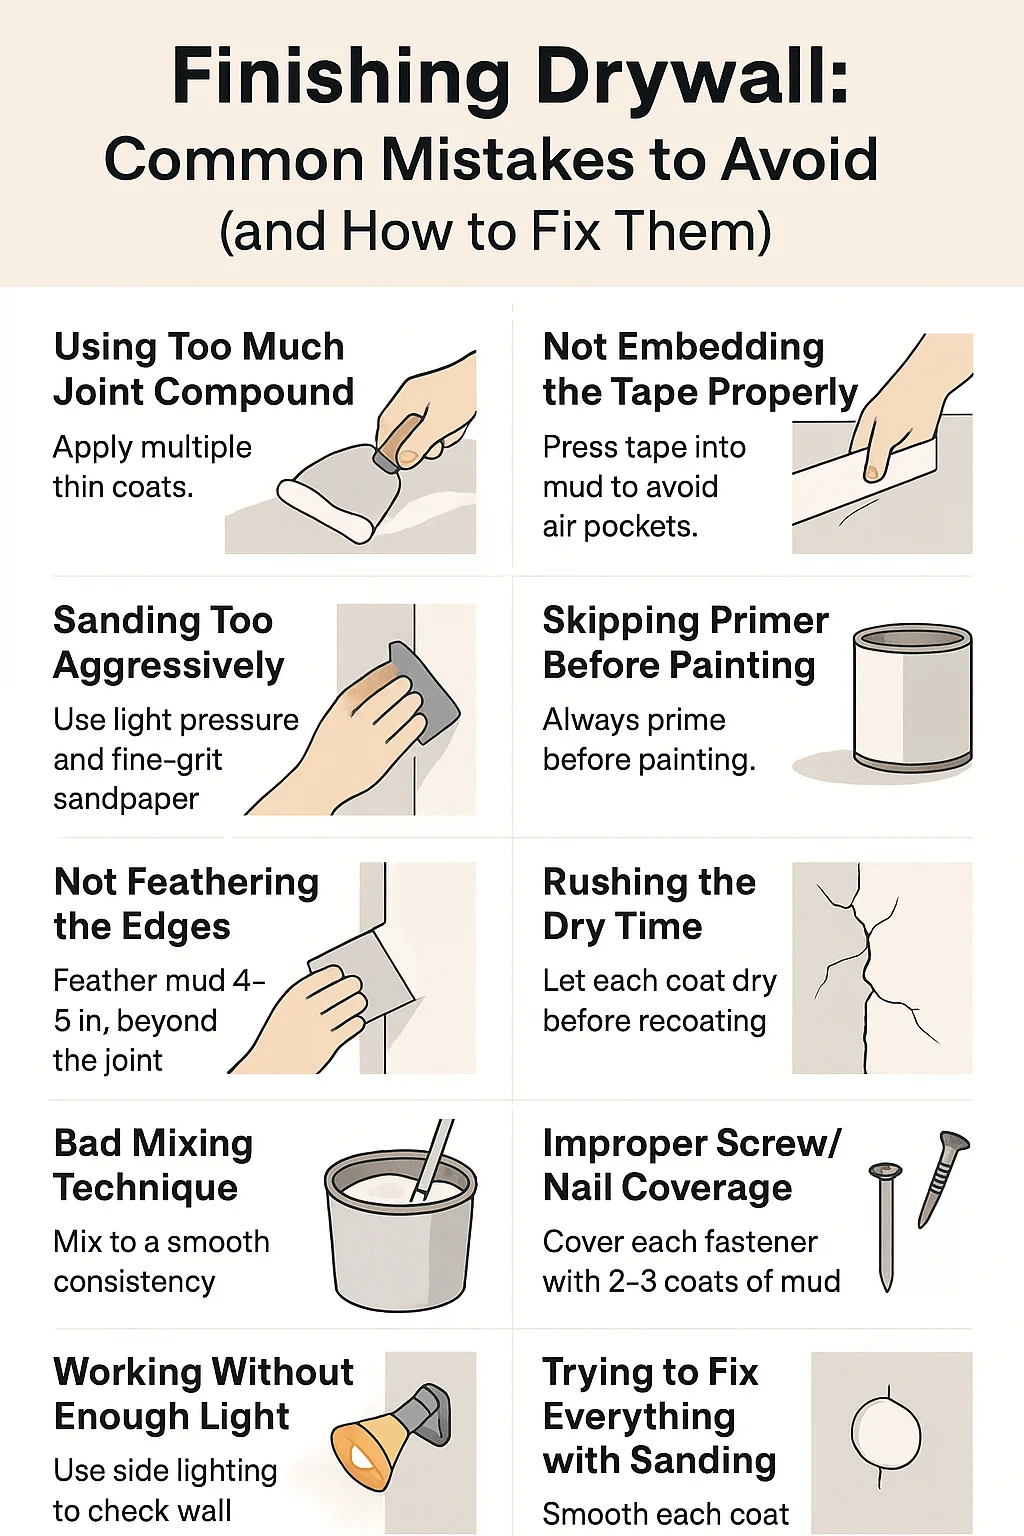
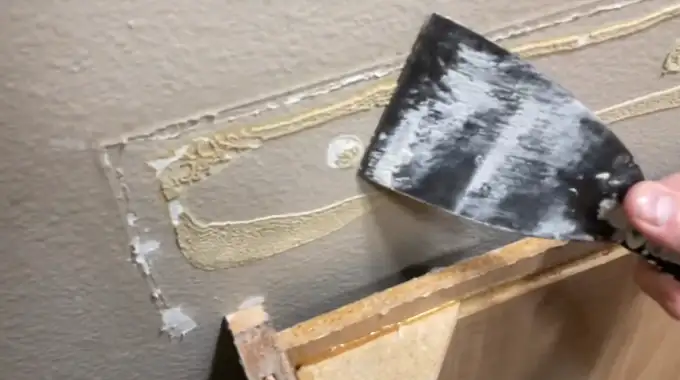
Image source: Bing (Web (fair-use with source credit))
Choosing the Right Primer for Your Specific Substrate
Shellac-Based Sealers for Stains and Tannins
Shellac primers block tannin bleed effectively. They seal wood knots and water damage rapidly. Alcohol evaporates quickly, leaving a hard barrier.
This prevents stains from rising through topcoats. However, shellac has strong odors and requires ventilation. It dries fast, reducing open time for blending.
Use it when stain blocking is the priority. Apply with a brush for better control. Rollers can introduce air bubbles in thick films.
Shellac works best on problematic substrates. It does not hide color variations well. Follow with a compatible latex topcoat.
Always check manufacturer compatibility charts. Mixing incompatible chemistries causes peeling.
High-Hide Acrylics for Uniform Color Blocking
Acrylic-latex primers offer excellent hiding power. They cover dark colors and repairs efficiently. Low VOC levels make them user-friendly indoors.
Water cleanup simplifies the process significantly. Look for products labeled "high-hiding" or "one-coat." These contain higher pigment volumes. They resist flashing on porous surfaces better.
Apply with a roller for consistent thickness. Maintain a wet edge to avoid laps. Acrylics breathe, allowing moisture vapor transmission.
This suits interior walls well. They do not block heavy oil stains. Use spot treatments for severe discoloration.
Standard acrylics may require two coats. Verify coverage ratings per gallon. Higher opacity reduces labor costs.
| Primer Type | Best For | Drying Time | Cleanup | Key Limitation |
|---|---|---|---|---|
| Shellac-Based | Tannins, Water Stains | 30–45 mins | Denatured Alcohol | Strong Odor, Fast Set |
| Oil-Alkyd | Metal, Glossy Surfaces | 6–8 hours | Mineral Spirits | Yellowing Over Time |
| Acrylic-Latex | Drywall, General Use | 1–2 hours | Soap and Water | Poor Stain Blocking |
The Application Technique: Maintaining a Wet Edge
Back-Rolling Sprayed Surfaces to Prevent Orange Peel
Spraying provides speed but lacks penetration. Atomized droplets sit on the surface. This creates an orange-peel texture.
Back-rolling pushes primer into the substrate. Use a short-nap roller immediately after spraying. Work in small sections, about three feet wide.
Overlap the spray boundary while wet. This ensures mechanical adhesion. It also evens out film thickness.
Skipping this step leaves weak spots. Topcoats may peel from sprayed-only layers. Professionals always back-roll exterior surfaces.
Interior walls benefit from smoother finishes. Check viscosity before starting. Thin primer slightly if needed.
Proper flow aids leveling.
Sectional Workflows to Avoid Drying Boundaries
Work in manageable zones to maintain consistency. Plan your path before dipping the roller. Start at the top corner and move down.
Keep adjacent sections wet during overlap. Temperature affects drying speed. Hot rooms cure primer faster.
Cool spaces extend open time. Adjust your pace accordingly. Do not let edges dry completely.
Re-wet dry margins lightly if necessary. Blend new primer into old seamlessly. Rushing causes visible lap marks.
Patience yields uniform coverage. Coordinate with helpers for large walls. One sprays, one rolls.
This maximizes efficiency. Maintain communication to sync movements.
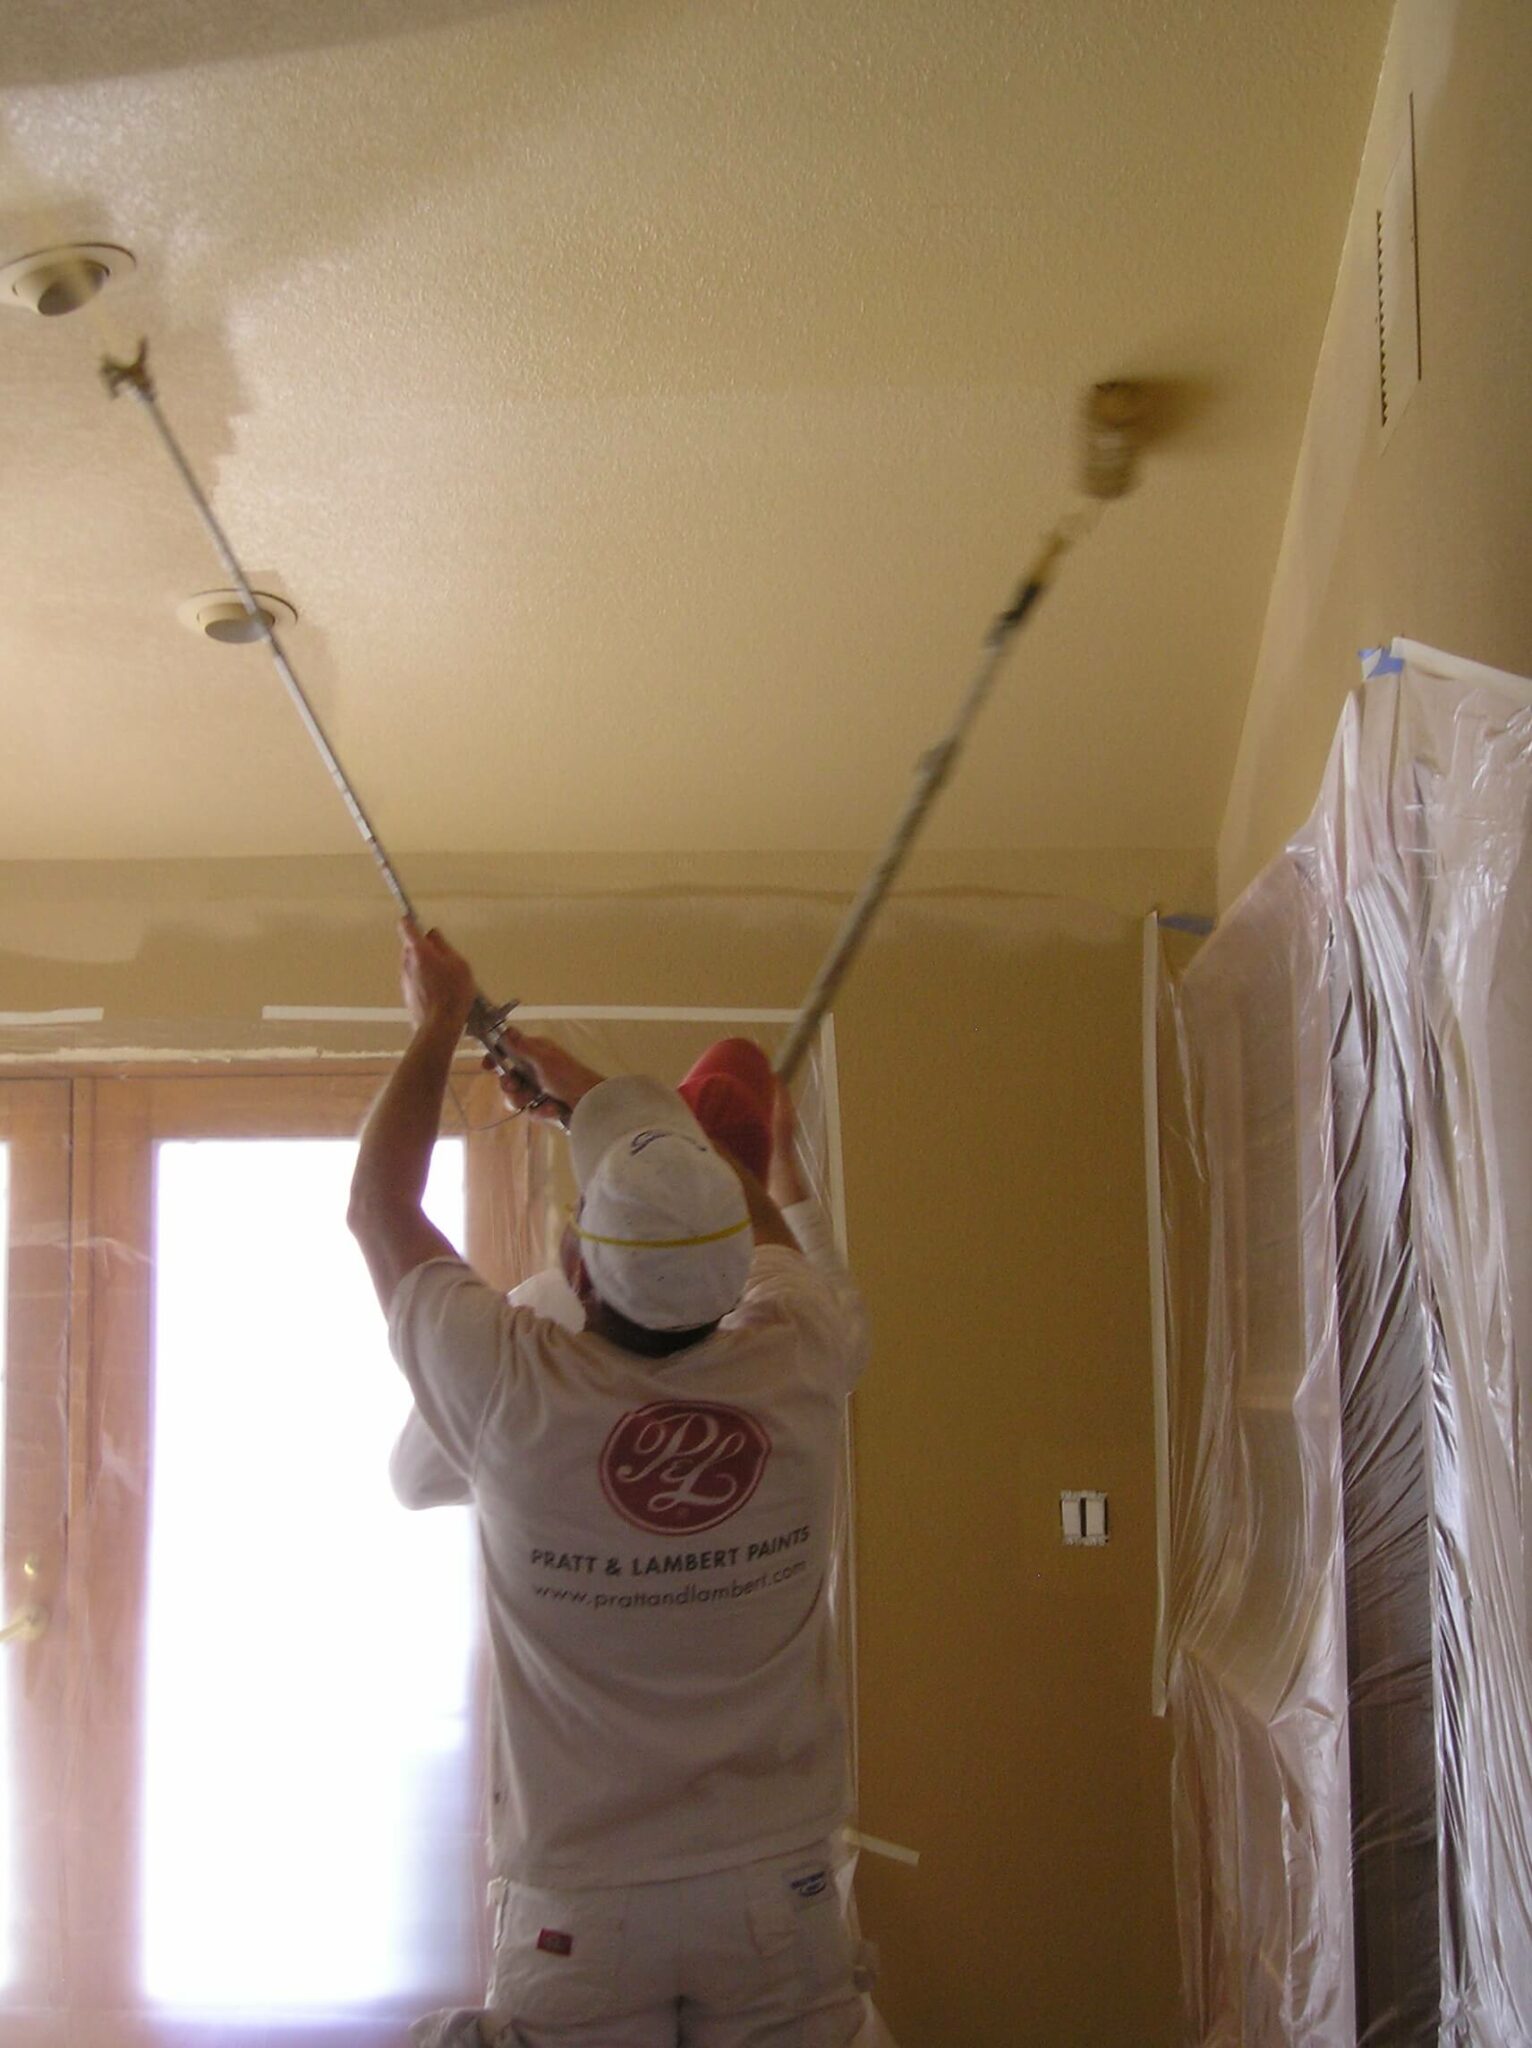
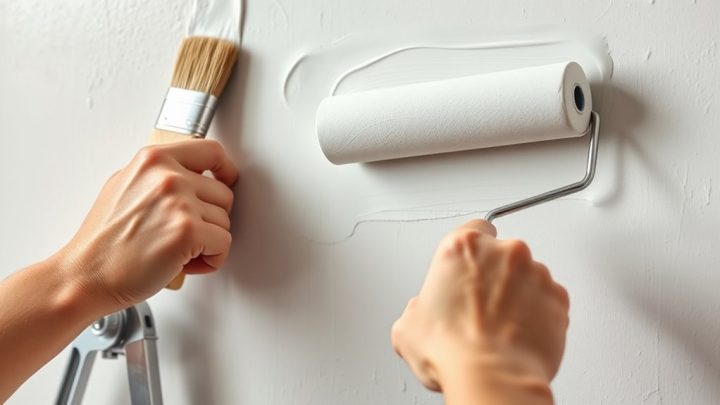
Image source: Web (Bing) / house-painting-info.com (Web image (fair-use with source credit))
Adjusting Viscosity for Even Film Build
Thick primer drags and leaves ridges. Thin primer runs and shows substrate. Check the product label for reduction ratios.
Add water sparingly for acrylics. Stir thoroughly after mixing. Test flow on scrap cardboard.
Aim for a creamy consistency. Too much thinner reduces hiding power. It increases drying time unpredictably.
Humidity plays a role here. High moisture slows evaporation. Lower humidity speeds it up.
Monitor ambient conditions closely. Adjust application rate to match viscosity. Heavy rollers deposit more material.
Light pressure spreads it evenly. Balance tool choice with product specs. Consistency prevents patchiness caused by variable thickness.
Refer to Sherwin-Williams Technical Data for specific product guidance.
Correcting Existing Patchiness Without Starting Over
Spot-Priming Thin Areas with Precision Tools
Small patches don’t require full recoating. Identify bare spots under bright light. Use a small brush or mini-roller.
Match the original primer type exactly. Feather the edges outward. Blend into the surrounding coat.
Avoid building thick ridges. Thin coats layer better. Let each spot dry fully.
Check for sheen mismatches. Matte spots may shine after topcoat. Apply a unified skim coat if needed.
This covers minor inconsistencies. It adds minimal thickness. Sand lightly between coats.
Ensure smooth transitions. Precision tools save time and material. They reduce mess significantly.
Focus only on defective areas. Leave good sections untouched.
Sanding Between Coats to Level Sheen Differences
Sanding removes glossy patches and raises nap. Use 220-grit sandpaper for finesse. Hand-sand delicate areas carefully.
Mechanical sanders risk cutting through. Target only shiny or rough spots. Wipe away dust completely.
Inspect under raking light again. Repeat if necessary. Multiple light sands beat one heavy pass.
Preserve primer integrity throughout. Stop when surface feels uniform. No grit should remain loose.
This prepares for topcoat adhesion. Smooth bases reflect light evenly. Patchiness disappears with proper leveling.
Check for scratches from sanding. Fill deep gouges with spackle. Prime those repairs separately.
Integrate them into the whole.
When to Abandon Repair and Recoat Entirely
Severe flashing indicates systemic failure. If more than 30% of the wall is affected, spot repair fails. The visual disparity becomes obvious.
Full recoating ensures uniformity. Choose a higher-quality primer next time. Increase film build slightly.
Two thin coats outperform one thick one. Wait for full curing before assessing. Sometimes patience solves absorption issues.
But persistent blotching demands replacement. Calculate cost versus effort. Repairs often take longer than redoing.
Trust your eyes under varied lighting. If doubt remains, start fresh. Quality controls outweigh quick fixes.
Document the failure for future reference. Learn from substrate prep errors.
Common Visual Mistakes That Ruin Professional Finishes
Ignoring Humidity Effects on Open Time
High humidity slows primer drying, extending the window for blending. Low humidity accelerates it, risking premature lap marks. Aggregate reviews indicate that many DIYers ignore ambient conditions.
They apply standard techniques regardless of weather. This mismatch causes visible seams. Check your hygrometer before starting.
Adjust your work pace to match evaporation rates. In damp climates, work smaller sections. Let each area set slightly before moving on.
Rushing leads to uneven edges. Patience preserves uniformity. Manufacturer specs confirm optimal application temperatures.
Stay within those ranges for best results. Deviating increases defect probability significantly.
Over-Sanding Through Fresh Primer Layers
Sanding too aggressively removes the protective film. It exposes raw substrate underneath. This creates new absorption points immediately.
The topcoat will flash over these spots. Use light pressure with fine grit paper. 220-grit is sufficient for most jobs. Avoid power sanders on fresh coats.
Hand-sanding offers better control and feedback. Feel for smoothness rather than looking for perfection. Stop when the surface feels even.
Dust removal remains critical after every pass. Residual particles interfere with adhesion. Inspect under raking light frequently.
Catch errors early to save time later. Over-correction often worsens the original problem. Restraint yields superior finishes consistently.
Misdiagnosing Bleed-Through as Application Error
Stains rising through primer look like patchy coverage. They appear as yellow or brown spots. New painters often recoat unnecessarily here.
This wastes material and delays completion. True bleed-through requires a blocking sealer. Latex primers rarely stop tannins alone.
Shellac or oil-based products handle this better. Identify the source before acting. Water damage leaves distinct rings.
Smoke stains create widespread discoloration. Knots in wood show localized spotting. Match the solution to the stain type.
Recoating with the same primer fails repeatedly. Switch chemistry for effective sealing. Verify compatibility with your topcoat system.
Correct diagnosis prevents endless repair cycles. Save resources by understanding root causes.
FAQs: Quick Answers for Troubleshooting Primer Issues
Can I fix patchy primer without sanding?
Yes, if the issue is minor flashing. Apply a thin skim coat of high-hide acrylic. This fills pores without removing material.
Sand only if physical bumps exist. Light rolling blends the new layer seamlessly. Always check sheen consistency afterward.
Avoid heavy abrasion on fresh films. Gentle leveling preserves integrity effectively.
How long should I wait between primer coats?
Wait until the first coat is dry to touch. Typically, this takes one to two hours for latex. Oil-based products need six to eight hours.
Do not rush the curing process. Wet-on-wet application traps solvents. This causes blistering and poor adhesion.
Follow manufacturer guidelines strictly. Environmental factors alter drying times. Cool, humid rooms require longer waits.
Test a small area first.
Does primer color affect patchiness visibility?
No, primer color hides substrate variations. White primers provide maximum contrast for detection. Gray primers assist with dark topcoats.
The goal is uniform opacity, not hue. Patchiness shows as texture or sheen differences. Color mismatch indicates insufficient hiding power.
Choose based on final paint needs. Neutral tones simplify assessment. Focus on film consistency instead.
Ignore aesthetic preferences during prep stages.
Why does my primer look shiny in some spots?
Shiny spots indicate burnishing from excessive pressure. Roller nap compresses the film locally. This creates a denser, glossier surface.
Reduce hand force during application. Use a lower-nap roller for smoother walls. Maintain consistent speed across the section.
Allow proper open time for leveling. Heat can also increase gloss temporarily. It usually fades as the film cures.
Persistent shine suggests contamination. Clean the surface thoroughly next time.

Similar Posts