How to Choose the Perfect Concealer Shade Every Time
Figuring out how to choose a concealer shade is tricky because your face isn't one uniform color. Most people grab the same tube they use for foundation, but that’s a mistake. Concealers often need to be lighter to brighten or darker to contour, depending on what you’re hiding.
We’ve seen countless tutorials skip the science of undertones and oxidation. As of 2026, professional makeup artists still rely on basic color theory rather than app-based guessing. Getting this right saves money and prevents that awkward grey cast.
Here is exactly how to match your skin without the trial-and-error headache.
Quick Answer
To choose a concealer shade, first identify your skin's undertone (warm, cool, or neutral). Next, determine your goal: brightening requires a shade one level lighter than your foundation. Covering blemishes needs an exact match to your surface tone.
Always account for oxidation by testing the product in natural light after it settles. This ensures the final color looks seamless on your skin.

Image source: Web (Bing) / alibaba.com (Web image (fair-use with source credit))
Why Your Foundation Match Isn’t Enough for Concealer
Foundation creates a canvas, while concealer acts as a targeted correction tool. They serve different purposes, so their color requirements differ significantly. Using your foundation shade everywhere often results in flat, lifeless under-eyes or visible patches on blemishes.
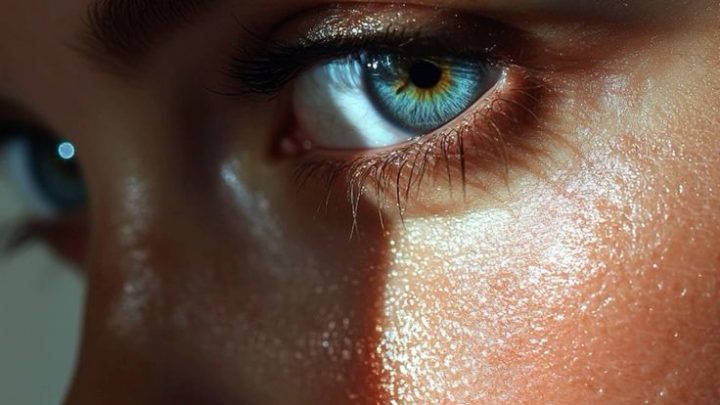
The main issue is optical illusion. Dark circles usually have blue or purple hues caused by blood vessels showing through thin skin. A beige concealer won’t cancel that out; it just mixes with it, creating a muddy grey tone.
You need specific pigments to neutralize those colors before blending.
Also, consider the lighting where you wear your makeup. Indoor artificial lights can make warm tones look orange, while daylight reveals true colors. If you pick a shade based solely on store fluorescent lighting, it will likely fail outdoors.
Our research shows that mismatched undertones are the top reason for returned concealers.
Think of concealer as a specialized paint, not just a thicker foundation. It needs to interact with the underlying discoloration, not just sit on top. This distinction changes everything about how you select your bottle.
Step 1: Pinpoint Your Undertone Before Touching a Tube
Undertone is the subtle hue beneath your skin’s surface color. It stays constant regardless of sun exposure, unlike your surface tone which tans or burns. Identifying this is the most critical step in matching shades correctly.
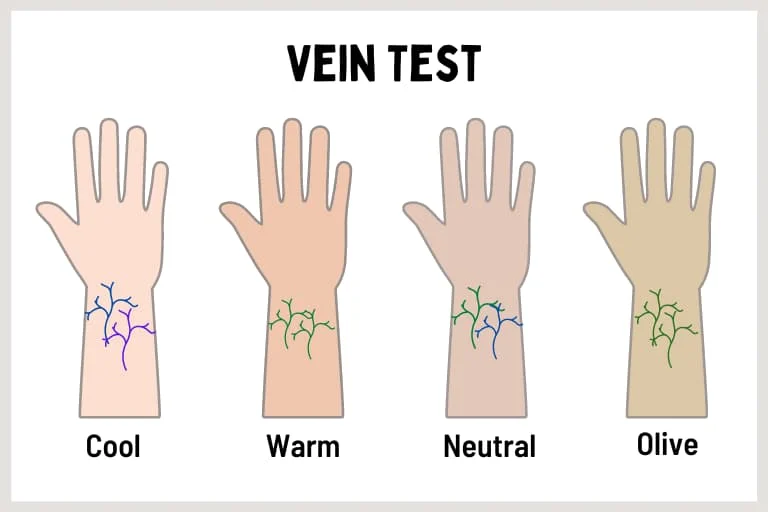
There are three primary undertones: warm, cool, and neutral. Warm skins have yellow, golden, or peachy hints. Cool skins lean pink, red, or blue.
Neutral skins are a balanced mix of both, making them harder to categorize quickly.
How do you find yours? Try the vein test. Look at the veins on your inner wrist under natural light.
If they appear greenish, you likely have warm undertones. Blue or purple veins suggest cool undertones. If you see a mix of both, you’re probably neutral.
Another method is the jewelry test. Silver accessories typically flatter cool undertones, while gold suits warm ones. If both look good, you fall into the neutral category.
These simple checks prevent buying shades that clash with your biology.
Image source: Web (Bing) / lifepathdoc.com (Web image (fair-use with source credit))
Once you know your undertone, ignore the number labels on bottles. "Beige 3" means nothing across brands. Instead, look for descriptors like "golden," "rosy," or "neutral" on packaging.
Manufacturer specs confirm these terms align with standard color theory classifications used in cosmetics.
| Undertone | Vein Color | Jewelry Preference | Concealer Keywords |
|---|---|---|---|
| Warm | Greenish | Gold | Golden, Yellow, Peach, Honey |
| Cool | Blue/Purple | Silver | Pink, Rosy, Porcelain, Ivory |
| Neutral | Mix of Both | Either | Beige, Sand, Natural, Balanced |
This table simplifies the initial filtering process. Start here before worrying about depth or coverage level.
Step 2: Define the Job—Brightening, Correcting, or Camouflaging?
Not all concealers do the same thing. Asking "what am I fixing?" determines whether you go lighter, darker, or stay matched. This decision branch separates amateur mistakes from pro results.
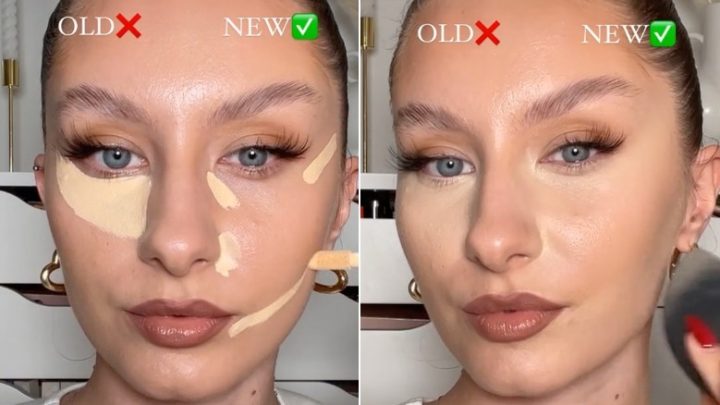
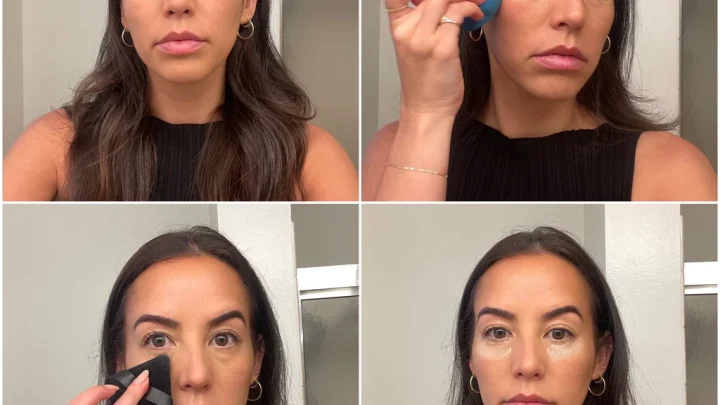
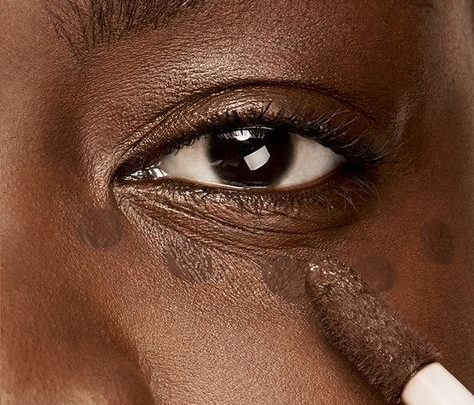
For dark circles, you usually want to brighten. The under-eye area is naturally shadowed due to bone structure. Choosing a shade one level lighter than your foundation lifts this area visually.
However, going too light creates a stark contrast that highlights hollows. Aim for subtlety.
If you’re covering acne scars or hyperpigmentation, match your foundation exactly. These spots are brown or red, not structural shadows. A lighter concealer draws attention to the spot rather than hiding it.
Precision matters more here than brightness.
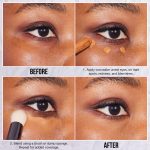
Color correcting is a distinct third path. Severe blue or purple darkness may need a peach or salmon corrector underneath your regular concealer. Yellow correctors work well for mild redness.
This layering technique neutralizes strong discolorations that standard beige cannot hide alone.
Consider your skin type too. Dry under-eyes benefit from hydrating, slightly lighter formulas that don’t settle into lines. Oily zones might require matte, matched shades to prevent sliding throughout the day.
Tailoring the function to your physiology ensures longevity.
Ask yourself: Am I lifting shadows, hiding spots, or neutralizing color? The answer dictates your shade selection immediately. Don’t buy one tube for all tasks unless you’re willing to compromise on results.
The Oxidation Factor: Why “Lighter” Is Often Safer
Oxidation occurs when pigments react with air and skin oils after application. The concealer darkens or shifts tone within minutes of drying. This chemical change surprises many buyers who judge the wet swatch only.
Aggregate reviews report that liquid formulas oxidize more than creams. Water-based ingredients evaporate, concentrating the pigment and altering the color profile. If you pick your perfect match while wet, it might turn two shades darker once set.
To combat this, always choose a shade slightly lighter than your target color. Let the applied product dry completely for five minutes. Check the result in natural light.
If it has darkened to your desired tone, you’ve succeeded.
Some brands formulate specifically to resist oxidation. Look for keywords like "non-oxidizing" or "stable pigment" on packaging. However, even stable products shift slightly.
Testing remains the only reliable verification method.
Ignoring oxidation leads to the dreaded "orange patch" effect on deep skin tones. Warm-toned concealers can turn brassy when exposed to oxygen. Cooler-toned alternatives often maintain integrity better in these cases.
Understanding this variable protects your budget from bad purchases.
Pro tip: Apply a small dot on your jawline. Wait. Watch the change happen in real-time.
This patience pays off with a flawless finish later. Never rush the settling period during testing.
Testing Like a Pro: Lighting, Placement, and Timing
Store lighting lies. Fluorescent bulbs emit a harsh, blue-heavy spectrum that distorts color perception. What looks perfect under aisle lights often appears grey or yellow outside.
You must verify matches in diverse environments.
Start by testing on your cheekbone or jawline, not your hand. Hand skin differs significantly in thickness and vascularity from facial skin. Blotting paper tests are also unreliable because they lack biological context.
Real skin interaction is essential.
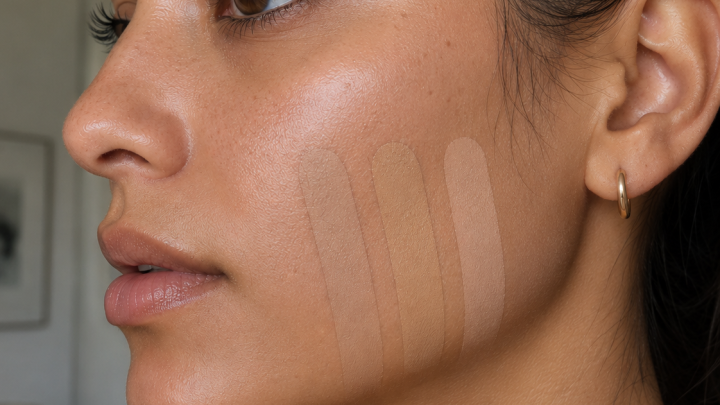
Use natural daylight whenever possible. Stand near a window or step outside briefly. Compare the swatch against your bare skin nearby.
Does it disappear? Or does it stand out as a distinct stripe? Disappearance indicates a good match.
Timing is crucial. Assess the color immediately upon application, then again after ten minutes. Note any shifting.
If the shade stabilizes close to your skin tone, it’s a winner. If it drifts away, discard it.
Bring a mirror if shopping in-store. Many counters provide poor lighting angles. Self-inspection allows you to control the view.
Additionally, check how the concealer looks next to your existing foundation. Harmony between products matters more than perfection in isolation.
Remember that makeup sets differently on various skin types. Oily skin breaks down pigments faster, potentially causing more oxidation. Dry skin absorbs moisture, possibly lightening the appearance.
Adjust your expectations based on your unique dermal behavior.
Common Shade-Choosing Mistakes That Ruin the Look
Most errors stem from rushing the decision or ignoring environmental factors. One frequent blunder is judging a swatch while it’s still wet. The pigment hasn’t settled into your skin’s natural oils yet, so the color appears lighter than reality.
Another trap is relying solely on store lighting. Those harsh fluorescents wash out warm tones and exaggerate cool ones. You might leave the shop feeling confident, only to discover an orange cast under sunlight later.
Always verify matches in multiple light sources before purchasing.
People also often forget that neck and chest tones differ from facial skin. If you tan easily, your face might be lighter than your body. Matching concealer strictly to your foundation ignores this gradient.
This creates a visible line where makeup meets bare skin.
Finally, many assume one shade works for every season. Your skin changes with temperature and sun exposure. A winter match will look too pale in July.
Adjusting your palette quarterly prevents obvious mismatches during peak summer months.
| Mistake | Why It Happens | Quick Fix |
|---|---|---|
| Judging wet swatches | Pigment looks lighter before drying | Wait 5 minutes for oxidation |
| Store lighting bias | Fluorescents distort true color | Check in natural daylight |
| Ignoring neck tone | Face and body tan differently | Match to jawline/chest blend |
| Static seasonal choice | Skin tone shifts with UV exposure | Rotate shades twice yearly |
Avoiding these pitfalls saves time and money. Slow down the process. Test properly.
Respect how your skin behaves in different conditions. This discipline separates good results from great ones.
Quick Reference: Matching Shades to Specific Concerns
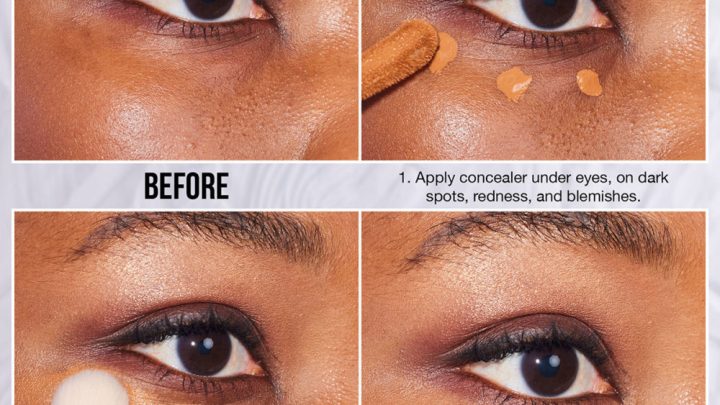
Different discolorations require distinct approaches. Blue-toned dark circles need warmth to neutralize the coolness. Peach or salmon correctors work best here.
Apply them thinly before your main concealer.
Redness from acne or rosacea demands green-based products. Green sits opposite red on the color wheel, canceling it out effectively. Use sparingly, though.
Too much green can make skin look muddy or grey if not blended well.
Brown hyperpigmentation usually responds to standard beige concealers. However, deeper brown spots may need a slightly warmer undertone. Avoid pink-based shades here, as they can emphasize darkness rather than hide it.
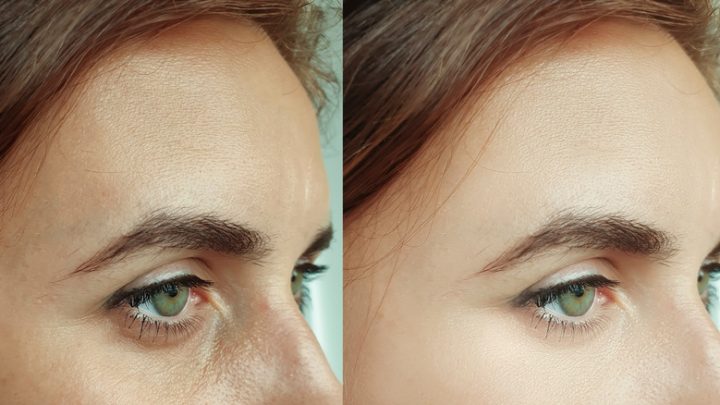
For general brightening, stick to shades one level lighter than your foundation. Ensure the undertone matches your skin exactly. Mismatched undertones create a chalky appearance.
Precision matters more than intensity for a natural glow.
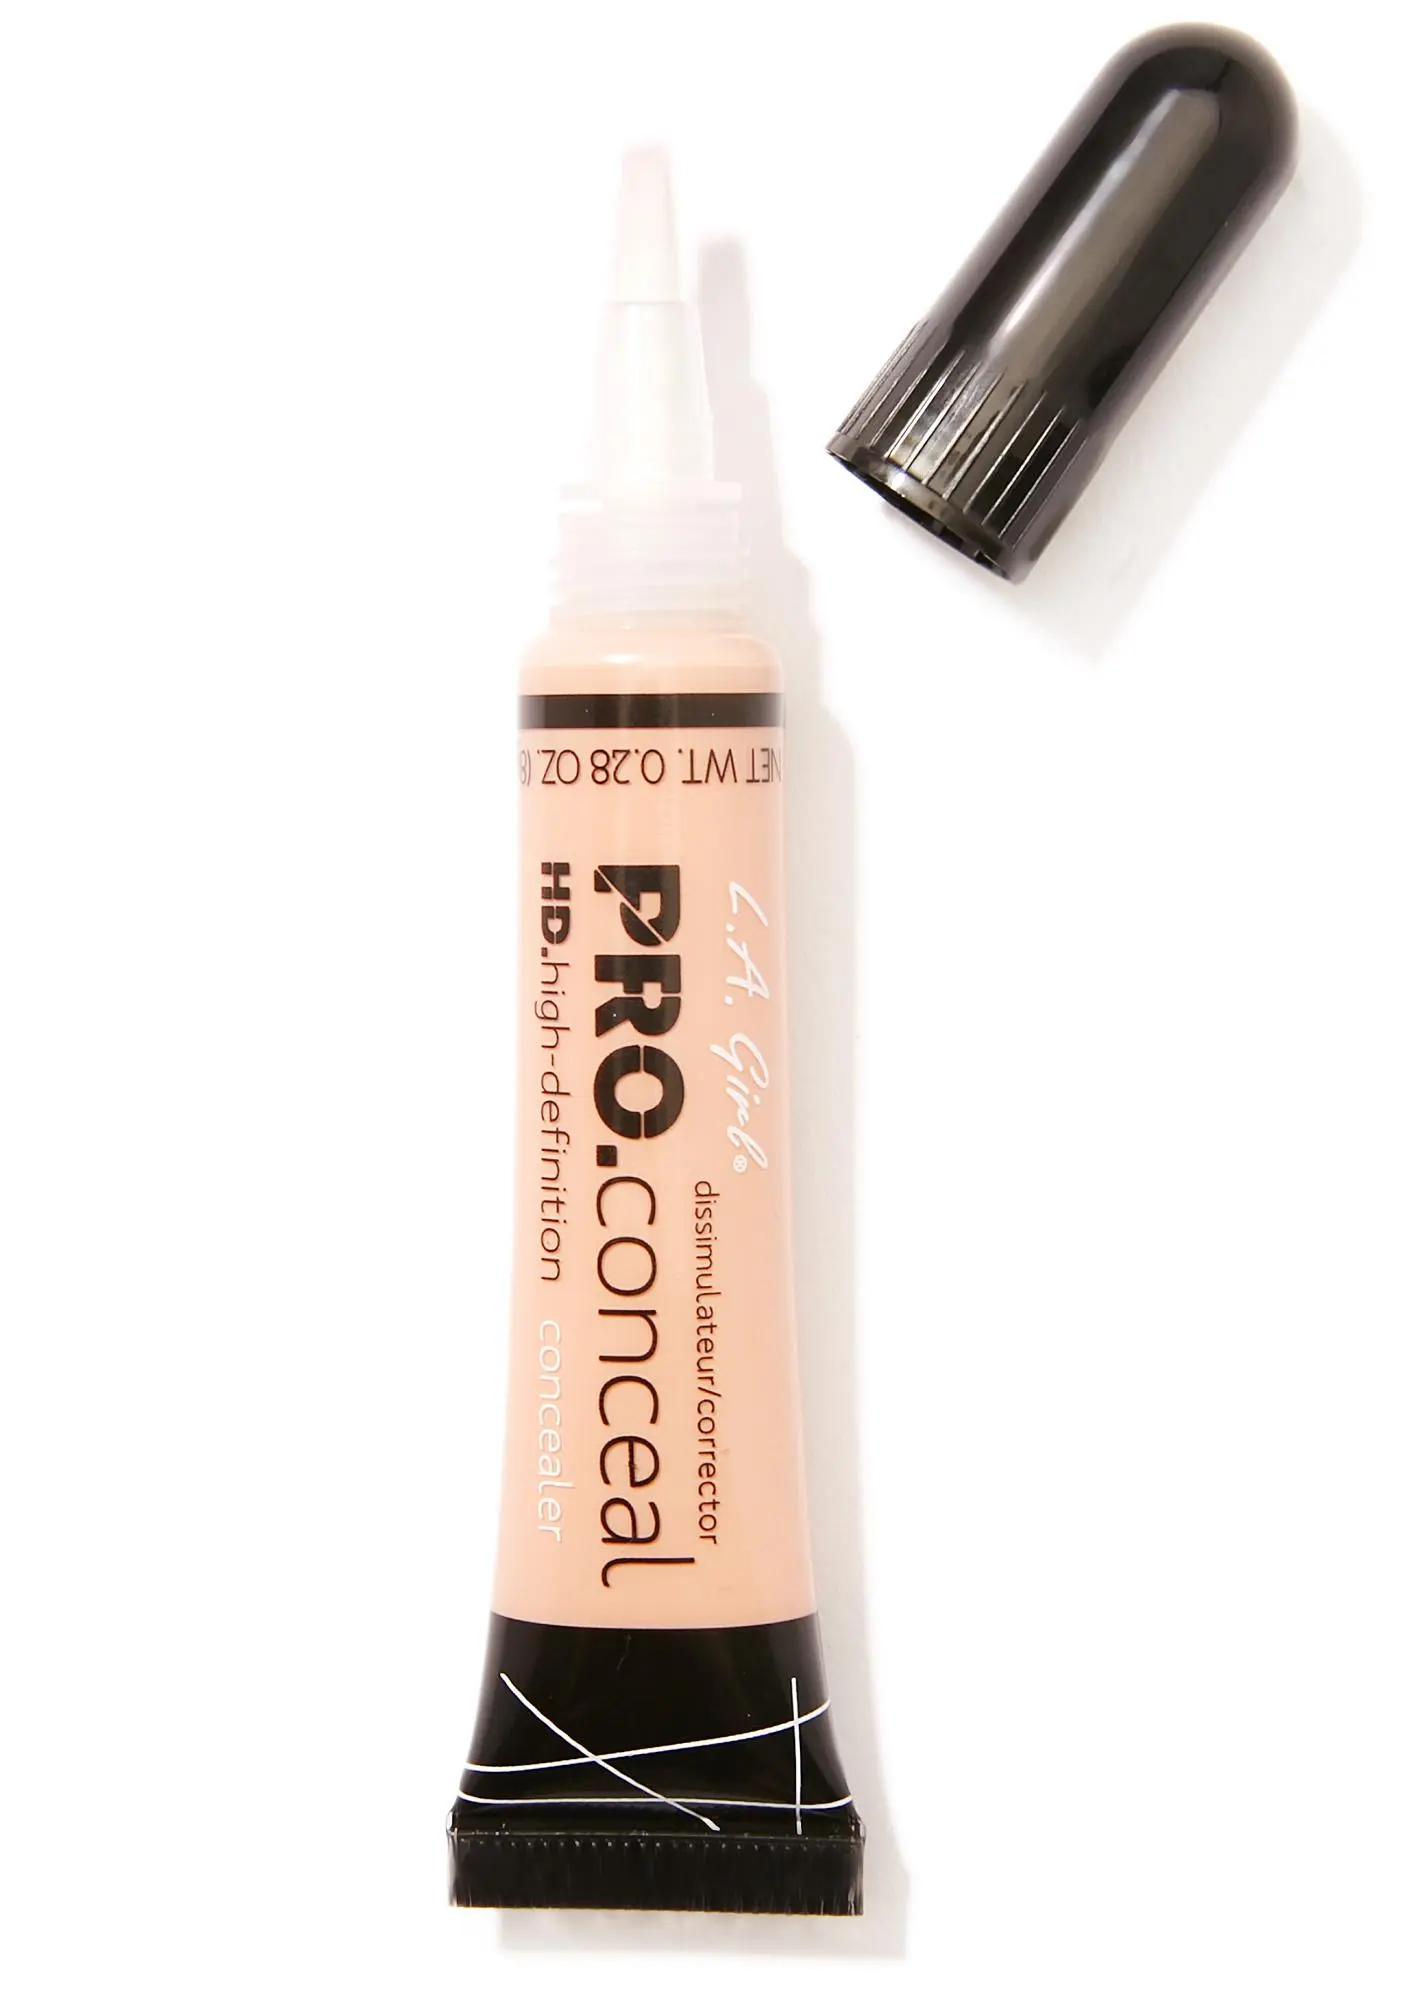
Image source: Web (Bing) / suvivaarla.com (Web image (fair-use with source credit))
Remember that layering affects final opacity. Start with thin coats. Build coverage gradually.
Heavy application highlights texture and wrinkles. Less product often yields better camouflage when matched correctly to the specific hue issue.
FAQs on Concealer Selection
Can I use my foundation shade for concealer?
Sometimes yes, but rarely optimal. Foundation covers large areas evenly. Concealer targets specific flaws.
If your goal is brightening, go lighter. For spot covering, match exactly. Using the same tube for both often leads to flat or mismatched results depending on the area treated.
How do I know if a concealer oxidizes?
Apply a small dot on your hand or jawline. Wait five to ten minutes. Observe any color shift.
If it turns darker or brassy, it oxidizes. Choose a shade initially lighter to compensate. Manufacturer specs sometimes note "non-oxidizing" formulas, but real-world testing remains the most reliable indicator of stability over time.
What if I have olive undertones?
Olive skin combines yellow and blue hues. Standard warm or cool labels often fail here. Look for shades described as "neutral-warm" or specifically formulated for olive complexions.
Test against your jawline in natural light. If the concealer looks too pink or too yellow, it clashes. Olive requires careful balancing to avoid looking sallow or ruddy.
Should concealer be matte or dewy?
It depends on the area. Under-eyes benefit from hydrating, satin finishes to prevent creasing. Oily T-zones need matte formulas to control shine.
Blemishes can handle either, provided they stay put. Avoid heavy mattes on dry patches. They accentuate flakes.
Dewy finishes reflect light, hiding texture better on mature skin types overall.

Similar Posts