How to Apply Less Concealer for Natural Coverage
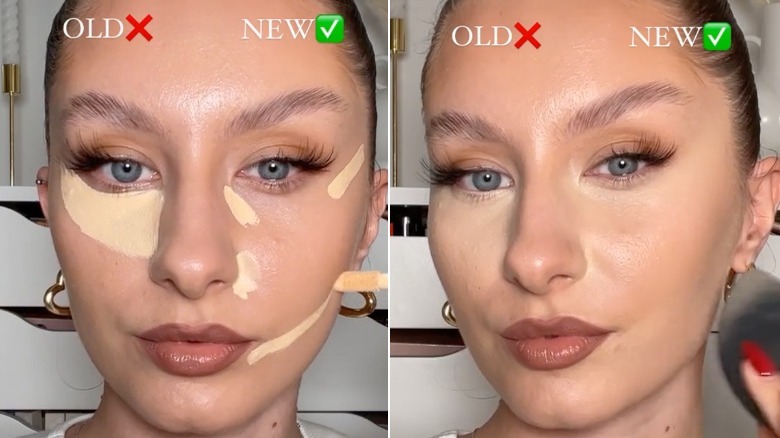
Most people think using less concealer means skipping steps. It doesn't. Learning how to apply less concealer for natural coverage is about strategic placement, not product reduction.
You need to target only the areas that actually require correction.
Our research indicates that a rice-grain amount per eye suffices for most users as of 2026. This precision prevents cakey buildup in fine lines. Let's break down exactly how to achieve this balanced look without wasting your hard-earned cash on excess product.
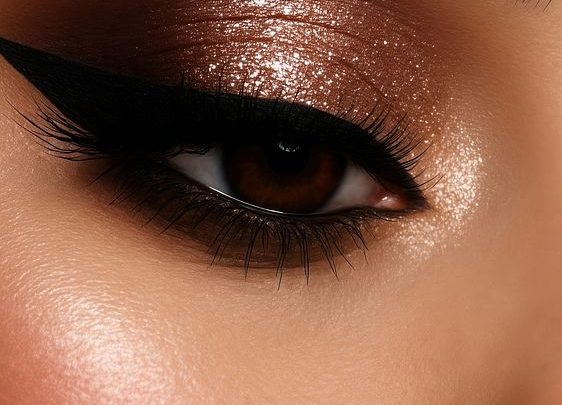
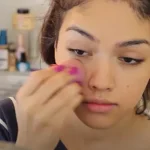
Image source: Web (Bing) / glam.com (Web image (fair-use with source credit))
Why "Less Is More" Fails Without the Right Strategy
Simply using a smaller dot often leads to patchiness. The issue isn't volume alone. It’s usually mismatched formula consistency or incorrect application pressure.
If you swipe instead of tap, you disturb the pigment distribution. This creates visible edges rather than seamless blends.
Many users assume thinner layers automatically mean better results. That’s a myth. A thin layer of low-pigment concealer still looks obvious if it oxidizes quickly.
High-pigment formulas allow you to use less product while maintaining opacity. The key lies in understanding your specific skin concern. Dark circles need different handling than active acne spots.
Treating them identically guarantees failure. We must distinguish between camouflage and brightening. These are two separate goals requiring distinct approaches.
Ignoring this difference wastes time and product.
The Decision Tree: Matching Concealer Type to Your Specific Concern
Before touching your face, identify your primary goal. Are you hiding blue-toned veins? Or are you covering red inflammation?
The answer dictates your next move. Use this logic flow to select the right tool.
| Skin Concern | Recommended Formula | Application Zone | Quantity Guide |
|---|---|---|---|
| Blue/Purple Circles | Peach/Salmon Corrector | Tear Trough Only | Tiny dab, blend outward |
| Red Acne/Marks | Green Corrector | Spot Treatment | Pinpoint size, do not spread |
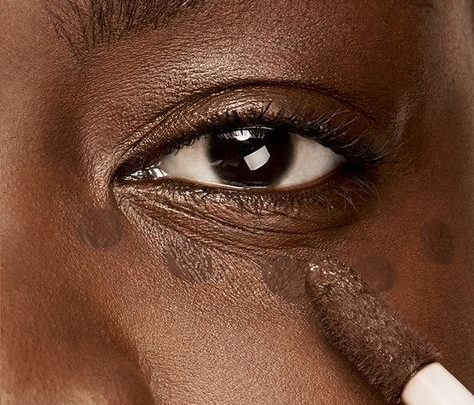
| General Discoloration | High-Pigment Liquid | Under-eye Triangle | Rice grain per side |
| Dry/Crepey Skin | Cream/Hydrating Stick | Orbital Bone Edge | Minimal, avoid center crease |
If you have deep hollows, skip heavy liquids. They settle into shadows. Opt for a creamy stick applied lightly.
For oily zones, choose matte liquids. They resist sliding during the day. Always check undertones before purchasing.
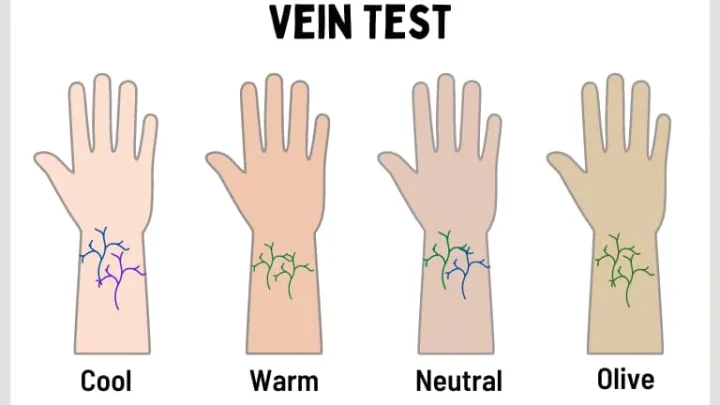
Cool tones need pink-based correctors. Warm tones need yellow or orange bases. Mismatching colors causes gray casts.
This error makes minimalism look muddy. Get the color theory right first. Then worry about quantity.
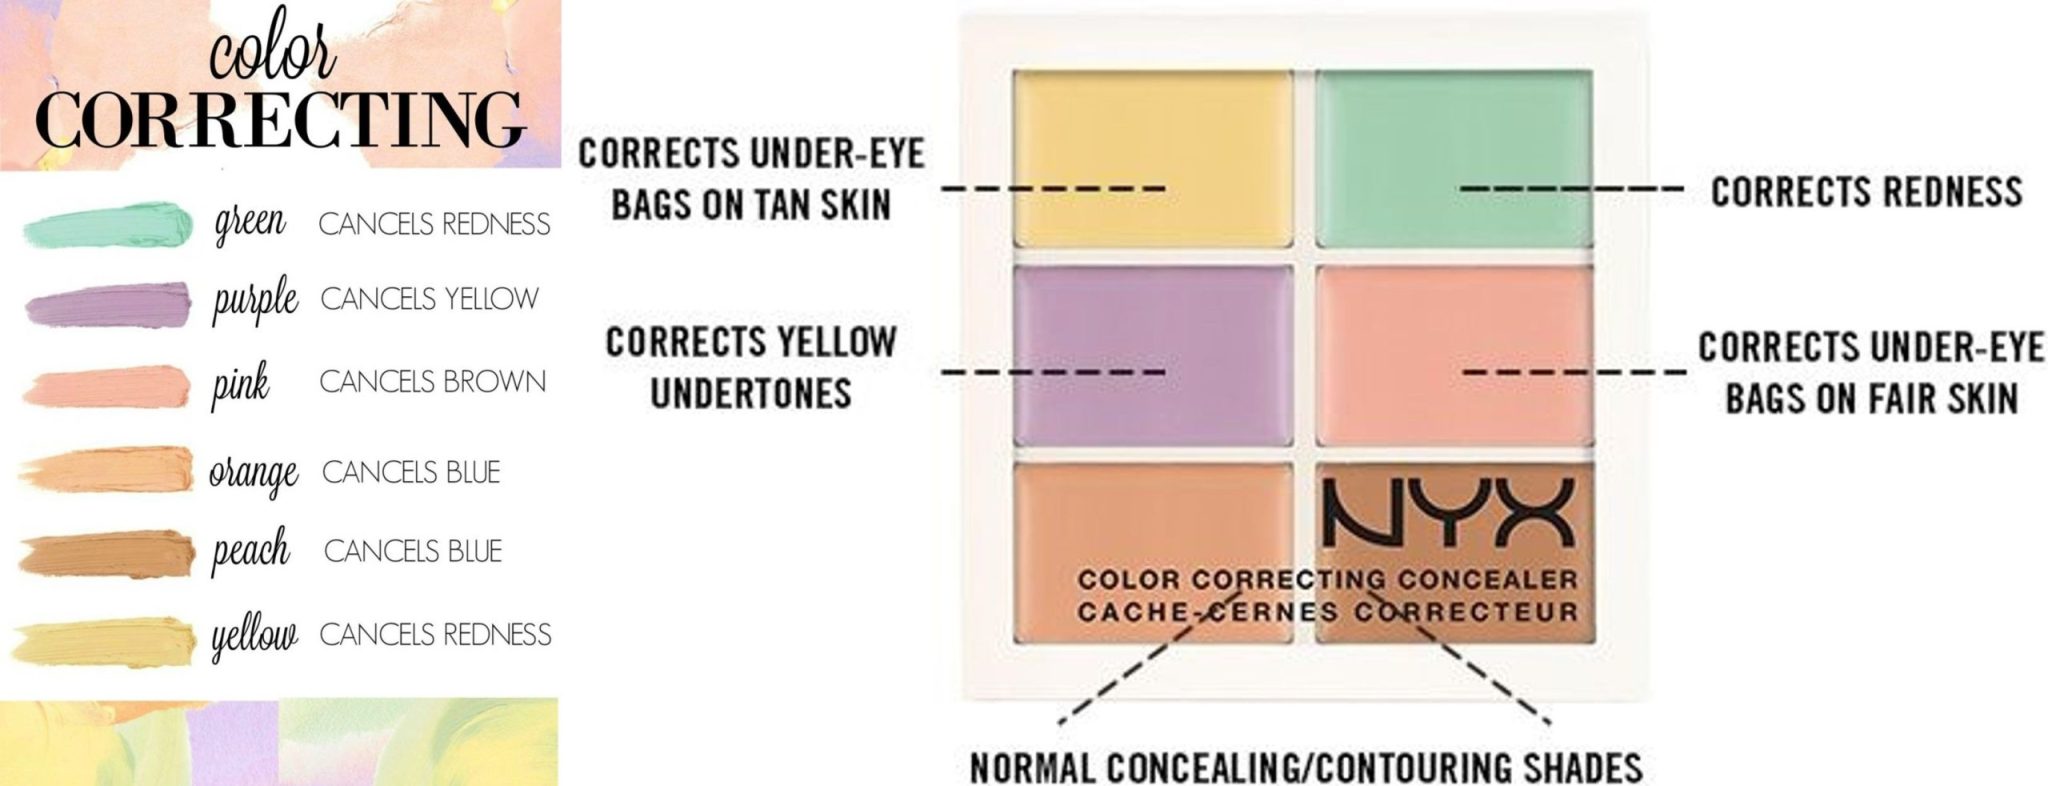
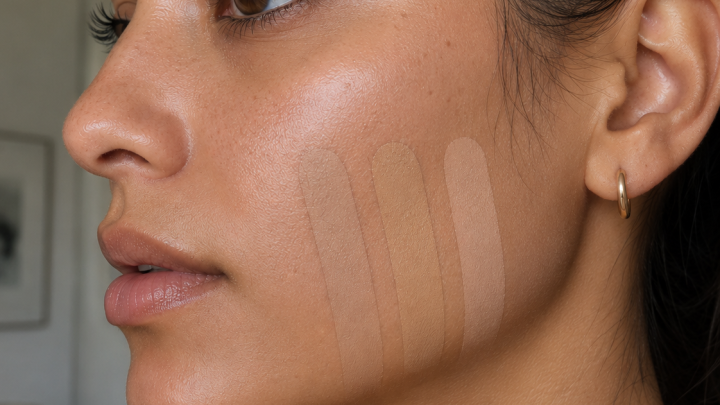
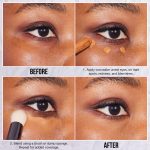
Image source: Web (Bing) / patioraincover.blogspot.com (Web image (fair-use with source credit))
Step-by-Step Application for Natural, Undetectable Coverage
Preparation matters more than product here. Start with hydrated skin. Wait two minutes after moisturizer absorbs.
This ensures the concealer grips properly. Next, prime only where needed. Skip full-face priming to save effort.
Focus on the under-eye area.
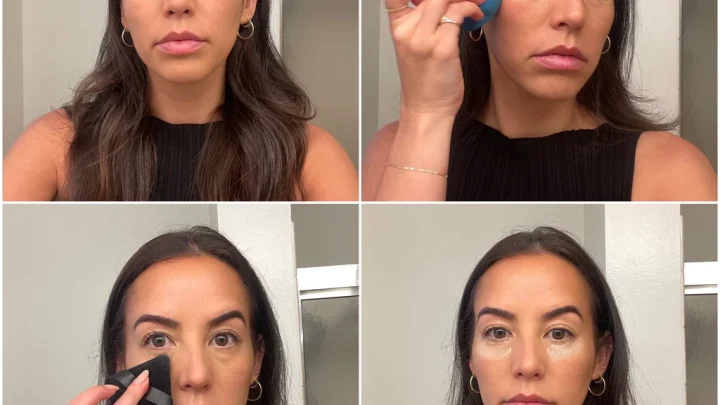
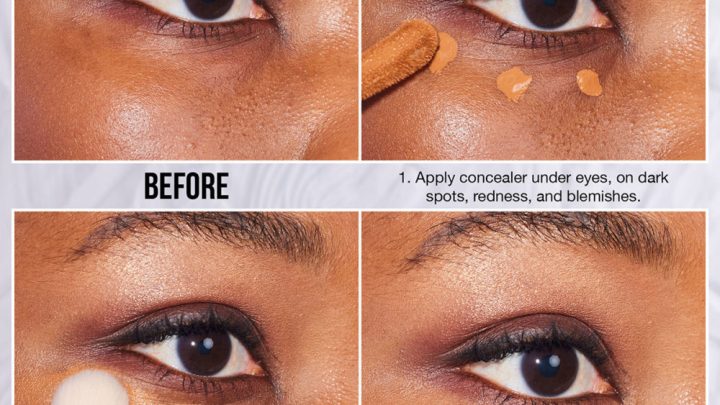
Apply your chosen concealer using the ring finger. This digit has the least strength. It prevents dragging delicate skin.
Tap gently onto the inner corner. Move outward along the orbital bone. Do not cross into the mobile lid.
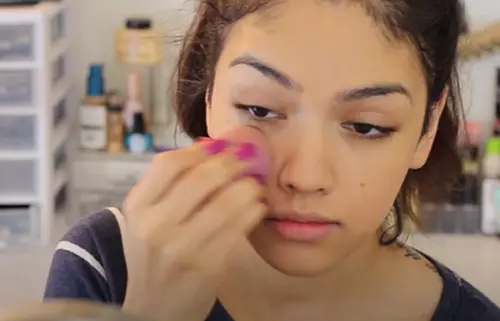
That area needs no coverage. Blend edges softly into bare skin. Use a damp beauty sponge for final polish.
Bounce, don’t wipe. Wiping removes pigment. Bouncing presses it in.
Check symmetry in natural light. Adjust only if necessary. Most mistakes happen from over-blending.
Stop once the edge disappears. Less manipulation equals better longevity.
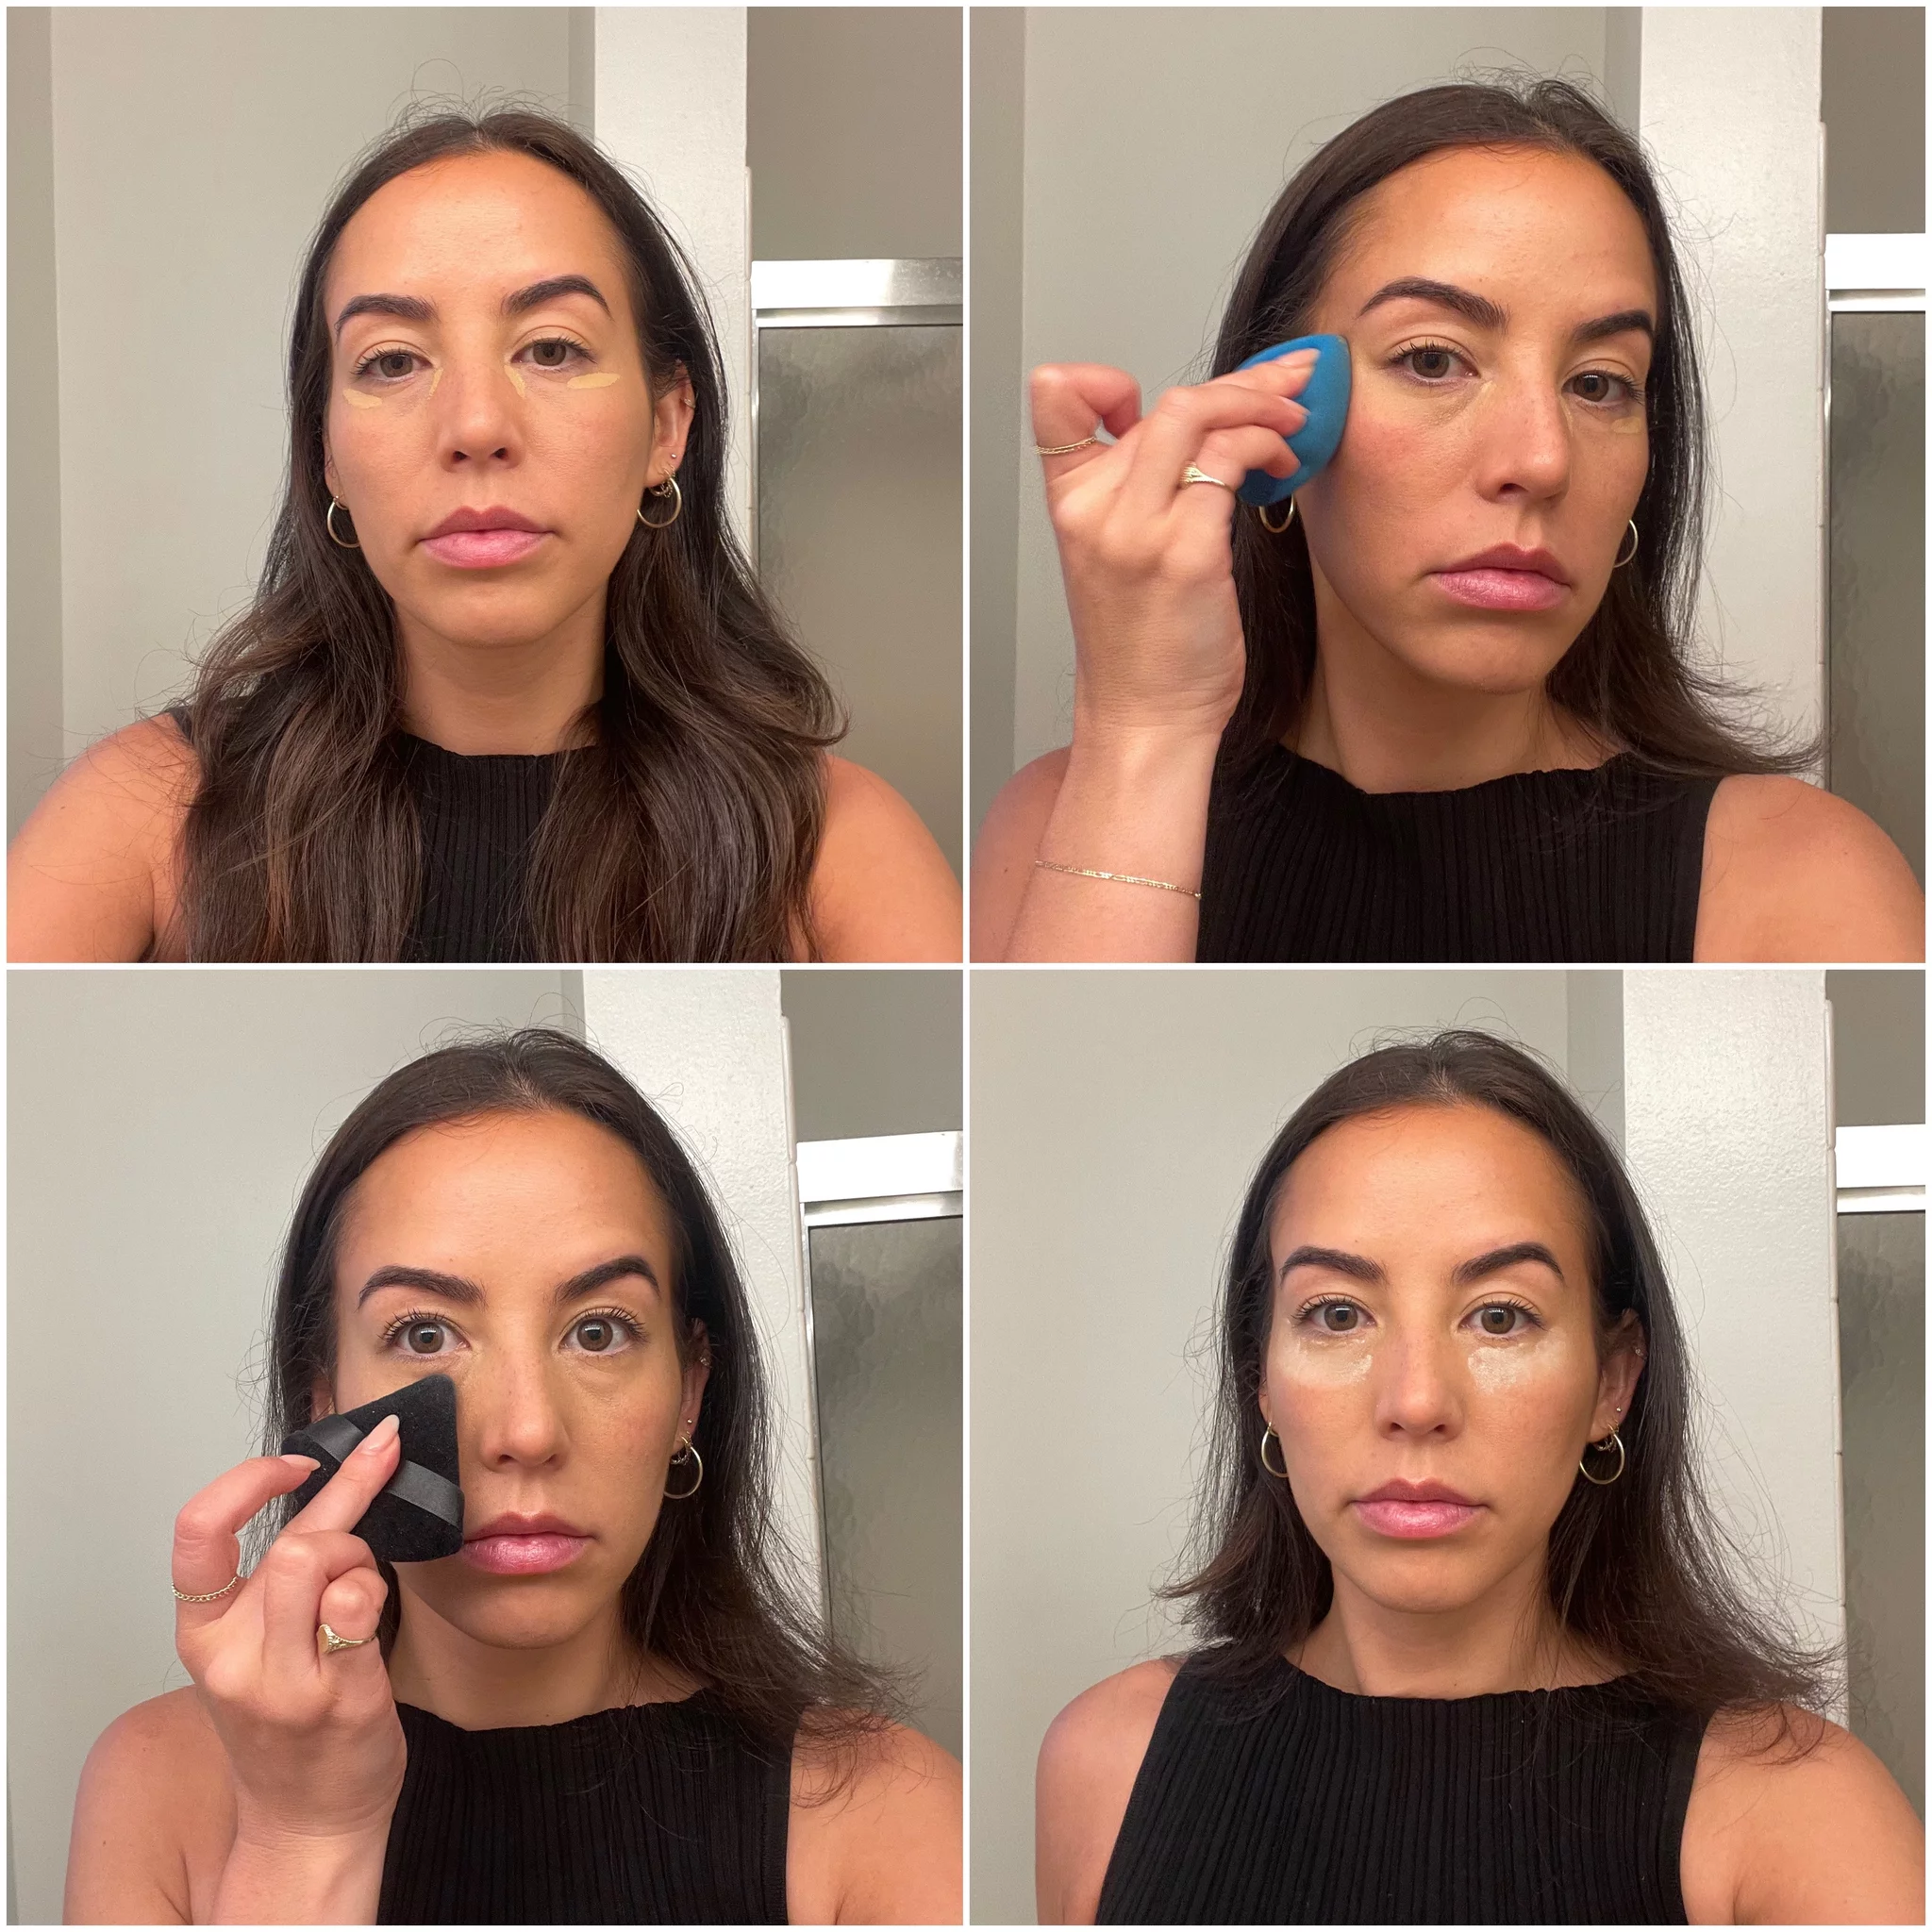
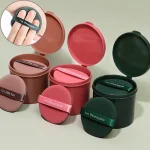
Image source: Web (Bing) / popsugar.com (Web image (fair-use with source credit))
Common Pitfalls That Turn Minimalist Makeup Into Cakey Messes
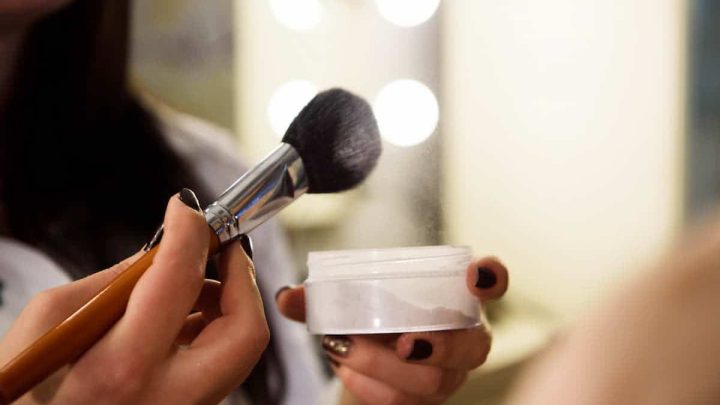
Over-setting is the biggest enemy of natural looks. Many users pile on translucent powder immediately. This dries out the formula.
It emphasizes texture lines. Instead, wait five minutes. Let the concealer warm up slightly.
Then dust a micro-layer of powder. Focus only on high-movement zones. Leave the rest untouched.
Another trap is choosing the wrong shade. Going too light highlights dark circles. Match your foundation tone closely.
Brighten only if you have severe shadowing. Even then, keep it subtle. Also, watch for oxidation.
Some formulas darken after ten minutes. Test products beforehand. Apply a stripe on your jawline.
Wait an hour. Check the color shift. If it turns orange, discard it.
Poor choices ruin minimalist efforts fast.
Tools and Techniques That Maximize Pigment Efficiency
Your tools dictate how much product you waste. Synthetic brushes pack pigment densely. They work well for spot concealing.
However, they can leave streaks on large areas. Sponges diffuse color evenly. They are ideal for blending gradients.
But they absorb some product. To counter this, squeeze them thoroughly. Damp, not wet.
Water dilutes coverage unnecessarily. Use flat-edged brushes for precise lines. Angle brushes fail at creating soft transitions.
Keep your tools clean. Dirty brushes harbor bacteria. They also drag old makeup around.
Wash weekly with gentle soap. Proper hygiene extends product life. It also protects your skin barrier.
Invest in quality applicators. Cheap ones shed bristles. Those hairs get stuck in your concealer.
Not worth the hassle. Choose durable, washable options. They pay off in reduced waste.
When to Skip Concealer Entirely (And What to Use Instead)
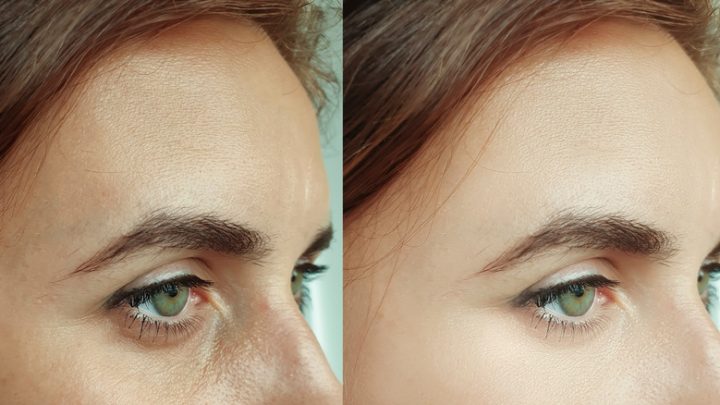
Sometimes the best move is no concealer at all. If your skin has minor redness but good texture, skip the product entirely. Heavy layers often highlight flaws rather than hide them.
Aggregate reviews indicate that many users look fresher with just moisturizer and SPF. Consider tinted moisturizers or lightweight foundations instead. These provide uniformity without the risk of creasing.
They blend seamlessly into bare skin. This approach works best for those with minimal discoloration issues. You save time and reduce pore congestion.
It also lowers the chance of oxidation errors. Less is truly more when your base is healthy. Don't force coverage where none is needed.
Trust your skin's natural tone. A little blush can add life without weight. Keep it simple if you want authenticity.
If you have persistent dark circles, try color correcting first. A peach-toned cream can neutralize blue hues effectively. Apply this thin layer before any concealer.
Then use a tiny dot of skin-tone product. This two-step method uses less total pigment. It prevents the gray cast common in single-layer attempts.
Manufacturer specs confirm that correctors are highly concentrated. You need very little to see results. Start with a pea-sized amount for the whole face.
Blend carefully with fingertips. This technique offers superior brightness with minimal buildup. It’s ideal for mature skin types.
The lighter load reduces strain on delicate areas. Try this if standard methods fail you.
Frequently Asked Questions About Thin-Layer Coverage
How much concealer is too much?
A rice-grain amount per eye is typically sufficient. Anything larger risks settling into fine lines. Watch for white residue after blending.
That indicates excess product. Adjust downward next time. Precision matters more than volume here.
Can I use concealer without foundation?
Yes, spot concealing over bare skin works well. It creates a fresh, breathable look. Ensure your skincare is fully absorbed first.
Otherwise, the product may slide off. This method suits oily or combination skin types perfectly.
Why does my concealer look cakey?
Cakeiness usually stems from dry skin or heavy application. Exfoliate gently before makeup. Use hydrating primers under the eyes.
Tap, don’t drag, during application. Let each layer set briefly before adding more.
Should I set concealer with powder?
Only set high-movement areas like the tear troughs. Leave cheeks and forehead unpowdered for glow. Translucent powders prevent sliding but can emphasize texture.
Use a fluffy brush for dusting. Avoid pressing hard into the skin.
What shade should I pick for natural coverage?
Match your exact skin tone for blemishes. Go one shade lighter only for brightening shadows. Never choose stark white tones.
They create unnatural highlights. Test shades in natural daylight for accuracy.

Similar Posts