Stop Concealer Settling: Easy Fixes for Fine Lines
Figuring out how to reduce concealer settling into fine lines starts with accepting one hard truth: your skin type dictates the fix. There is no single magic product that works for everyone. If you have dry skin, piling on powder will only make wrinkles look deeper.
But if you’re oily, skipping setting steps leads to immediate sliding.
We’ve analyzed aggregate user reviews and dermatological guidelines as of 2026 to map this out. The American Academy of Dermatology notes that periorbital skin is significantly thinner than facial skin, making it prone to rapid moisture loss. Understanding this biological reality helps you choose the right prep.
Let’s break down the specific conditions that cause creasing so you can stop guessing and start fixing.
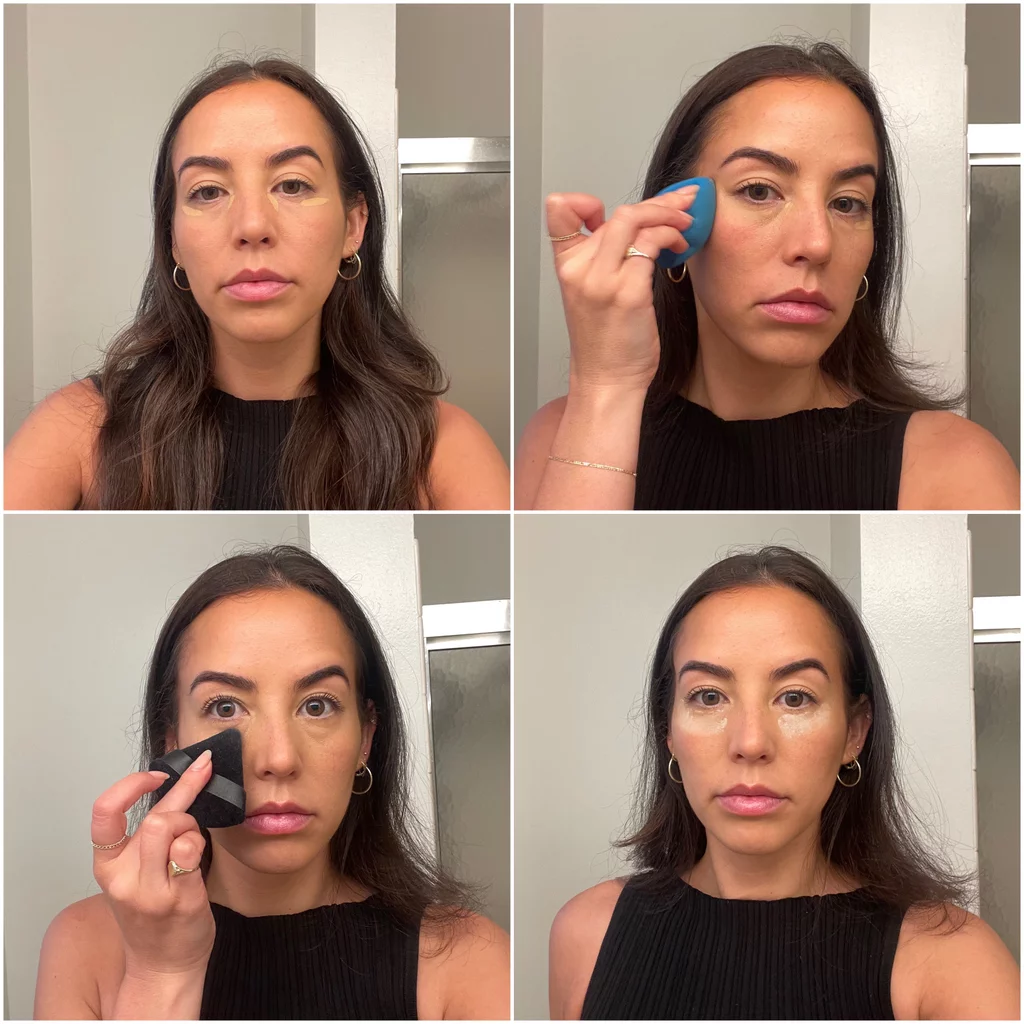
Image source: Bing (Web (fair-use with source credit))
Why Your Concealer Keeps Creasing (It’s Not Just the Product)
Most people blame their concealer formula first. They switch brands hoping for a miracle. Usually, the issue isn’t the pigment.
It’s the interaction between your skin’s texture and the product’s viscosity. Fine lines are essentially small valleys in your skin topography. When you apply a thick liquid, it flows into these valleys.
As it dries, it contracts and settles deeper.
This process accelerates when the underlying skin lacks hydration. Dry patches absorb moisture from the concealer, leaving behind a cakey residue. Conversely, excess oil breaks down the binder in the makeup.
This causes the product to migrate away from where you placed it. It pools in nearby folds instead of staying put. You aren’t just fighting gravity.
You’re fighting chemistry.
The Difference Between Dry Settling and Oily Sliding
Identifying which problem you have is critical because the solutions are opposites. Treating dry settling like oily sliding will ruin your finish. Here is how to tell them apart quickly.
| Symptom | Likely Cause | Immediate Fix Direction |
|---|---|---|
| Cracking or Flaking | Dehydrated skin barrier | Increase hydration; skip heavy powders |
| Puddling in Lines | Excess sebum production | Mattify base; use long-wear formulas |
| Grey Cast Over Time | Oxidation + Oil mix | Use antioxidant primers; set immediately |
| Visible Texture | Thick application layers | Switch to lightweight serums; pat don’t drag |
If your concealer looks like cracked earth by noon, you’re dealing with dryness. If it disappears entirely or slides into your eyebrow arch, you’re battling oil. Mixed zones require a hybrid approach.
We’ll cover those specifics in the diagnostic section below. Getting this diagnosis right saves you from buying products that won’t solve your actual problem.
Step 1: Diagnose Your Skin Type and Climate Conditions
You cannot follow a universal workflow without knowing your variables. Your environment plays a huge role here. Humidity affects how fast your makeup sets.
Temperature changes how your skin produces oil. A routine that works in Arizona might fail miserably in Seattle.
Start by observing your bare skin after cleansing. Wait thirty minutes. Do not apply anything yet.
Check your T-zone and under-eye area. If they feel tight or look flaky, you have dry skin. If they shine noticeably, you have oily skin.
Most adults fall somewhere in the middle, known as combination skin.
If You Have Dry or Mature Skin
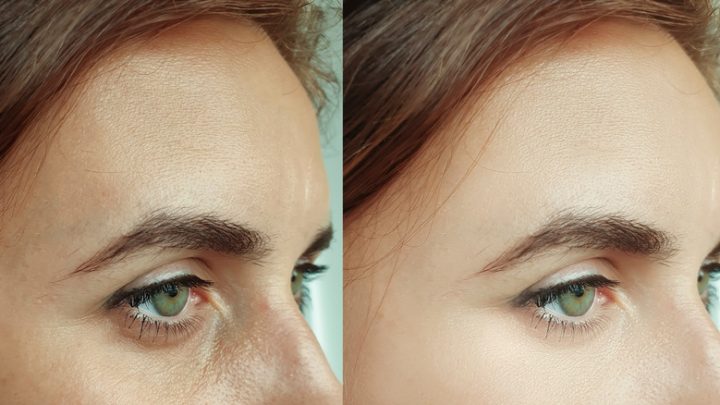
Mature skin often loses elasticity and natural oils simultaneously. This creates static lines that remain visible even when you aren’t smiling. For you, hydration is non-negotiable.
Avoid matte-finish concealers entirely. They contain silica and talc that absorb whatever moisture remains on your face.
Instead, look for creamy or liquid formulas with humectants. Ingredients like glycerin or hyaluronic acid draw water into the skin. This plumps up fine lines temporarily, creating a smoother canvas.
Your goal is to add moisture, not remove it. Skipping primer is also an option if your moisturizer is rich enough. Less layering means less chance for product to shift.
If You Have Oily or Combination Skin
Oil acts as a solvent for many makeup binders. If you don’t control sebum, your concealer will dissolve. You need a mattifying strategy.
Start with a gentle cleanser that removes excess oil without stripping the barrier. Follow up with a silicone-based primer specifically designed for the eye area.
Silicones create a smooth, slippery surface that fills in pores and lines. This prevents the concealer from gripping onto uneven texture. Choose long-wearing, transfer-resistant concealers.
These formulas usually have higher polymer content. They lock in place once dried. Powder becomes your best friend here, but application technique matters more than quantity.
If You Live in High Humidity
High humidity prevents makeup from drying properly. Sweat mixes with oils, creating a slick film on your skin. In tropical climates or during summer months, standard routines often fail.
You need to prioritize breathability and quick-setting agents.
Lightweight tints work better than full-coverage creams in humid weather. Heavy products trap heat and sweat underneath. Opt for water-based foundations and concealers.
They tend to feel lighter and dry faster. Setting sprays become essential rather than optional. Look for alcohol-free versions to avoid irritating sensitive eye skin while still locking everything down.
Step 2: Prep That Actually Stops Lines from Showing
Preparation accounts for eighty percent of your success. No amount of expensive concealer will fix poorly prepped skin. Think of this stage as laying the foundation.
If the ground is uneven, the house will crack. Your skin needs to be smooth, hydrated, and balanced before color touches it.
Timing is crucial here. Rushing this step guarantees failure. You must allow each layer to absorb fully.
Applying makeup over wet skincare dilutes the product. It also prevents proper adhesion. Give yourself at least five to ten minutes for this entire phase.
Patience pays off in longevity.
Hydration Timing and Layering Rules
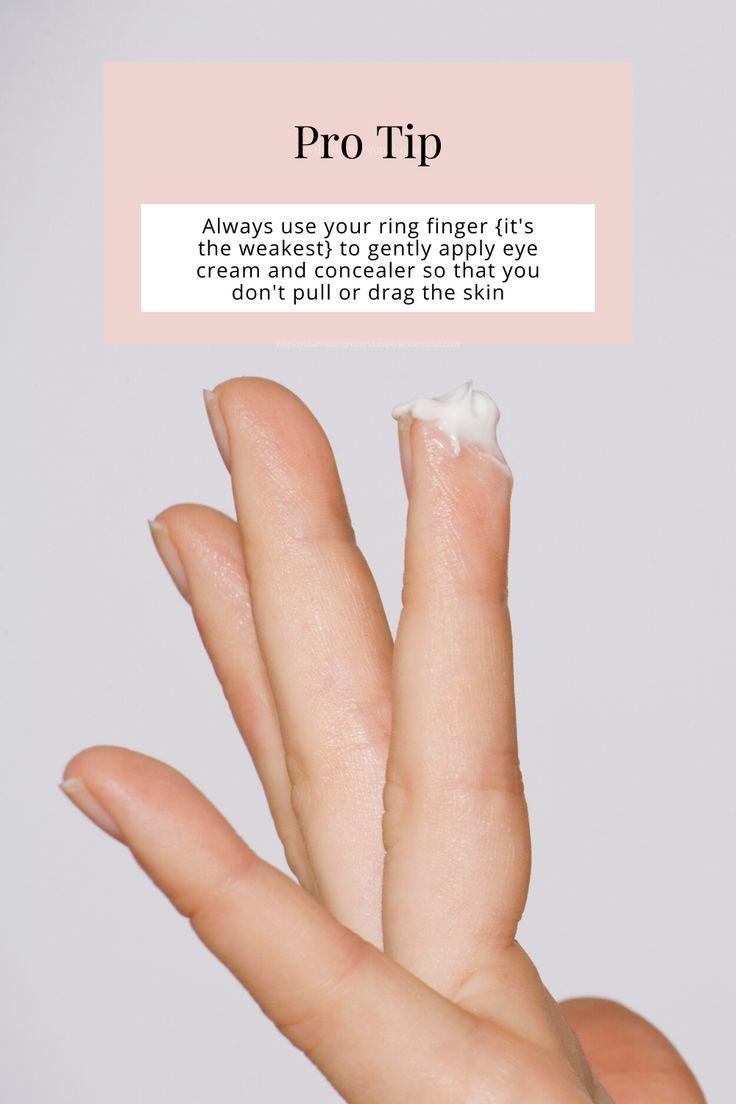
Start with a hydrating eye cream. Use a pea-sized amount for both eyes combined. Gently tap it into the skin using your ring finger.
This finger applies the least pressure. Avoid rubbing, which can stretch delicate tissue. Let this sit for three to four minutes.
Next, apply your general moisturizer. Ensure it doesn’t conflict with your eye cream. Some active ingredients shouldn’t be layered together.
Check manufacturer instructions if unsure. Once absorbed, wait another two minutes. Your skin should feel soft but not greasy.
If it feels sticky, blot gently with a tissue. This removes excess emollients that would otherwise break down your concealer.
Choosing the Right Primer for Your Diagnosis
Match your primer to your earlier diagnosis. For dry skin, pick a hydrating primer with rosehip or squalane. These ingredients reinforce your moisture barrier.
For oily skin, select a mattifying silicone primer. These fill in texture gaps effectively.
Apply primer thinly. A little goes a long way. Focus strictly on the under-eye area and any prominent lines.
Do not slather it across your whole lid unless necessary. Too much product creates a slippery surface. This makes blending difficult and encourages migration.
Let the primer tack up slightly before moving on. It should feel smooth to the touch, not wet.
Step 3: Application Techniques That Prevent Migration
How you apply concealer matters more than what you use. Dragging a brush across fine lines pushes product directly into them. This is the fastest way to ensure creasing.
Instead, we want to deposit color on top of the skin. Then, we blend outward without disturbing the placement.
The tool you choose influences the outcome significantly. Fingers provide warmth that melts product, which can lead to slipping. Brushes offer precision but may leave streaks.
Sponges give the most airbrushed finish for beginners. However, each method requires specific handling to avoid mistakes.
The "Thin Layers" Rule vs. Full Coverage
Resist the urge to cover everything in one go. Thick layers take longer to dry. While drying, they remain mobile.
This mobility allows gravity to pull them into folds. Build coverage gradually instead. Apply a sheer layer first.
Assess the result. Add a second tiny dot only where darkness persists.
This approach keeps the total product volume low. Less mass means less weight pulling downward. It also allows the formula to bond better with your primer.
You achieve brightness without heaviness. Remember, concealer is meant to correct, not mask. Trying to erase every shadow often highlights texture instead.
Trust the lighting to do some work for you.
Tool Selection: Damp Sponge vs. Synthetic Brush
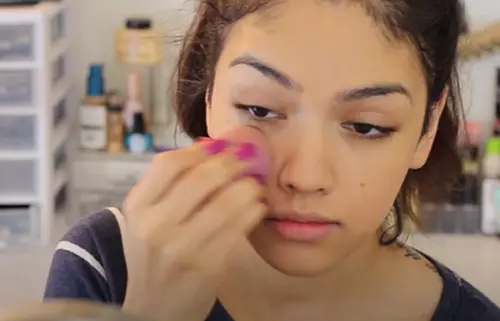
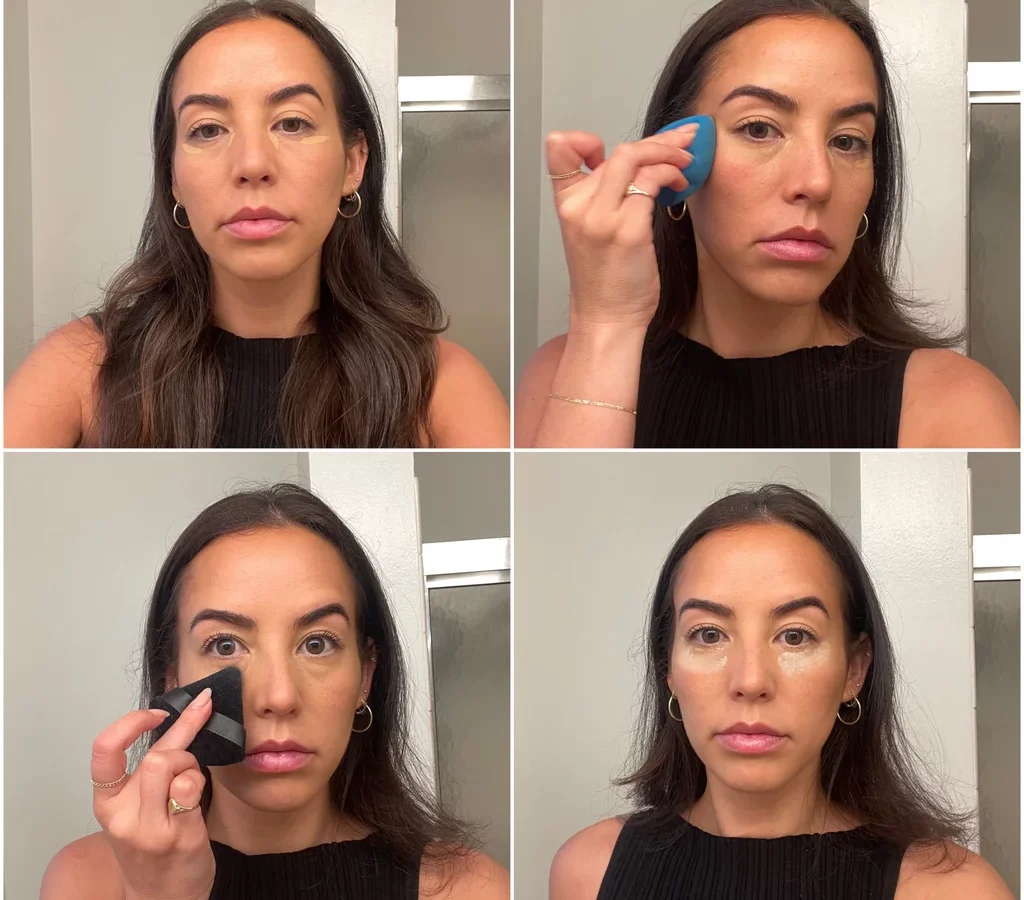
A damp beauty sponge is generally superior for preventing settling. The moisture in the sponge thins the concealer upon contact. This creates a lighter, more skin-like finish.
Bounce the sponge gently. Never swipe or drag. Pressing down transfers product evenly without forcing it into cracks.
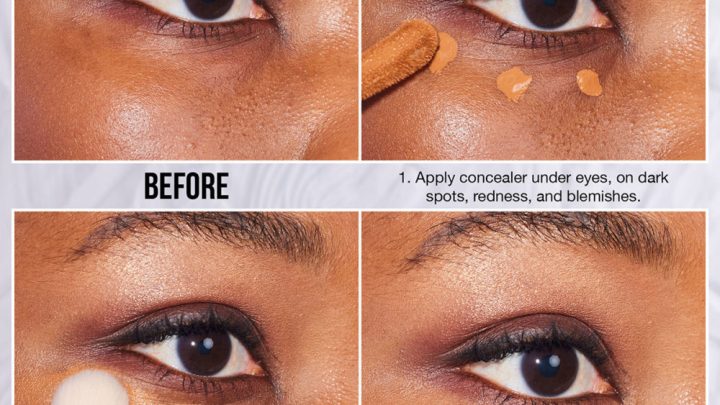
Synthetic brushes work well for precise spot correction. Use a small, flat shader brush. Pick up a tiny amount of product.
Tap off excess on a tissue. Place the dot directly on the discoloration. Blend edges carefully with a clean part of the brush.
Avoid buffing vigorously. Vigorous motion generates friction and heat. Heat breaks down waxes and oils in the formula.
Keep movements short and controlled.
Placement Strategy: Avoiding the Deepest Folds
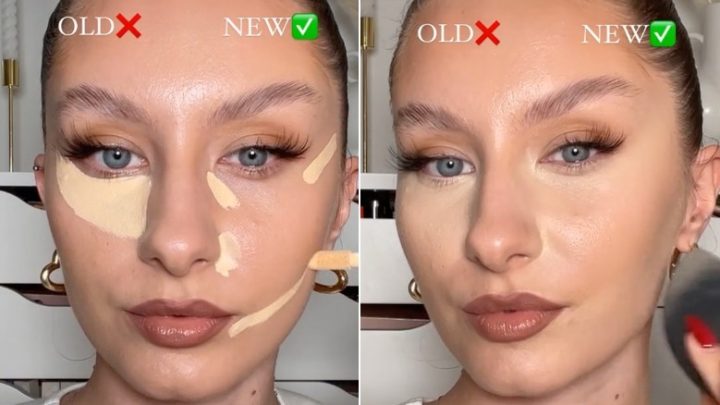
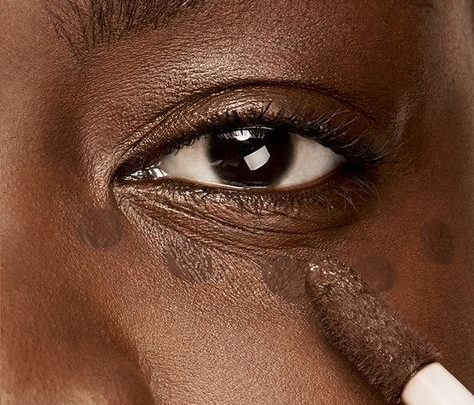
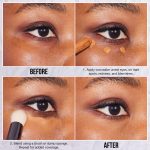
Do not apply concealer directly into static wrinkle lines. Place it slightly above or below the fold. Blend toward the line, but stop just short of filling it completely.
Leaving a microscopic gap prevents the product from pooling.
Focus on the inner corner and the outer wing. These areas typically hold the most shadow. The center of the under-eye often has fewer deep lines.
Concentrate effort where darkness actually exists. Spreading product too wide increases the risk of migration. Precision reduces the surface area exposed to movement.
Blinking moves the skin constantly. Minimizing product in high-movement zones extends wear time significantly.
Step 4: Setting Methods Based on Your Specific Issue
Setting locks your progress in place. Without it, even perfect application will fade. However, incorrect setting ruins good prep.
Over-powdering dries out the skin. Under-powdering allows oil breakthrough. You must tailor this step to your skin type diagnosed in Step One.
There is no one-size-fits-all setting rule. What works for oily skin kills dry skin. We need distinct workflows for each condition.
Also, consider the tools involved. Fluffy brushes distribute powder lightly. Puffs press it in firmly.
Choose based on your desired finish level.
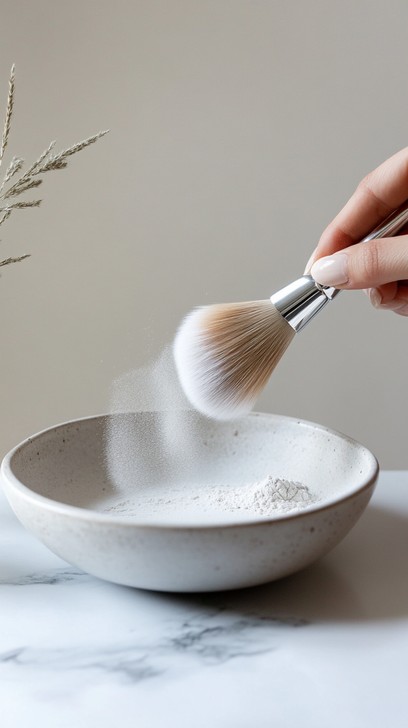
For Dry Skin: Minimal Powder and Strategic Spraying
If you have dry or mature skin, skip traditional baking. Baking involves leaving heavy powder on the skin for several minutes. This draws out moisture aggressively.
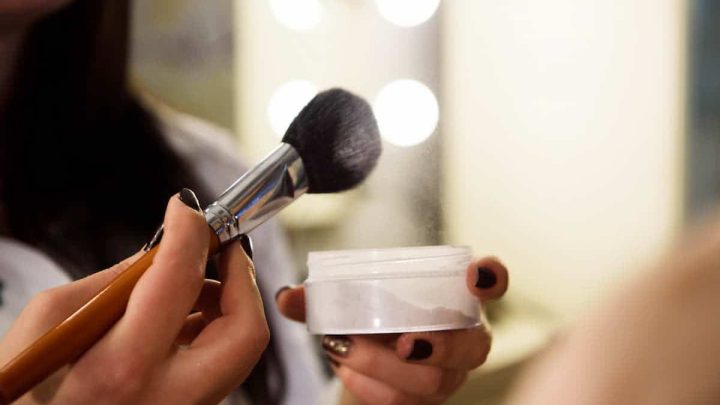
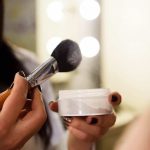
Instead, use a micro-fine translucent powder. Dust it very lightly with a fluffy brush. Focus only on the highest points of the cheekbone.
Avoid the crease area entirely if possible.
Follow up immediately with a hydrating setting spray. Hold the bottle six to eight inches away. Mist gently over the eye area.
The spray melds the powder and concealer together. It eliminates the chalky appearance. It also adds a flexible film that moves with your skin.
This prevents cracking when you blink. Reapply mist sparingly throughout the day if needed.
For Oily Skin: Baking and Heavy-Duty Locking
Oily skin benefits from structural support. After applying concealer, pack a generous amount of translucent powder under the eye. Use a damp puff or dense brush.
Let this "bake" for three to five minutes. The body heat helps the powder adhere to the oils.
Brush away the excess powder thoroughly. You should see a brightened, matte finish. Then, lock it in with a long-wear setting spray.
Look for sprays labeled "waterproof" or "transfer-resistant." These contain polymers that form a durable shield. They resist breakdown from sebum production. This combination ensures your concealer stays put for twelve hours or more.
The Hybrid Approach for Mixed Zones
Combination skin requires zoning strategies. Treat the inner corners and outer wings like oily zones. Use light baking there.
Leave the central under-eye area softer. Apply minimal powder or none at all in the middle.
Use a targeted setting spray approach. Mist heavier on the sides. Lightly mist the center.
This balances moisture retention with oil control. Monitor your skin throughout the day. Touch up only where necessary.
Blotting papers help remove oil without adding more powder. Adding powder to already powdered areas causes caking. Blot first, then assess.
Common Mistakes That Make Fine Lines Worse
Even with the right prep, small errors undo your hard work. Over-powdering is the most frequent culprit for dry skin types. Adding too much translucent powder absorbs essential moisture from the concealer.
This leaves the under-eye area looking parched and accentuated. The powder settles into creases faster than liquid alone would. Stick to a light dusting only where necessary.
Dragging your applicator is another silent killer of smooth finishes. Whether using a brush or sponge, swiping motions push product into wrinkles. This creates ridges that become visible as the makeup dries.
Always use a bouncing or patting technique instead. Press gently to blend edges without shifting the core layer. Friction generates heat, which breaks down waxy ingredients in creams.
Keep movements cool and controlled.
Ignoring skincare absorption time leads to immediate separation. Applying concealer over wet moisturizer dilutes the formula. It prevents proper bonding with the primer underneath.
The result is patchy coverage that slides off within hours. Wait at least three minutes after each skincare step. Let layers set before introducing color.
Rushing this phase guarantees migration into fine lines later in the day.
Quick-Reference Decision Guide for Flawless Eyes
Use this flowchart logic to troubleshoot mid-day issues. Identify your primary symptom first. Then apply the corresponding fix based on your skin diagnosis from Step One.
This approach saves you from guessing and experimenting blindly. It relies on established cause-and-effect relationships in cosmetic chemistry.
| Symptom Observed | Likely Cause | Immediate Action |
|---|---|---|
| Cracking/Flaking | Dehydration + Heavy Powder | Blot excess oil; mist with hydrating spray |
| Sliding/Puddling | Excess Sebum Breakdown | Blot with paper; re-set with minimal powder |
| Grey Cast | Oxidation of Formula | Apply powder immediately after concealer sets |
| Visible Texture | Thick Application Layer | Gently press with damp sponge to thin layer |
For dry skin, if lines appear deep by afternoon, skip powder entirely. Use a hydrating mist to refresh the area. For oily skin, if sliding occurs, blot first.
Do not add more product on top of broken-down makeup. This creates a muddy mess. Remove residue with a clean tissue.
Then lightly reset with a tiny amount of powder.
Mixed zones require targeted attention. Check the inner corners separately from the center. Often, one zone fails while the other holds.
Adjust your routine accordingly. If the center creases but sides hold, reduce application there. Focus precision on high-movement areas.
Consistency in observation helps refine your personal workflow over time. Track what works for your specific climate conditions.
Frequently Asked Questions About Concealer Longevity
Can I use eye cream instead of primer?
Yes, but choose carefully. Rich, heavy creams can cause slipping. Opt for lightweight, gel-based eye treatments.
These provide hydration without excessive emollients. Allow full absorption before applying concealer. This acts as a natural primer for dry skin types.
Avoid products with high SPF if they leave a white cast.
Why does my concealer oxidize in the lines?
Oxidation happens when oils react with air. Darker pigments show this change more visibly. Set concealer quickly with powder to limit exposure.
Choose formulas labeled "non-oxidizing." These contain antioxidants like vitamin E. They stabilize the color against environmental stressors. Testing shades on your jawline also helps predict behavior.
Should I bake my under-eyes every day?
No. Daily baking stresses delicate skin. Reserve this technique for long events or hot climates.
For everyday wear, use a light dusting method. Baking draws out moisture over time. This can worsen fine lines permanently.
Gentle setting preserves skin barrier health. Save heavy-duty methods for special occasions only.
Does humidity really affect concealer settling?
Absolutely. High moisture levels prevent proper drying. Products stay tacky longer, inviting migration.
In humid weather, switch to water-based formulas. Avoid heavy silicones that trap sweat. Increase setting spray usage slightly.
Consider mattifying primers even for normal skin. Adapt your routine seasonally for best results.

Similar Posts