How Long to Wait After Priming Before Painting?
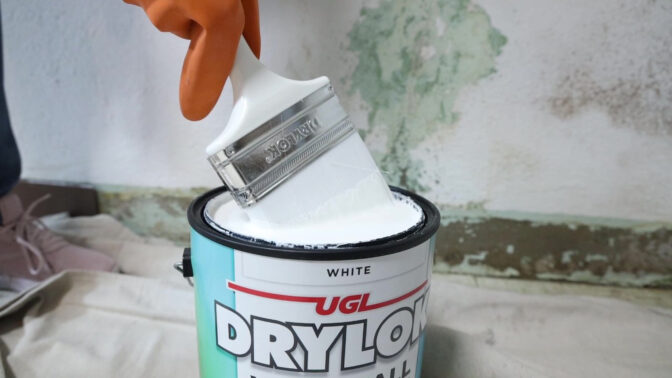
Figuring out how long to wait after applying primer feels like guesswork until you know the rules. Most people rush this step, thinking a dry surface means it’s ready for paint. But "dry" and "ready" are two very different things in coating science.
Manufacturer specifications indicate that recoat windows vary wildly based on chemistry. As of 2026, standard latex primers typically require 2 to 4 hours before topcoating. Oil-based variants demand much longer, often needing 16 to 24 hours.
Let’s break down exactly why those numbers exist and how to check your specific situation.
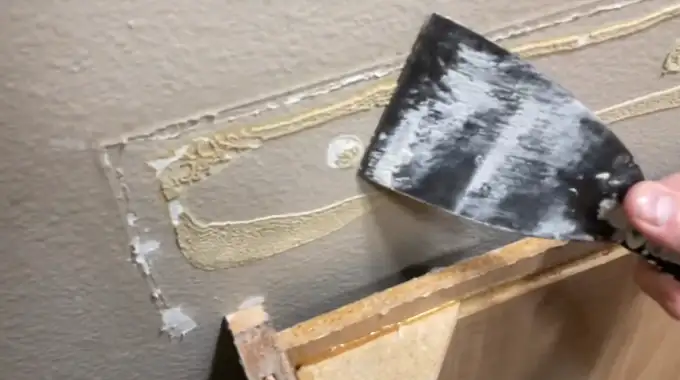
Image source: Web (Bing) / drylok.com (Web image (fair-use with source credit))
Why “Wait Until It’s Dry” Is Dangerous Advice
The phrase "wait until dry" is useless without context. It confuses evaporation with curing. Evaporation happens when water or solvents leave the film.
Curing occurs when the binder hardens into a solid matrix. You can touch a wall and feel no moisture, yet the chemical bonds remain weak.
Applying paint too early traps solvents underneath. This leads to blistering, peeling, or poor adhesion later. Aggregate user reviews consistently cite premature recoating as the top cause of DIY failures.
The surface might look fine initially. Problems emerge weeks later when humidity changes or furniture scrapes the wall.
Think of primer as a foundation. If the foundation isn't set, the house sinks. Same logic applies here.
You need the primer film to achieve sufficient hardness to accept the mechanical stress of rolling or brushing a topcoat. Rushing saves an hour today but costs days of scraping tomorrow.
The Three Variables That Dictate Your Recoat Time
Three main factors control how fast your primer becomes ready for paint. Ignoring any one of them throws off your timeline. These variables interact constantly, so you must assess all three simultaneously.
First is the primer type. Water carries away faster than oil solvents. Shellac dries incredibly quickly but has strict compatibility limits.
Second is ambient temperature. Cold slows molecular movement. Heat speeds it up but risks skinning over.
Third is relative humidity. High moisture in the air prevents water-based carriers from evaporating efficiently.
| Variable | Low Impact Scenario | High Impact Scenario | Effect on Wait Time |
|---|---|---|---|
| Temperature | Below 50°F (10°C) | Above 90°F (32°C) | Cold doubles time; heat may halve it but risks defects |
| Humidity | Under 40% RH | Over 70% RH | High humidity significantly extends drying for latex |
| Primer Type | Shellac/Stain Blocker | Oil-Based Alkyd | Shellac is fastest; oil is slowest |
Our research shows that most errors stem from checking only temperature. People forget humidity. A warm day with 80% humidity will still delay latex primer drying.
Always measure both conditions if possible. Use a hygrometer for accuracy. Guessing rarely works well in professional painting contexts.
Primer-Specific Timelines: Latex, Oil, and Shellac
Each primer family operates on its own clock. Knowing which bucket your product falls into sets your baseline expectation. Manufacturer technical data sheets provide the minimums, but real-world application often requires padding these numbers.
Latex or acrylic primers use water as a carrier. They rely on coalescence, where particles fuse as water evaporates. Standard recoat time is usually 2 to 4 hours at ideal conditions (70°F, 50% RH).
However, thick applications or cool rooms push this to 6 hours.
Oil-based alkyd primers use organic solvents. These take longer to flash off. You typically wait 16 to 24 hours.
Some heavy-duty rust inhibitors extend this to 48 hours. Rushing oil primers causes wrinkling because the solvent gets trapped under the new coat.
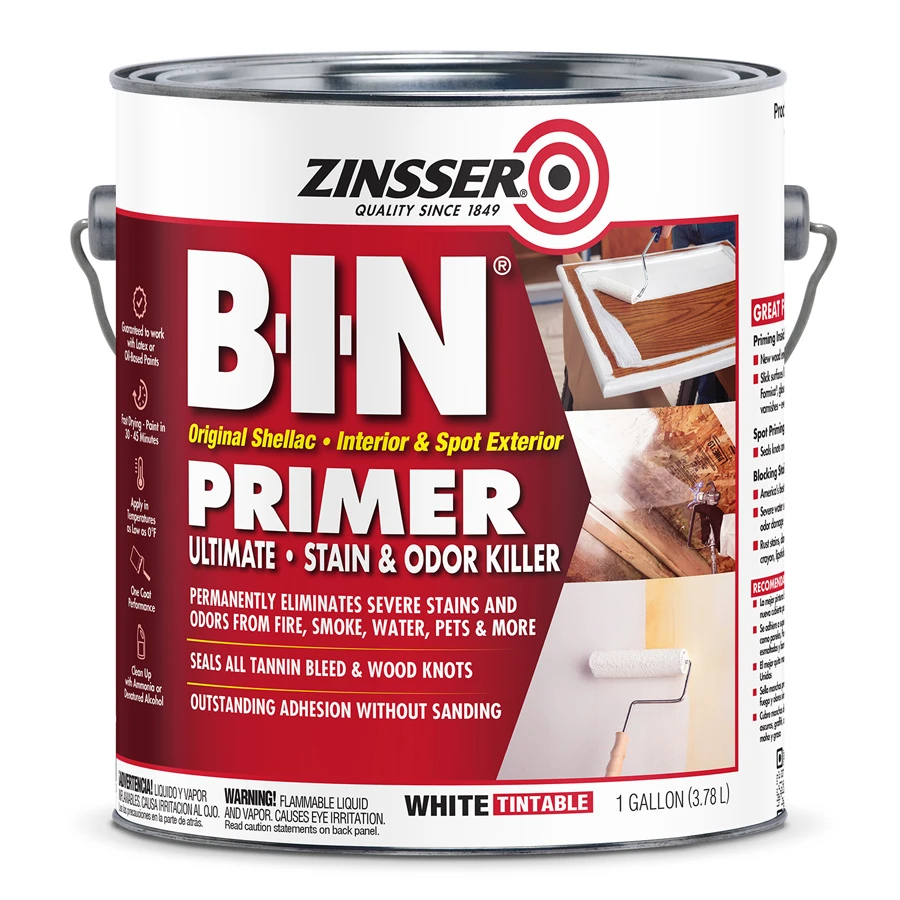
Image source: Bing (Web (fair-use with source credit))
Shellac-based primers, like Zinsser BIN, dry exceptionally fast. You can often recoat in 45 minutes to 2 hours. They block tannins and odors effectively.
But they have limitations. You cannot apply latex paint directly over shellac unless the shellac is fully cured. Otherwise, the water in latex reactivates the shellac, causing lifting.
Always read the label. Brands differ slightly in formulation. A "fast-dry" latex might allow recoating in 1 hour.
A standard one needs 4. Never assume all products in a category behave identically. Check the Technical Data Sheet (TDS) for your specific SKU.
How to Test If Your Wall Is Actually Ready
Waiting the minimum time doesn't guarantee readiness. You need physical verification. Relying solely on the clock ignores variables like airflow and film thickness.
Here are practical tests to confirm your surface accepts paint.
The touch test is basic. Press your finger firmly against an inconspicuous spot. Lift it straight up.
Does any residue stick? If yes, it’s not ready. Does it feel tacky or sticky?
Tackiness indicates incomplete solvent evaporation. Wait longer. A properly dried primer feels smooth and dry to the touch.
For oil-based primers, perform the thumbprint test. Gently press your thumbnail into the corner of the panel. If the indentation remains visible after a few seconds, the film is soft.
It needs more cure time. If the impression springs back or disappears, the film has hardened sufficiently for recoating.
Another method involves scent. Sniff the surface closely. Strong chemical odors suggest active off-gassing.
While some smell persists during curing, a sharp, overwhelming solvent scent means volatile compounds are still leaving rapidly. Applying paint now traps those gases. Wait until the odor dissipates significantly.
Visual inspection helps too. Look for sheen consistency. Wet spots appear darker or glossier.
Dry areas look matte or uniform. If you see patchiness, evaporation is uneven. Increase ventilation and wait another hour.
Never paint over inconsistent sheen.
Environmental Tweaks That Speed Up or Slow Down Curing
You can manipulate your environment to optimize drying times. Passive waiting wastes time. Active management accelerates the process safely.
However, pushing too hard creates defects. Balance speed with quality.
Heat accelerates evaporation. Using space heaters raises ambient temperature. Aim for 70°F to 80°F for optimal latex performance.
Avoid exceeding 90°F. High heat causes the surface to skin over while liquid remains underneath. This traps solvents and leads to bubbling later.
Airflow removes saturated air from the surface boundary layer. Fans create cross-ventilation. Position fans to blow across the wall, not directly at it.
Direct blasts cause uneven drying and dust contamination. Open windows if outdoor humidity is lower than indoor levels.
Humidity control is critical for water-based products. Dehumidifiers pull moisture from the air. Running one alongside fans drastically cuts drying time for latex primers.
In coastal areas or rainy seasons, this equipment pays for itself by preventing failed jobs. Target 40% to 60% relative humidity.

Image source: Web (Bing) / manuals.plus (Web image (fair-use with source credit))
Conversely, cold temperatures stall everything. Below 50°F, latex primers may fail to coalesce. The particles don’t fuse.
The film stays powdery and washes off. Do not prime in unheated garages during winter. Bring materials indoors to warm up first.
Apply in a conditioned space.
Thick coats dry slower. Roll evenly. Avoid puddles.
Thin layers cure faster and more uniformly. If you’ve applied a heavy coat, double your expected wait time. Patience beats force.
Trying to speed up a thick coat with high heat guarantees failure. Let it breathe naturally.
Common Mistakes That Ruin the Finish
Painting over damp primer is the most frequent error. It looks dry, but moisture remains trapped. The topcoat seals this in.
Blisters form within days. Always verify dryness with the touch test before rolling paint.
Ignoring temperature drops at night causes failure too. Daytime warmth speeds drying. Evening chill halts it.
If you start late, the primer may not cure overnight. Check forecasts. Stop if temps dip below 50°F during your window.
Using incompatible coatings creates chemical reactions. Oil-based primers resist water-based paints. Latex won’t adhere properly without a bonding agent.
Shellac reacts badly to certain latexes if not fully cured. Match your chemistry. Read the label for "overcoat compatibility."
Skipping surface prep undermines even perfect timing. Dust or grease prevents adhesion regardless of cure status. Clean walls first.
Wipe down with trisodium phosphate (TSP) solution. Rinse thoroughly. Let that dry before priming.
A clean base ensures the wait time matters less because the bond starts strong.
Applying thick coats extends drying exponentially. Two thin layers beat one heavy slab. Heavy application traps solvents deep in the film.
Surface skins over while the core stays wet. This leads to wrinkling later. Roll evenly.
Maintain consistent pressure. Avoid puddles in corners. Thin coats cure uniformly and faster.
Decision Guide: When to Wait Longer vs. Push Forward
Should you strictly follow the clock? No. Use conditions as your guide.
If humidity exceeds 70%, add 2 hours to latex recoat times. Water evaporates slower in moist air. Rushing here risks lifting.
Wait until the air feels drier.
Is the room cold? Below 60°F, double standard wait times. Molecular activity slows significantly.
Primer takes longer to coalesce. Heating the space helps, but don’t blast heat directly on wet paint. Gentle warming aids curing.
Direct heat causes skinning. Balance temp and time carefully.
Did you apply oil-based primer? Never rush past 16 hours. Solvents need time to off-gas completely.
Painting sooner traps fumes under the topcoat. These gases expand with heat. Peeling follows.
Patience is non-negotiable with alkyds. Plan your project around this long window.
Are you spot-priming small repairs? You can often recoat sooner. Small areas have less mass.
They dry faster than full walls. Test the edge of the patch. If hard, proceed.
Full-wall applications require stricter adherence to manufacturer minimums. Scale your caution to the size of the job.
Do you have high ventilation? Fans speed up evaporation. Cross-airflow removes saturated boundary layers.
This cuts drying time by 20-30%. But ensure dust doesn’t settle on wet surfaces. Cover floors.
Clean air filters. Fast airflow plus clean air equals efficient curing. Static air equals slow, risky drying.
FAQs on Primer Drying Times
Can I paint over primer after 1 hour?
Only if it’s shellac-based and conditions are ideal. Most latex primers need 2-4 hours minimum. Oil-based requires 16+.
Check your product label. Rushing risks peeling. When in doubt, wait longer.
One extra hour costs nothing compared to repainting the whole wall. Verify hardness with a thumbprint test before proceeding.
Does humidity really affect drying time?
Yes, significantly. High humidity slows water evaporation from latex primers. At 80% RH, drying time can double.
Use dehumidifiers to accelerate the process. Oil-based primers are less sensitive to humidity but still affected by temperature. Monitor local weather.
Adjust your schedule based on real-time atmospheric data rather than static clock estimates.
What happens if I paint too soon?
The topcoat may lift, wrinkle, or peel. Trapped solvents create blisters. Adhesion fails because the primer film isn’t hard enough to bond.
You’ll likely need to strip both layers and restart. This wastes materials and labor. Prevent this by respecting minimum recoat windows.
Perform physical tests to confirm readiness. Never assume dry-to-touch means ready-for-paint.
Is there a difference between drying and curing?
Drying means solvents have evaporated. Curing means the film has reached full hardness. Recoat times address drying.
Full durability develops over weeks. You can paint once dry. But avoid washing walls for 30 days.
This allows complete polymerization. Treat freshly painted surfaces gently during this period. Respect the difference to maintain finish integrity.
How do I know if oil primer is ready?
Perform the thumbprint test. Press firmly into an inconspicuous area. If the mark remains, it’s soft.
Wait more. If it springs back, it’s ready. Also, check for odor.
Strong solvent smell indicates active off-gassing. Wait until scent diminishes significantly. Manufacturer specs usually list 16-24 hours.
Trust physical indicators over the clock alone.

Similar Posts