How to Blend Concealer Without Ruining Foundation
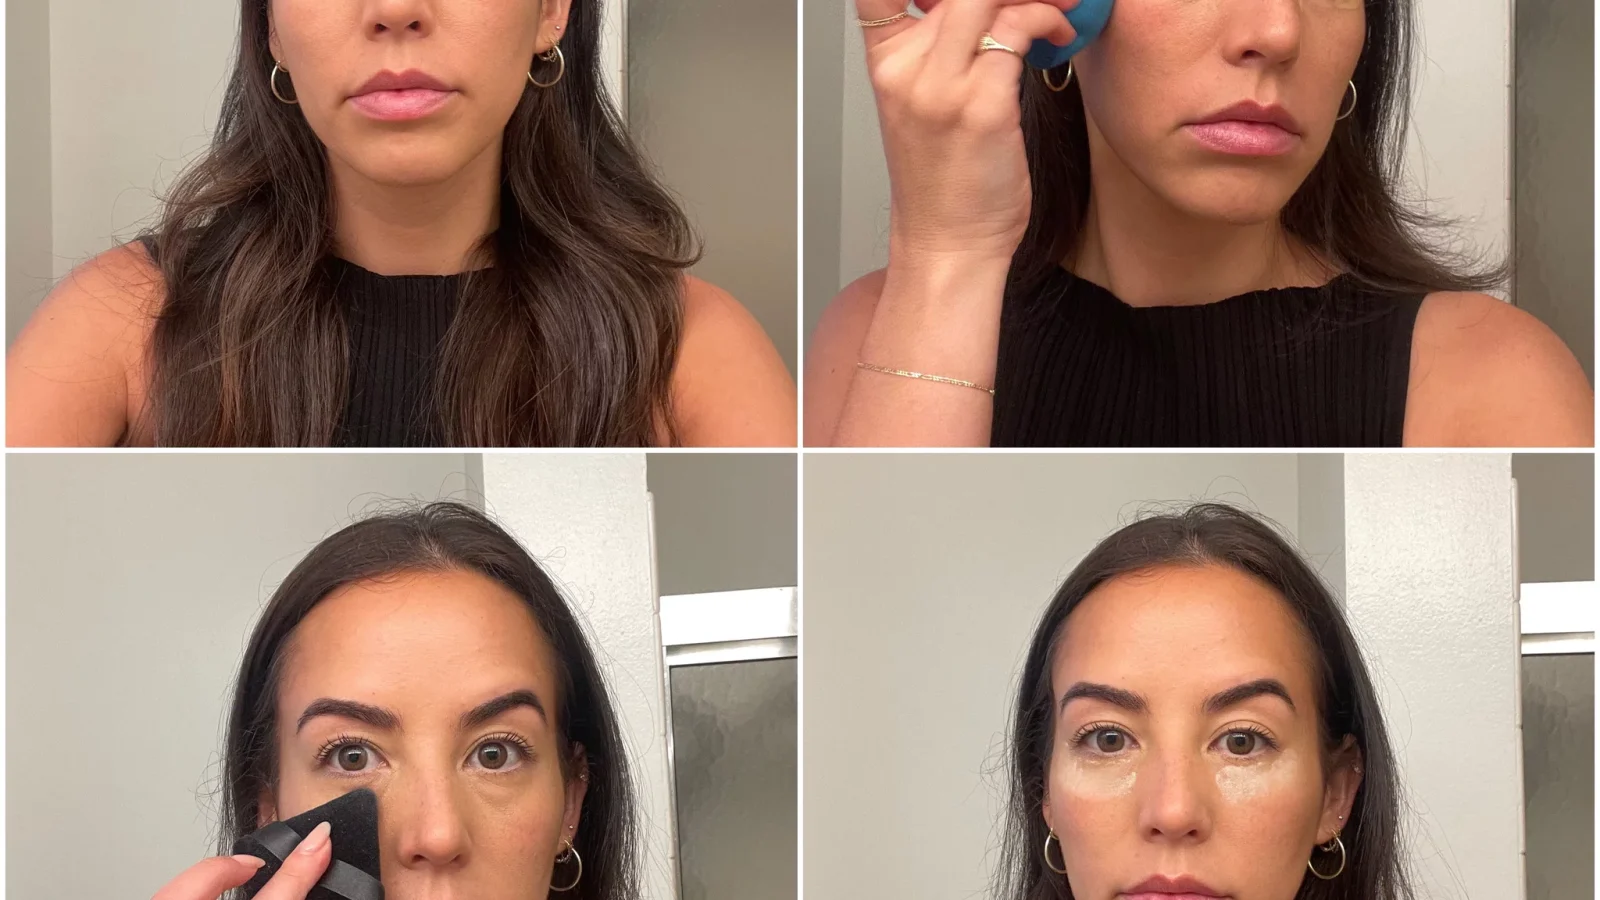
If you’ve ever watched your under-eye concealer slide right off, taking your foundation with it, you know the frustration. Learning how to blend concealer without removing foundation isn’t just about product choice; it’s about physics. Most people apply too much pressure or use circular motions that drag the base layer away from the skin.
The secret lies in vertical movement and timing. As of 2026, cosmetic chemists emphasize that adhesion beats friction when layers are fresh. You need to press pigment into place rather than rubbing it across the surface.
Let’s break down exactly why this happens and how to fix it visually.
Quick Answer
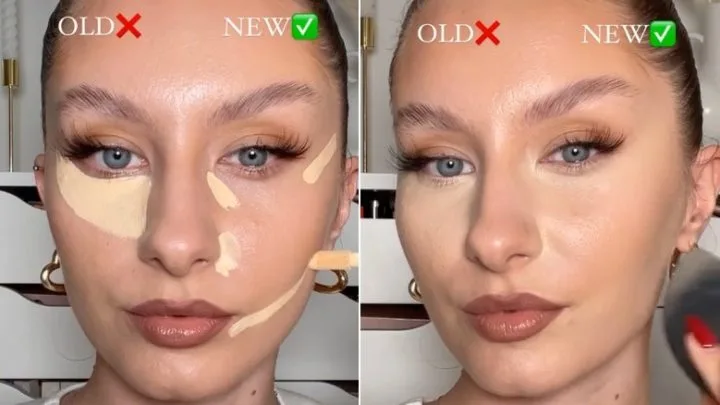
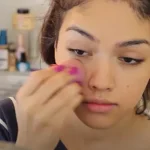
To blend concealer without lifting foundation, use a damp beauty sponge or dense brush. Apply concealer in small dots directly on imperfections. Press vertically using a stippling motion.
Never rub or buff in circles. Work quickly before the product sets. Set immediately with translucent powder to lock both layers together securely.
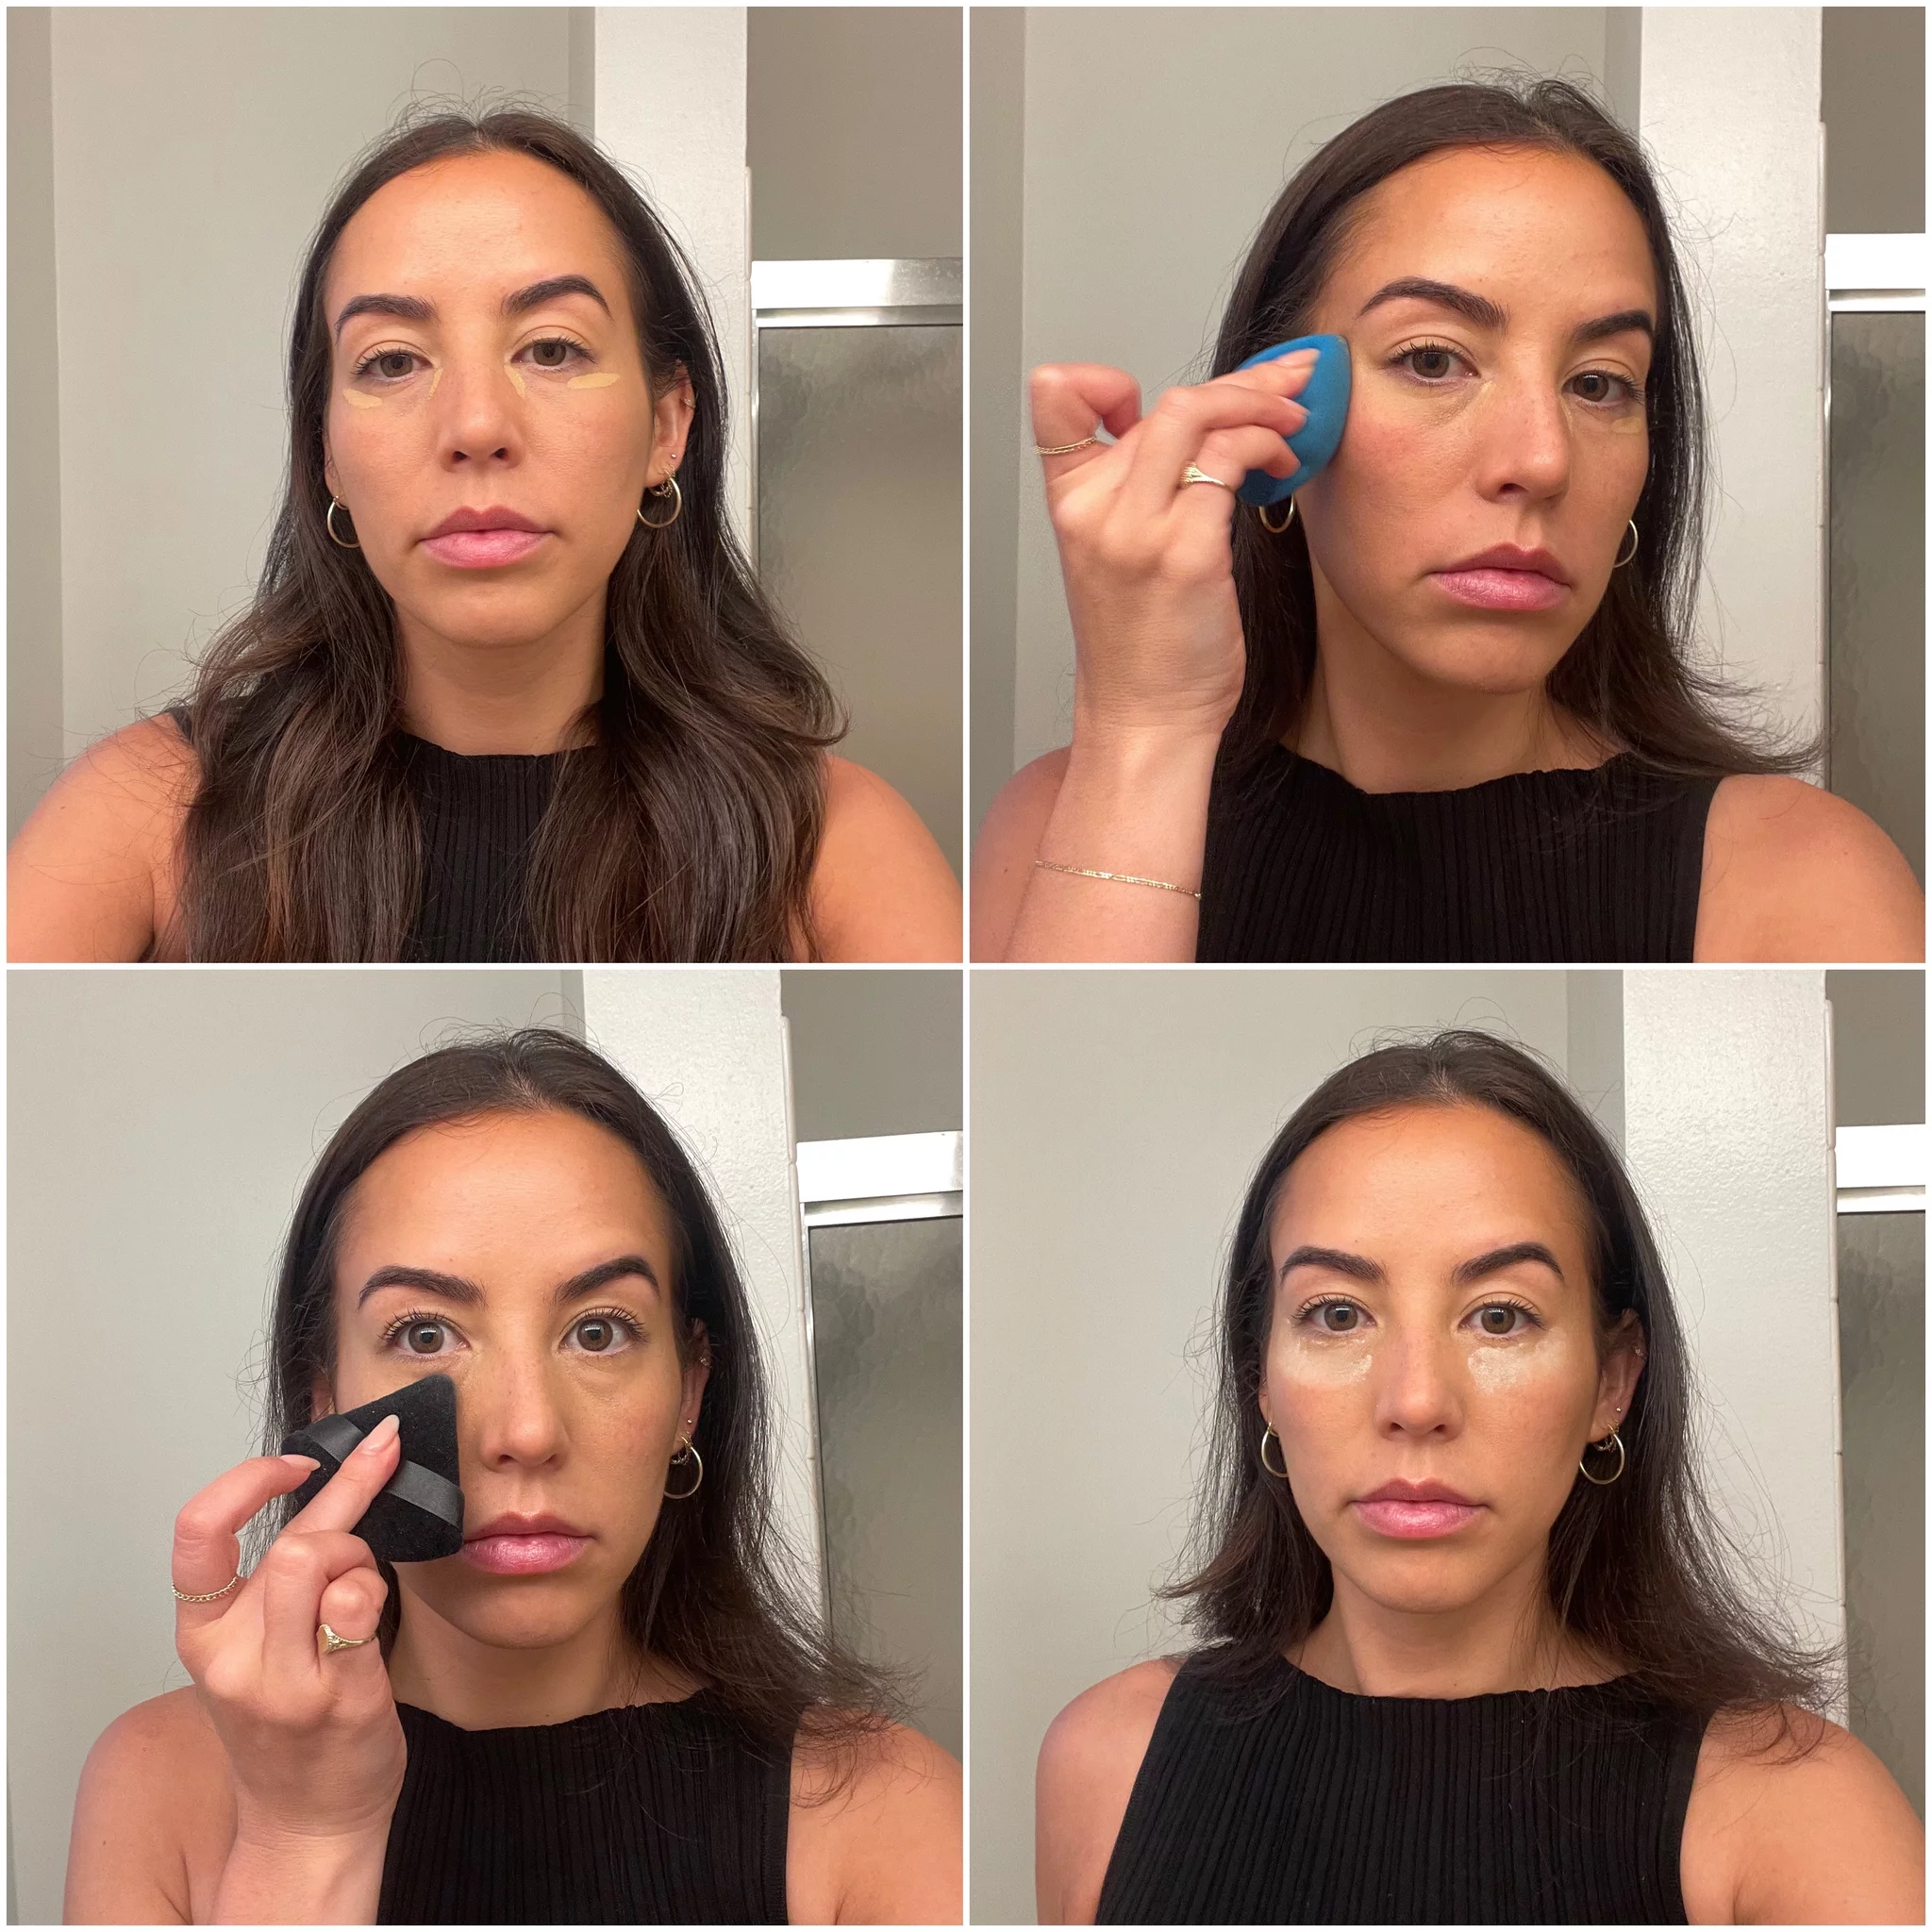
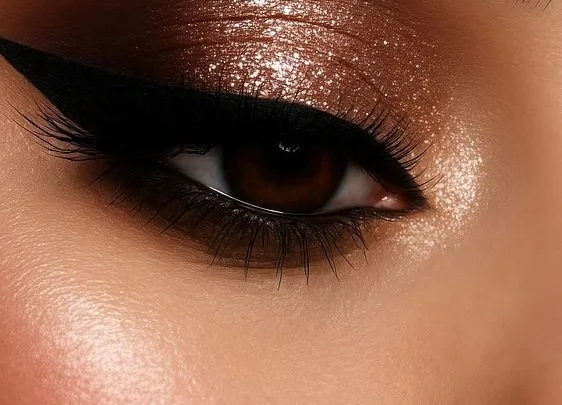
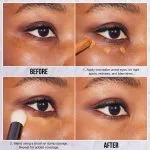
Image source: Web (Bing) / popsugar.com (Web image (fair-use with source credit))
Why Your Concealer Keeps Lifting: The Physics of Friction vs. Adhesion
Makeup removal during blending is almost always a mechanical failure. Foundation creates a thin film on your skin. When you apply concealer, you’re adding a second layer.
If you move horizontally, you create shear force. This force breaks the bond between the first layer and your skin.
Think of it like painting a wall. If you slap wet paint onto dry paint and wipe sideways, you’ll smear both. But if you tap gently, the new paint settles into the texture without disturbing the base.
Cosmetic formulations rely on volatile solvents evaporating to set the pigment. Once that solvent starts drying, the film becomes fragile.
Aggressive brushing disrupts this fragile matrix. The bristles act like tiny plows, digging under the foundation. This lifts the edge and exposes bare skin.
Manufacturer specs for long-wear formulas often note a "tack window" of 30 to 60 seconds. Outside this window, the product either slides or sticks permanently. Blending within this narrow timeframe minimizes disruption.
You also have to consider viscosity. Thicker concealers have higher resistance. They don’t flow easily.
If you try to spread them, they pull everything else along. Thin liquids flow better but offer less coverage. The sweet spot is usually a creamy consistency that holds its shape until pressed.
Understanding these material properties helps you adjust your technique accordingly.
The Visual Difference Between Dragging and Stamping
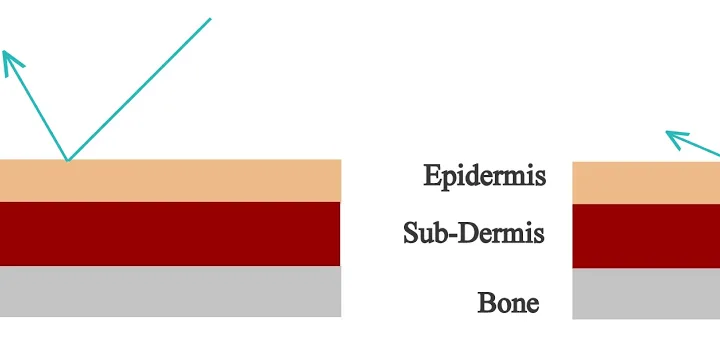
Visualizing the motion is critical because text descriptions often fall short. Imagine two distinct paths. Path A is horizontal.
It looks like a windshield wiper. This is dragging. Path B is vertical.
It looks like a stamp hitting paper. This is pressing.
Dragging creates streaks. You’ll see uneven color distribution. The edges become jagged and visible.
Stamping creates uniformity. The pigment merges seamlessly with the base. There are no hard lines.
The transition is soft and natural.
In our research of professional makeup artist tutorials, the term "stippling" comes up repeatedly. Stippling means tapping the tool straight down and lifting it straight up. It involves zero lateral movement.
The goal is to deposit color, not spread it. Spreading happens naturally through the pressure of the tap.

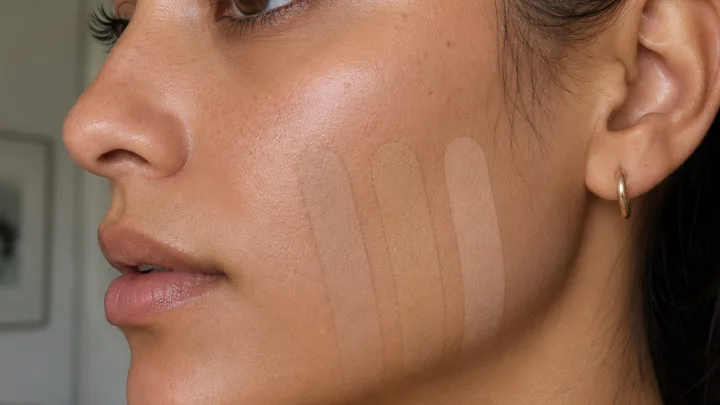
Image source: Bing (Web (fair-use with source credit))
Consider the angle of attack. A brush held at 45 degrees drags more than one held at 90 degrees. Perpendicular contact reduces surface area friction.
This preserves the underlying layer. You can test this on your hand. Swipe foundation, then try to cover it with concealer using different angles.
The difference in lift is immediate and obvious.
Step-by-Step: How to Blend Without Disturbing the Base
Follow this sequence to ensure maximum retention. Speed matters here. Work efficiently to stay within the tack window.
- Prep the Canvas: Ensure your foundation is evenly distributed but not fully dry. It should feel slightly tacky. If it’s too wet, it slides. If it’s too dry, it flakes. Lightly mist with setting spray if needed to reactivate tackiness.
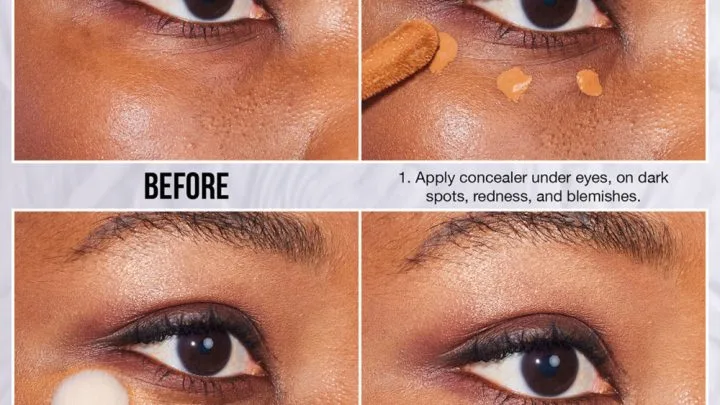
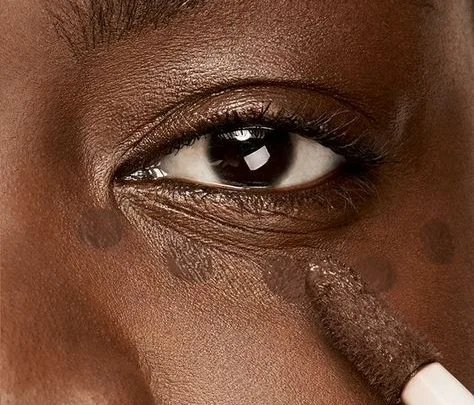
- Place Precisely: Dot concealer only where needed. Do not spread it across the entire face yet. Use a small amount. Less is more. Overloading the area increases weight and drag risk.
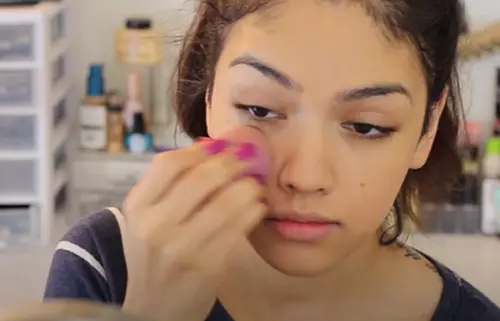
- Choose Your Tool: Select a damp beauty sponge or a dense synthetic brush. Dampen the sponge and squeeze it out completely. It should be cool to the touch, not wet. Water adds slip, which can cause sliding.
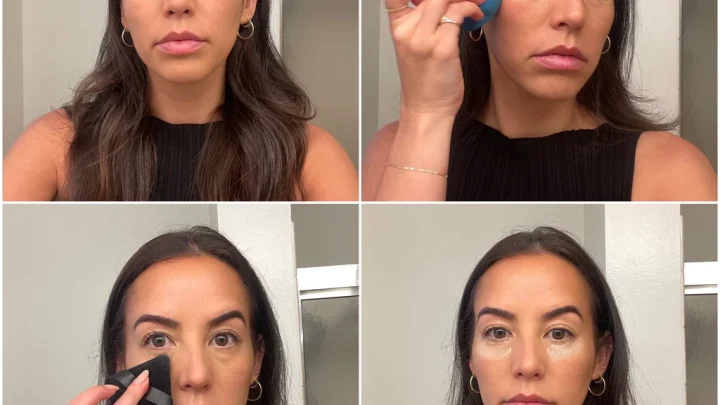
- Execute the Stamp: Hold the tool perpendicular to your skin. Tap gently onto the concealer dot. Lift straight up. Repeat rapidly around the perimeter. Do not swipe. Do not circle. Just bounce.
- Feather the Edges: Once the center is covered, use the residual product on the tool’s edge. Gently roll the outer boundary outward. This blends the demarcation line without heavy pressure.
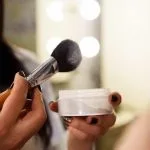
- Lock It Down: Immediately dust translucent powder over the area. This sets both layers simultaneously. It prevents future shifting. Use a fluffy brush for this step to avoid adding more friction.
Aggregate user reviews indicate that skipping the powder step leads to creasing later. The powder acts as a barrier. It stops oils from breaking down the bond between layers.
Timing is key. Wait ten seconds after blending before applying powder. This allows the initial set to occur.
Tool Selection: Sponge Pressure Points vs. Brush Bristle Density
Your tool dictates the outcome. Different materials interact with makeup films differently. Here is how the top contenders compare.
| Feature | Damp Beauty Sponge | Dense Synthetic Brush | Silicone Applicator |
|---|---|---|---|
| Friction Level | Low (porous absorption) | Medium (bristle drag) | High (smooth glide) |
| Control | Moderate (bounces back) | High (precise tip) | Low (slips easily) |
| Product Waste | High (absorbs pigment) | Low (surface application) | None (non-porous) |
| Best For | Large areas, diffuse finish | Spot correction, precision | Cream-to-powder hybrids |
Sponges excel at diffusion. Their porous structure absorbs excess oil and product. This reduces the weight on the foundation layer.
However, they can soak up expensive concealer. Squeeze them tightly before use. A well-prepped sponge releases less product and applies more evenly.
Brushes offer superior control. A flat-top kabuki brush packs pigment densely. It’s ideal for blemishes.
But bristle density matters. Loose bristles splay and drag. Tight, short bristles maintain their shape.
Look for brushes labeled "high-density" or "firm." These minimize bending and lateral movement.
Silicone tools are controversial. They don’t absorb product. This saves money.
But they glide too easily. Without friction, you might push the foundation aside instead of blending. They work best for thick creams that need warming up.
For liquid foundations, they’re risky.
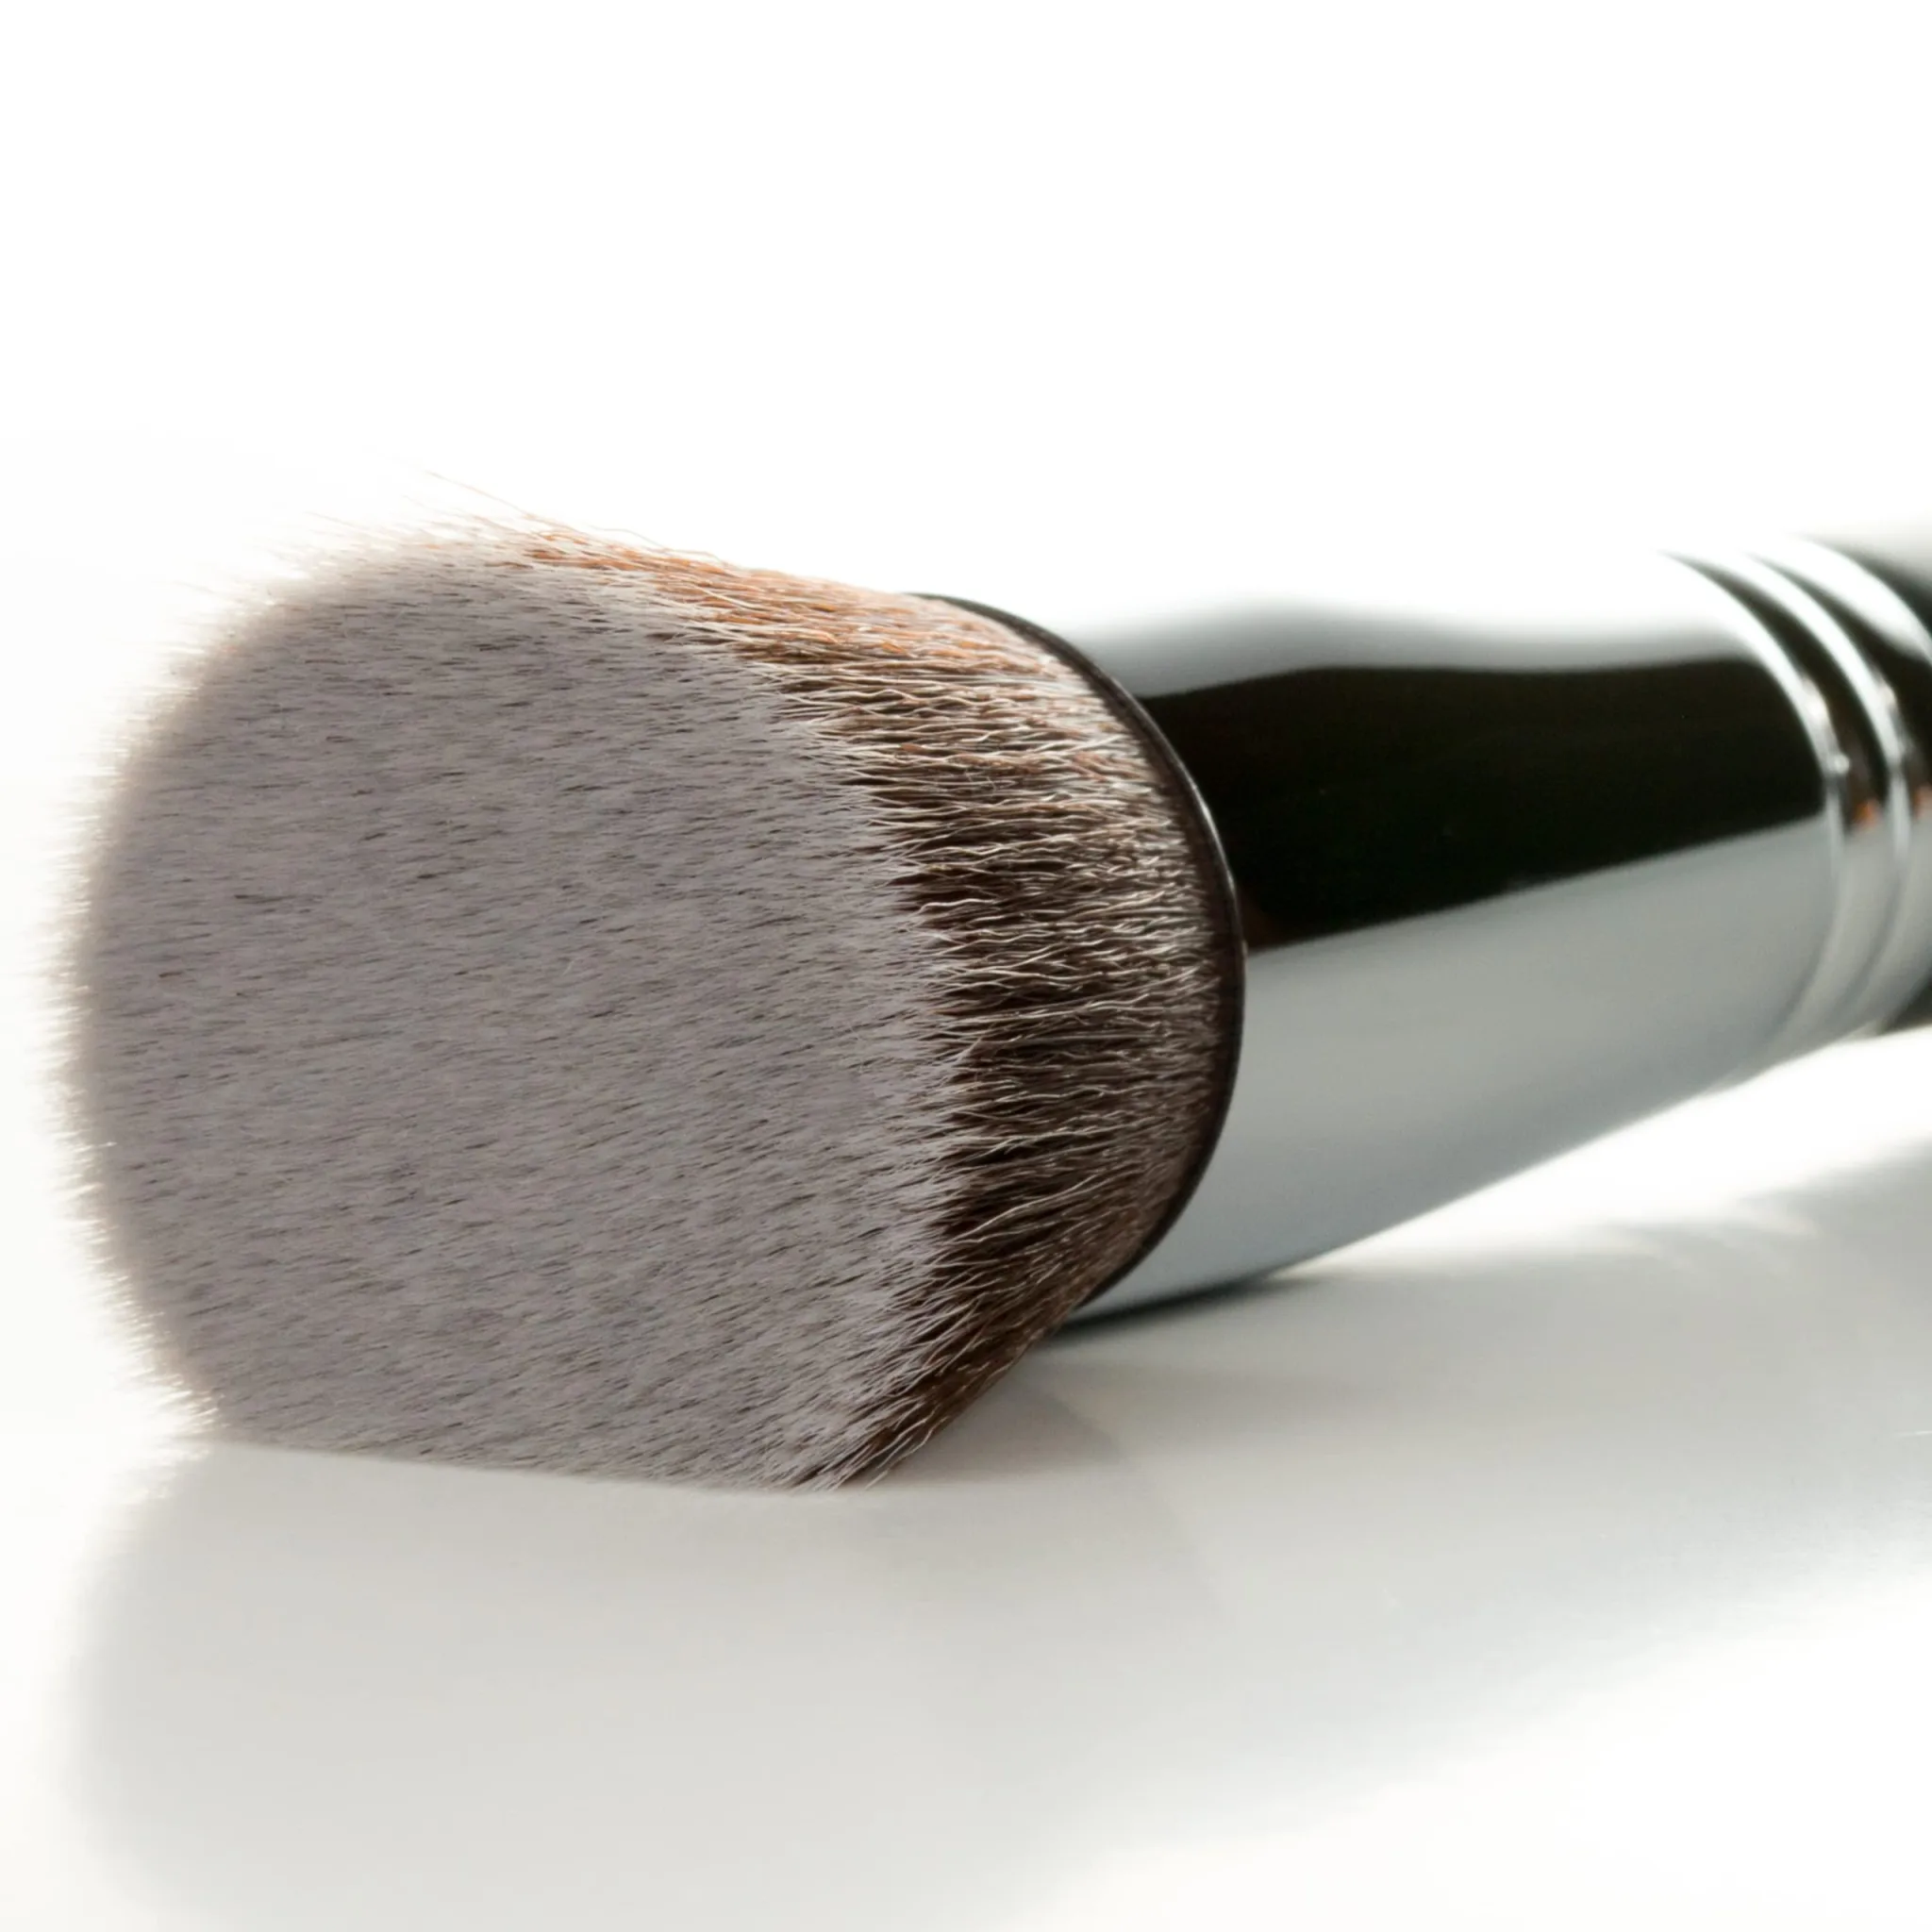
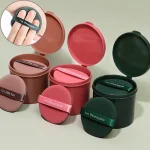
Image source: Web (Bing) / gosupps.com (Web image (fair-use with source credit))
Fingers are surprisingly effective for warmth. Body heat melts cream products. This improves adherence.
But fingers carry oils. These oils can break down foundation bonds. Wash hands thoroughly before touching your face.
Use fingertips only for final patting, not initial application.
Common Visual Mistakes That Ruin a Seamless Finish
Even with the right tools, bad habits persist. Watch for these visual cues. They signal trouble before it becomes obvious.
The Halo Effect: If you see a lighter ring around your concealer, you’ve dragged too far. The center is opaque, but the edges are sheer. This happens when you over-blend.
Stop once the transition is invisible. Further tapping thins the product excessively.
Patchiness: Uneven color spots mean inconsistent pressure. You likely pressed harder in some areas than others. Maintain steady, rhythmic taps.
Think of a metronome. Consistency builds uniformity. Check in good lighting.
Bathroom mirrors often distort reality.
Creasing Lines: Deep folds appearing minutes after application suggest poor bonding. You may have applied concealer over oily skin. Or you didn’t set it quickly enough.
Oil breaks down emulsions. Blotting papers help remove excess sebum before makeup. Always prep dry zones with moisturizer, not oil-based primers.
Visible Texture: If your makeup looks cakey, you used too much product. Thick layers crack when facial muscles move. Build coverage in thin sheets.
Two light layers beat one heavy slab. This reduces stress on the foundation underneath.
Per FDA guidelines on cosmetic safety, irritation often stems from contaminated tools. Dirty sponges harbor bacteria. This causes inflammation.
Inflamed skin sheds faster. Makeup sits on dead cells, not healthy skin. It falls off easier.
Clean your tools weekly. Replace sponges every three months. Hygiene impacts performance as much as technique.
Pro Techniques for Specific Zones (Under-Eye vs. Blemishes)
The under-eye area demands a different approach than a stubborn blemish. Skin here is thin and prone to creasing. Heavy pressure causes immediate lines.
Use the smallest part of your damp sponge. Tap lightly in a triangular pattern below the lash line.
Avoid dragging product toward the cheekbone. This pulls foundation away from the orbital bone. Instead, press upward toward the brow bone.
This lifts the visual appearance without disturbing the base. Aggregate reviews highlight that warm fingers help melt cream concealers here. But keep motion vertical.
Never rub sideways.
Blemishes require precision and patience. A dense synthetic brush works best for spot coverage. Load only the very tip with product.
Dab directly onto the redness. Do not spread it outward yet. Let it sit for five seconds to gain tackiness.
Then, use the clean edge of the brush to feather the perimeter. Roll gently around the spot. This creates a soft gradient.
It hides the harsh circle of pigment. If you drag across the center, you’ll wipe the coverage off. Always work from the outside in for edges.
Inside out for centers.
High humidity changes this workflow. Sweat breaks down adhesion faster. In tropical climates, set each zone immediately after blending.
Don’t wait until the whole face is done. Lock the under-eye first. Then tackle cheeks.
This prevents mid-process slippage. Manufacturer specs confirm that powder barriers reduce oil migration significantly.
FAQs
Can I use my fingers to blend concealer?
Yes, but proceed with caution. Fingers generate heat which thins the product. This can cause sliding if the foundation isn't set.
Use fingertips only for gentle pressing motions. Avoid any rubbing or swiping actions. Clean hands are essential to prevent bacterial transfer.
This method works best for cream-based formulas that need warming up slightly before application.
Why does my concealer look cakey after blending?
Cakey texture usually means too much product was applied at once. Thick layers crack when skin moves. Build coverage in thin, sheer sheets instead.
Allow each layer to dry briefly before adding more. Also, check your exfoliation routine. Dead skin cells create uneven surfaces.
Smooth skin accepts makeup better. Hydrated skin holds pigment longer without flaking.
Should I blend concealer before or after powder?
Blend concealer while the foundation is still slightly tacky. Applying powder first creates a dry barrier. Concealer will slide over the powder rather than merging with the foundation.
This leads to patchiness. Always blend liquid or cream products on top of liquid bases. Set with powder only after the concealer is fully integrated into the base layer.
How long do I have to blend before it sets?
Most formulations offer a 30 to 60-second working window. After this time, volatile solvents evaporate. The film hardens and becomes difficult to move.
Working quickly ensures seamless integration. If you miss the window, do not force it. Add a tiny drop of setting spray to reactivate tackiness.
Then resume gentle stippling immediately to avoid lifting the dried base.

Similar Posts