How to Apply Eyeshadow on Hooded Eyes
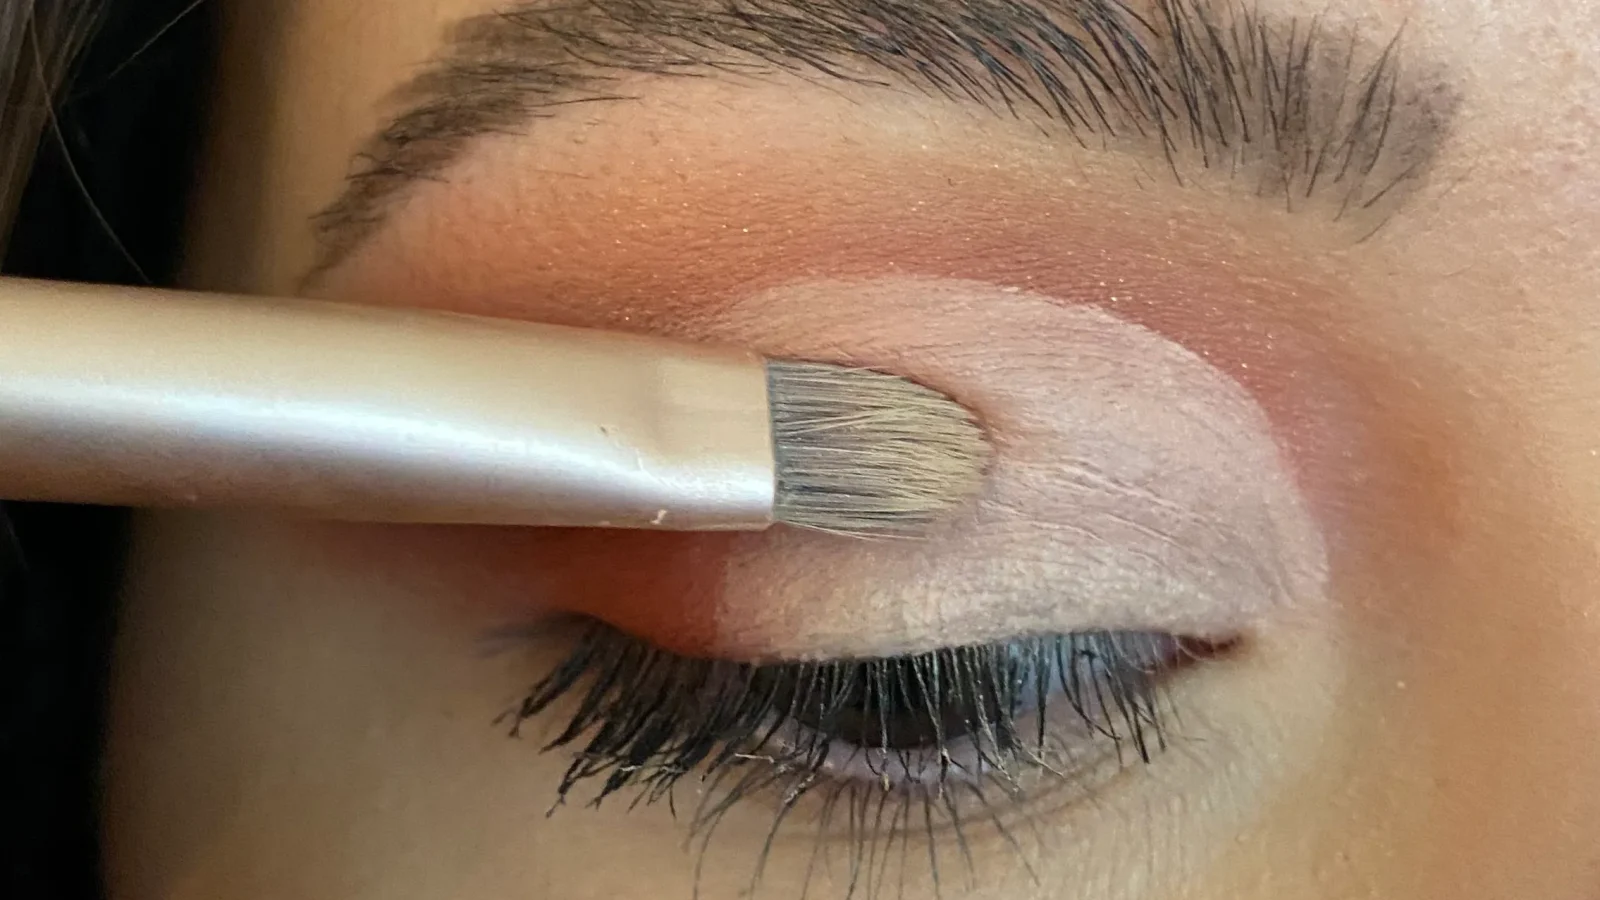

Image source: Web (Bing) / ar.inspiredpencil.com (Web image (fair-use with source credit))
Figuring out how to apply eyeshadow on hooded eyes often feels like fighting your own anatomy. The fold of skin hides your hard work the moment you blink. You spend twenty minutes blending a perfect gradient, only to open your eyes and see nothing but bare lid.
It’s frustrating because standard tutorials assume a visible crease that simply isn’t there for you.
The solution lies in working above the natural fold rather than within it. Research into facial morphology shows that hooded eyes typically have less than 30% of the mobile lid visible when open. This means placement is everything.
We need to shift our focus from hiding the hood to lifting the eye visually. Let’s break down exactly where those colors belong.
Why Standard Eyeshadow Tutorials Fail Hooded Eyes
Most beauty guides treat the eyelid as a flat canvas. They instruct you to place transition shades directly into the crease. For someone with a defined double eyelid, this creates depth.
But if you have a hood, that crease is buried under overlapping skin. Putting color there just makes the area look muddy and undefined.
You end up with a "disappearing shadow" effect. The pigment gets swallowed by the fold when your eyes are open. This forces many people to pack on more product, which leads to creasing and patchiness later in the day.
The oil from your brow bone breaks down the makeup faster because it’s trapped in that tight space.
Standard advice also ignores the structural reality of the brow bone ridge. This bony prominence pushes the skin forward, creating an overhang. Ignoring this architecture means your makeup fights gravity instead of working with it.
You aren't doing anything wrong personally. The instructions were written for a different eye shape entirely.
Understanding this mismatch is the first step toward fixing it. You don't need new products necessarily. You need a new map.
Once you realize that your target zone is higher up, the confusion fades away. It stops being about covering flaws and starts being about enhancing structure.
Mapping Your Specific Eye Anatomy Before You Pick Up a Brush
Before touching any pigment, you must identify your unique landmarks. Press your finger gently along the orbital bone. Feel for the hollow where your eyeball meets the socket.
This is your true socket line. It is almost always higher than the visible crease formed by your skin fold.
Next, look at your mirror with your eyes relaxed. Note where the skin hangs over the lid. This is the hood.
Now, open your eyes wide. See how much colored lid remains visible? That sliver is your mobile lid.
Everything above it is fixed lid.
| Landmark | Location | Makeup Function |
|---|---|---|
| Socket Line | Above the visible crease | Anchor point for transition shade |
| Visible Crease | Fold of skin | Ignore for shading; use for definition only if deep |
| Mobile Lid | Center of exposed lid | Highlight zone for brightness |
| Brow Bone Ridge | Top edge of hood | Boundary for upper limit of shadow |
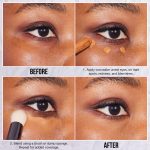
Mark these spots mentally or with a tiny dot of concealer. This mapping prevents guesswork. You’ll know exactly where to stop blending upward.
If you skip this step, you risk dragging dark shadows too low. That weighs down the eye and emphasizes the heaviness of the hood. Precision here saves time during application.
The Step-by-Step Visual Guide to Lifting the Hood
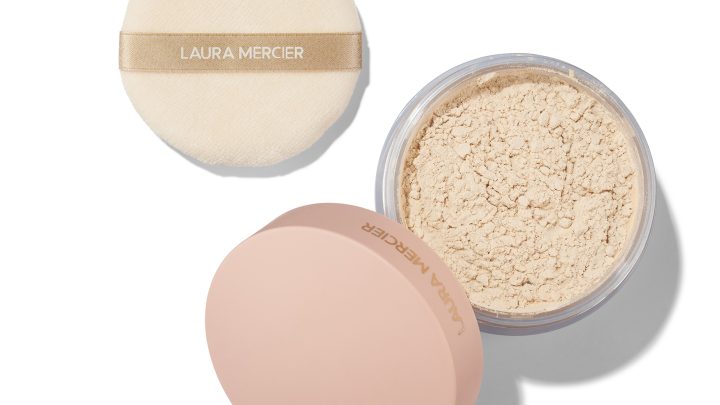
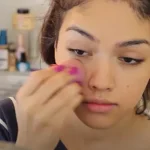
Start with a primed lid. Apply a matte base coat across the entire lid, including the hood. Set it lightly with translucent powder.
This creates a smooth surface and controls oil migration into the deepest part of the fold.
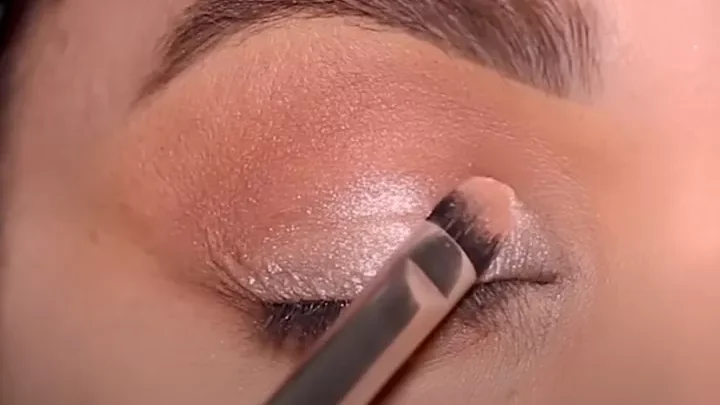
Take your darkest transition shade. Place it strictly above the visible crease, right on the socket line you mapped earlier. Blend it upward toward the brow bone, not downward.
Keep the lower edge sharp but soft. This creates the illusion of depth higher up.
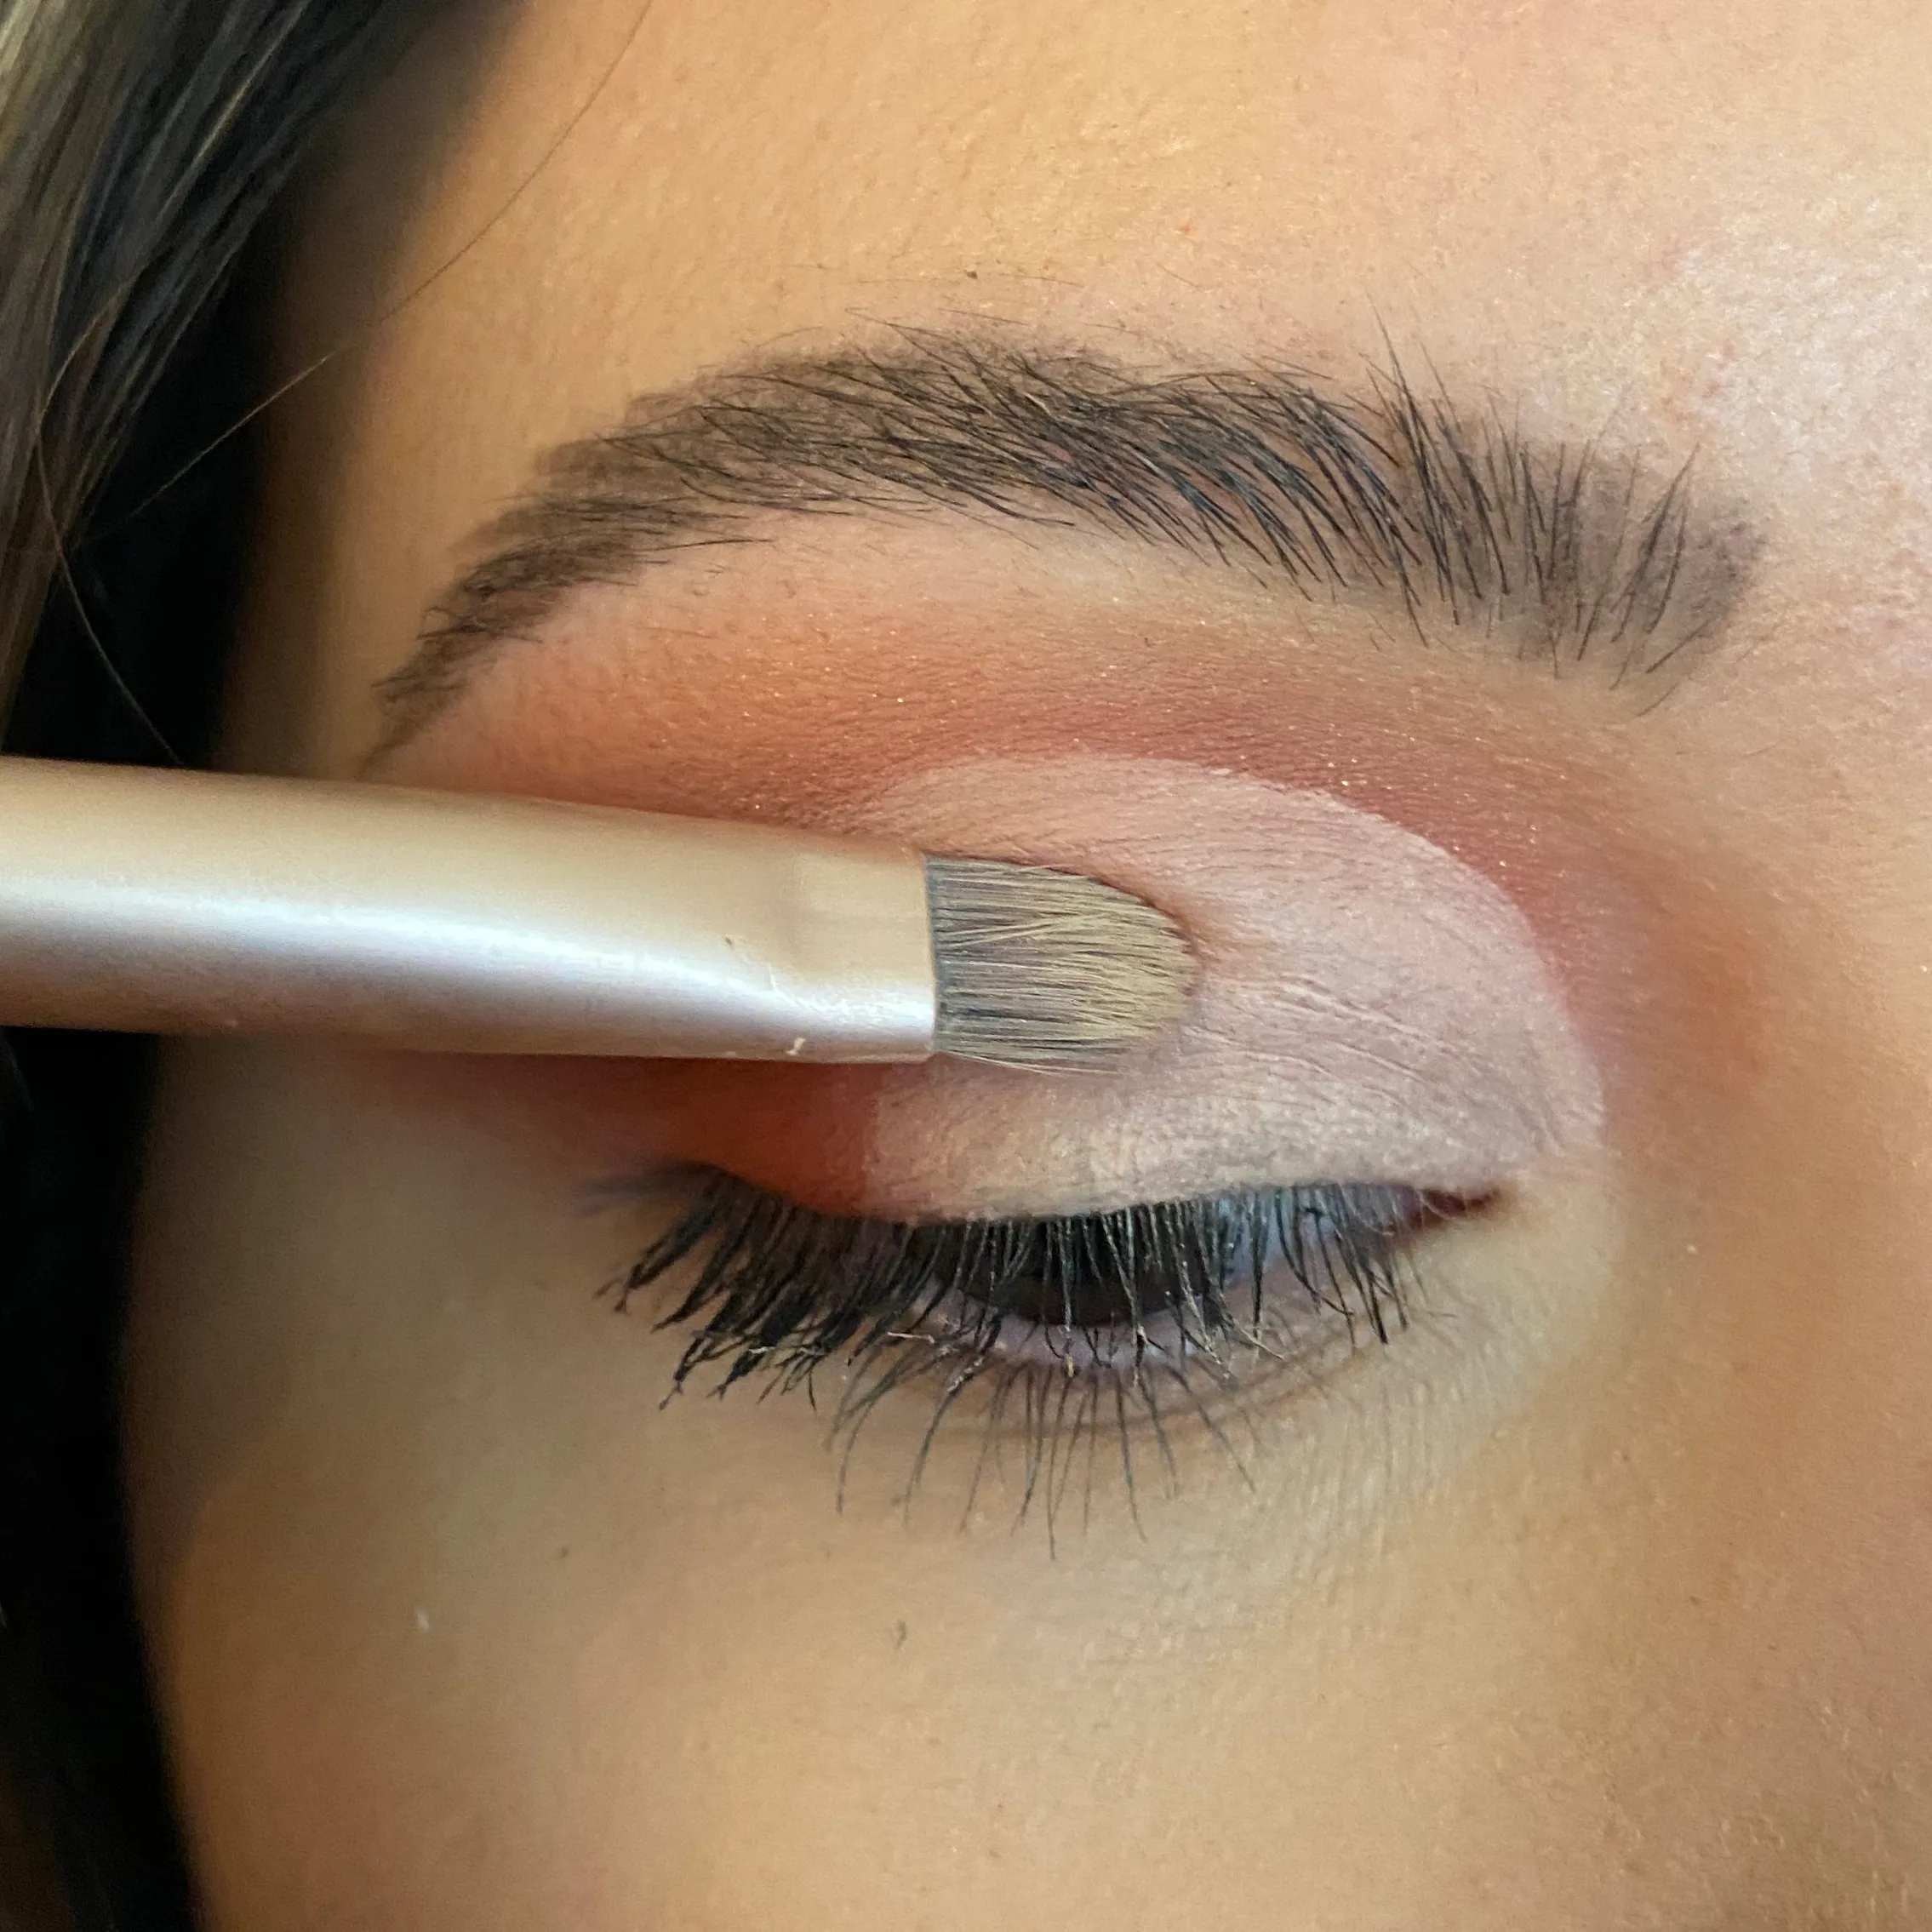
Image source: Web (Bing) / stylecaster.com (Web image (fair-use with source credit))
Now, address the mobile lid. Use a lighter, shimmery, or satin shade here. Concentrate it on the center of the visible lid.
Avoid bringing this light color up into the hood area. The contrast between the dark upper socket and bright center lid opens up the eye.
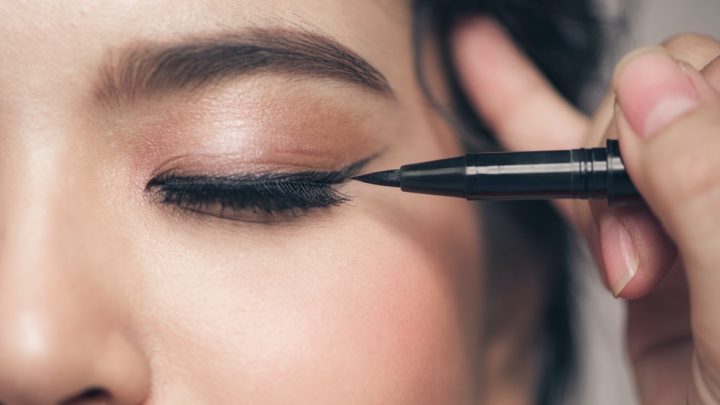
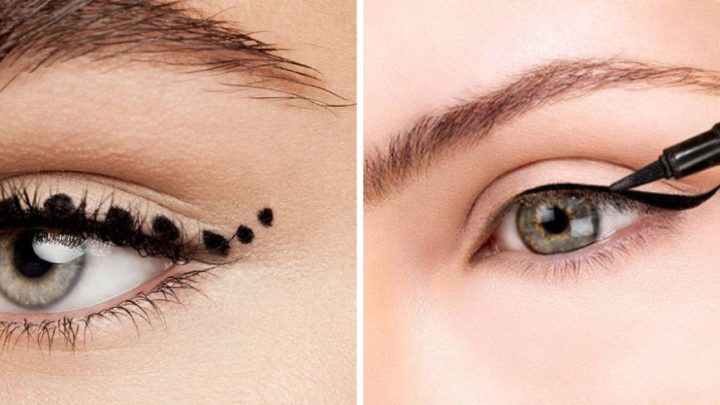
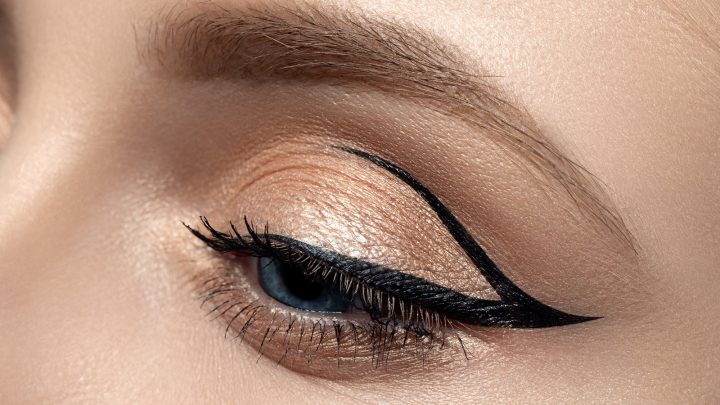
Finish with liner. Tightline the upper waterline to add density without taking up space. Extend the wing slightly upward and outward.
A horizontal wing gets hidden by the hood. An angled lift counteracts the droop. Curl your lashes aggressively so they clear the overhang.
Mascara on the top lashes helps frame the eye without smudging against the lid.
Texture and Finish Choices That Create Optical Illusions
Light interacts with texture differently on every eye shape. Shimmer reflects light. Matte absorbs it.
On hooded eyes, placing shimmer on the hood itself highlights the excess skin. It draws attention to the weight of the fold. Therefore, keep all shimmer strictly on the mobile lid.
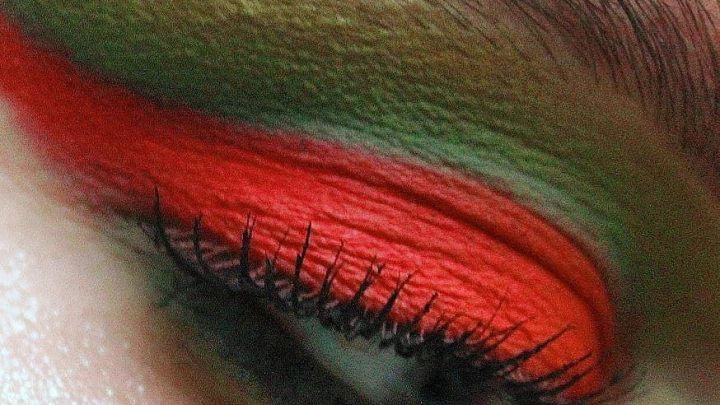
Use matte finishes for the shading above the crease. These textures recede visually. They create a shadow effect that mimics a deeper socket.
Satin finishes work well on the center lid for a subtle glow without excessive reflection. Avoid chunky glitters on the hood unless you are cutting the crease sharply.
Aggregate reviews indicate that cream formulas can slip on oily hoods. Powders offer better control and longevity in this specific anatomy. However, some experts suggest using a creamy base for the cut crease line to ensure crispness.
Always set creams with powder immediately.
Manufacturer specifications confirm that long-wear pigments resist migration better. Look for labels stating "transfer-resistant" or "24-hour wear." These formulations lock in place despite the friction caused by blinking. The constant movement of a hooded eye rubs layers together.
Strong adhesion prevents the muddying effect that ruins fresh applications by noon.
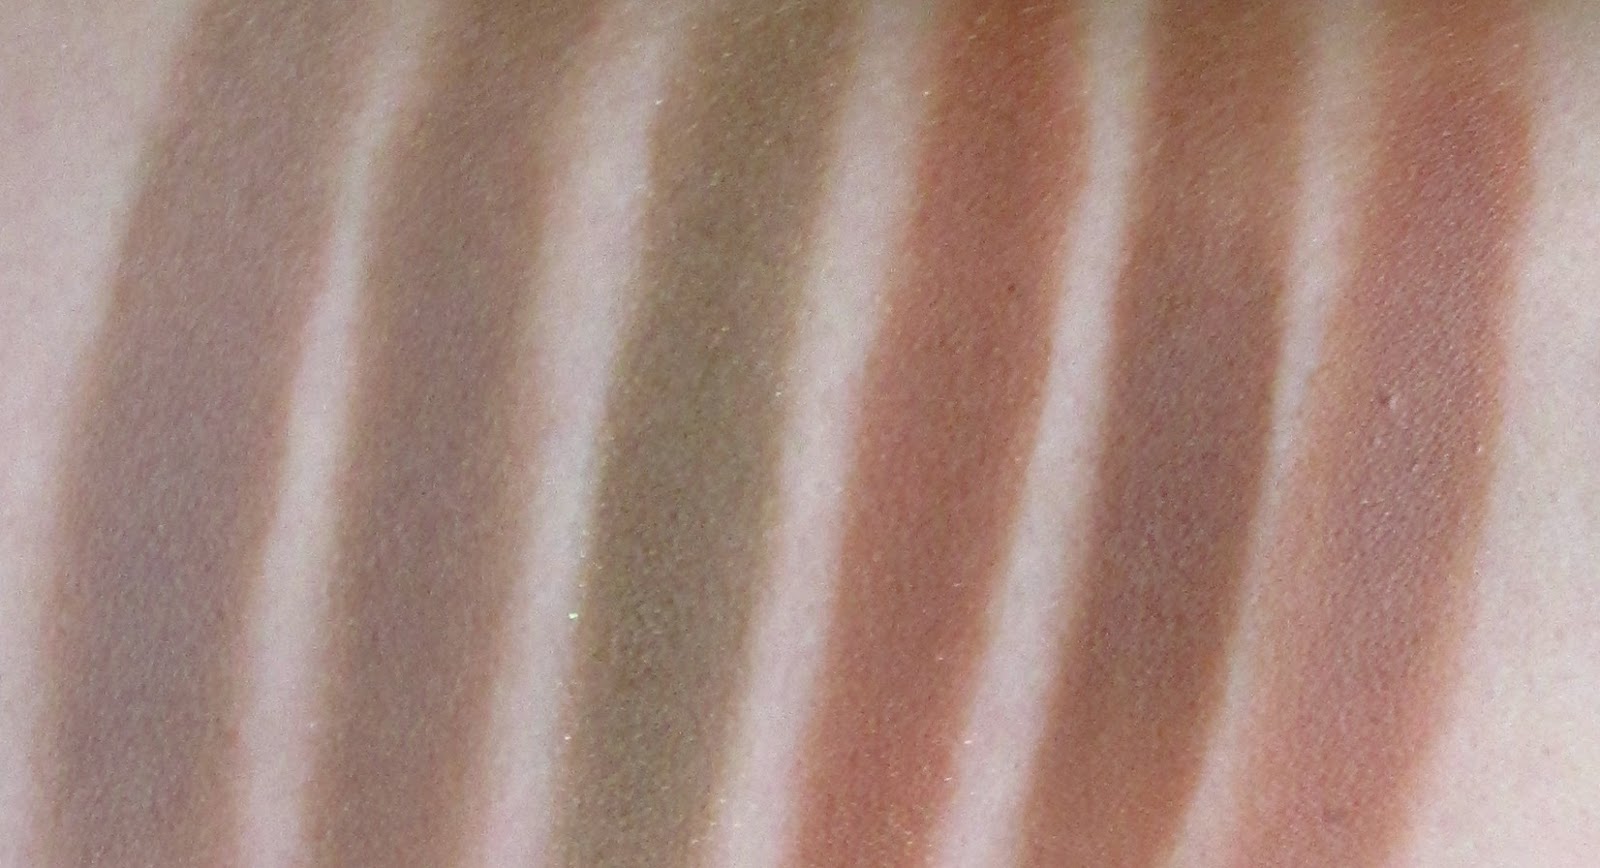
Image source: Bing (Web (fair-use with source credit))
Common Placement Mistakes That Weigh Down the Lid
One frequent error is blending the transition shade too far down. If the dark color touches the lash line, it closes off the eye. It makes the hood look heavier.
Keep the darkness elevated. Leave a gap between the shadow and the liner. This negative space tricks the brain into seeing more lid.
Another mistake is applying blush or bronzer too high on the cheekbone. While not directly eyeshadow, this affects the overall balance. High placement pulls attention upward, competing with the heavy brow.
Keep face contouring lower to let the lifted eye makeup stand out.
Many users also forget to prime the hood specifically. Oil accumulates under the brow bone. Without primer, the shadow separates and patches.
This looks messy quickly. Ensure your primer covers the entire upper lid structure, not just the visible part.
Finally, ignoring asymmetry causes issues. Most faces aren't perfectly symmetrical. One hood might be larger than the other.
Check both sides in the mirror with eyes open. Adjust the height of your shadow on each side individually. Don't force identical placement if the anatomy differs.
Customization yields better results than rigid symmetry.
Tools and Products Designed for Precision in Tight Spaces
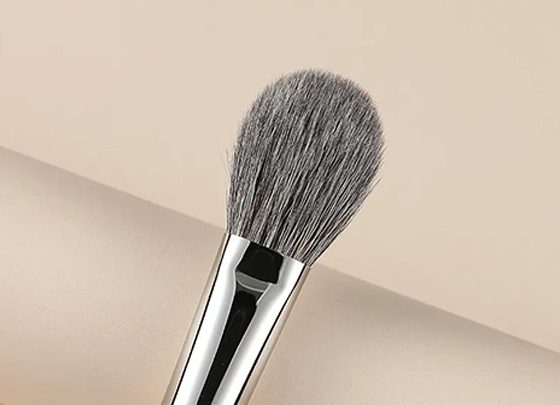
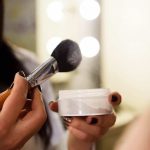
You need brushes that fit your anatomy, not just generic kits. A large fluffy blending brush often deposits too much pigment into the hood’s deepest fold. Instead, opt for a small, tapered crease brush with dense bristles under one centimeter wide.
This allows you to place color strictly on the socket line without drifting downward.
For the mobile lid, use a flat shader brush. It packs pigment efficiently onto the limited visible surface. Avoid stiff synthetic fibers if they scratch the delicate skin near the brow bone.
Natural hair or soft synthetics provide better control for diffusing edges upward. Manufacturer specs confirm that high-density packing helps matte shades stay put longer.
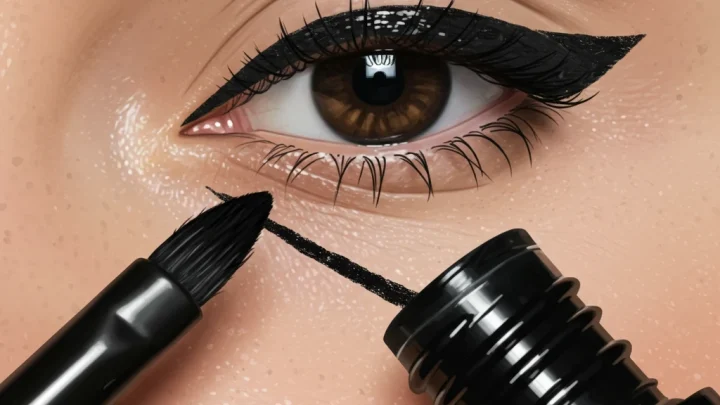
Eyeliner choice matters significantly here. Gel liners offer more precision than liquid pens for tightlining the upper waterline. You can draw closer to the lash roots without smudging.
For wings, a fine-tip liquid liner works best for creating sharp, angled lifts. As of 2026, many brands release "hooded-eye-specific" palettes with higher ratios of matte transition shades. These curated sets save time hunting for the right tones.
Keep setting spray handy. Mist it lightly between layers to lock powder in place. This prevents fallout from settling in the crease during application.
A clean workspace is vital because any stray particle becomes a distraction when you open your eyes. Precision tools reduce frustration and improve symmetry across both lids.
Frequently Asked Questions
Can I wear shimmer on my hood?
Yes, but only on the center of the mobile lid. Never apply shimmer directly to the overhanging skin. Light reflection on the hood emphasizes its weight and depth.
Keep the shimmer confined to the area visible when your eyes are open. This creates a focal point that draws attention inward rather than outward to the excess skin.
How do I stop eyeshadow from creasing?
Prime thoroughly and set with translucent powder before applying color. Oil production under the brow bone causes migration. Use long-wear, transfer-resistant formulas as specified by manufacturers.
Avoid heavy cream bases unless you set them immediately with powder. Blotting papers can help remove excess oil mid-day without disturbing the makeup structure underneath.
Should I cut the crease for hooded eyes?
A modified cut crease works well if executed correctly. Define the new crease line above your natural fold using concealer. Then pack dark shadow above that line.
This creates an artificial socket depth. However, this technique requires steady hands and good lighting. Start with simple matte shading before attempting complex cuts to avoid muddy results.
What eyeliner style suits hooded eyes best?
Angled wings extend upward and outward to counteract drooping. Horizontal lines get hidden by the hood. Tightlining adds density without consuming lid space.
Combine these approaches for maximum impact. Ensure the wing tip clears the outer corner of the hood. This elongates the eye shape visually and opens up the overall appearance effectively.

Similar Posts