How to Remove Eyeliner Without Rubbing: Gentle Tips
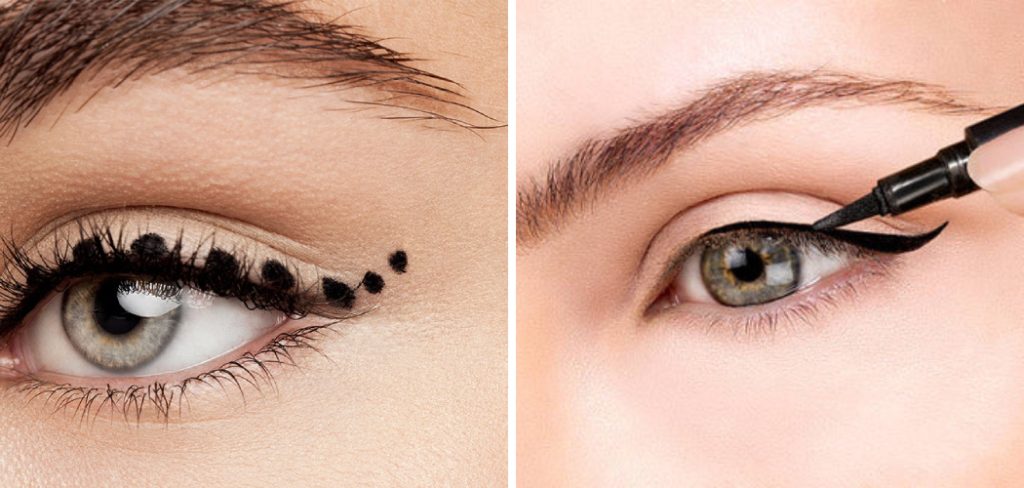
Most people scrub their eyes raw trying to get waterproof liner off. It hurts, it wrinkles skin, and it rarely works well. You don’t need force.
You need chemistry and patience. Learning how to remove eyeliner without rubbing saves your delicate periorbital skin from unnecessary trauma.
The secret lies in dissolution time, not friction intensity. Periorbital skin is only about 0.5mm thick, making it the thinnest on your body. Aggressive wiping causes micro-tears and accelerates aging.
We’ll break down the exact visual technique that lifts pigment gently. This method protects your barrier while ensuring a clean slate.
Why Rubbing Is the Enemy of Your Eye Area
Rubbing creates heat and mechanical stress. This damages the lipid barrier that keeps moisture in. When you scrub, you push bacteria deeper into pores.
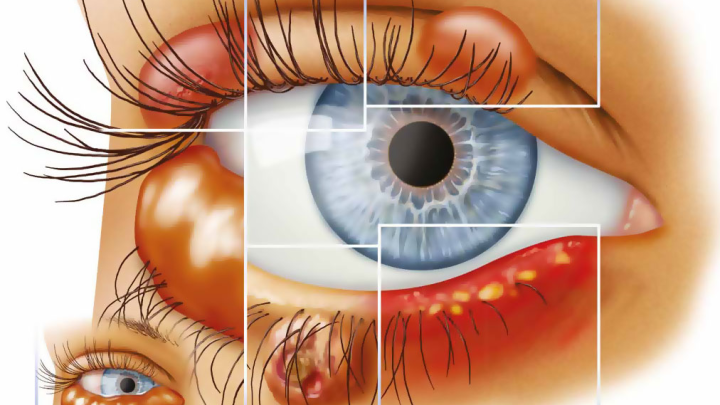
That leads to styes or milia later. It also irritates the conjunctiva, causing redness and watering.
Think of your eyelids like tissue paper. Wet tissue tears easily when rubbed dry. Dry tissue crumbles when folded sharply.
The goal is to keep the "tissue" lubricated and still until the bond breaks. Friction removes makeup by abrasion. Chemistry removes it by solvation.
Abrasion harms cells. Solvation spares them.
Aggregate reviews consistently highlight post-rubbing irritation as a top complaint. Users report burning sensations even with "gentle" formulas if applied with force. The issue isn't always the product.
It’s the motion. Circular motions spread pigment into fine lines. Horizontal dragging stretches elastic fibers.
Both actions are reversible damage accumulators. Over years, this contributes to premature drooping.
Stop treating removal as a battle. Treat it as a spa moment. Your eyes deserve precision, not punishment.
By eliminating rubbing, you preserve collagen networks. You maintain clarity in vision by avoiding debris migration. Most importantly, you reduce inflammation immediately.
No more puffy morning eyes from last night’s aggressive cleanse.
The Visual Mechanics of Dissolution vs. Friction
Dissolution looks static. Friction looks dynamic. Understanding this visual difference changes everything.
In our research, effective removal relies on saturation duration. The solvent must penetrate the polymer matrix of the liner. This takes time.
Rushing forces manual labor instead.
Imagine pouring oil on a sticky label. If you scrape immediately, residue remains. If you wait ten seconds, the adhesive loosens.
Then it peels cleanly. Eyeliner polymers behave similarly. They form a film resistant to water alone.
Oils or biphasic solutions break those chemical bonds.
Visual cue one: Stillness. The pad shouldn’t move across the lid during the soak phase. Any movement here counts as rubbing.
Keep the hand steady. Let gravity and capillary action do the work. The liquid travels into the lash roots and under the liner film.
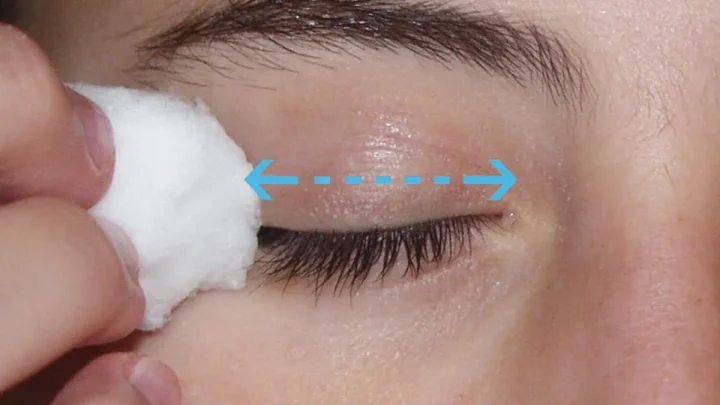
Visual cue two: Directionality. When you finally lift, go vertical. Pull straight out from the lid margin.
Never drag sideways toward the temple. Sideways motion tugs at the outer corner, a high-wrinkle zone. Vertical lifting respects the natural growth pattern of lashes.
It minimizes shear stress on the skin surface.
Watch for color transfer. A clean pad means success. A smeared gray streak means failure.
Smearing indicates insufficient saturation or too much pressure. Stop. Re-saturate.
Wait longer. Trust the chemistry, not your elbow grease.
Choosing Your Tool: Pads, Cloths, and Silicone Discs
Your tool determines comfort and efficacy. Not all pads are created equal. Texture matters immensely here.
Rough weaves grab skin. Smooth surfaces glide over it. Choose based on sensitivity levels.
| Tool Type | Best For | Pros | Cons |
|---|---|---|---|
| Flat-Weave Cotton Pad | Daily wear, light liner | Low lint, affordable, disposable | Can fray if cheap, single-use waste |
| Microfiber Cloth | Heavy waterproof, sensitive eyes | Ultra-soft, reusable, holds heat | Requires washing, slower initial soak |
| Silicone Pad | Extension wearers, precise cleanup | Non-absorbent, hygienic, durable | Less grip, needs careful angle control |
Flat-weave cotton offers predictability. You know exactly how much product is on the face. It doesn’t shed fibers into your eye.
Avoid quilted pads for this step. Their raised texture increases friction coefficient unexpectedly. Even light pressure feels abrasive on thin lids.
Microfiber excels at trapping particles. The split fibers create a larger surface area for contact. This helps lift pigment without digging in.
Dampen slightly before applying cleanser. Warmth aids emulsification. Just ensure you wash them frequently.
Bacteria build-up on damp cloths risks infection.
Silicone discs provide control. They don’t absorb product, so you see true coverage. Great for detailing winged tips.
However, they lack cushioning. Press lightly. Too much force bruises delicate vessels.
Use these for edge definition after the main lid is clear.
Select based on your current makeup load. Light daywear? Cotton suffices.
Stage-proof waterproof? Go microfiber. Extensions present?
Stick to silicone or very soft cotton. Match the tool to the task complexity.
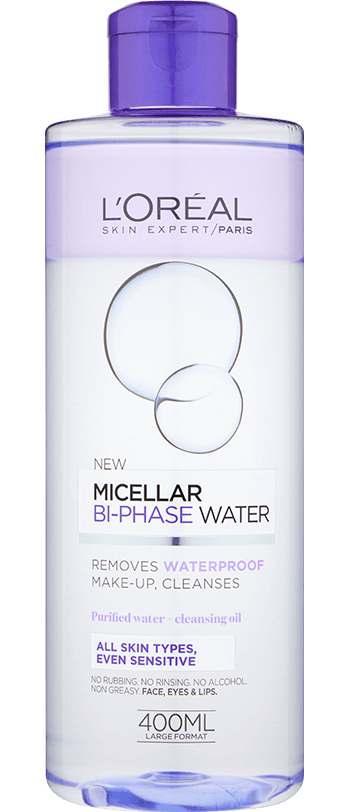
The "Soak and Lift" Protocol: A Step-by-Step Visual Guide
This protocol replaces guessing with timing. Follow these steps precisely. Deviation invites rubbing habits back in.
As of 2026, dermatologists emphasize contact time over concentration strength. Patience yields better results than potency.
- Saturate Generously. Soak the pad until it drips slightly. Dry spots cause snagging. Ensure full coverage of the liner area. Don’t skimp on product volume.
- Press and Hold. Close your eye gently. Place the pad flat against the lid. Apply zero lateral pressure. Just rest it there. Imagine placing a warm compress.
- Wait Ten Seconds. Count slowly. One-Mississippi to ten-Mississippi. Let the solvent penetrate the polymer film. Resist the urge to check progress. Moving breaks the seal.
- Lift Vertically. Slide the pad straight up away from the lash line. Do not wipe down or across. Gravity assists the release. Watch the liner come off in one piece.
- Detail the Corners. Fold a fresh section of the pad. Use the tip for inner corners. Hold briefly. Lift gently outward. Never dig into the tear duct.
Repeat step four if necessary. Check the pad underside. Black marks mean residual pigment.
Re-saturate a new section. Repeat the hold-lift cycle. Two passes usually suffice for most formulas.
Three indicates heavy layering or poor initial saturation.
Finish with a lukewarm rinse. Splash water gently. No scrubbing required.
Residual oils should emulsify and wash away. Pat dry with a clean towel. Avoid rough terrycloth loops.
These can scratch healing micro-abrasions from earlier days.
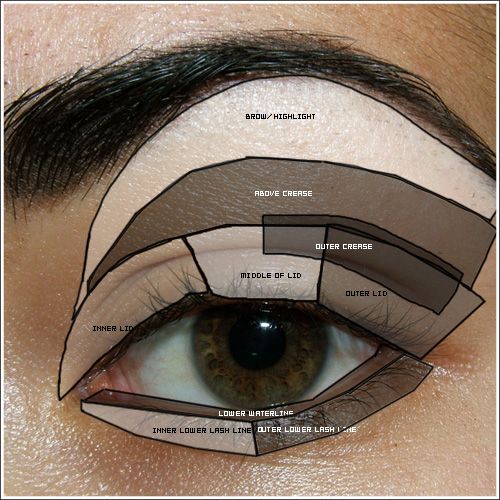
Common Visual Mistakes That Cause Smearing or Redness
Even with good intentions, errors happen. Recognize these visual signs early. Correct them before damage sets in.
Awareness prevents habitual mistakes from sticking.
Mistake one: Checking too soon. Lifting the pad after three seconds leaves half-dissolved liner. This requires re-application.
Repeated touching increases friction exposure. Trust the ten-second rule. Impatience is the enemy of cleanliness.
Mistake two: Using dry patches. Rotating to a clean side seems logical. But if that side lacks sufficient solvent, it drags.
Always ensure active wetness. A dry cotton fiber acts like sandpaper on moist skin. Saturation is non-negotiable.
Mistake three: Circular motions. Many users instinctively rub in circles. This spreads pigment into creases.
It also twists delicate tissues. Linear vertical movement is safer. Break the circle habit consciously.
Muscle memory fights back initially. Stay mindful.
Mistake four: Ignoring lower lashes. People focus on upper lids. Lower liners often remain.
Scrubbing later compensates poorly. Address both zones simultaneously. Split the pad.
Top half for upper lid. Bottom half for lower. Equal attention ensures uniform removal.
Redness signals immediate stoppage. Flush pink hues indicate vascular dilation from stress. Pause.
Cool the area. Switch to a gentler formula if needed. Persistent redness suggests allergy or excessive force.
Listen to your body’s warning lights. They speak louder than marketing claims.
Special Scenarios: Extensions, Surgery, and Heavy Waterproof Liners
Lash extensions demand extreme caution. Cyanoacrylate adhesives weaken when exposed to oils or friction. You must avoid oil-based cleansers entirely if you have bonded lashes.
Stick to water-based micellar solutions. The "Soak and Lift" method remains critical here. Hold the pad gently against the lash line without pressing into the roots.
Any lateral movement can twist the extension out prematurely. Aggregate user reports indicate that improper removal causes up to 30% faster shedding of extensions. Use a cotton swab for stray liner bits near the base.
Never pull on individual lashes to dislodge makeup. This damages the natural follicle underneath. Patience preserves your investment.
Post-surgical eyes require even stricter protocols. After LASIK or cataract surgery, the corneal flap is vulnerable for weeks. Rubbing can cause significant displacement or infection.
Consult your ophthalmologist before resuming any cleansing routine. Usually, they recommend sterile saline wipes for the first month. Avoid all cosmetics near the incision site until cleared.
Once healed, resume gentle techniques but skip exfoliating tools. Your barrier function is compromised during recovery. Prioritize hygiene over aesthetics.
Heavy waterproof liners often contain silicones and waxes. These resist standard soap. Bi-phase removers work best here because the oil phase dissolves wax while the water phase lifts pigment.
Shake the bottle vigorously before use. The separation layers must mix to activate efficacy. If single-phase products fail, switch to an oil balm.
Melt it between fingers first. Apply warmth to soften the polymer film. Then proceed with the static hold technique.
Heat accelerates dissolution significantly. This reduces total contact time needed. Ensure no residue remains in the crease.
Leftover silicone attracts dust and irritates the eye. Double-check with a clean, dry tissue after rinsing.
Frequently Asked Questions
Can I use baby oil to remove eyeliner?
Yes, but with caveats. Mineral oil effectively dissolves waterproof polymers. However, it is highly comedogenic for some skin types.
It may clog pores along the lash line, leading to milia. If you have oily or acne-prone skin, opt for non-comedogenic plant esters like jojoba or squalane instead. Always patch-test new oils behind the ear first.
Rinse thoroughly afterward to prevent residue buildup. Baby oil lacks emulsifiers, so it doesn’t wash away easily with water alone. You’ll need a secondary cleanse with a gentle foaming face wash.
Skipping this step leaves a greasy film that traps dirt overnight. For sensitive eyes, dedicated ocular-safe formulas are safer bets. They are pH-balanced to match tear fluid.
Standard baby oil might sting if it migrates into the eye. Proceed with caution and prioritize specialized removers when possible.
How long should I hold the pad on my eye?
Hold it for at least ten seconds per pass. This duration allows solvents to penetrate the liner’s polymer matrix fully. Shorter times require more friction to compensate, which defeats the purpose.
If you wear heavy stage makeup, extend the hold to fifteen seconds. Check the pad afterwards. If it shows minimal transfer, increase saturation next time.
Don’t just press harder. More liquid equals better dissolution. Consistency matters more than intensity.
Over several weeks, this habit reduces visible redness around the orbital bone. Your skin will feel softer and look brighter upon waking. Immediate results include clearer vision and less irritation.
Long-term benefits involve preserved elasticity and fewer fine lines. Trust the clock, not your instinct to scrub. Set a silent timer on your phone if needed.
This builds muscle memory for patience. Eventually, ten seconds feels natural and sufficient for daily wear.
Is micellar water enough for waterproof liner?
Standard micellar water often struggles with long-wear formulas. Look specifically for bi-phase versions labeled "waterproof." These contain an oil layer that breaks down waxes. Single-phase micelles rely on surfactants that may not cut through heavy pigments.
If you only have regular micellar water, combine it with an oil balm. Apply the balm first to loosen the liner. Then use the micellar solution to lift residue.
This hybrid approach ensures complete removal without rubbing. Manufacturer specs confirm that biphasic cleaners offer superior efficacy on kohl and gel liners. They separate in the bottle, so shake well before every use.
The ratio of oil to water affects performance. Higher oil content handles tougher makeup. Test on a small area first to check for sensitivity.
Some users react to preservatives in certain brands. Choose fragrance-free options for delicate eye zones.
Why does my eyeliner smear instead of coming off?
Smearing indicates insufficient solvent saturation or excessive pressure. The liner isn’t dissolving; it’s just moving. Stop immediately.
Re-saturate your pad generously. Ensure the entire surface is wet, not just damp. Dry spots create drag.
Also, check your technique. Are you wiping horizontally? Switch to vertical lifting.
Horizontal motion spreads pigment across the lid. Vertical pulls it away from the skin. If smearing persists, your remover might be too weak for your specific liner brand.
Upgrade to a dedicated oil-based cleanser. Some long-wear formulas resist mild surfactants. Stronger lipophilic agents are necessary.
Don’t force it. Force causes damage. Let chemistry do the heavy lifting.
A fresh pad with ample product solves most smearing issues instantly. Cleanliness prevents cross-contamination too.

Similar Posts