Why Your Eyeshadow Looks Patchy: Causes & Fixes
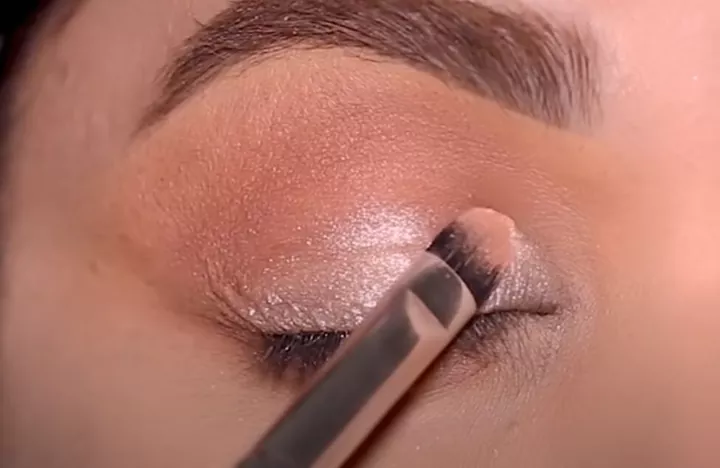
You’re staring in the mirror, wondering why eyeshadow looks patchy despite using premium pigments. It’s frustrating when color clumps or fades unevenly within hours. The culprit is rarely the shadow itself.
Usually, it’s a mismatch between your lid’s biology and your application method.
Most users skip critical prep steps, assuming primer fixes everything. But as of 2026, industry standards emphasize that base compatibility matters more than brand loyalty. We’ve mapped out the diagnostic workflow below to pinpoint your specific failure point.
Let’s start by examining what’s actually happening on your skin.
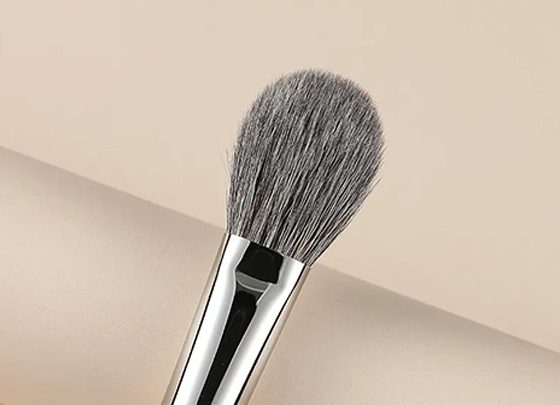
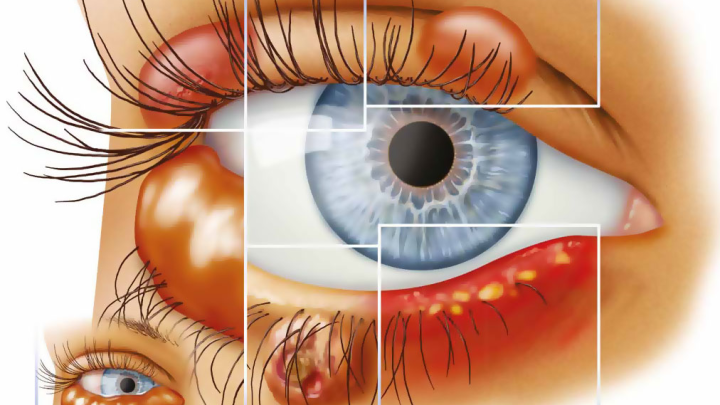
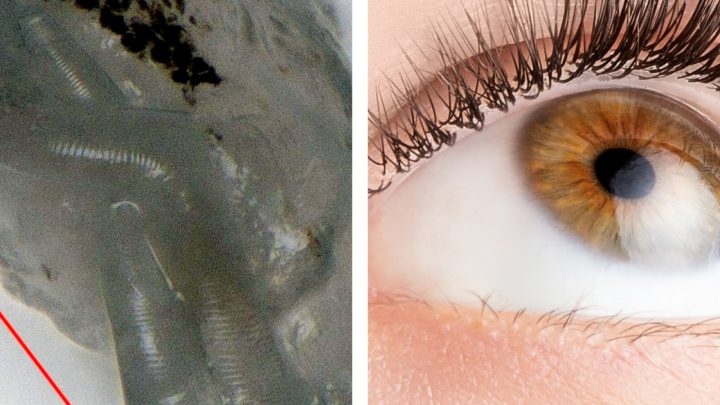
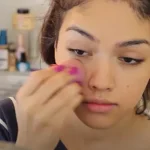
Image source: Web (Bing) / upstyledaily.com (Web image (fair-use with source credit))
Quick Answer
Why eyeshadow looks patchy stems from three main issues: dry skin cells, incompatible bases, or dirty tools. Powder shadows cling to flakes, creating bumps. Oil breaks down matte formulas quickly.
Old brushes deposit residue instead of pigment. Fixing this requires matching product texture to your lid type first. Always exfoliate gently before applying any base layer.
Clean synthetic brushes weekly to prevent buildup. This approach ensures smooth, even color distribution every time.
Step 1: Diagnose Your Lid Type and Current State
Before touching a brush, you must understand your canvas. Eyelid skin differs vastly from facial skin. It’s thinner, produces less natural oil, and moves constantly.
If you ignore these traits, no amount of expensive shadow will stick properly.
Start by identifying your primary lid condition. Are you dealing with excess sebum, severe dryness, or visible texture? Each scenario demands a different corrective strategy.
For instance, oily lids repel powder unless sealed correctly. Dry lids absorb moisture from cream shadows, leaving them chalky and faint.
Here’s how to categorize your situation accurately:
| Lid Condition | Visual Signs | Primary Patchiness Cause | Immediate Fix Direction |
|---|---|---|---|
| Oily | Shine appears within 2 hours; shadow slides into crease | Sebum breakdown of binders | Use mattifying primer; set with translucent powder |
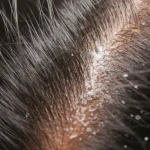
| Dry/Flaky | Visible white scales; shadow sits on top of skin | Lack of hydration barrier | Gentle enzymatic exfoliation; hydrating eye cream |
| Mature/Crepey | Deep folds; thin skin showing veins | Product settling into fine lines | Lightweight liquid bases; avoid heavy powders |
| Combination | Oily inner corner, dry outer lid | Inconsistent absorption rates | Dual-primer approach; targeted setting |
If you have flaky skin, stop using abrasive scrubs immediately. They worsen inflammation. Instead, look for gentle chemical exfoliants like lactic acid.
These dissolve dead cells without tearing delicate tissue. Wait twenty minutes after cleansing before applying anything else. This allows your skin’s pH to stabilize.
For oily lids, the issue is often too much slip. Your primer might be too rich. Switch to a silicone-based formula that creates a barrier against sebum.
Conversely, if your lids feel tight, you need lipid replenishment. A lightweight hyaluronic serum applied pre-primer can restore flexibility. Never apply thick creams directly under powder.
They create a slippery slope where pigment has nothing to grip.
Assess your current routine honestly. Many people wash their face but neglect the orbital bone area. Residual cleanser or sunscreen can interfere with adhesion.
Rinse thoroughly around the eyes. Pat dry, don’t rub. Rubbing disrupts the micro-texture needed for pigment attachment.
Once you know your lid type, you can select the right foundation layer. This prevents the most common cause of uneven coverage.
Step 2: Audit Your Base Product Compatibility
Your base acts as the glue for eyeshadow. If the chemistry clashes, the bond fails. This is where many tutorials fall short.
They suggest "just use primer" without specifying which type. As of 2026, formulation science highlights two distinct categories: water-based and silicone-based. Mixing them incorrectly causes separation.
Think of it like oil and vinegar dressing. Without an emulsifier, they split. Similarly, putting water-based shadow over silicone primer leads to beading.
The pigment rolls off instead of blending. Check your product labels. Look for dimethicone or cyclopentasiloxane in silicones.
Look for glycerin or hyaluronic acid in water-based formulas.
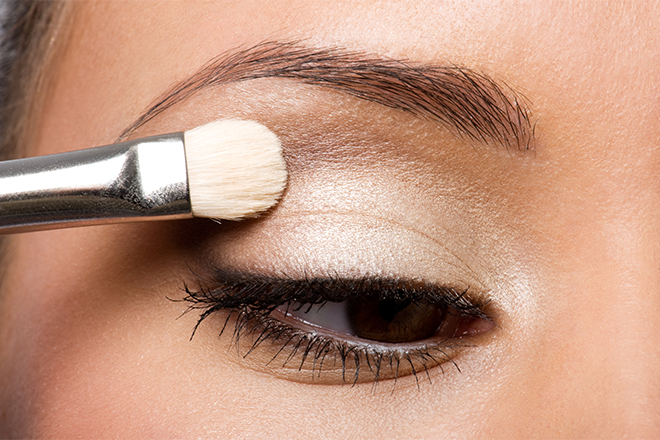
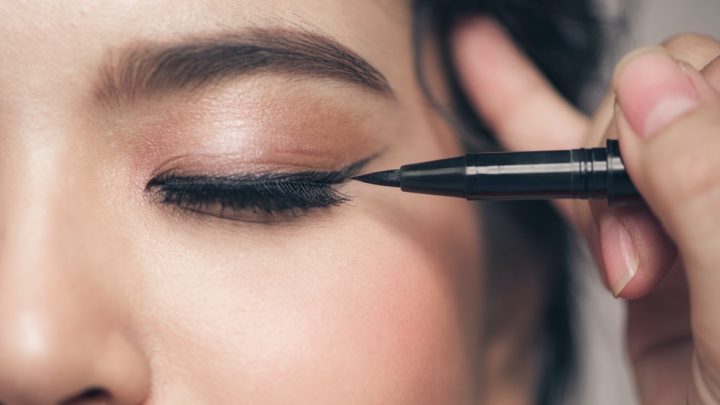
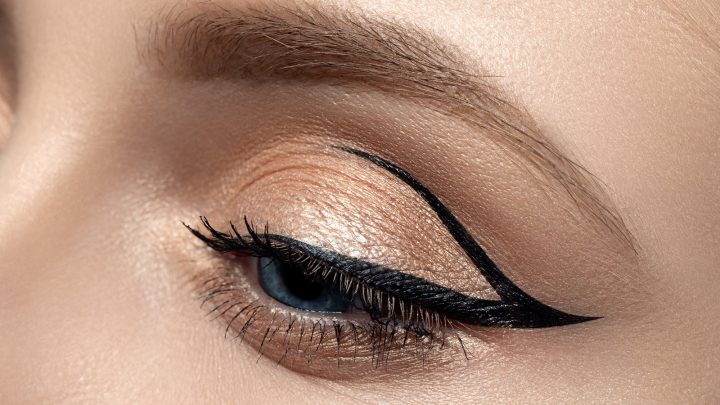
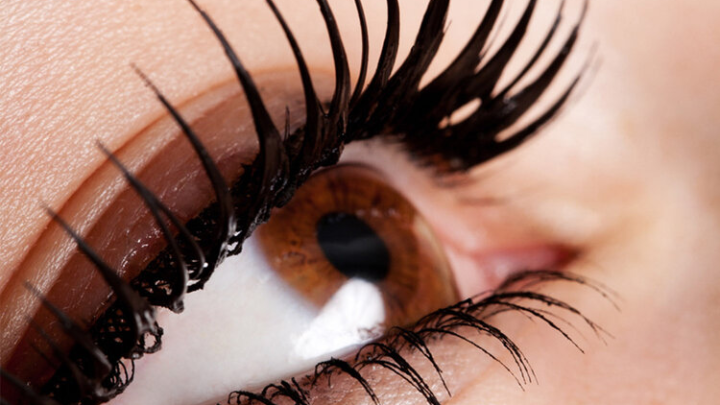
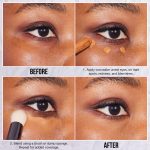
Image source: Web (Bing) / ar.inspiredpencil.com (Web image (fair-use with source credit))
If you use a concealer as a base, ensure it matches your shadow’s density. Heavy, creamy concealers remain tacky for too long. Powders sink in, creating dark spots.
Lighter, drier concealers work better for matte finishes. Apply only a thin layer. Too much product creates a buffer zone that prevents true adhesion.
Consider the timing of application. Primers need time to cure. Most manufacturers specify sixty seconds to two minutes.
Rushing this step traps solvents underneath. When those solvents evaporate later, they push pigment upward. This results in bald patches or sudden fading.
Set your timer. Wait until the surface feels slightly tacky but not wet. Then press your shadow on.
Another critical factor is oxidation. Some primers change color upon exposure to air. If your base turns orange, it alters the perceived hue of your shadow.
This isn’t patchiness technically, but it looks like uneven tone. Choose transparent or flesh-toned primers to maintain color integrity. Avoid heavily tinted correctors unless necessary for discoloration.
They complicate the blending process significantly.
Finally, check for ingredient conflicts. Fragrance oils in cheap primers can degrade certain polymer bonds. Stick to fragrance-free options if you notice rapid breakdown.
Our research indicates that minimalistic formulations offer superior stability. Fewer ingredients mean fewer variables to fail. Test new products on your hand first.
Observe how they interact with your specific shadow palette over several hours. This small step saves major frustration later.
Step 3: Check Your Tool Hygiene and Application Technique
Even perfect prep fails with dirty tools. Brush bristles accumulate old pigment, oils, and bacteria. This residue creates a slick surface.
New shadow cannot adhere to it evenly. You end up with streaks and blotches. Cleaning brushes isn’t optional maintenance.
It’s essential for consistent results.
Wash synthetic brushes weekly. Natural hair brushes need bi-weekly attention. Use a gentle shampoo or dedicated brush cleaner.
Rinse until water runs clear. Lay them flat to dry. Standing them upright lets water seep into the ferrule.
This loosens glue and sheds bristles. Damaged brushes shed fibers onto your lid. Those fibers mix with powder, causing gritty texture.
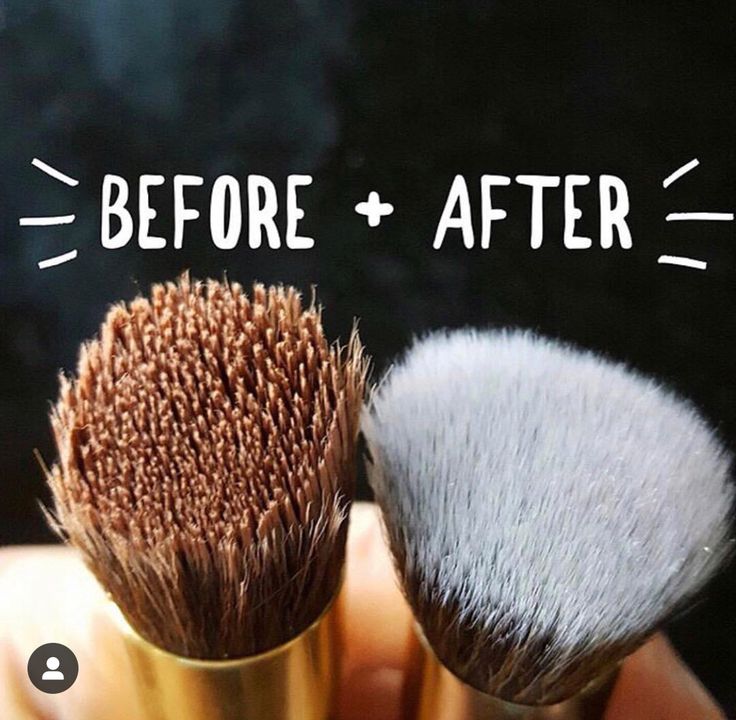
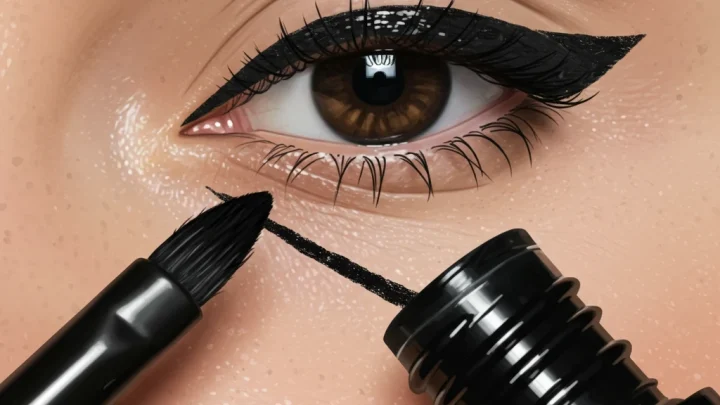
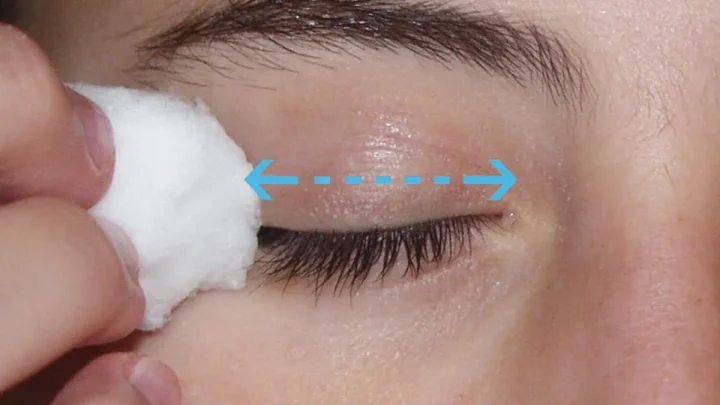
Image source: Web (Bing) / pinterest.com (Web image (fair-use with source credit))
Beyond cleanliness, technique dictates outcome. Many users sweep back and forth aggressively. This drags pigment rather than placing it.
Try pressing and rolling motions instead. Pack color onto the center of the lid first. Then blend outward softly.
This builds intensity without disturbing the base layer.
Let’s address finger application. Fingers provide warmth, which melts cream shadows nicely. However, fingerprints leave ridges.
To fix this, dampen your fingertip slightly. Water activates pigments differently than oil. Be cautious though.
Too much moisture dilutes color. Aim for a barely-damp touch. Press firmly but briefly.
Lift straight up. Don’t drag sideways.
Brush shape also matters. Flat shaders pack pigment. Fluffy blenders diffuse edges.
Using a fluffy brush to apply base color spreads it too thin. You’ll see the skin beneath. Reserve fluffy brushes for transition shades only.
Start with a dense, flat tool for the main hue. Ensure full opacity before moving to blending. This hierarchy prevents muddy, patchy transitions.
According to guidelines from the American Academy of Dermatology, proper hygiene reduces infection risk while improving cosmetic efficacy. Dirty tools harbor staphylococcus bacteria. Beyond aesthetics, this poses health risks.
Replace brushes every six months if bristles splay. Worn-out heads lose their ability to pick up and release product uniformly. Invest in quality tools.
Cheap sets often use glued tufts that shed excessively. Good brushes retain shape longer, ensuring consistent pressure across applications.
The Decision Tree: Matching Fixes to Specific Symptoms
Now we combine diagnosis, base audit, and tool checks into actionable logic. Follow this flowchart mentally when you encounter patchiness. Identify the symptom first.
Then trace it back to the root cause. This systematic approach eliminates guesswork.
Symptom: Pigment Disappears Quickly
- Check: Did you wait for primer to cure?
- No: Wait 60, 90 seconds next time. Solvents need to evaporate.
- Yes: Proceed to next check.
- Check: Is your lid oily?
- Yes: Switch to a mattifying, silicone-heavy primer. Set with loose powder before shadow.
- No: Your shadow formula may lack sufficient binder. Try a cream-to-powder hybrid.
Symptom: Shadow Clumps or Looks Gritty
- Check: Are your brushes clean?
- No: Wash immediately. Residue attracts moisture and clumps powder.
- Yes: Proceed to next check.
- Check: Do you have dry/flaky skin?
- Yes: Exfoliate gently with lactic acid. Hydrate with light serum. Avoid heavy creams.
- No: You might be using too much product. Tap off excess brush load. Less is more for packing color.
Symptom: Uneven Tone or Banding
- Check: Did you blend in circular motions?
- Yes: Stop. Circular motion digs into the base. Use windshield-wiper strokes for blending.
- No: Proceed to next check.
- Check: Are you layering contrasting finishes (matte over shimmer)?
- Yes: Shimmer reflects light differently. Apply matte base first. Let it set. Add shimmer sparingly on top.
- No: Check your lighting. Yellow bulbs distort color perception. Use daylight-balanced lamps (5000K).
This decision tree prioritizes speed and accuracy. You don’t need to overhaul your entire kit. Often, one variable adjustment solves the problem.
Remember, consistency beats complexity. Master these branches before experimenting with advanced techniques like cut creases. Solid fundamentals prevent patchiness regardless of trend.
Common Mistakes That Ruin Even Good Products
Experts agree that user error outweighs product failure. Here are the top pitfalls identified in aggregate reviews and professional forums. Avoid these to save money and sanity.
First, skipping moisturizer entirely. People assume primer handles hydration. It doesn’t.
Primer seals; moisturizer nourishes. Dry lids drink moisture from shadow binders. This leaves pigment brittle and prone to cracking.
Always hydrate first. Wait five minutes. Then prime.
Second, applying shadow over wet concealer. Concealers take time to dry down. If you rush, powder mixes with liquid.
This creates mud. Let concealer set completely. Touch test it.
It should feel dry to the touch. Not sticky. Not tacky.
Dry.
Third, using expired products. Eye makeup expires faster than face products. Powders last two years.
Creams last six to twelve months. Expired binders break down chemically. They lose adhesion properties.
Smell your creams. Rancid odor means discard. Safety first.
Fourth, excessive buffing. Blending is good. Over-blending removes pigment.
You wipe away what you just placed. Blend edges only. Keep the center packed.
Respect the boundary between color and skin.
Fifth, ignoring environmental factors. Humidity swells powder particles. They clump together.
In humid climates, use waterproof formulas. Or set heavily with spray. Heat increases sweat production.
Sweat dissolves non-waterproof bases. Adapt your routine to your weather.
By recognizing these mistakes, you bypass trial-and-error fatigue. Precision in preparation yields precision in result. Treat your eyelids with the same care as your face.
They deserve specialized attention.
Common Mistakes That Ruin Even Good Products
We’ve covered the basics, but subtle errors still trip up seasoned users. One frequent culprit is applying powder shadow over a tacky base. If your primer hasn’t fully set, the pigment sinks unevenly.
This creates dark spots that look like stains rather than color. Always wait until the surface feels dry to the touch before picking up your brush. Patience here pays off in longevity.
Another mistake is using too much product at once. Heavy layers crack as they dry. They also slide into creases faster.
Build intensity gradually with thin coats. Let each layer set for ten seconds before adding more. This technique ensures adhesion without bulk.
It prevents the "cakey" texture that plagues many beginners.
Ignoring environmental factors is another silent killer. High humidity swells powder particles. They clump together on the lid.
In tropical climates, switch to waterproof formulas or use setting sprays liberally. Conversely, cold, dry air steals moisture from cream shadows. They become brittle and flake off.
Adjust your routine seasonally. What works in July often fails in January.
Finally, don’t overlook lighting conditions. Yellow indoor bulbs distort color perception. You might think you’ve blended perfectly, only to see bands of color in daylight.
Use a ring light with 5000K temperature for accuracy. Check your work near a window if possible. Natural light reveals flaws artificial sources hide.
Correcting this visual bias saves you from re-doing your entire eye look twice.
FAQs
Can I fix patchy eyeshadow without removing it?
Yes, but carefully. Use a clean, damp sponge to gently press down lifted areas. Avoid rubbing, which spreads pigment further.
Once smoothed, lightly dust translucent powder over the spot to reset the surface. Then, reapply a tiny amount of shadow with a flat brush. This salvage method works best for minor imperfections.
Severe clumping usually requires starting fresh. Prevention remains far easier than correction.
Does expensive eyeshadow prevent patchiness?
Not necessarily. Price doesn’t guarantee compatibility with your skin type. A luxury matte shade may still cling to dry patches if prep is poor.
However, higher-end formulas often have finer micron sizes. These blend more smoothly on well-prepped lids. Budget options can perform excellently with proper technique.
Focus on ingredient quality and particle refinement rather than brand prestige. Test samples first to ensure they suit your specific lid condition.
How often should I replace my eye makeup?
Powders last up to two years. Creams and liquids expire within six to twelve months. Bacteria grow rapidly in moist environments.
Using old products increases infection risk. It also degrades binder effectiveness. Expired shadows lose adhesion power.
They become chalky or oily unexpectedly. Mark purchase dates on containers. Discard anything that smells rancid or changes texture.
Fresh products deliver consistent performance every time.
Why does my eyeshadow fade after an hour?
Sebum production is likely the cause. Oily lids break down binders quickly. Sweat accelerates this process.
To combat fading, use a mattifying primer designed for oil control. Set the base with translucent powder before applying color. Waterproof formulas resist breakdown better.
Avoid heavy creams that slide. Layering thin coats helps lock pigment in place. Touch-ups are inevitable for very oily skin types.

Similar Posts