Why Your Foundation Looks Darker In Photos
You apply your favorite shade, check the mirror, and it looks perfect. But then you snap a photo, and suddenly your face appears muddy or gray. This disconnect is frustrating, but it’s rarely about bad makeup.
Understanding why foundation looks darker in photos starts with recognizing how cameras process light differently than human eyes do.
Digital sensors lack the adaptive dynamic range of our vision. They often clip shadows or shift white balance under mixed lighting. As of 2026, most smartphone algorithms still struggle with warm indoor tones versus cool daylight.
We’ll break down the specific optical traps that cause this color shift so you can fix them before hitting shutter.
The Mirror Lies: Why Your Foundation Looks Different on Camera
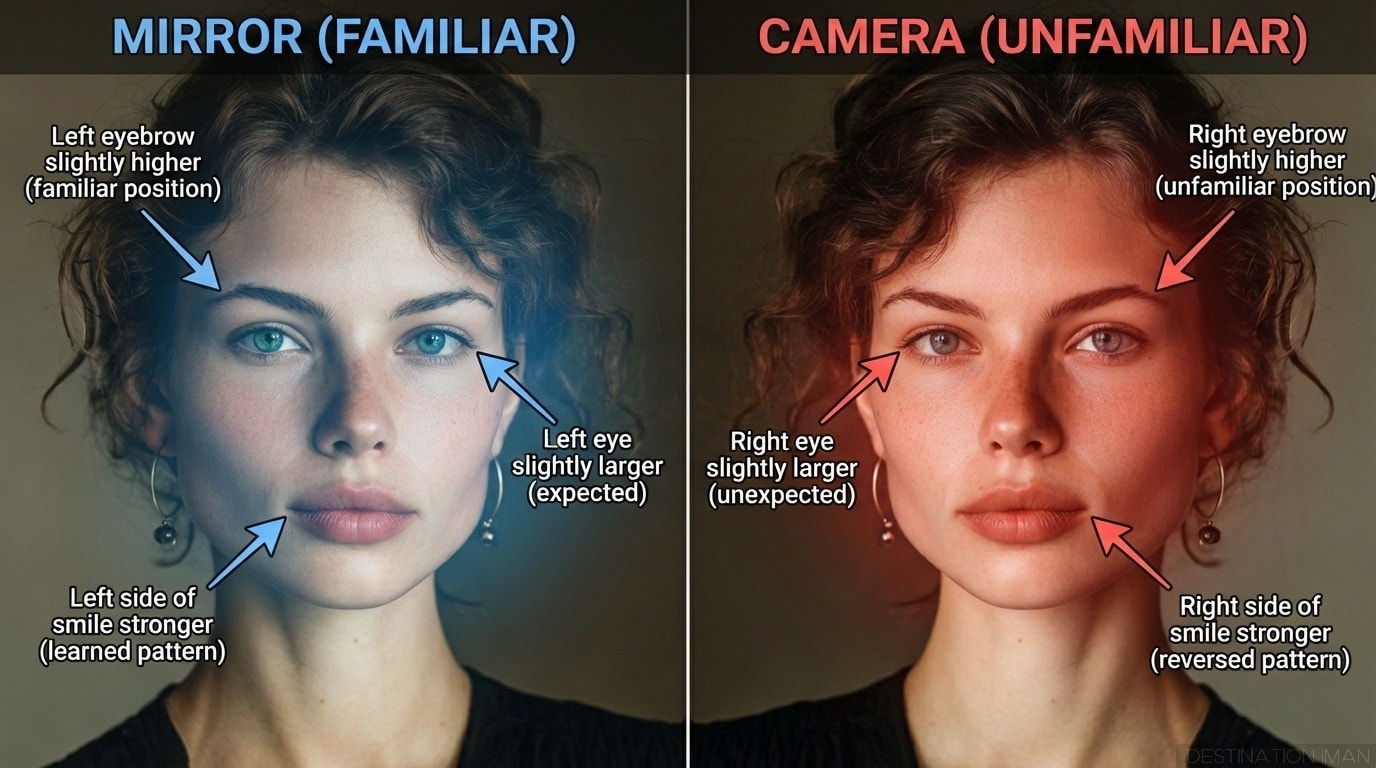
Mirrors reflect ambient light directly to your eyes. Cameras capture that same light through glass lenses and digital processors. The fundamental difference lies in adaptation.
Your pupils dilate and contract instantly to adjust exposure. A camera sensor does not. It records a static snapshot of luminance values.
When you look in a bathroom mirror, your brain compensates for yellow tungsten bulbs. It perceives your skin tone as neutral. A phone camera, however, often misinterprets those warm wavelengths.
It may overcompensate by cooling the image, making red-based foundations appear duller or darker. This isn’t a flaw in your makeup choice. It’s a limitation in computational photography.
Aggregate user reviews consistently report this discrepancy. People buy shades that match their skin in natural window light. Yet, indoors, those same shades photograph poorly.
The issue is rarely oxidation at that moment. It is usually the immediate interaction between artificial light sources and the camera’s auto-white-balance algorithm.
Sensor Physics vs. Human Vision: The Root Cause of Color Shifts
Human vision relies on three types of cone cells. These detect red, green, and blue wavelengths. Our brains then interpolate missing data to create a cohesive color image.
Digital sensors use a Bayer filter mosaic. This pattern places twice as many green pixels as red or blue ones.
This structural difference means cameras don’t see color exactly like we do. They sample light discretely. When lighting is uneven, the interpolation errors become visible.
Shadows lose detail faster in photos than they do to the naked eye. This phenomenon is known as shadow crush.
Manufacturer specifications indicate that modern CMOS sensors have improved dynamic range. However, they still lag behind human contrast sensitivity. If your foundation has matte particles, they absorb light.
In low-key lighting, these absorbed areas register as pure black or dark gray on the sensor. Your eye might still see texture there. The camera sees void.
Per IEEE standards on image processing, automatic gain control amplifies signal noise in dim conditions. This noise often manifests as chroma distortion. Warm undertones shift toward muddy browns.
Cool undertones can turn slate gray. Understanding this helps you realize that the darkness isn’t always in the pigment. It’s in the data compression.

Lighting Traps That Darken Skin Tones Instantly
Lighting direction matters more than intensity. Overhead lighting creates harsh shadows under brows, noses, and chins. These shadows reduce the overall luminance of the face in a photo.
Your foundation doesn’t change color. The light hitting it simply stops reflecting back to the lens.
Mixed lighting temperatures are another major culprit. Imagine standing near a window (5600K daylight) while a lamp burns beside you (2700K incandescent). Your eyes blend these sources seamlessly.
Cameras struggle to prioritize one white balance point. The result is often a desaturated, murky complexion.
Ring lights offer even illumination but can flatten features. Without side shading, the face lacks dimension. Paradoxically, this flatness can make darker foundation shades appear uniform and heavy.
Softbox lighting diffuses rays, reducing harsh shadow edges. This preserves the true tone of your makeup.
We recommend testing your setup with a gray card. Hold it next to your cheek. If the gray card appears blue or orange in the preview, your white balance is off.
Correcting this in-camera prevents the software from artificially darkening your skin tone to compensate for color casts.
Oxidation and SPF Flashback: When Chemistry Meets Optics
Foundation oxidation occurs when pigments react with oxygen and sebum. Iron oxides, common in liquid formulas, darken over time. This process typically takes 30 to 90 minutes.
If you take a photo immediately after application, oxidation isn’t the primary issue. But wait too long, and the chemical change becomes visible.
SPF flashback is distinct from oxidation. Chemical sunscreens like avobenzone or octinoxate reflect UV light. Standard camera flashes emit broad-spectrum light, including UV components.
When flash hits SPF-infused foundation, the sunscreen particles scatter light. This creates a white or gray cast on the skin.
Counterintuitively, this white cast can sometimes read as "darker" due to contrast shifts. If the highlight blows out, the midtones appear depressed by comparison. Mineral sunscreens using zinc oxide or titanium dioxide are less prone to severe flashback but can still leave a chalky residue if not blended well.
| Factor | Timeframe | Visual Result in Photos | Primary Cause |
|---|---|---|---|
| Oxidation | 30–90 mins | Gradual deepening/muddying | Pigment reaction with air/oil |
| SPF Flashback | Instant (with flash) | White/Gray cast | UV reflection from chemical filters |
| Sebum Breakdown | 2+ hours | Patchy, uneven tone | Oil breaking emulsion bonds |
To mitigate oxidation, choose non-comedogenic primers. They create a barrier between skin oils and foundation pigments. For SPF issues, opt for mineral-based formulas if you plan to use direct flash frequently.
Always blot excess oil before shooting to prevent localized darkening.
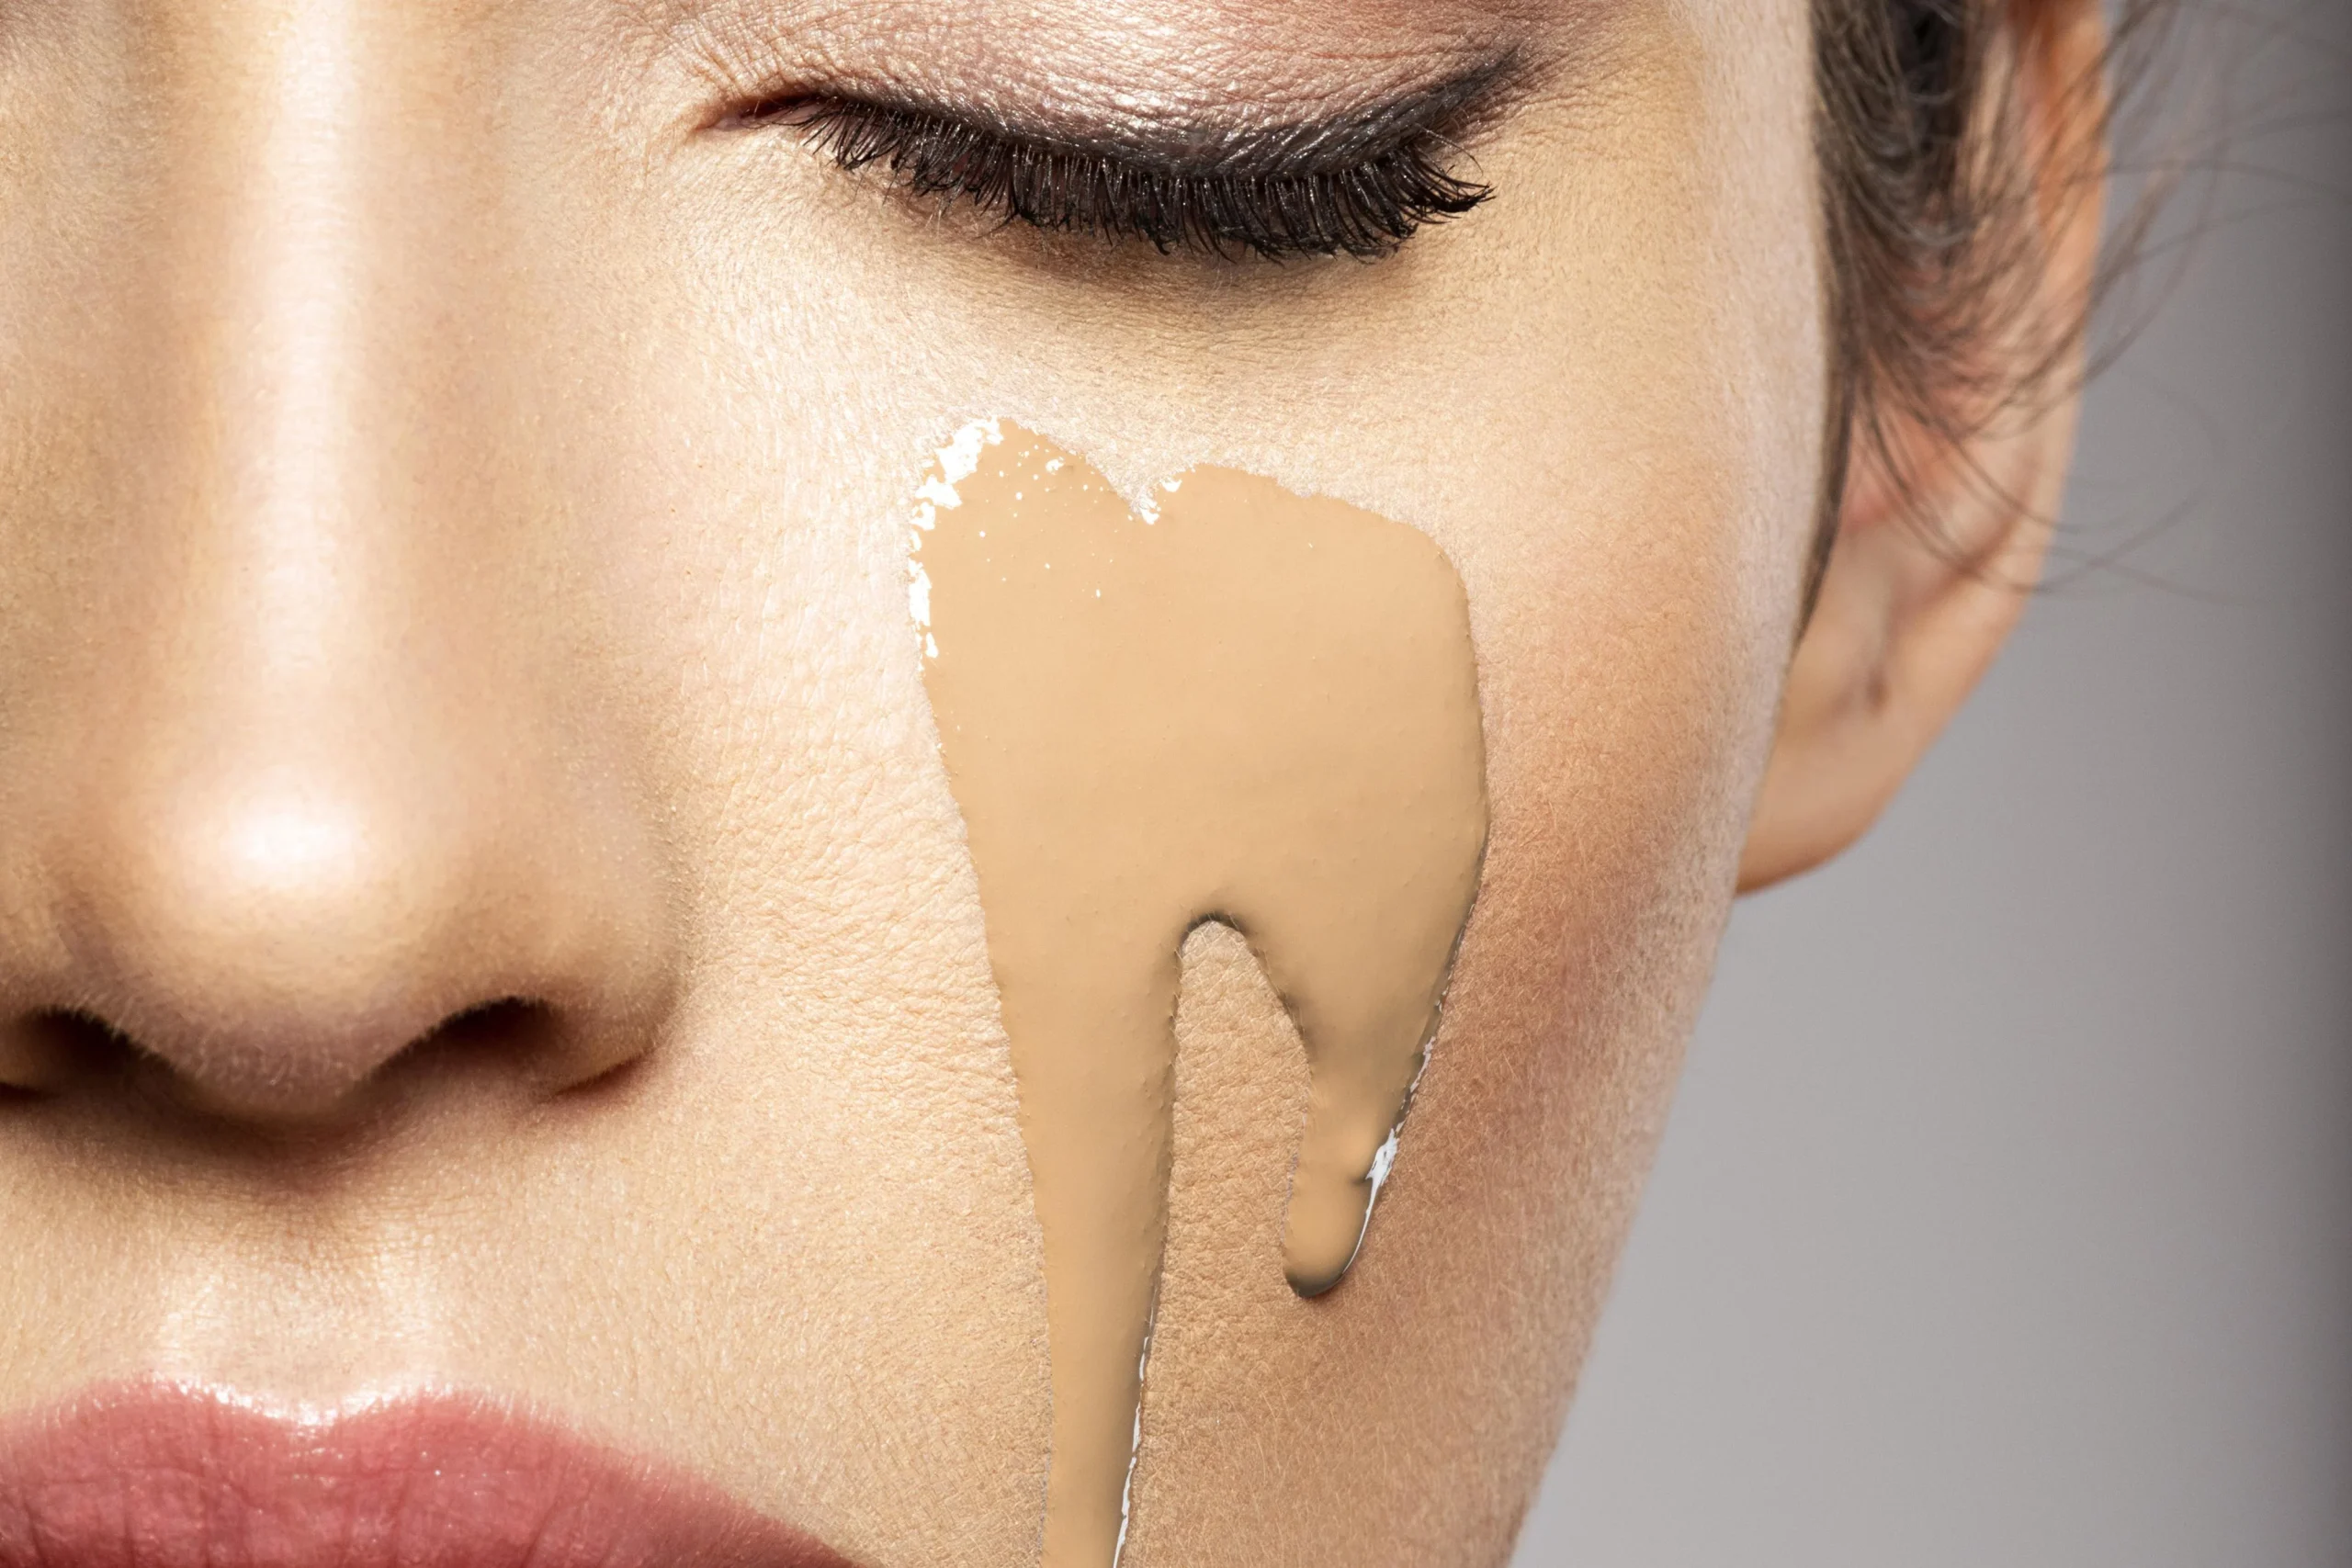
Step-by-Step Diagnostic Workflow for Perfect Photo Prep
Start by controlling your environment. Move away from mixed light sources. Position yourself facing a single, consistent light source.
Natural north-facing window light is ideal for accuracy. Avoid direct sunlight which causes high-contrast shadows.
Next, prepare your canvas. Cleanse and moisturize thoroughly. Allow skincare to absorb fully for five minutes.
Apply a mattifying primer if you have oily skin. This step locks in pigment stability and reduces early oxidation risks.
Apply your foundation in thin layers. Build coverage gradually rather than applying one thick coat. Thick layers trap heat and accelerate oxidation.
Use a damp beauty sponge to press product into the skin. This technique ensures better adhesion and a more photorealistic finish.
Set strategically. Use translucent powder only in the T-zone. Leave cheeks and forehead dewy if possible.
Excessive powder absorbs light and can make the skin look flat or gray under flash. Check your work in a handheld mirror under the actual lighting you’ll be photographed in.
Finally, test your camera settings. Disable HDR if it oversaturates or flattens tones. Lock exposure on your brightest facial feature.
This prevents the camera from darkening the entire frame to accommodate highlights. Take a test shot. Compare it to your mirror view.
Adjust angle or lighting until the digital representation matches your physical reality.
Common Visual Mistakes in Contouring and Setting
Contouring errors amplify photographic darkness. Heavy cream contours absorb light aggressively. On camera, they often read as dirt or bruising rather than shadow.
This is especially true under flat lighting where definition relies solely on pigment contrast. You need to blend meticulously to avoid harsh lines that sensors interpret as deep shadows.
Setting powders present another trap. Translucent powders can oxidize when mixed with sebum. They may turn grayish-brown on darker skin tones during photoshoots.
Tinted setting sprays help maintain color integrity but can add warmth if over-applied. The goal is to lock makeup without altering its reflective properties.
Many users skip blotting before shooting. Excess oil creates specular highlights. These bright spots trick the camera’s metering system into lowering overall exposure.
Consequently, the rest of your face appears significantly darker than it does in person. Blotting removes this glare and stabilizes the light reflection across your skin.
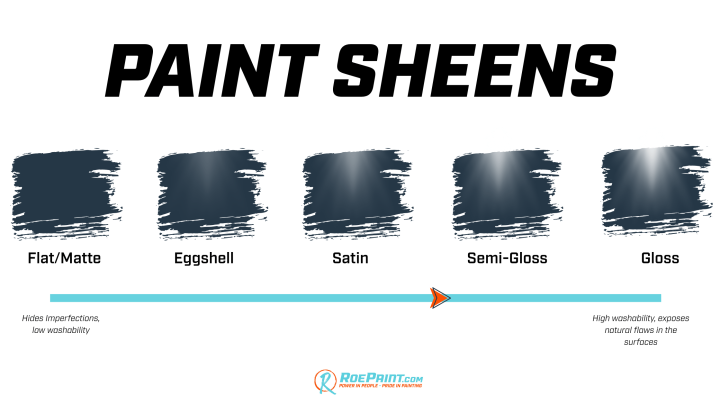
Consider the finish you choose. Matte foundations reflect less light than satin or dewy formulas. In low-light environments, matte finishes can look muddy because they lack luminosity.
Dewy skins bounce light back to the sensor, preserving tone accuracy. If you must use matte products, ensure ample ambient lighting to prevent shadow crush.
Quick Fixes: Adjusting Settings Before You Shoot
Manual controls override automatic failures. Most smartphone cameras default to auto-exposure. This mode averages the scene brightness.
If your background is dark, the camera brightens your face excessively. Conversely, a bright window behind you forces the camera to darken your features to protect highlights.
Lock focus and exposure separately. Tap and hold on your cheek until AE/AF Lock appears. Slide your finger down slightly to reduce exposure compensation.
This prevents the software from crushing details in your foundation. It keeps midtones visible and accurate.
White balance adjustments are critical indoors. Switch from Auto WB to a preset like Tungsten or Cloudy. Tungsten settings cool down warm yellow lights, restoring natural skin tones.
Cloudy settings add warmth to cool daylight. Matching the preset to your actual light source minimizes color shifts that make foundation look dull.
Disable HDR for portrait shots. High Dynamic Range processing merges multiple exposures. It often flattens contrast and oversaturates colors.
This can make skin appear waxy or unnaturally dark depending on the algorithm. Standard mode usually preserves more realistic tonal gradations. Test both modes quickly to see which renders your specific foundation shade better.
Use a reflector or white card. Hold a piece of white paper near your chin. It bounces light into shadow areas under the nose and jaw.
This fill light reduces the contrast ratio between highlights and shadows. Sensors handle narrower dynamic ranges better. Less contrast means fewer crushed blacks and truer color reproduction.
FAQs
Does expensive foundation photograph better?
Not necessarily. Price doesn’t dictate optical performance. Formula type matters more.
Mineral-based foundations often contain zinc oxide, which reflects light evenly. Chemical sunscreens in budget options may cause flashback. However, high-end synthetic pigments can also oxidize rapidly.
Look for "photo-ready" labels or non-SPF formulas for critical shoots. Brand loyalty rarely solves lighting issues.
Why does my foundation look orange in selfies?
Front-facing cameras often have weaker image processors. They struggle with warm indoor lighting. Additionally, many phones apply beauty filters by default.
These filters can shift hue toward orange or pink. Turn off all beauty apps and native filters. Check your white balance manually.
If the issue persists, try switching to the rear camera with a mirror for framing.
Can I fix dark photos after taking them?
Yes, within limits. Editing apps allow you to lift shadows and adjust temperature. Increasing brightness helps reveal lost detail.
Warming up the image counteracts cool blue casts. However, heavily crushed shadows lose data permanently. Noise reduction tools can introduce artifacts.
Prevention through proper lighting remains superior to post-processing corrections. Always shoot in RAW format if available for maximum editing flexibility.
Do glasses affect how foundation looks in photos?
Absolutely. Lenses create reflections and distortions. Anti-reflective coatings minimize glare but don’t eliminate it entirely.
Shadows from frames fall across the cheeks and nose. These shadows darken specific zones unpredictably. Remove glasses for portraits if possible.
If not, angle your head slightly to catch light differently. Ensure lenses are clean to avoid scattered haze that muddies skin tone perception.

Similar Posts