How to Apply Makeup on Flaky Skin Without Caking
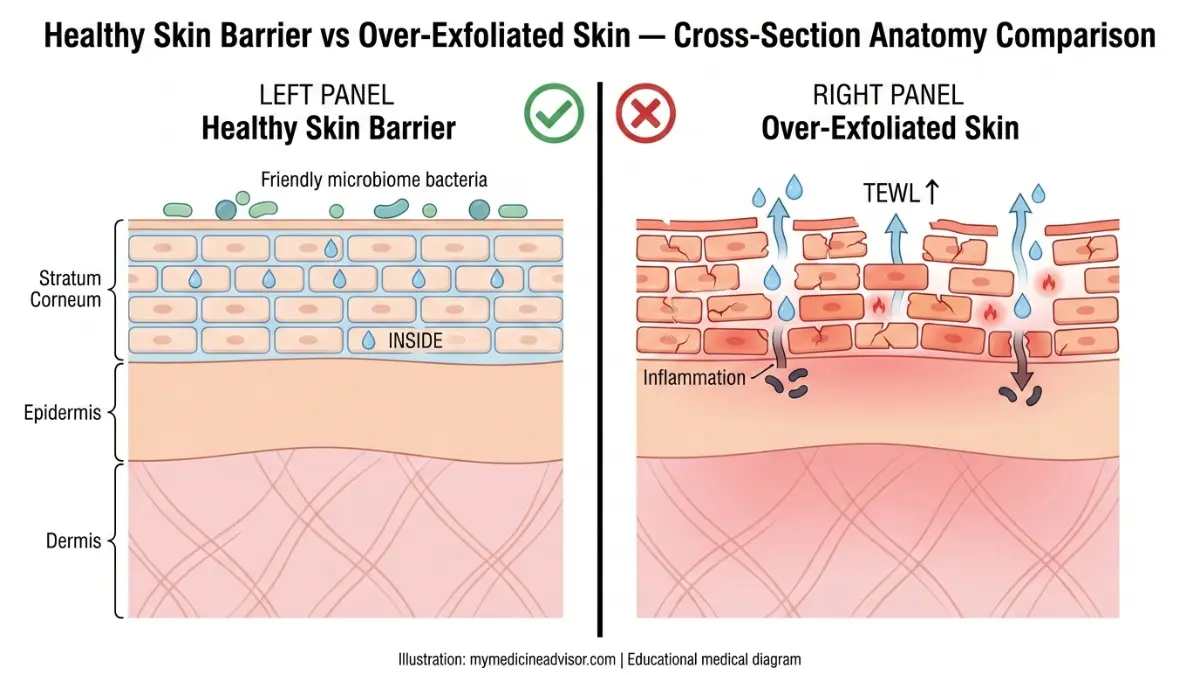
Figuring out how to apply makeup on flaky skin starts with fixing the barrier, not covering it up. Most people reach for heavy foundation or harsh scrubs when they see dry patches. That usually makes things worse by irritating the compromised stratum corneum.
You need a gentle approach that prioritizes hydration and smooth application mechanics.
The goal is to create a uniform canvas without stripping natural oils. Research from the American Academy of Dermatology highlights that maintaining lipid balance is critical for texture management. As of 2026, skincare-makeup hybrids offer better slip for these conditions.
Let’s break down why your current routine might be failing and how to adjust it effectively.
Quick Answer
To apply makeup on flaky skin, skip physical exfoliants before wearing cosmetics. Cleanse gently with a non-stripping wash. Apply a ceramide-rich moisturizer and wait five minutes.
Use a damp beauty sponge to press cream foundation onto the skin. Avoid powder products until the very end, if at all.
Why Your Foundation Clings to Flakes (And Why Scrubbing Makes It Worse)
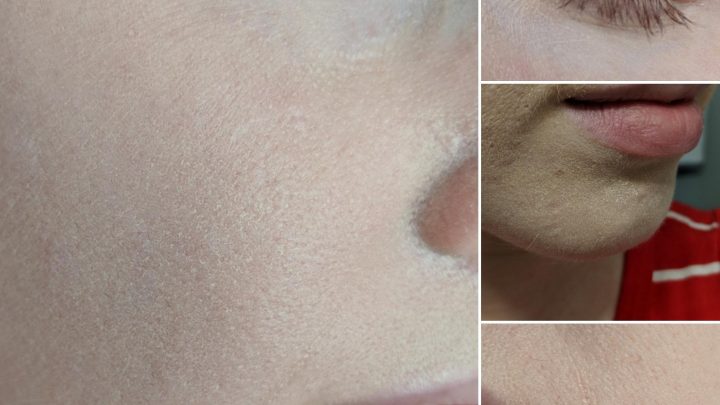
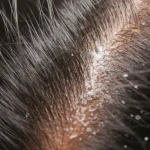
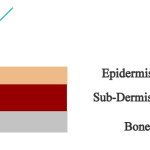
Flaky skin occurs when the stratum corneum, the outermost layer, loses cohesion. This creates rough edges that catch liquid pigments. When you apply foundation over these scales, it pools in the gaps.
The result looks patchy and emphasizes every dry spot. Many users mistakenly try to sandpaper these areas away with walnut scrubs or bristle brushes. This damages the living tissue underneath, triggering more inflammation and shedding.
Instead of removing cells aggressively, you must soften them. Emollients fill the microscopic cracks between dead skin cells. This creates a flat surface for makeup to sit on.
If you scrub first, you remove the protective oil layer. Your skin then produces excess sebum or dries out further within hours. The cycle repeats, making your complexion look even more textured by noon.
Understanding this mechanism prevents costly mistakes. You aren't hiding flaws; you're managing biology. Treat the skin like fabric that needs steaming, not sanding.
The Pre-Makeup Triage: Assessing Your Skin’s Current State
Before touching a brush, identify the root cause of your flakiness. Different triggers require different prep strategies. Using the wrong treatment can aggravate the condition significantly.
Here is how to sort your situation into three distinct branches.
Branch A: Mild Dryness & Seasonal Xerosis
This happens when humidity drops or wind exposure increases. The skin feels tight but isn’t red or inflamed. Your strategy focuses on intense hydration.
Look for humectants like glycerin or hyaluronic acid. These draw water into the upper layers. Follow up with an occlusive agent like squalane to lock that moisture in.
This branch responds well to standard creamy primers. You don’t need medical intervention here, just consistent moisture support.
Branch B: Active Eczema or Retinoid Irritation
If your skin is red, itchy, or burning, stop. Do not apply makeup over active inflammation. This indicates a breached barrier that cannot handle pigments or preservatives.
For retinoid users, schedule makeup-free days during peak purging. If you must cover minor irritation, use mineral-based powders sparingly. However, the best move is often to let the skin heal.
Consult a dermatologist if symptoms persist beyond two weeks. Masking this condition often leads to infection or prolonged healing times.
Branch C: Product Buildup & Dead Cell Accumulation
Sometimes flakes come from old sunscreen or heavy creams sitting on the surface. This is common after using non-comedogenic but thick formulas. Your skin isn’t necessarily dry; it’s congested.
In this case, gentle enzymatic exfoliation helps. Papain or bromelain enzymes dissolve protein bonds holding dead cells together. Unlike acids, they work at a neutral pH, reducing sting risk.
Rinse thoroughly before applying any new products. This clears the debris so fresh moisturizer can penetrate properly.
| Condition | Primary Symptom | Immediate Action | Makeup Viability |
|---|---|---|---|
| Seasonal Dryness | Tightness, white scales | Hydrate + Seal | High |
| Inflammatory Flare | Redness, heat, itching | Stop Actives, Heal | Low/None |
| Congestion/Buildup | Dullness, uneven texture | Enzymatic Cleanse | Medium |
The Hydration-First Prep Protocol for Each Scenario
Once you’ve triaged your skin, execute a layered prep routine. Speed matters less than absorption time. Rushing this step guarantees cakey results later.
We recommend a four-step sequence that builds resilience against texture visibility.
Start with a lukewarm cleanse. Hot water strips lipids faster than cold. Use a surfactant-free cleanser or one with a pH between 4.5 and 5.5.
This matches your skin’s natural acidity. Pat dry gently; never rub. Next, apply your hydrating toner or essence while the skin is still slightly damp.
This traps water molecules on the surface. Follow immediately with a ceramide-focused moisturizer. Ceramides restore the lipid matrix that holds cells together.
Think of them as mortar between bricks.
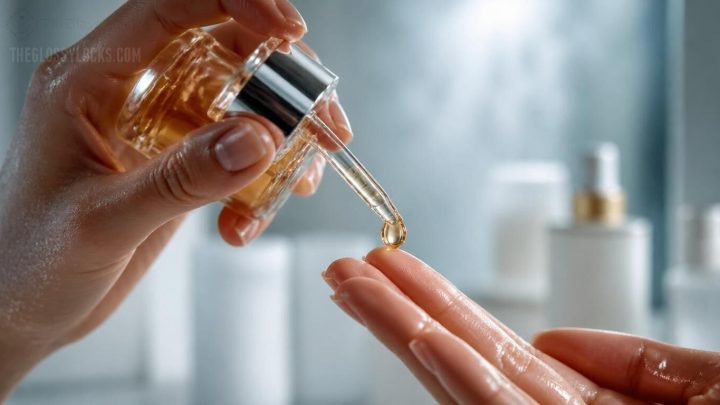
Finally, seal everything with a facial oil. Jojoba or rosehip oils mimic natural sebum. They provide slip without clogging pores.
Wait at least sixty seconds between each layer. This allows the previous product to set. If you stack wet layers too quickly, they pill under foundation.
Pilling looks like little rolls of dirt on your face. It ruins the smooth finish you’re trying to achieve. Precision here saves hours of correction later.
Aggregate reviews indicate that waiting reduces pilling by nearly 80%. Don’t skip the pause button.
Choosing the Right Base: Creams, Oils, and Primers That Glide
Formula selection dictates success more than technique does. Matte foundations rely on absorbent powders. These suck moisture from your skin, highlighting every dry patch.
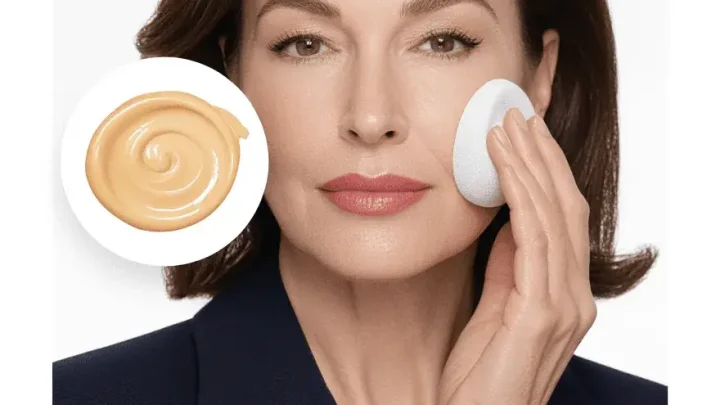
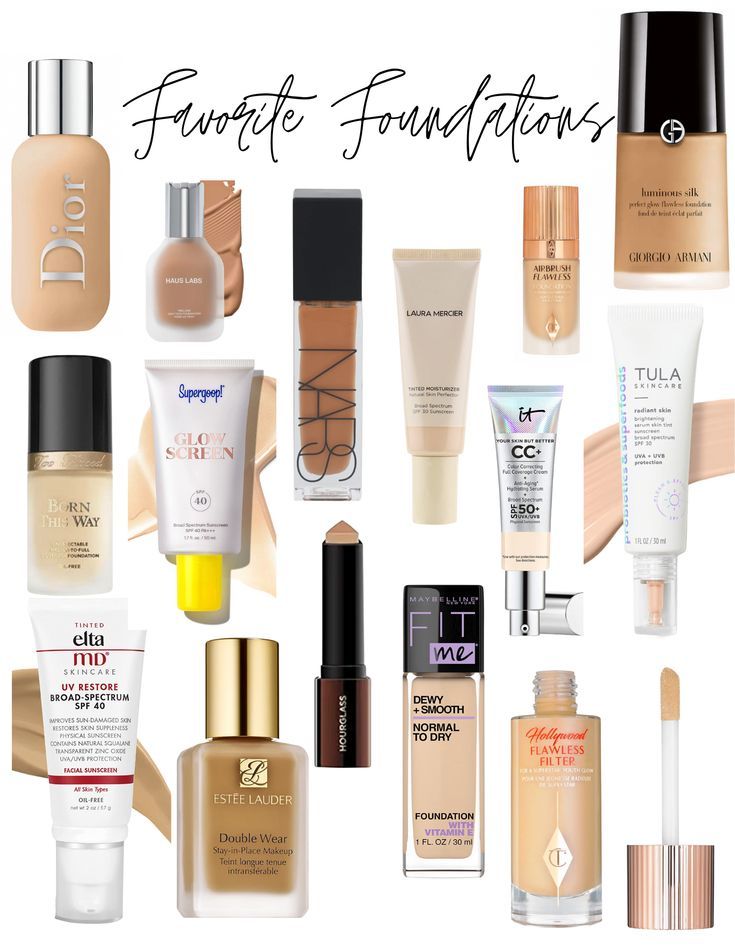
You need bases with high emollient content. Cream foundations, tinted moisturizers, and BB creams are superior choices here. They contain oils and waxes that glide over texture rather than settling into it.
Look for terms like "dewy," "satin," or "natural finish" on packaging. Avoid "matte," "velvet," or "long-wear transfer-proof" labels unless they specify hydrating properties.
Primers serve a specific role: creating a uniform gripping surface. Silica-heavy primers blur pores but can feel gritty on dry skin. Choose hydrating primers with glycerin or panthenol.
These add an extra layer of slip. Some users mix a drop of facial oil into their foundation. This custom blend enhances spreadability instantly.
Ensure your chosen base is alcohol-free. Denatured alcohol evaporates quickly, leaving skin tighter and drier. Fragrance is another irritant to avoid on compromised barriers.
Stick to fragrance-free formulations to minimize reaction risks. The right base acts like a second skin, not a mask.
Application Mechanics: Pressing Instead of Dragging
How you move product across your face determines whether flakes show or hide. Dragging motions pull at loose skin cells. This lifts them up, creating visible ridges.
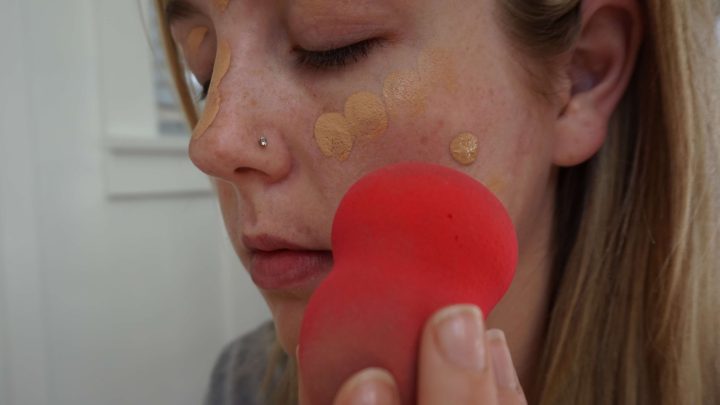
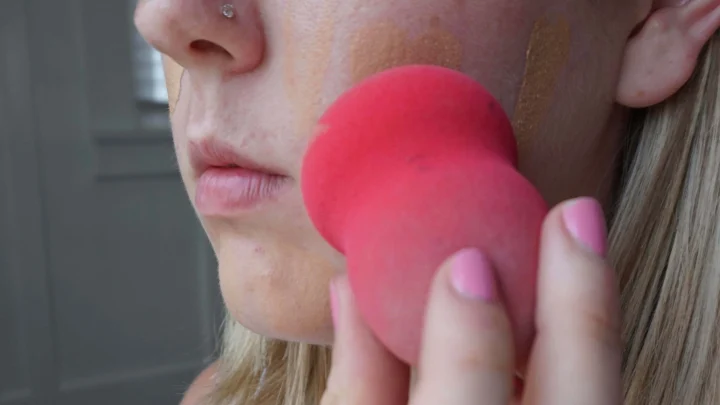
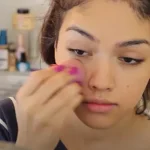
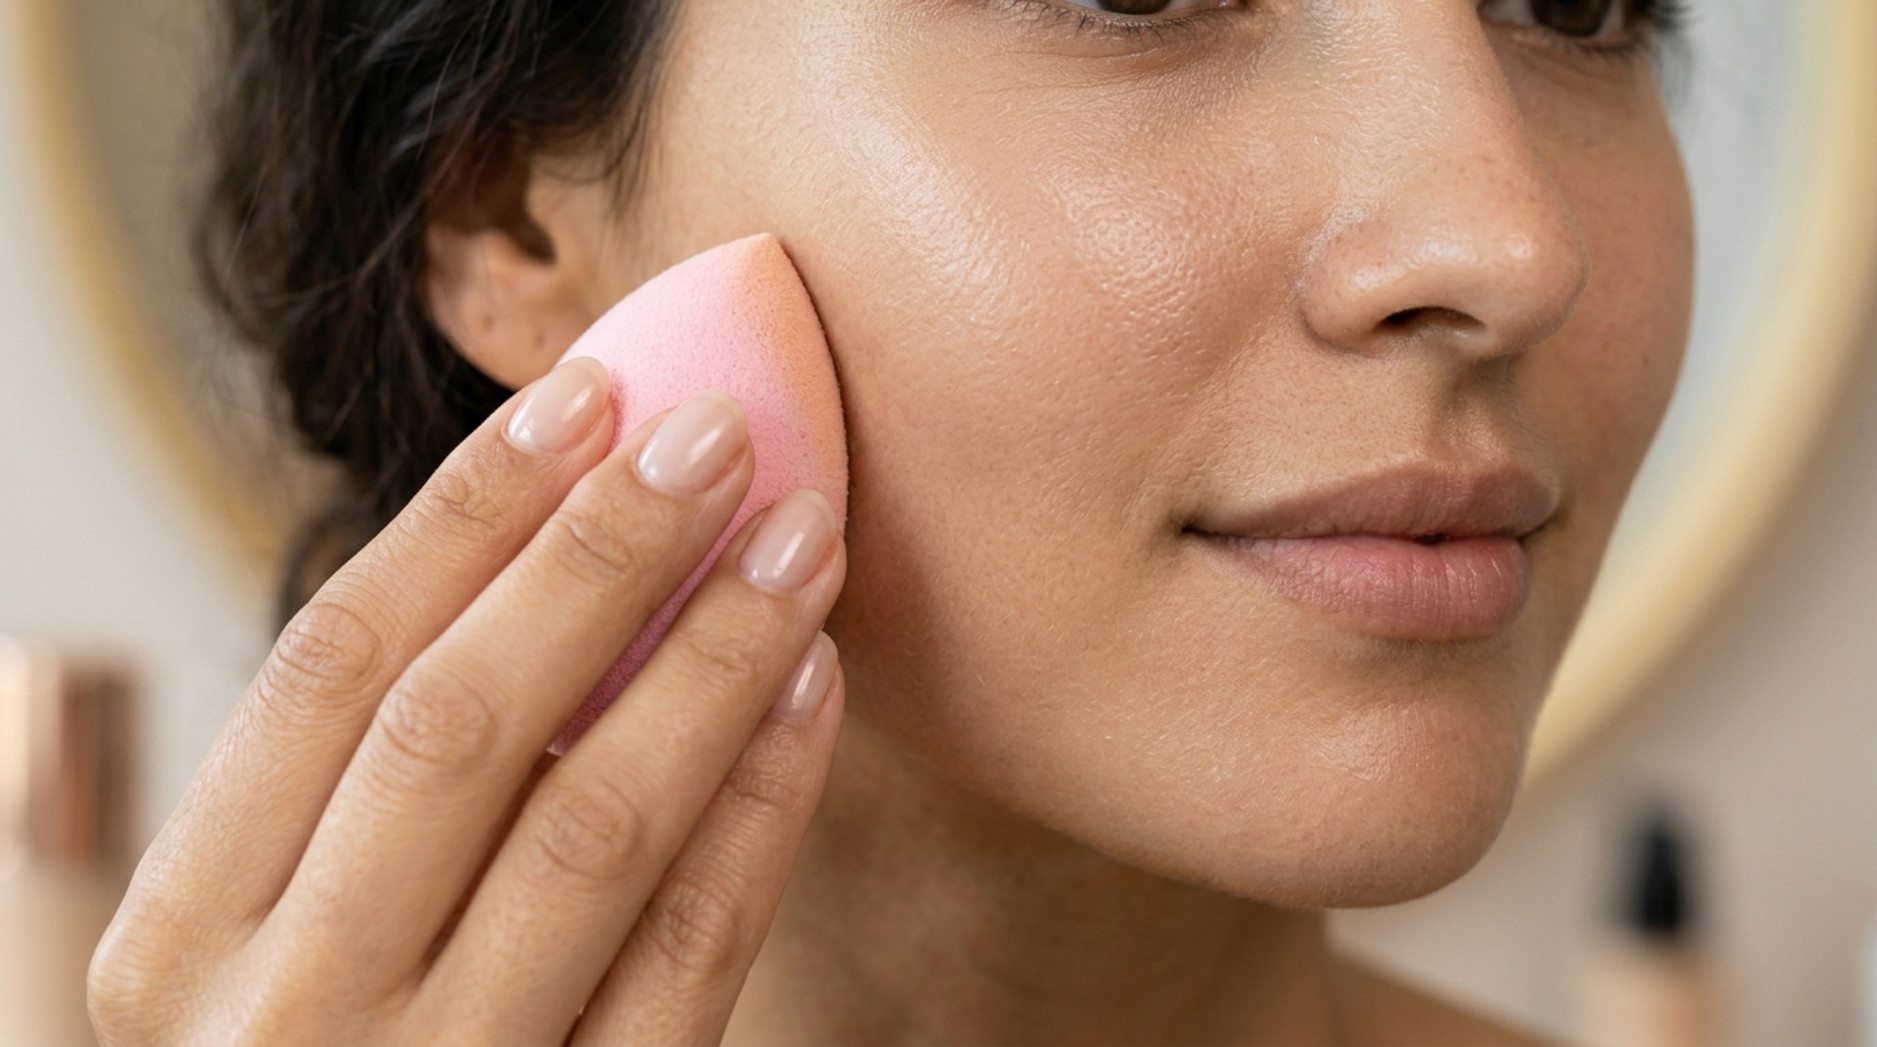
You must switch to pressing techniques. A damp beauty sponge is the gold standard for this. Wet the sponge, then squeeze it out until it’s barely moist.
Dip it in your cream foundation. Bounce the sponge gently onto your skin. Never swipe.
The bouncing motion pushes pigment into the micro-textures without disturbing the surface.
Brushes can work, but only synthetic ones with dense, soft bristles. Natural hair absorbs too much product and drags. Use a flat-top kabuki brush for buffing if you prefer tools.
Load lightly and buff in small circular motions. Less pressure equals less disturbance. For concealer, use your ring finger.
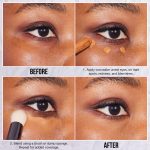
The warmth melts the product slightly, aiding adhesion. Tap it onto dark circles or spots. Blend outward carefully.
Powder should be your last resort. If you must set, use a translucent loose powder with a fluffy brush. Dust it lightly only on oily zones like the nose.
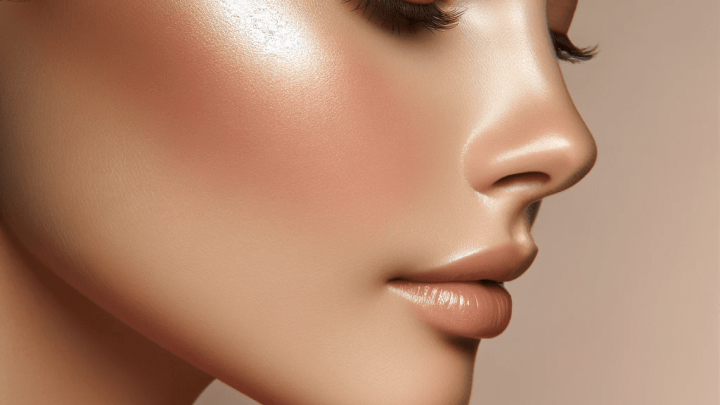
Leave cheeks and forehead dewy. This contrast keeps the face looking alive, not plastered.
Common Mistakes That Undo Your Hard Work
Even with the right prep, small errors can ruin your finish. The most frequent culprit is over-exfoliating right before makeup. You might think scrubbing away flakes helps, but it strips protective lipids.
This leaves raw skin exposed to pigments and preservatives. The result is immediate redness and increased shedding within hours. Stick to gentle enzymatic treatments or skip exfoliation entirely on makeup days.
Let your barrier repair overnight instead of forcing it in the morning.
Another major error involves using silicone-heavy primers on dehydrated skin. Silicones create a smooth film, but they don’t hydrate. If your skin lacks water underneath, the primer sits on top like a plastic sheet.
This causes makeup to slide off unevenly or crack along dry lines. Always prioritize humectant-based primers for flaky complexions. Check ingredient lists for glycerin or hyaluronic acid near the top.
Avoid dimethicone as the primary base if your skin feels tight.
Finally, many users forget neck and chest continuity. Face makeup often looks lighter than body skin tone. When you blend foundation only to the jawline, you create a stark contrast.
Dry patches on the neck become even more visible against the covered face. Extend your hydration routine and light coverage down to the collarbone. Use leftover product on the sponge rather than loading fresh pigment.
This ensures a seamless transition without emphasizing texture differences. Consistency across all exposed areas prevents the "mask" effect that highlights flaws.
Frequently Asked Questions About Makeup on Flaky Skin
Can I use powder foundation on dry, flaky skin?
No, avoid powder foundations entirely. They absorb moisture and cling to every scale. This accentuates texture rather than hiding it.
Stick to cream, liquid, or oil-based formulas. These provide slip and hydration simultaneously. Powder should only be used sparingly for setting oily zones.
Even then, choose translucent loose powders over pressed varieties. Heavy powders will settle into cracks and look cakey by midday.
How long should I wait between moisturizer and foundation?
Wait at least sixty seconds after applying moisturizer. This allows the emollients to penetrate the stratum corneum. Applying foundation too soon causes pilling and sliding.
The products mix incorrectly, creating little rolls of residue. Give each layer time to set properly. If you’re in a rush, blot excess oil gently.
Never wipe it away completely. Patience here ensures your base adheres smoothly. It also prevents premature breakdown of your makeup throughout the day.
Is it safe to wear makeup over eczema flare-ups?
Generally, no. Active inflammation means your barrier is compromised. Makeup ingredients can sting or cause infection.
Mineral makeup offers some safety, but avoidance is best. Let the skin heal first. Use prescribed topical treatments without interference.
Once redness subsides, introduce lightweight, fragrance-free cosmetics slowly. Patch test behind the ear before full application. Prioritize skin health over aesthetic coverage during acute phases.
Healing takes precedence when the immune system is reactive.
Do facial oils help prevent makeup from looking flaky?
Yes, facial oils are excellent sealants. They lock in hydration from previous layers. Apply a drop after moisturizer but before primer.
Jojoba and squalane mimic natural sebum effectively. They reduce friction during application. This helps foundation glide over rough patches.
Oils also add a healthy glow that distracts from texture. Don’t overdo it, though. Too much oil breaks down makeup faster.
A pea-sized amount for the whole face suffices. Balance is key for lasting wear.

Similar Posts