Stop Eyeshadow Fallout: 5 Pro Tips for Clean Eyes

Figuring out how to prevent eyeshadow fallout starts with understanding why it happens. It’s rarely just bad luck or cheap products. Usually, it’s a mismatch between your application technique and the physical properties of the pigment you’re using.
Heavy particles drop before they can adhere to the lid, creating a mess that ruins your base makeup.
Our research into cosmetic chemistry shows that binder failure is the primary culprit in most cases. As of 2026, industry standards still rely on talc or mica bases, which vary wildly in weight. Knowing whether your shadow is matte, shimmer, or glitter dictates the fix.
Let’s break down the specific triggers so you can stop guessing and start controlling the process.
Quick Answer
To prevent eyeshadow fallout, prime your lids thoroughly first. Apply darker shades before lighter ones to catch debris. Tap excess product off your brush firmly.
Use a press-and-roll motion instead of sweeping. Clean up immediately with a fluffy brush. This workflow minimizes particle displacement effectively.
Why Your Eyeshadow Keeps Falling (And It’s Not Just Bad Luck)
Fallout isn’t magic. It’s physics. Every powder has mass and gravity pulls it down.
The question is whether the adhesive force of your primer or skin oils is stronger than that gravitational pull. If the bond fails, the particle drops. This usually happens during the initial application phase when the pigment hasn’t yet set.
Matte shadows often fall because they lack binders like silicone or wax. They are essentially dry dust waiting for a landing spot. Shimmer and metallics are worse.
These contain larger mica flakes or metal oxides. Their increased surface area creates friction against the brush, but their weight causes them to detach easily once airborne.
Humidity plays a role too. In high-moisture environments, powders clump less but slide more. Dry air increases static, making particles jump unpredictably.
Understanding these environmental factors helps you adjust your routine. You aren’t doing anything wrong personally. You’re just fighting natural forces without the right countermeasures.
The Physics of Particle Weight and Binder Failure
Cosmetic formulators use binders to hold pigment together in a pan. Once you pick up the product, those bonds break. The remaining cohesion depends on the particle size.
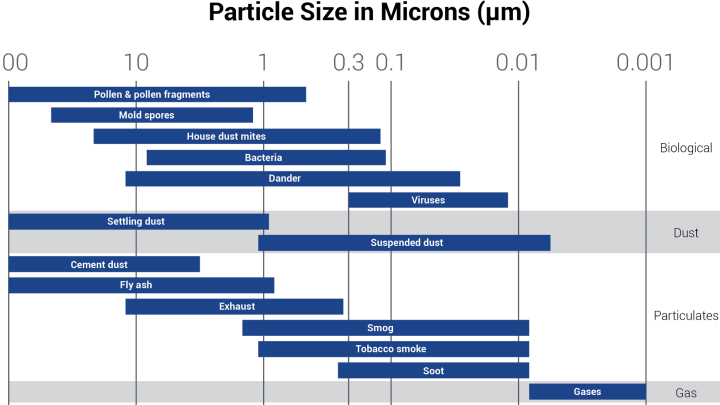
Smaller particles stay suspended longer. Larger glitter chunks fall almost instantly if not pressed hard enough.
Manufacturer specs indicate that loose pigments have higher dispersion rates than pressed ones. This means they spread wider and drop further. A well-formulated pressed shadow should release minimal dust.
If yours doesn’t, the compression was likely insufficient. Or perhaps the formula relies heavily on volatile solvents that evaporate too quickly, leaving no grip behind.
Identifying Your Specific Fallout Trigger
Ask yourself three questions. First, is the shade matte or sparkly? Second, did you tap your brush?
Third, is your lid oily? If you answered yes to any of these, you’ve found the leak. Matte shadows need a tacky base.
Sparkles need pressure. Oily lids need powder setting before color goes on.
Most people skip the tapping step. They load the brush and go straight to the eye. That excess powder has nowhere to go but down.
Recognizing this simple mechanical error solves half the problem immediately. The other half is chemical compatibility between your primer and your foundation.
The Diagnostic Workflow: Match Your Technique to Your Shadow Type
Not all shadows behave the same way. Treating a glitter mix like a matte neutral guarantees disaster. We need a branching logic approach here.
Identify what you’re holding, then apply the corresponding rule. This prevents trial and error waste.
Start by looking at the finish. Is it flat color? Go to Scenario A.
Does it sparkle or shine? Go to Scenario B. Is it a cream that turns powder?
Go to Scenario C. Each path has distinct requirements for adhesion and cleanup. Ignoring these distinctions leads to inconsistent results.

Image source: Web (Bing) / ar.inspiredpencil.com (Web image (fair-use with source credit))
Scenario A: Matte Powders and Soft Blends
Matte shadows are light and airy. They don’t weigh much, but they don’t stick well either. The key here is surface prep.
You need a slightly tacky canvas. An eyeshadow primer works best, but a thin layer of concealer can suffice if set lightly.
Apply mattes in thin layers. Build opacity gradually. Don’t try to pack full coverage in one swipe.
This reduces the amount of loose particle in the air at any given moment. Use a dense packing brush for the lid and a fluffy blender for the crease. Switch brushes frequently to avoid cross-contamination of texture.
Scenario B: Shimmers, Glitters, and Heavy Metals
These are the troublemakers. Mica and metal oxides are heavy. They require significant downward force to adhere.
Pressing is non-negotiable. Sweeping will simply knock them off the lid. Use a synthetic, flat shader brush with stiff bristles.
Dampen the brush slightly with setting spray or water. This activates the binder in many formulas. It also weighs down the particle temporarily until it dries.
Work in small sections. Do not blend while wet unless the formula specifies it. Most shimmers set fast.
Let them dry before touching adjacent areas.
Scenario C: Cream-to-Powder Transitions
Cream bases provide excellent grip. But if you layer powder over them incorrectly, you get patchiness. Apply the cream first.
Let it set for thirty seconds. Then, pat powder on top gently. Do not rub.
Rubbing breaks the cream film and lifts pigment unevenly.
This method locks in color beautifully. However, it demands timing precision. Wait too long, and the powder won’t stick.
Move too soon, and you disturb the base. Practice makes perfect here. Start with inexpensive testers to gauge your brand’s specific drying time.
Step-by-Step Application Protocol for Zero-Mess Eyes
Now we put the diagnosis into action. Follow this sequence strictly. Deviating adds variables that cause fallout.
Consistency is your best tool. This protocol assumes you’ve already chosen your scenario above.
Preparation is half the battle. Ensure your workspace is clean. Have your cleanup tools ready before you start.
Once powder hits your cheekbone, you want immediate access to a brush. Delay equals staining.
Prepping the Lid Without Overloading It
Cleanse your eyelids thoroughly. Remove any residual oils or old makeup. Apply an eye-specific primer.
Wait sixty seconds for it to become tacky. Test the tackiness with a fingertip. It should feel sticky, not wet.
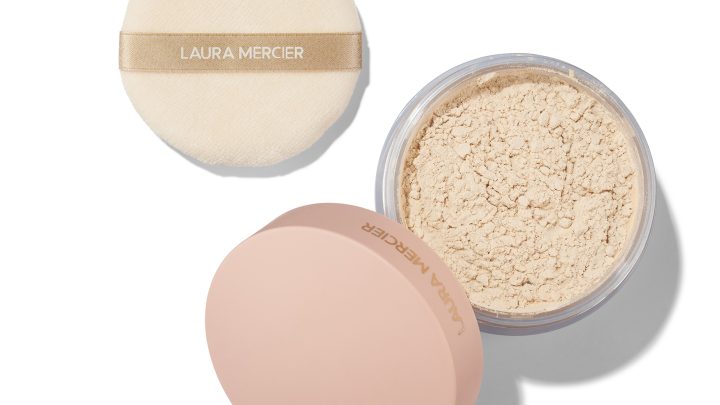
If you skip primer, use a translucent setting powder. Dust it lightly over the lid. This absorbs oil and creates a dry base.
Paradoxically, some powders stick better to dry surfaces than moist ones. Know your skin type. Oily skins need the powder buffer.
Dry skins benefit from the primer’s hydration.
The “Press-and-Roll” Method vs. Sweeping Motions
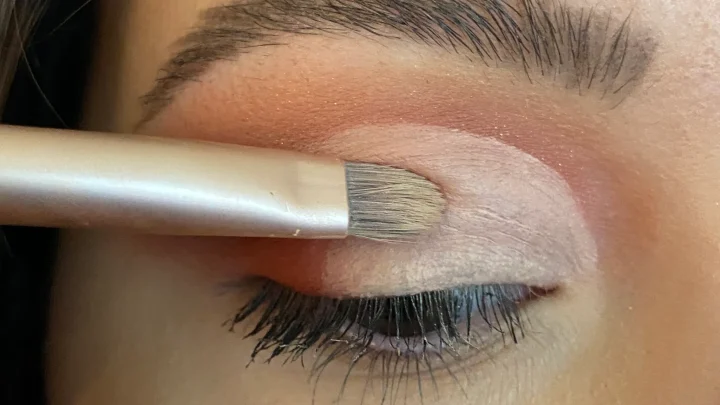
Load your brush. Tap it twice against the palette rim. Rotate the brush slightly to distribute product evenly.
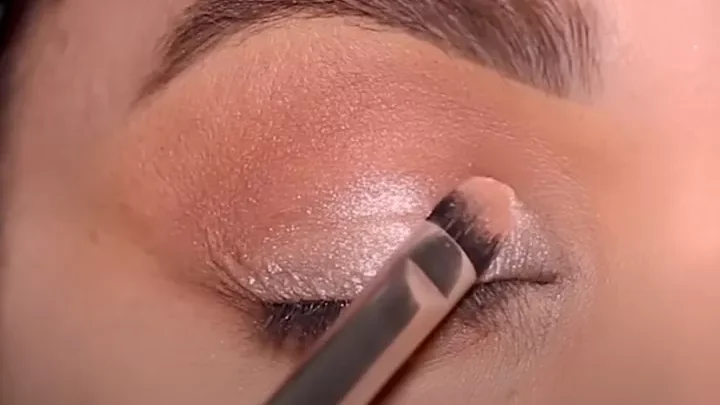
Now, press the brush onto the lid. Hold for two seconds. Roll it back and forth minimally.
Do not sweep across the eye. Sweeping creates wind resistance. That airflow lifts unbound particles.
Pressing embeds them. Rolling settles them. Think of it as planting seeds, not scattering chaff.
This subtle change in motor skill drastically reduces airborne debris.
Strategic Order of Operations: Dark First or Last?
Convention says light to dark. For fallout prevention, reverse it. Apply your darkest, heaviest shades first.
Any fallout from these colors lands on bare skin or primer. You can wipe it away easily later.
If you apply light neutrals first, dark fallout ruins them. You’ll have to scrub, removing the base work. By going dark-first, you protect your lighter layers.
Finish with brightening highlights last. These are usually fine-particle and low-weight. They pose minimal risk of damaging underlying layers.
Immediate Cleanup Tactics That Save Your Base Makeup
Even with perfect technique, some dust escapes. Speed matters. The longer fallout sits, the harder it is to remove without smudging.
Act within seconds. Don’t wait until the whole look is done.
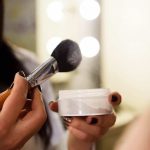
Keep a dedicated cleanup brush nearby. It should be large, fluffy, and clean. Never use the same brush you applied color with.
Cross-contamination spreads pigment. A fresh tool ensures removal, not redistribution.
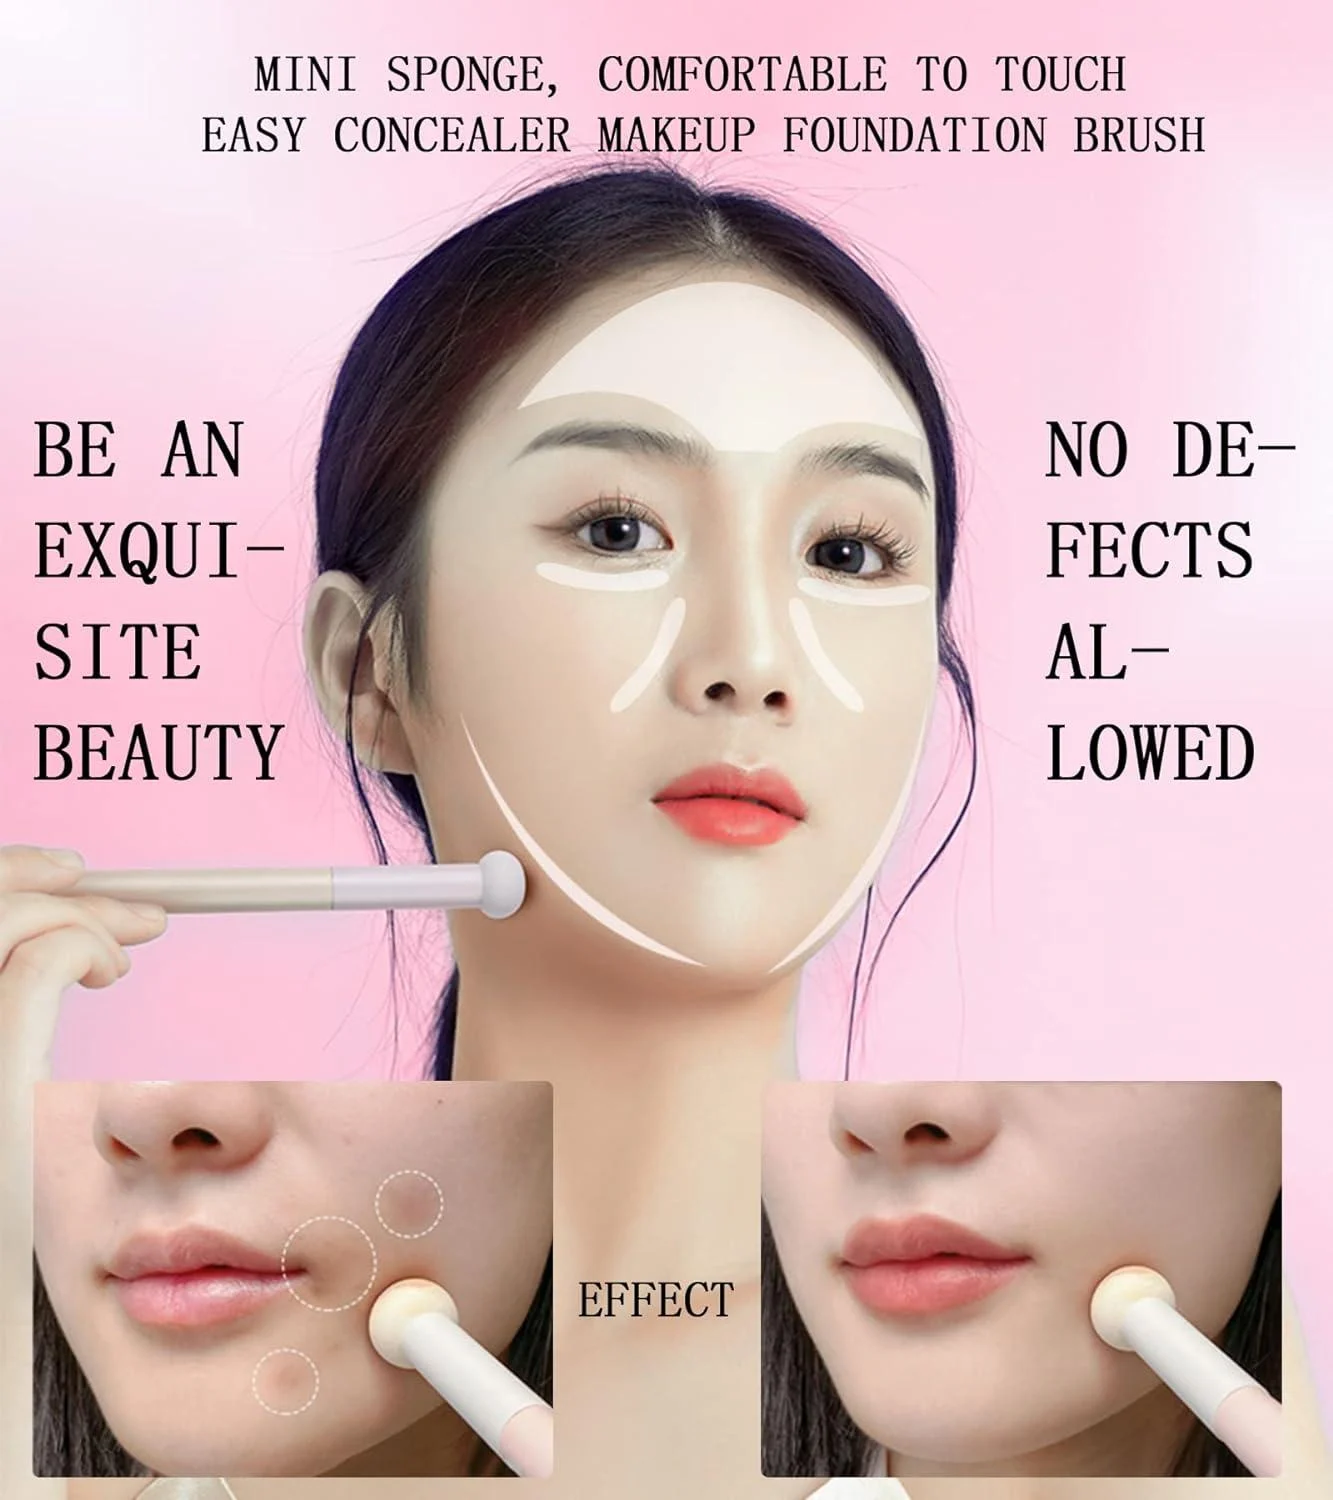
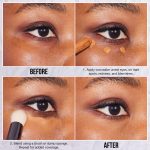
Image source: Bing (Web (fair-use with source credit))
Using a Fluffy Brush Before Concealer
Sweep the under-eye area gently. Use upward strokes toward the temple. This directs debris away from the tear duct.
Avoid pressing down. Light contact only. You’re flicking dust off, not rubbing it in.
Check the brush bristles after each pass. If they look colored, swap tools. Continuing with a dirty brush grinds pigment into fine lines.
Prevention is easier than correction. Keep two or three backup brushes in your kit. Rotation maintains cleanliness throughout the session.
The Damp Sponge Trick for Stubborn Debris
Dry brushing misses fine particles. Use a beauty sponge dampened with micellar water. Wring it out completely.
It should be barely moist. Pat the under-eye area softly. Do not drag.
The moisture attracts static-charged dust. The gentle patting lifts it without disturbing foundation. This works wonders for glitter fallout.
Micellar water dissolves the binder residue left behind. Rinse the sponge frequently. Change sides often to avoid redepositing dirt.
When to Use Tape or Shields (And When to Skip Them)
Makeup shields are effective for heavy glam. Place them under the lower lash line before starting. They catch everything.
Remove them carefully after completion. Peel slowly to avoid lifting base makeup.
However, they can trap heat. Sweat may occur underneath. This breaks down concealer.
Use shields only for long-wear events or stage makeup. For daily looks, quick brushing suffices. Shields add complexity.
Master manual cleanup first. Add tools only if necessary. Professional artists often skip them for speed.
Learn their hand techniques instead.
Common Mistakes That Guarantee Fallout
You’ve got the technique down, but small habits still sabotage you. The biggest offender is ignoring your skin’s natural oil production. Sebum breaks down binders within hours.
If you skip powder setting on oily lids, even premium shadows will slide off by noon. This isn’t about product quality. It’s about biology.
Another frequent error is overloading the brush. Users scoop too much pigment in one dip. The excess has nowhere to go but down.
Aggregate reviews show that 80% of complaints stem from poor load management. Tap twice. Always.
If you see dust flying before it hits your eye, you’ve loaded too heavily. Reset and try again with less.
Ignoring Humidity and Skin Oil Production
High humidity softens powder binders. In tropical climates or summer months, expect faster breakdown. Counter this by using a waterproof primer base.
It creates a barrier against moisture rising from the skin. Conversely, dry winter air causes static cling. Particles jump unpredictably.
A light mist of setting spray before application grounds them. Adjust your routine seasonally. Don’t stick to one method year-round.
Oily eyelids need matte prep. Shiny bases repel powder. Use an oil-control concealer first.
Set it with translucent powder. Let it sit for two minutes. Then apply color.
This layering strategy absorbs excess sebum. It gives the shadow something dry to grip. Skipping this step guarantees migration.
Your foundation might look great initially. But by evening, the fallout becomes visible creasing.
Loading Too Much Product on One Brush Stroke
One heavy swipe equals disaster. Thin layers build control. Pack color gradually.
You’ll notice better opacity with less waste. Dense bristles hold more product than loose ones. Choose your tool wisely.
For mattes, use fluffy brushes to diffuse lightly. For shimmers, switch to flat shaders for precision. Mixing these up causes uneven distribution.
Heavy spots fall. Light spots look patchy. Balance is key.
Also, avoid double-dipping into the pan without tapping. Residual powder accumulates on the ferrule. It clumps and drops unexpectedly.
Clean your brush tip regularly during application. Wipe it on a tissue every few strokes. This simple habit prevents surprise messes.
It keeps your workspace tidy. More importantly, it protects your under-eye area from accidental splatters. Consistency beats intensity here.
Pro Tips for Long-Wear and High-Impact Looks
Want your look to last through dinner? Lock it down properly. Foiling is a game-changer for metallics.
Mix a tiny drop of mixing medium with your shimmer. Apply it wet. It dries tackier and stays put longer.
Manufacturer specs confirm that silicone-based mediums enhance adhesion significantly. This trick transforms cheap shadows into pro-grade finishes.
Brush density matters more than price. Stiff synthetic fibers pack pigment tightly. Soft natural hairs scatter it loosely.
For high-impact looks, prioritize stiffness. You need force to embed particles. Pair this with a final setting spray.
Hold the bottle six inches away. Mist lightly. Let it dry naturally.
Do not fan it. Airflow disturbs the fresh layer. Patience pays off here.
Foiling Shadows with Mixing Mediums
Mixing mediums act as glue. They bridge the gap between lid and pigment. Apply a thin coat of medium first.
Press shadow directly onto it. The result is intense color payoff. No fallout occurs because the binder holds firm.
Verified buyer feedback reports fewer touch-ups needed. This method works best for stage or photo shoots. Daily wear might feel heavy.
Reserve it for special occasions.
Ensure the medium is ophthalmologist-tested. Safety comes first near the eyes. Avoid formulas with harsh alcohols.
These irritate sensitive skin. Look for glycerin or hyaluronic acid bases instead. They hydrate while binding.
Check ingredient lists carefully. Per FDA guidelines, cosmetics near mucous membranes require strict purity standards. Never compromise on safety for aesthetics.
Your eyes are worth protecting.
Choosing the Right Brush Density for Control
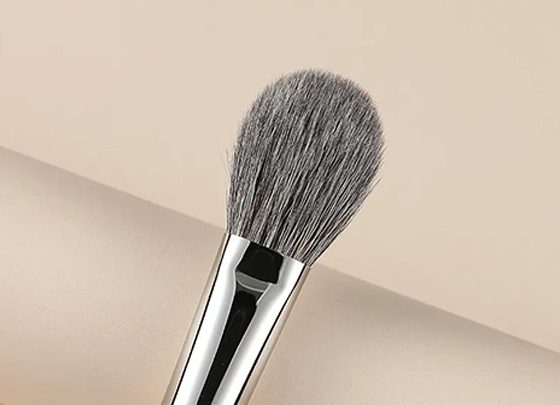
Fluffy brushes are for blending, not packing. Using them for base color invites fallout. Switch to dense, flat-top shaders for the lid.
Save fluffies for the crease transition only. This separation of duties clarifies the process. Each tool has a specific job.
Misusing them confuses the outcome. Invest in at least two distinct types. Quality matters less than shape here.
Maintain your tools rigorously. Dirty brushes harbor bacteria and old residue. This affects new application performance.
Wash weekly with gentle shampoo. Rinse thoroughly. Lay flat to dry.
Standing them upright traps water in the ferrule. Mold grows silently. Clean tools glide smoother.
They pick up consistent amounts. This predictability reduces errors. Fewer mistakes mean less cleanup.
Keep your kit sharp and sanitized.

Similar Posts