How to Apply Makeup on Oily Skin That Lasts
Knowing how to apply makeup on oily skin starts with respecting your biology, not fighting it. Most tutorials fail because they treat every face the same. They ignore that sebum production varies by zone and time of day.
You don't need more product. You need better placement.
Our research into dermatological guidelines confirms that aggressive stripping worsens oiliness. The American Academy of Dermatology notes that over-cleansing triggers rebound sebum secretion. This creates a vicious cycle where your skin produces more oil to compensate for dryness.
Let's break down the workflow that actually holds up in heat and humidity.
Why Your Oily Skin Needs a Different Makeup Strategy
Oily skin isn't just "shiny." It's chemically active. Sebum contains lipids that dissolve standard cosmetic binders. If you use a routine designed for dry skin, your foundation will slide off within hours.
You're essentially trying to paint on a moving surface.
The goal here is adhesion, not coverage. You want products that grip the skin without clogging pores. This means prioritizing water-based or silicone-based formulas that resist lipid breakdown.
Dry skin needs hydration to hold pigment. Oily skin needs control to keep pigment in place.
We see three main variables changing the approach:
- Zone specificity: The T-zone behaves differently than cheeks.
- Environmental stress: Heat and humidity accelerate sebum flow.
- Product chemistry: Oil-free doesn't always mean matte.
Ignoring these factors leads to patchiness. You might look perfect at 9 AM but feel greasy by noon. A tailored strategy accounts for your unique oil distribution.
It stops the meltdown before it starts.
Step 1: Prep the Canvas Without Stripping It Bare
Start with a gentle cleanse. Harsh soaps strip natural barriers, signaling your sebaceous glands to produce more oil. Use a pH-balanced cleanser instead.
Look for ingredients like salicylic acid (up to 2%) to unclog pores without drying out the skin matrix.
Next, hydrate lightly. Yes, oily skin needs moisture. Dehydrated skin produces excess sebum to protect itself.
Apply a lightweight, gel-based moisturizer. Wait five minutes for it to absorb fully. This step prevents your primer from mixing with leftover lotion, which causes pilling.
If you have active breakouts, spot-treat now. Avoid heavy creams on inflamed areas. Let any acne treatments dry completely before moving on.
Skipping this wait time traps bacteria under your makeup.
Finally, consider a toner with niacinamide. This ingredient helps regulate oil production over time. It also minimizes the appearance of pores.
Pat it in gently. Do not rub. Rubbing irritates the skin and stimulates blood flow, which can increase temporary redness and shine.
Step 2: Choose the Right Primer for Your Specific Zone
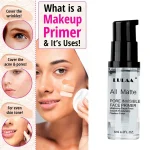
Primer acts as a barrier between your skin’s oils and your foundation. For oily skin, you need a mattifying agent. Silicone-based primers fill in texture and create a smooth, hydrophobic layer.
This prevents water-based foundations from breaking down quickly.
However, not all silicones are equal. Dimethicone provides slip. Cyclomethicone evaporates, leaving a dry finish.
Check the ingredient list. If cyclomethicone is high up, expect a stronger matte effect.
Apply primer only where you need it. Don’t coat your entire face if your cheeks are normal. Focus on the forehead, nose, and chin.
Use a pea-sized amount. Too much primer creates a slippery base that foundation can’t grip.

Let the primer set for thirty seconds. It should feel tacky, not wet. If it feels slick, wipe off the excess with a tissue.
This ensures your foundation adheres properly rather than sliding around.
Step 3: Apply Foundation with Precision, Not Pressure
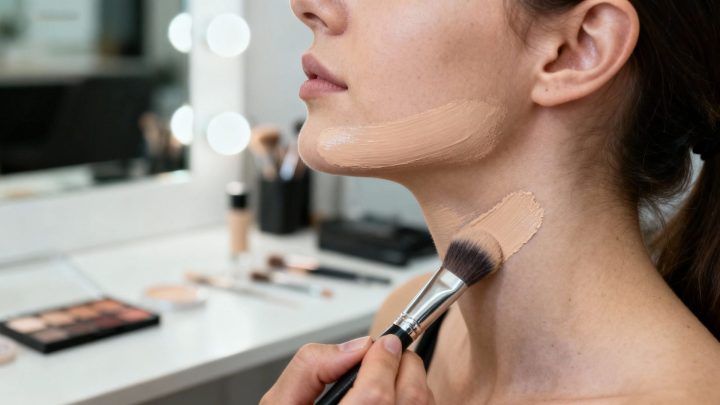
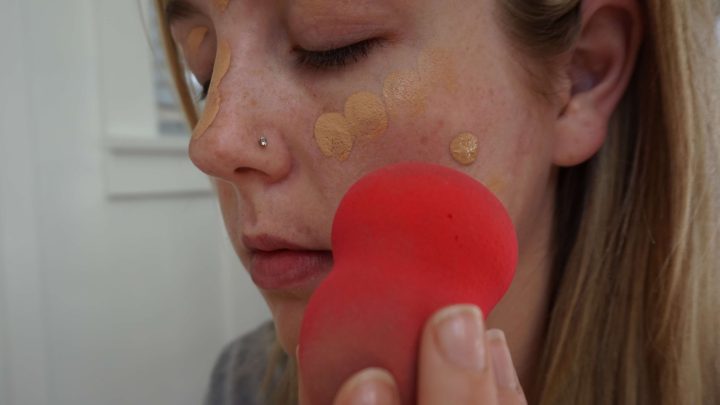
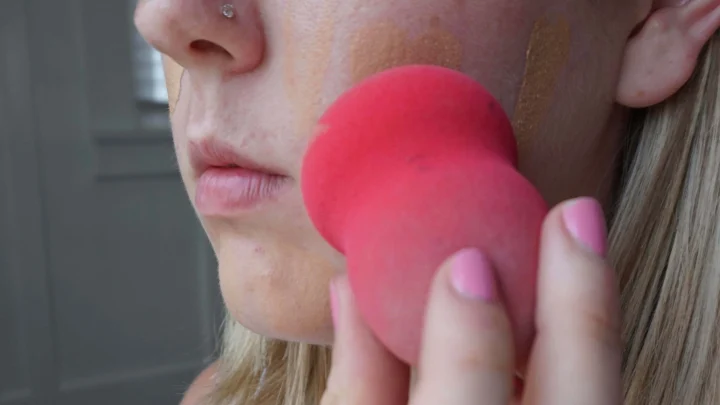
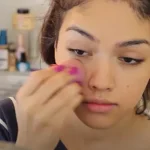
Use a damp beauty sponge for application. Squeeze out all excess water until it’s barely moist. Press the foundation into the skin using bouncing motions.
Do not drag or swipe. Dragging disturbs the primer layer and streaks the product.
A damp sponge absorbs some of the foundation’s emollients. This leaves a lighter, more breathable finish on the skin. It also helps blend edges seamlessly without adding heaviness.
Heavy layers trap heat and sweat underneath.
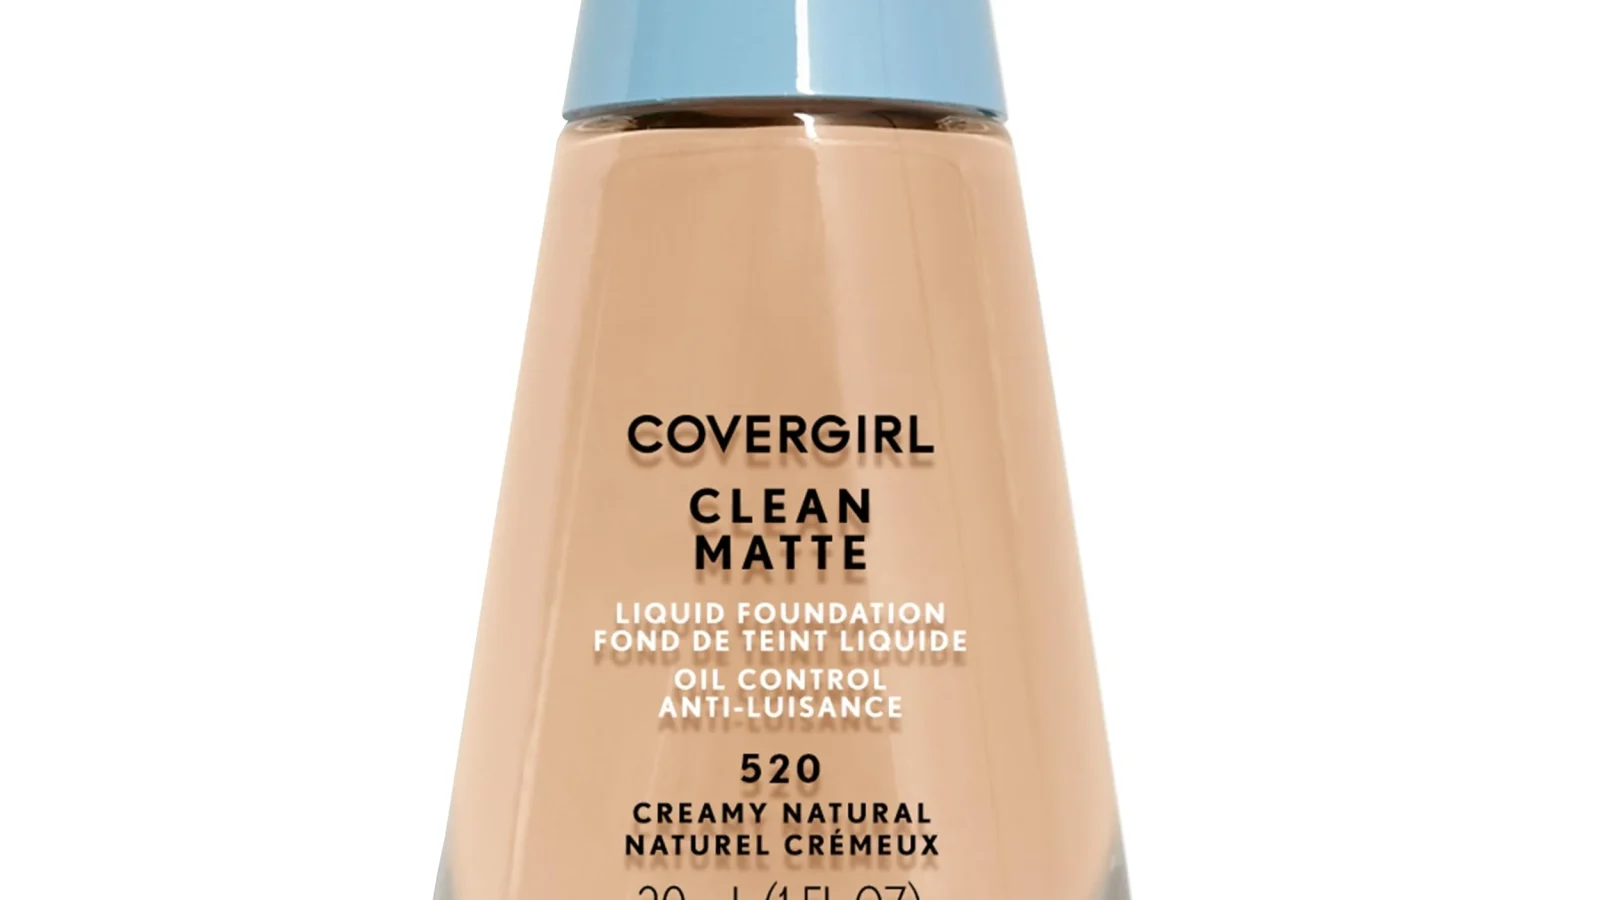
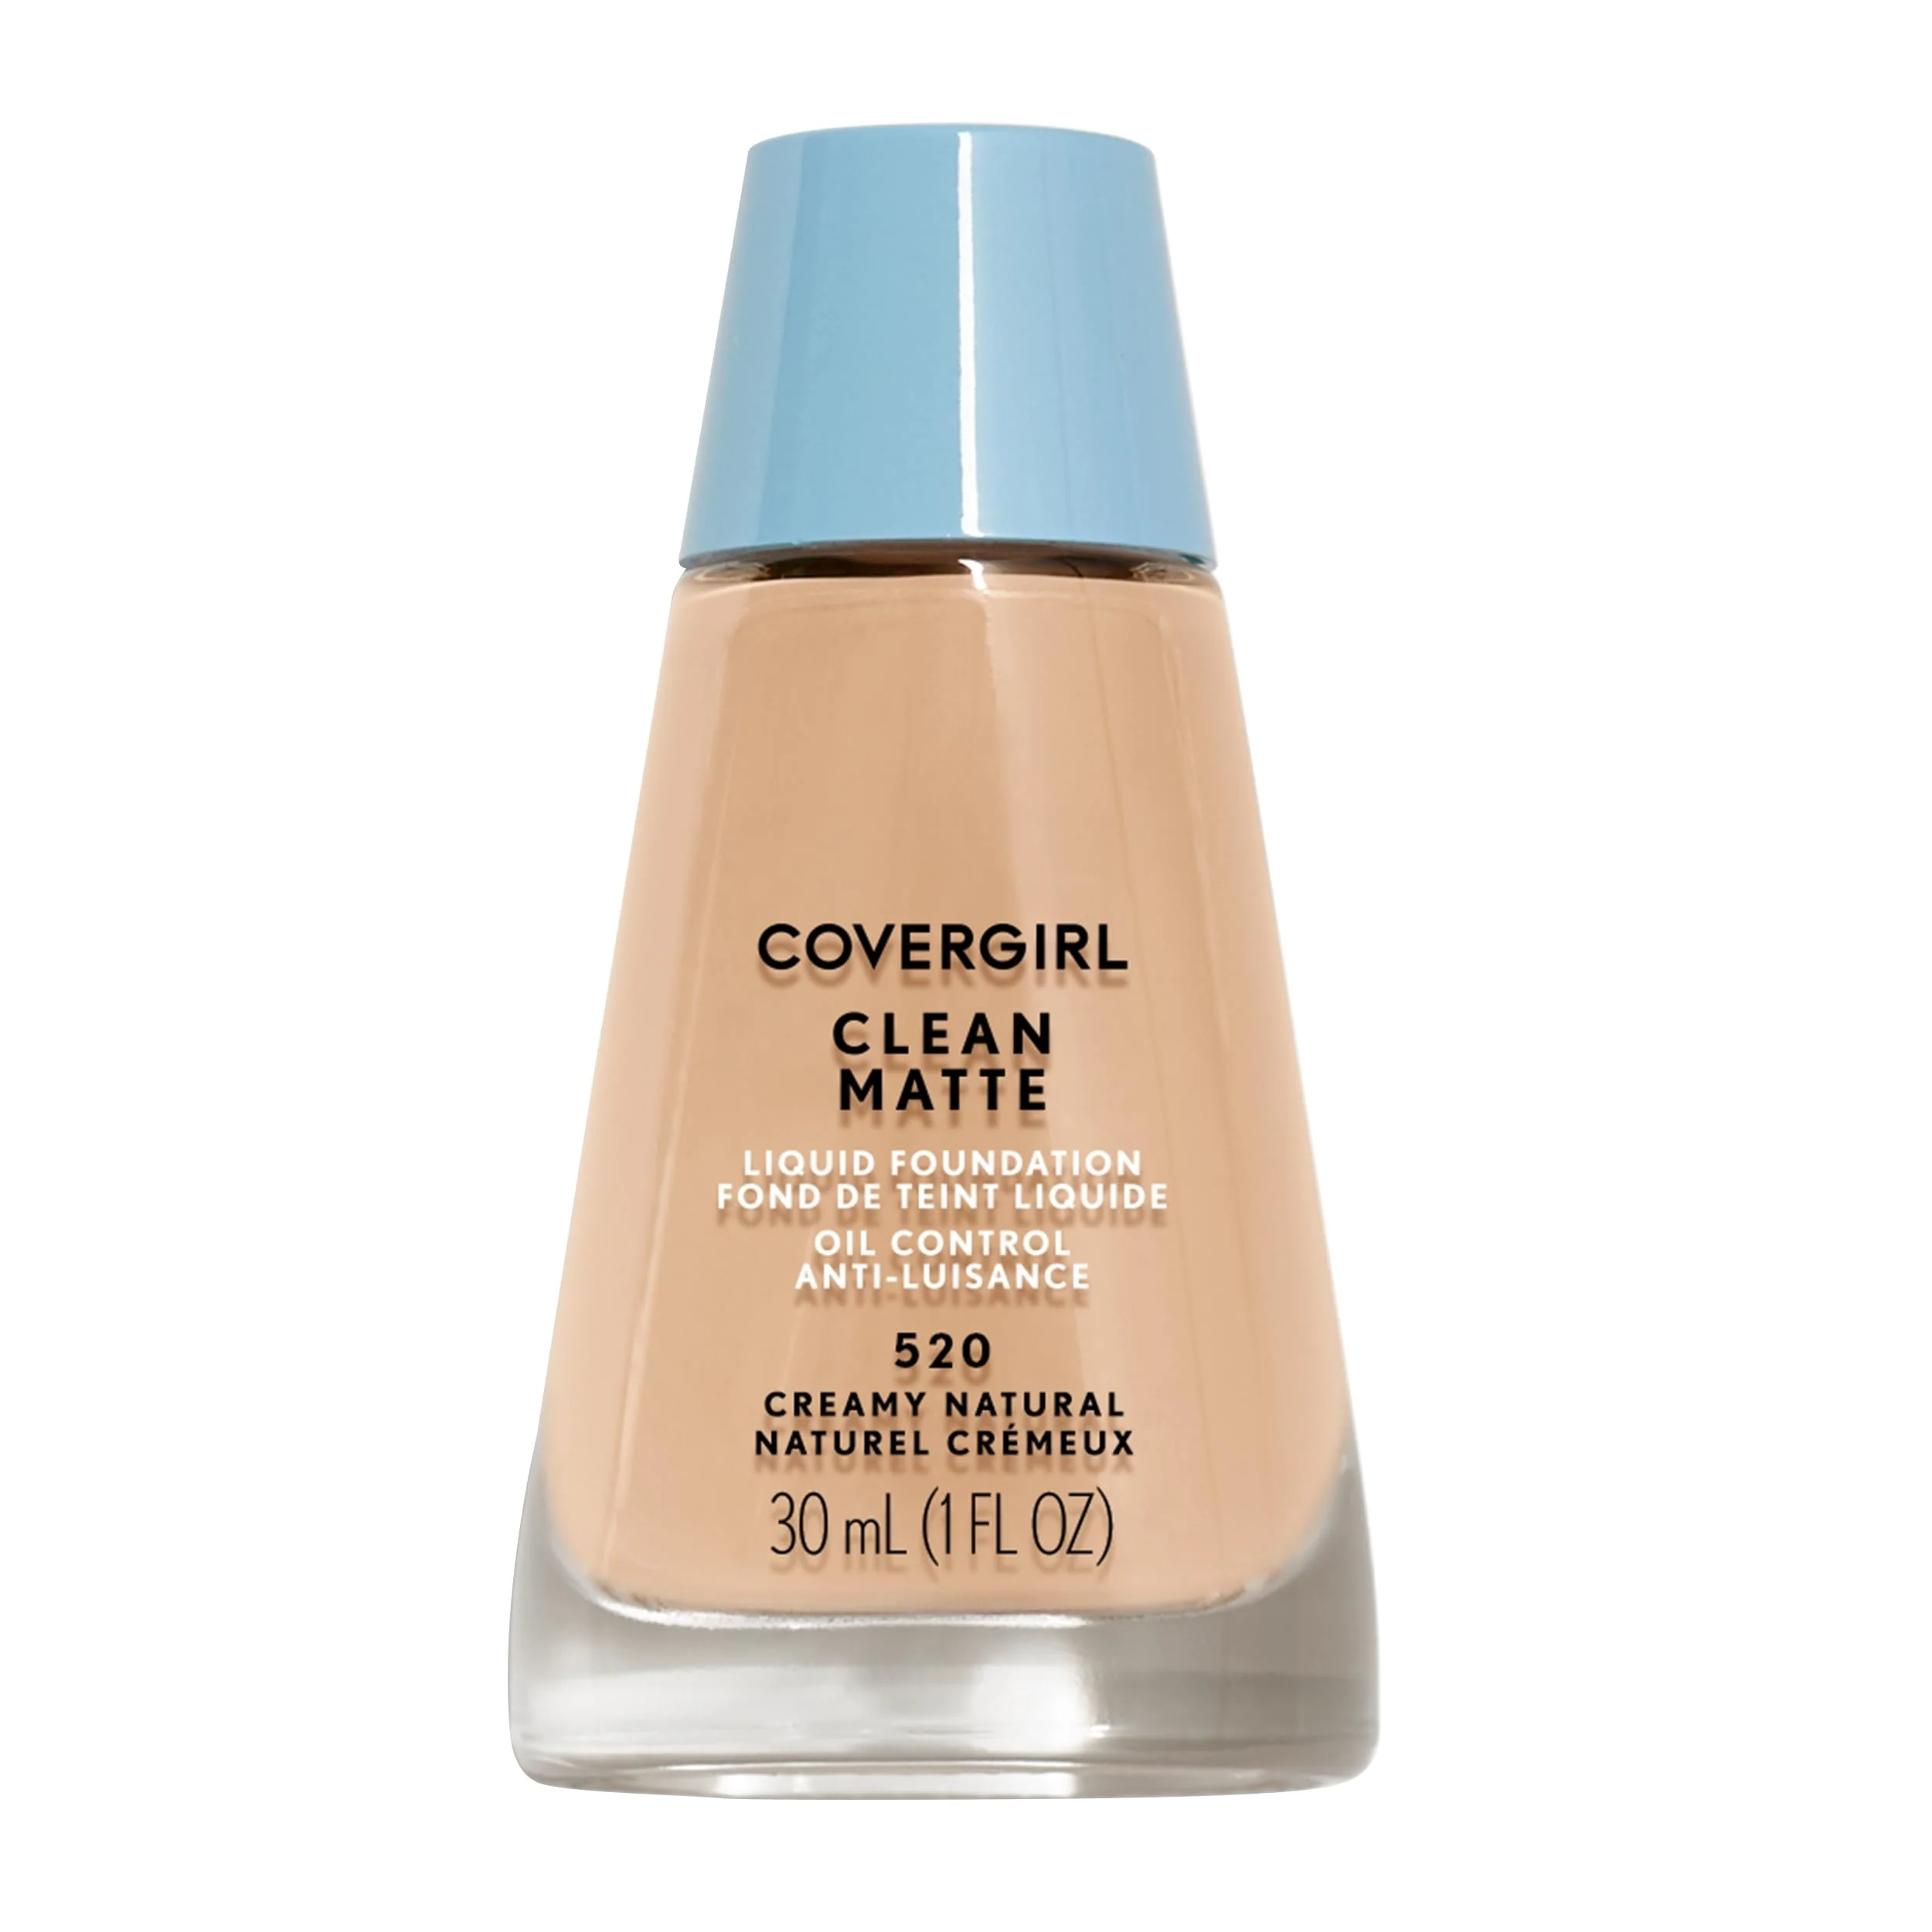
Choose a long-wear, transfer-resistant formula. Matte or satin finishes work best. Avoid dewy or luminous foundations unless you’re mixing them with a mattifier.
Dewy formulas contain oils that exacerbate shine on already oily skin.
Build coverage gradually. Start with a thin layer. Assess your skin in natural light.
Add more only where needed. Thick layers crack and separate as facial movements occur. Thin layers flex with the skin.

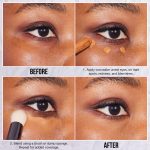
Concealer comes after foundation. Dot it only on blemishes. Blend the edges carefully.
Leaving thick concealer on large areas invites creasing. The goal is targeted correction, not full-face masking.
Step 4: Lock It Down with Powder and Spray
Powder sets the liquid layers. Use a translucent, silica-based loose powder. Silica absorbs oil effectively without altering your foundation color.
Press the powder into the T-zone with a puff or dense brush. This technique, often called "baking" when left on briefly, ensures longevity.
Dust away the excess. Leave a fine veil on the rest of the face. Avoid cakey buildup.
Too much powder looks flat and emphasizes texture. We’ve found that less is more for maintaining a natural yet controlled finish.
Finish with an alcohol-free setting spray. Alcohol dries out the skin, triggering more oil production later. Look for sprays with polymers that form a flexible film over the makeup.
Hold the bottle eight inches away. Mist evenly across the face.
Let it air dry. Do not fan it. Fanning introduces dust and bacteria.
Once dry, check your reflection. The makeup should look unified, not layered. If spots remain shiny, press a tiny bit more powder into those specific areas.
Never sweep powder over set makeup. That disrupts the film created by the spray.
Common Mistakes That Cause Midday Meltdown
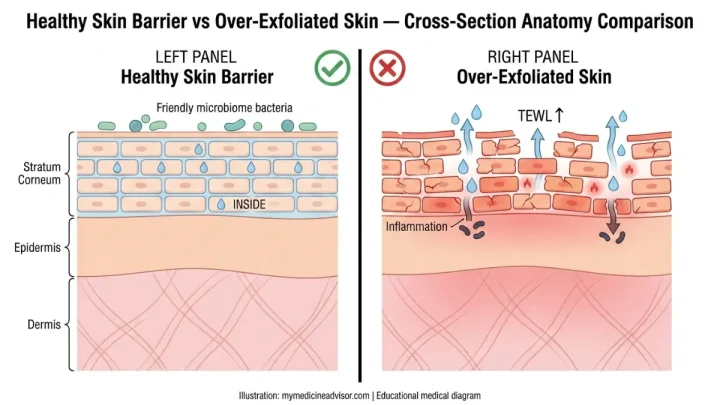
Over-exfoliating is the most frequent error we see. Scrubbing away oil strips the lipid barrier, forcing glands into overdrive. Your skin reacts by producing more sebum to compensate for the perceived damage.
This creates a cycle of shine that makeup cannot fix alone. Stick to gentle chemical exfoliants like lactic acid twice a week. Avoid physical scrubs entirely on active breakouts.
They spread bacteria and irritate inflamed tissue.
Another trap is applying too much powder. Users often pile on layers hoping to absorb oil. Instead, this leads to caking in expression lines and pores.
The heavy buildup cracks when you smile or talk. It looks unnatural and ages the face prematurely. Use blotting papers first to lift excess oil without disturbing the base.
Then, press a minimal amount of translucent powder only where needed. Less product means better longevity and a smoother finish.
Skipping primer is also counterproductive. Many assume foundation alone will suffice. Without a gripping layer, pigments slide off as sweat mixes with sebum.
You lose coverage within hours, especially around the nose and chin. Always use a mattifying primer on oily zones. Even if you are short on time, this step saves your look.
It acts as a shield against breakdown. Neglecting it guarantees early failure regardless of how expensive your foundation is.
Decision Guide: Adjusting Your Routine for Climate and Occasion
Humidity changes everything. In tropical climates above 70% relative humidity, standard matte finishes fail quickly. Sweat dilutes setting powders, turning them into mud.
Switch to waterproof formulas and alcohol-based setting sprays in these conditions. These products resist water penetration better than traditional options. You might need to reapply blotting papers every two hours instead of four.
Accept that some touch-ups are inevitable in extreme heat.
Dry winter air presents a different challenge. Low humidity causes dehydrated oily skin to flake under makeup. Heavy mattifiers accentuate dry patches on cheeks while T-zones stay shiny.
Balance your routine with hydrating primers on non-oily areas. Use a cream-to-powder hybrid foundation for flexibility. It provides coverage without settling into fine lines.
Layering thin coats works better than one thick application here.
For evening events, lighting demands precision. Harsh artificial lights highlight texture and oiliness instantly. Opt for high-coverage, long-wear foundations with light-diffusing particles.
These minimize the appearance of pores under flash photography. Skip heavy shimmer which attracts attention to oily spots. Matte remains king, but ensure it doesn’t look flat.
Add a subtle bronzer to restore dimension lost by excessive powder. Tailor intensity based on venue lighting conditions.
FAQs
Can I use oil-free makeup if my skin is oily?
Yes, absolutely. Oil-free formulations prevent adding extra lipids to already active sebaceous glands. Look for labels stating "non-comedogenic" to ensure pores stay clear.
These products rely on water or silicone bases rather than plant oils. They reduce the risk of acne cosmetica significantly. However, check ingredient lists for hidden emollients like dimethicone copolyol.
Some still feel heavy despite being labeled oil-free. Test small amounts before committing to full-face application.
How often should I wash my beauty sponges?
Wash them weekly at minimum. Damp sponges breed bacteria rapidly, leading to breakouts and infections. Oily skin provides extra food sources for microbes via residual sebum.
Rinse thoroughly with antibacterial soap after each use. Allow complete air drying in open space. Replace sponges every three months or sooner if they tear.
Dirty tools undermine even the best skincare and makeup routines. Hygiene is critical for maintaining healthy, clear complexion results.
Does setting spray really help with oily skin?
Yes, it forms a protective film over makeup. Polymers in sprays lock pigments in place against friction and sweat. Choose alcohol-free versions to avoid rebound oil production.
Alcohol dries out skin initially but triggers compensation later. A good spray extends wear time by several hours. It melds layers together for a seamless finish.
Apply from eight inches away for even distribution. Let it dry naturally without fanning.
Why does my foundation oxidize on oily skin?
Sebum breaks down pigment binders, causing color shifts. Oxygen exposure accelerates this reaction on exposed skin surfaces. Darkening occurs as fats interact with metallic ingredients.
Prevent this by using antioxidant serums underneath makeup. Vitamin C or E neutralizes free radicals effectively. Also, choose foundations labeled "transfer-resistant" or "long-wear." These contain stabilizers that resist lipid degradation longer.
Proper prep reduces oxidation significantly compared to bare application.

Similar Posts