How to Check Base Makeup from Every Angle
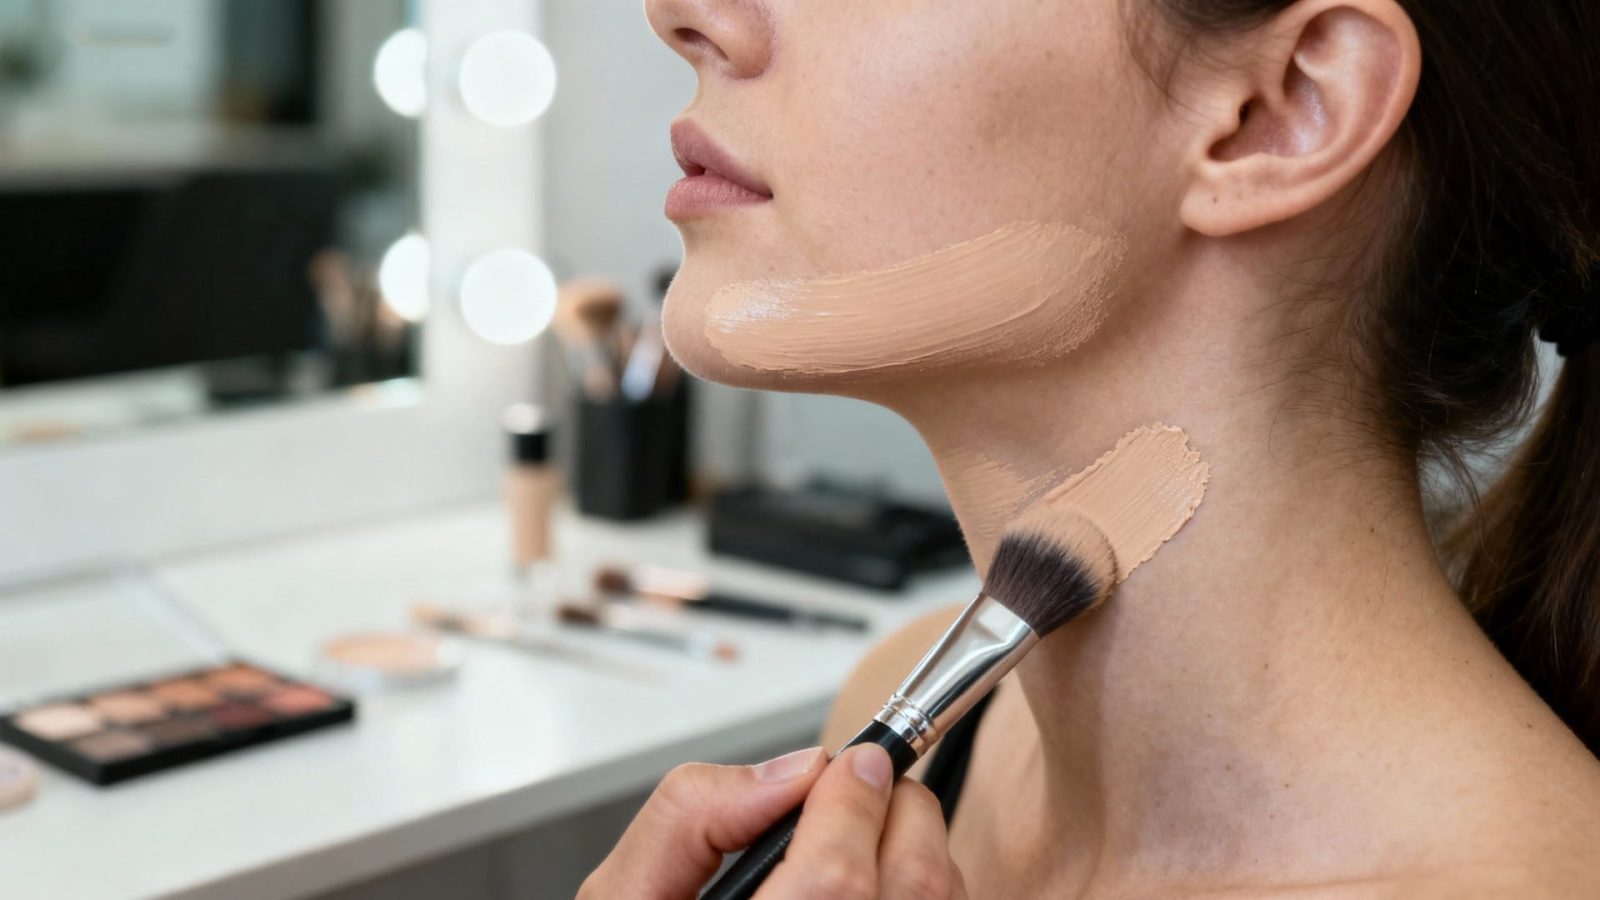
Knowing how to check base makeup from different angles saves you from embarrassing photo fails. Most people only look straight ahead in the mirror, missing critical flaws. This single habit causes patchy blends and visible demarcation lines that ruin your look.
We’ve analyzed lighting physics and camera behavior to build a reliable verification routine. As of 2026, high-definition sensors expose texture details that older cameras hid completely. Relying solely on frontal views ignores these modern realities.
Here is how to properly audit your foundation coverage using spatial awareness and varied light sources.
Quick Answer
To check base makeup from different angles, inspect your face under natural daylight. Turn your head left, right, up, and down slowly. Look for harsh lines at the jawline and hairline.
Use a smartphone rear camera to spot flashback or oxidation issues immediately. Always verify coverage against your neck color before leaving home.
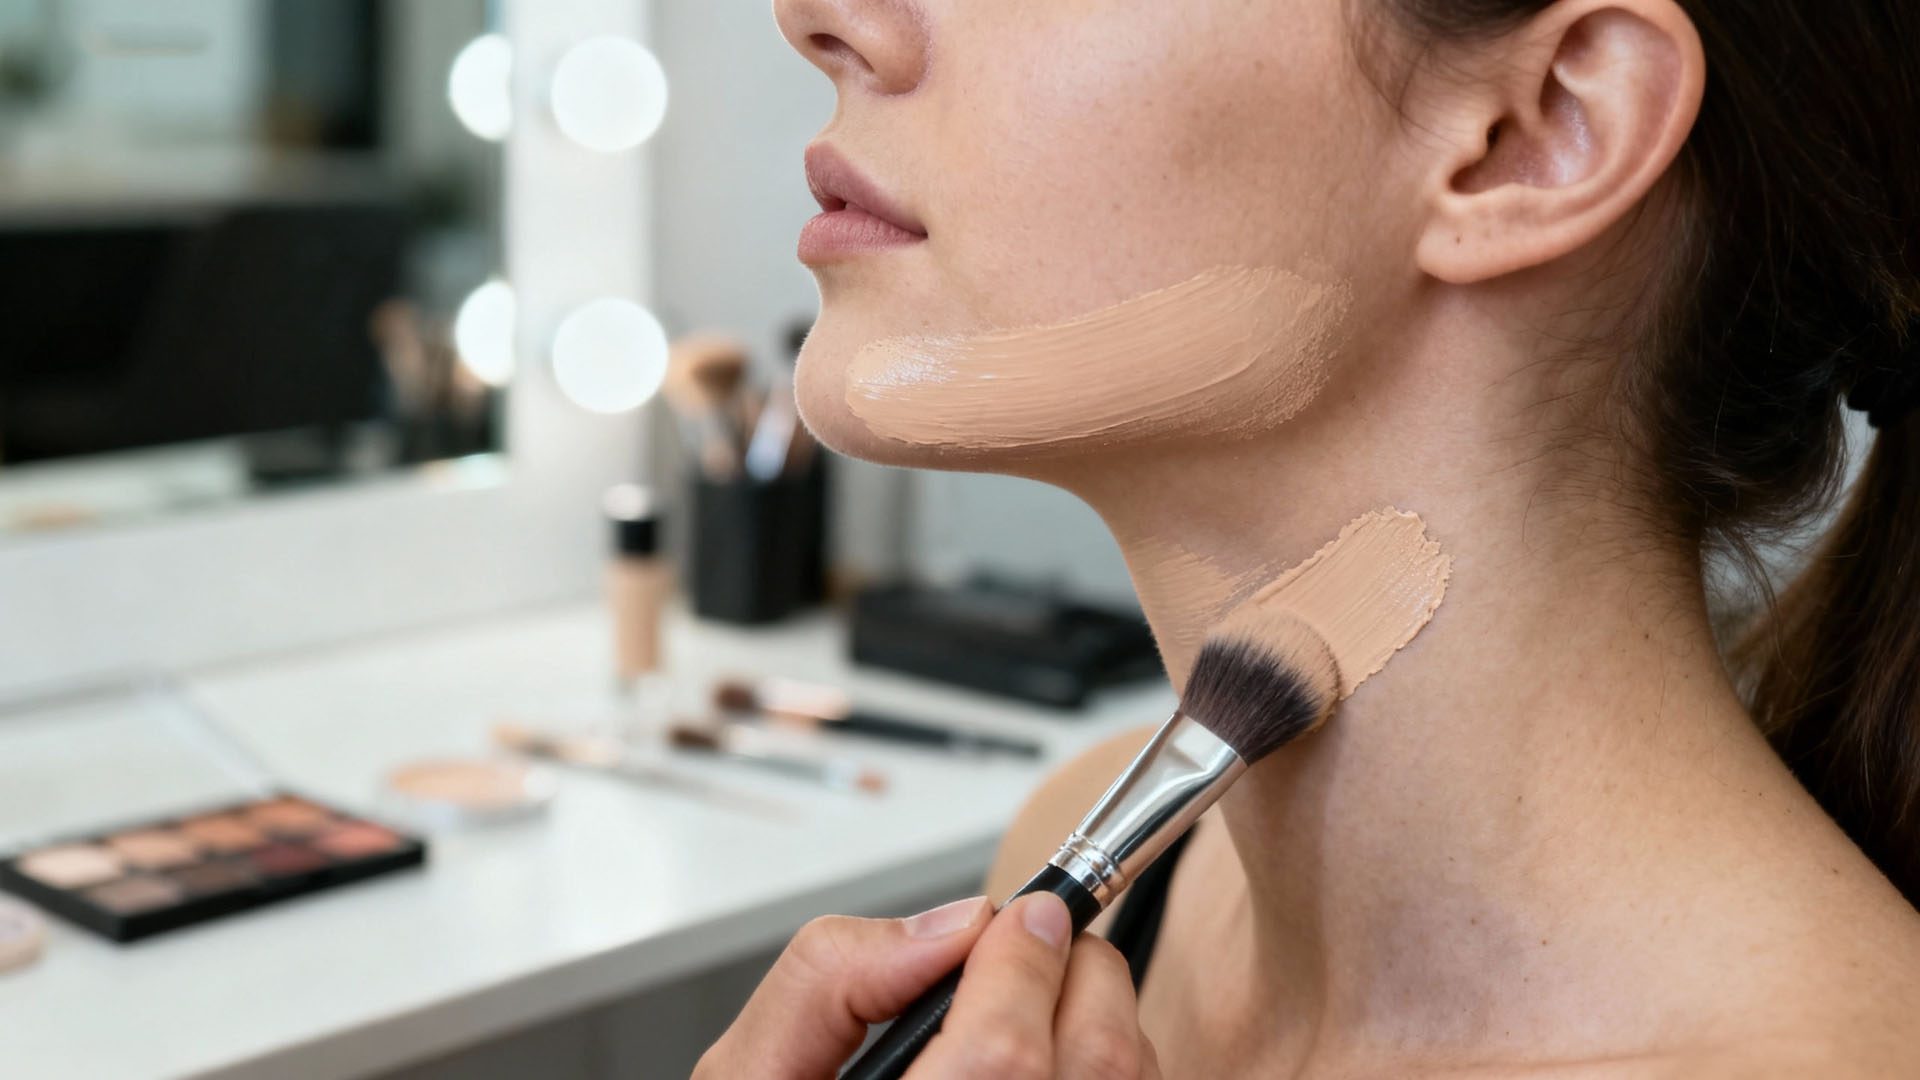
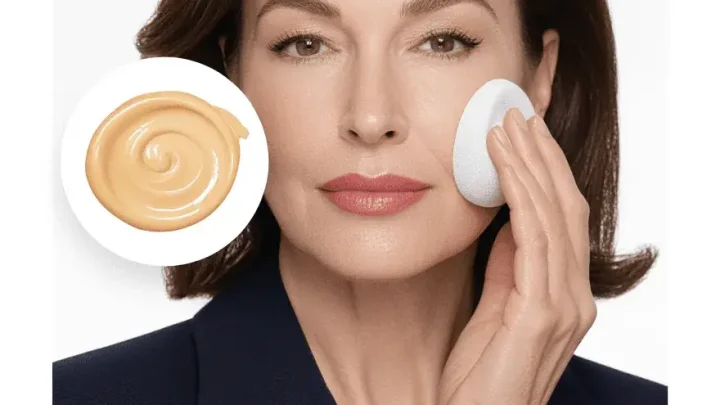
Image source: Bing (Web (fair-use with source credit))
Why Your Bathroom Mirror Is Lying to You
Bathroom mirrors create deceptive visual environments. Overhead fluorescent lights cast sharp downward shadows. These shadows hide under-eye circles but exaggerate nasolabial folds.
You might over-conceal areas that actually look fine in real life. The flat, direct nature of this lighting removes dimensionality from your face.
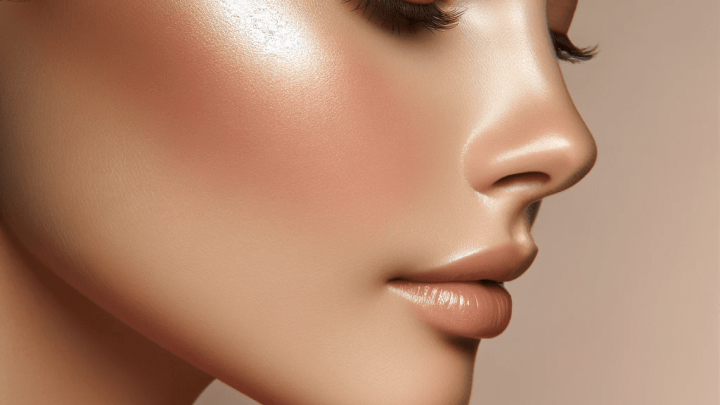
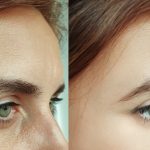
Side-lighting reveals what overhead bulbs conceal. When light hits your skin horizontally, it highlights every pore and dry patch. This is called raking light.
It exposes texture inconsistencies that make foundation look cakey. If your base survives raking light, it will survive almost any scenario.
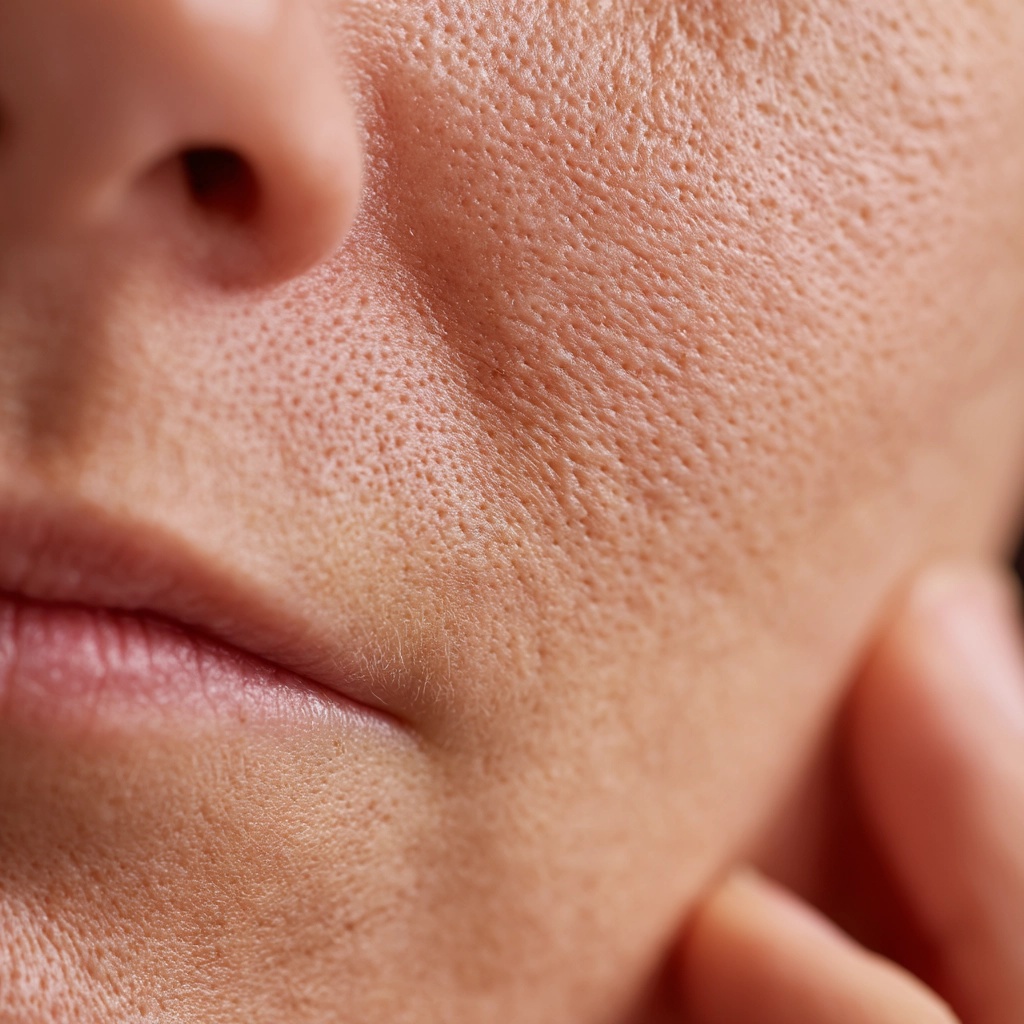
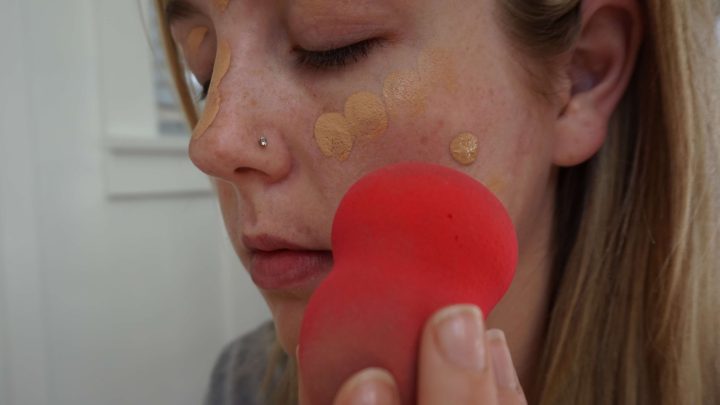
Image source: Web (Bing) / promptden.com (Web image (fair-use with source credit))
Natural daylight remains the gold standard for accuracy. Sunlight provides full-spectrum illumination that mimics human vision best. However, direct midday sun can be too harsh.
Indirect north-facing window light offers the most forgiving yet truthful assessment. Always move to this environment before finalizing your look.
Our research indicates that color temperature plays a huge role here. Warm indoor bulbs (around 2700K) add yellow tones to your skin. Cool office LEDs (around 5000K) add blue hues.
Foundation matched in warm light often looks grey in cool light. Check your blend in both extremes if possible.
The 4-Angle Verification Method
Start with the frontal eye-level check. Stand parallel to your mirror. Ensure your chin is neither tucked nor lifted.
Look for symmetry in coverage across both cheeks. Note any unevenness around the nose bridge. This establishes your baseline appearance.
Next, perform the profile sweep. Turn your head ninety degrees to the left. Inspect the jawline continuity.
Does the foundation fade smoothly into your neck? Repeat on the right side. Look for hard demarcation lines behind the ears.
These spots are common failure points for blending.
Then, execute the low-angle test. Tilt your chin upward slightly. Look into the mirror from below.
This angle reveals shadow gaps under the cheekbones. It also shows if your neck coverage matches your face. Many people forget to extend foundation onto the clavicle area.
This creates a noticeable mask effect in photos.
Finally, try the high-angle glance. Look down at your chest while keeping eyes forward. Or tilt your head back further.
This exposes forehead texture and nose bridge patchiness. Oil breakthrough happens fastest here. If your base separates in this view, it won’t last the day.
Use this sequence consistently to catch errors early.
| Angle | Primary Focus Area | Common Failure Mode |
|---|---|---|
| Frontal | Symmetry, Nose Bridge | Patchiness, Uneven Coverage |
| Profile | Jawline, Ears | Demarcation Lines, Mismatch |
| Low | Neck, Cheekbones | Shadow Gaps, Missing Blend |
| High | Forehead, Chin | Texture Emphasis, Separation |
Decoding Lighting Traps: Flashback vs. Oxidation
Flashback occurs when UV filters reflect camera flash. Titanium dioxide and zinc oxide are common culprits. They scatter light brightly in direct flashes.
Your face appears white or ghostly in photos. This doesn't happen in normal ambient light. Only a camera test reveals this issue.
Oxidation is a chemical reaction with air. Pigments darken as they settle on the skin. This shift usually becomes apparent within thirty to sixty minutes.
Foundation may turn orange or brown depending on undertones. Natural daylight exposes this change quickly. Indoor lighting often masks it until later.
Check for oxidation by waiting an hour after application. Move to a window with indirect sunlight. Compare your face color to your inner wrist.
If there’s a significant hue difference, your shade is wrong. Adjust with powder or switch formulas next time.
Smartphone flash tests simulate event photography conditions. Take a picture with the flash on. Review the image zoomed in.
Look for bright white patches on the T-zone. If present, your SPF level is too high for evening wear. Consider switching to a non-SPF foundation for night events.
Hard light creates sharp contrasts. Soft light blurs imperfections. Understanding this distinction helps you choose the right setting.
Don’t rely on soft vanity bulbs for daytime checks. They flatter too much. Harsh light tells the truth about your texture management.
Camera Check: When to Trust the Lens Over the Mirror
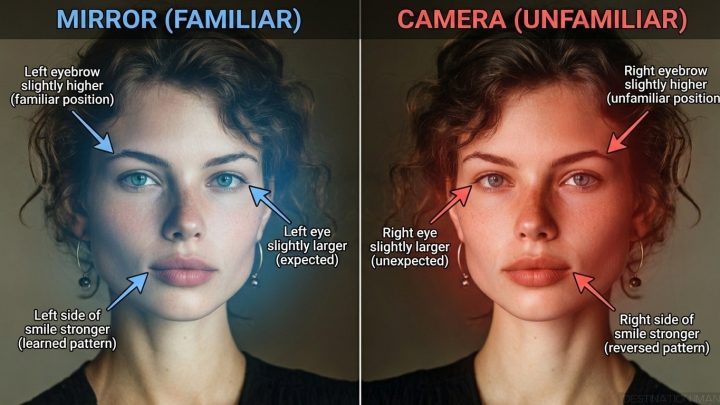
Mirrors show reflections. Cameras show captures. The difference matters significantly.
Smartphone lenses use wide-angle optics that distort features. They stretch faces near the edges. This makes blending errors look worse than they are.
Use the rear camera for accuracy.
Front-facing cameras often apply automatic smoothing filters. These algorithms erase texture data. You might think your base is flawless.
The raw file proves otherwise. Disable beauty modes before testing. Shoot in RAW format if your phone supports it.
This preserves all visual information.
Video clips reveal movement dynamics better than stills. Record a ten-second pan of your face. Watch it back at slow speed.
Look for creasing in expression lines. Foundation shouldn’t pool in laugh lines or crow’s feet. Static images miss these micro-failures.
HD screens display higher resolution than human eyes perceive. Pores and fine hairs become visible. Your base must account for this digital scrutiny.
Aggregate reviews report that matte finishes hold up better on video. Dewy skins tend to look oily under studio lights. Choose your finish based on your primary output medium.

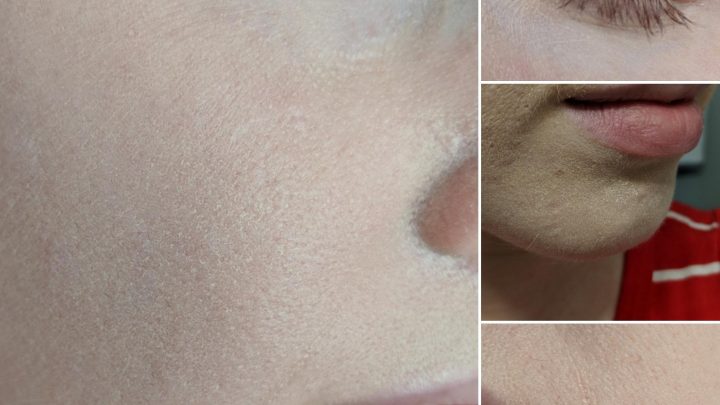
Image source: Bing (Web (fair-use with source credit))
Always compare your live view to the recorded playback. Discrepancies indicate lighting mismatches. If your face looks duller on screen, adjust your highlight placement.
If it looks shinier, increase powder application. The camera never lies about luminosity levels. Trust the lens for final validation.
Common Visual Failures and Their Fixes
The mask line is the most frequent error. It appears as a sharp border where foundation stops abruptly. This usually happens at the jawline or hairline.
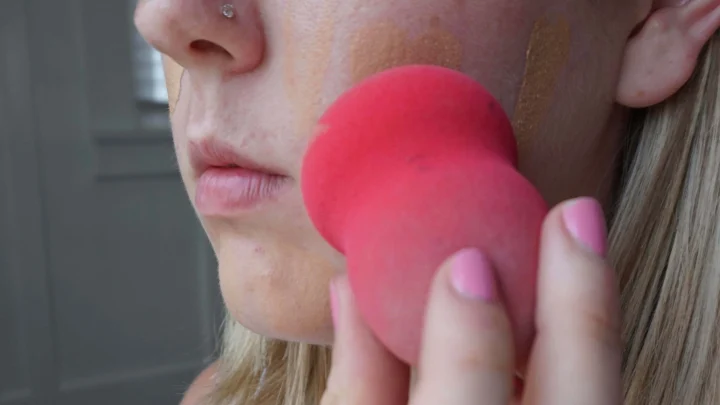
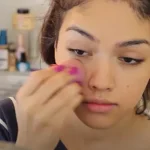
To fix it, buff your sponge outward in circular motions. Extend the product down onto your neck slightly. Blend until no distinct edge remains visible under side light.
Patchy texture often stems from dry skin preparation. Raking light highlights every flake and bump. If you see uneven coverage, don’t add more liquid.
Instead, press a tiny amount of moisturizer into the spot. Re-blend with a damp brush. This smooths the surface without creating buildup.
Shine breakthrough ruins matte finishes quickly. Oil migrates to the T-zone within hours. From a high angle, this looks like wet patches.
Set these areas with translucent powder immediately after application. Focus on the forehead and nose bridge. Avoid over-powdering cheeks, which can look cakey in photos.
Demarcation lines also appear behind the ears. People often forget this zone entirely. Check your profile view carefully here.
Use a small detail brush to carry color backward. Match the tone to your neck for consistency. This prevents a floating head effect in three-quarter shots.
Creasing occurs in expression lines like laugh tracks. Static mirrors miss this because muscles are relaxed. Movement reveals the pooling pigment.
Prevent this by applying thinner layers in dynamic zones. Use a setting spray to lock particles in place. This reduces shifting during speech or smiling.
Pro Tips for Seamless Multi-Angle Blending
Buffing direction matters more than pressure. Always blend away from the center of your face. Push product toward the hairline and jaw.
This creates a natural gradient rather than a hard stop. Aggregate reviews indicate that downward strokes on the neck prevent streaking.
Use raking light strategically during application. Position a lamp to the side of your mirror. This exposes texture flaws before they set.
Adjust your technique based on what the shadows reveal. You’ll catch dry spots that frontal lighting hides completely.
Setting powder should match your undertone, not just depth. Yellow-based powders neutralize redness but can oxidize on cool skin. Translucent options work for most tones.
Apply lightly with a fluffy brush. Press only where shine breaks through. Dust off excess to avoid a chalky cast.
Perform a final walk-away test. Leave your bathroom and move to a hallway or window. Wait five minutes.
Observe how the color shifts in different temperatures. If it looks grey in cool light, warm up your blush placement. This ensures adaptability across environments.
Check your reflection in a black screen. Turn off your phone display. Look at your face reflected in the glass.
This eliminates digital enhancement biases. It shows pure optical reality. Many artists use this trick to verify true opacity levels.
Remember that humidity affects longevity. In moist climates, bases break down faster. Opt for water-resistant formulas if checking outdoors.
Dry climates require extra hydration steps. Tailor your routine to local weather conditions. This proactive approach saves time on corrections later.

Similar Posts