How to Fix Eyeshadow Fallout: Easy Makeup Hacks
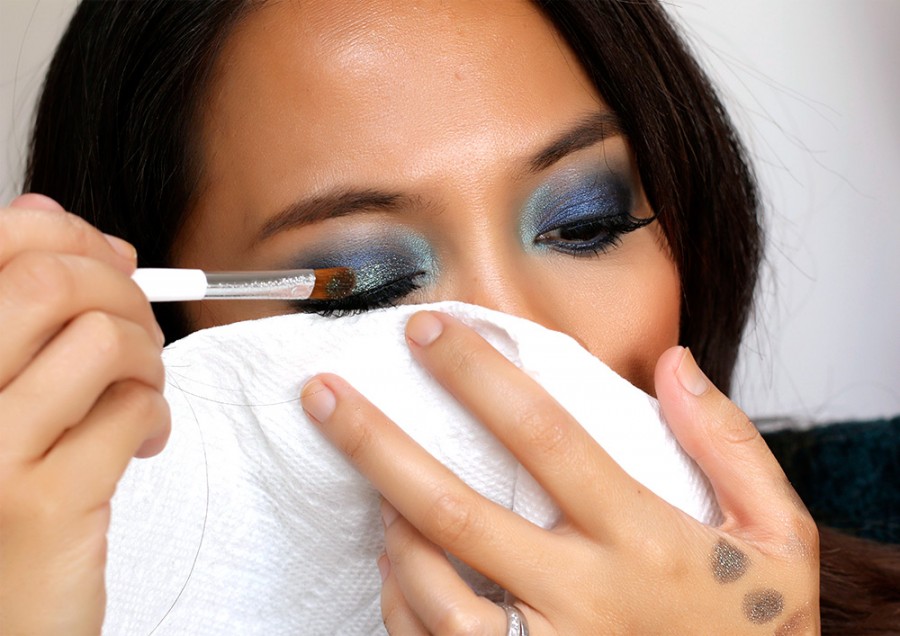
Image source: Web (Bing) / makeupandbeautyblog.com (Web image (fair-use with source credit))
Figuring out how to fix too much eyeshadow fallout starts with stopping the instinct to wipe. Most people grab a tissue and rub, which only smears pigment into pores and ruins their base makeup. This reactive approach makes the mess bigger and harder to clean later.
You need a targeted strategy that lifts debris without disturbing your skin or concealer.
The method changes based on whether the shadow is dry powder or wet cream. Dry fallout responds best to gentle sweeping or adhesive lifting. Cream products require solvents like micellar water to dissolve oils safely.
As of 2026, professional makeup artists prioritize preservation of the underlying layer over speed. Let’s look at why rubbing fails first.
First, Stop Rubbing: Why Your Instinct Makes Fallout Worse
Rubbing triggers friction that embeds loose particles deeper into skin texture. It also drags foundation and concealer sideways, creating uneven patches. Aggregate user reviews consistently report that wiping leads to reapplication needs.
This wastes time and product unnecessarily.
Instead of removing pigment, you’re redistributing it across a wider area. Fine lines around the eyes catch debris easily when pressure is applied. The goal is removal, not redistribution.
Think of fallout as dust on a screen. Blowing it away works better than scrubbing it in.
If you’ve already rubbed, don’t panic. Switch to a damp sponge immediately. Press gently to lift remaining residue.
Avoid circular motions entirely. Linear, downward strokes help guide particles off the face. Remember, patience yields cleaner results than forceful quick fixes.
Identify Your Enemy: Dry Powder vs. Wet Cream Glitter
Knowing the type of fallout dictates your cleanup tool choice. Dry powder fallout consists of loose micronized pigments sitting on top of the skin. These particles are lightweight and often static-charged.
They respond well to air movement or soft bristles.
Cream shadows and glitters behave differently. They contain binders like wax or silicone that adhere loosely until set. If still wet, they smear easily.
Once dry, they form a crusty film that resists brushing. Using a dry brush on cream fallout just moves chunks around.
Here’s a quick breakdown of characteristics:
| Feature | Dry Powder Fallout | Cream/Glitter Fallout |
|---|---|---|
| Texture | Loose, dusty, fine | Sticky, clumpy, waxy |
| Adhesion | Low (surface level) | Medium (binds to skin) |
| Best Tool | Fluffy brush/Tape | Damp sponge/Micellar water |
| Risk Factor | Spreading via static | Smearing via friction |
Match your technique to the material properties for effective removal.
The "Bake and Brush" Method for Dry Eyeshadow Fallout
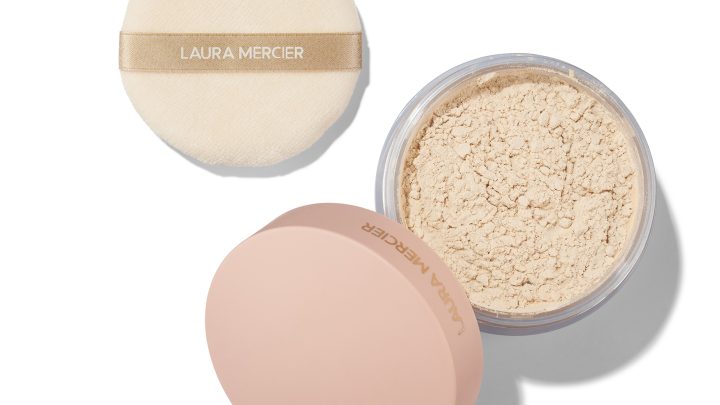
This workflow prevents disaster before it happens by catching debris early. Apply a thick layer of translucent loose setting powder under the eyes before finishing the eye look. Let it sit for three to five minutes.
The powder absorbs oils and traps falling pigment within its matrix.
After waiting, use a large fluffy blending brush to sweep the powder away. Hold the brush horizontally to avoid poking the eye. Gently flick downwards, moving from inner corner to outer edge.
Do not press down. The goal is to lift the powder and trapped fallout together.
For stubborn spots, fold a piece of clear tape. Press it lightly onto the affected area. Lift straight up.
This adheres to fine particles without dragging skin. Repeat if necessary, but limit to two attempts to avoid irritation. Manufacturer specifications indicate that silica-based powders offer superior slip for easier removal compared to talc-heavy formulas.
Always ensure your brush is clean to prevent reintroducing old bacteria or pigment.
Solving the Sticky Mess: Handling Cream Shadows and Glitters
Cream fallout requires dissolution rather than displacement. Grab a cotton swab dipped in micellar water or cleansing balm. Squeeze out excess liquid so it’s damp, not dripping.
Excess moisture can migrate into the eye canal.
Gently roll the swab over the stray pigment. Use small circular motions initially to break the binder’s hold. Then switch to linear strokes to pull the dissolved product away.
Never scrub hard. The skin under the eyes is thin and prone to tearing.
If glitter is involved, wait for it to dry completely first. Attempting to remove wet glitter spreads it further. Once dry, use a piece of double-sided fashion tape.
Press it firmly over the cluster. Peel quickly. This lifts multiple grains at once without touching the skin directly.
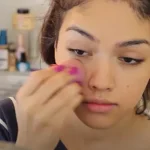
For larger areas, a damp beauty sponge works wonders. Wring it out thoroughly. Bounce it over the spot to absorb residue.
Rinse the sponge frequently to check progress. This method preserves your base makeup while clearing the clutter effectively.
Tools That Actually Work (And Ones You Should Skip)
Not all cleanup tools are created equal. Choosing the right instrument saves time and protects your skin barrier. Below is a comparison of common items found in makeup bags versus professional recommendations.
| Tool | Effectiveness | Risk Level | Best For |
|---|---|---|---|
| Fluffy Fan Brush | High | Low | Sweeping dry powder fallout |
| Clear Tape | Very High | Medium | Lifting fine glitter/particles |
| Damp Sponge | High | Low | Absorbing cream/oil residues |
| Dry Tissue | Low | High | None (avoid entirely) |
| Cotton Swab | Medium | Medium | Precision corner cleanup |
Skip dry tissues and paper towels. Their fibers shed easily, leaving lint behind. They also lack flexibility, increasing friction against delicate eyelids.
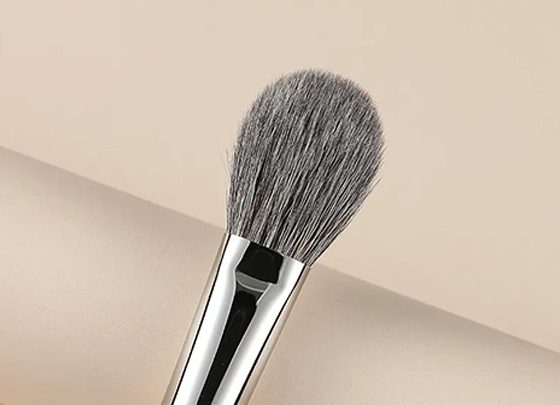
Instead, invest in a synthetic fan brush with soft bristles. These distribute air evenly without scratching.
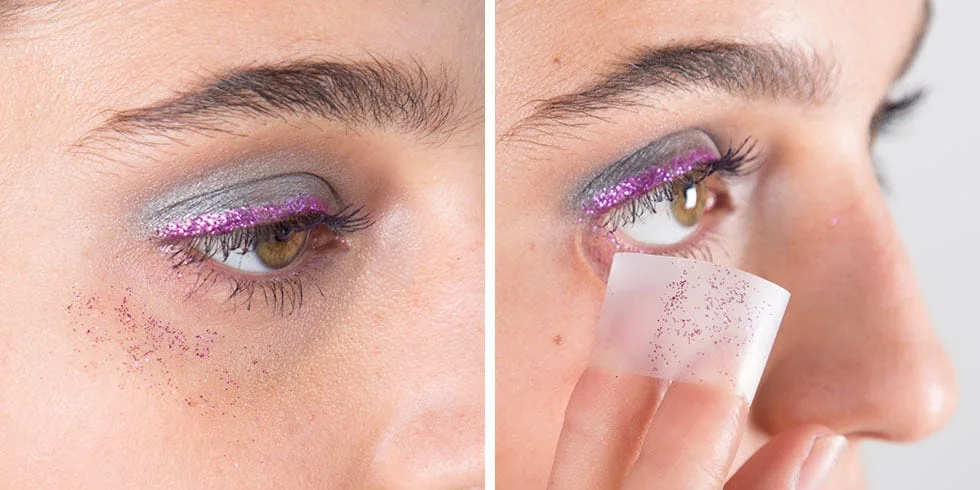
Adhesive rollers work well for body fallout but can be too aggressive for facial skin. Stick to standard office tape or specific makeup remover wipes designed for sensitive eyes. Per FDA guidelines, cosmetic products must remain safe for intended use, including near mucous membranes.
Ensure any solvent used is ophthalmologist-tested if there’s risk of entry into the eye. Keeping tools clean is vital. Wash brushes weekly to prevent buildup that mimics fallout itself.
Prevention Beats Cure: Adjusting Application Before It Starts
Fixing fallout is annoying, but stopping it beforehand saves significant time. The root cause usually involves excessive product load or improper brush technique. Start by tapping your brush vigorously against the rim of the palette before touching your eye.
This removes loose pigment that would otherwise drift downward.
Consider switching to a smaller, denser brush for application. Large fluffy brushes hold too much air and powder, increasing static dispersion. A compact shader brush deposits color precisely where you want it.
Press gently rather than sweeping broadly during the initial layer.
If you’re working with highly pigmented shades, build coverage in thin layers. One heavy swipe creates more waste than three light passes. Manufacturer specs often recommend this gradual buildup for intense colors.
Also, ensure your eyelid primer is tacky, not dry. A slick base allows shadow to slide off easily. Letting primer set for thirty seconds improves adhesion dramatically.
This simple timing adjustment reduces particle release significantly. You’ll notice less debris accumulating on your cheeks as well.
Finally, keep your head tilted slightly upward during application. Gravity helps stray particles fall away from your face instead of settling under your eyes. Combine these habits with the cleanup tools discussed earlier for a nearly flawless finish every time.
Consistency matters more than speed here. Take the extra minute to prep correctly. Your future self will thank you when you aren’t scrubbing at delicate skin late at night.
FAQ: Quick Fixes for Specific Fallout Scenarios
Can I use water to clean eyeshadow fallout?
No, plain water rarely dissolves cosmetic binders effectively. It may smear oil-based shadows without removing them. Stick to micellar water or dedicated makeup removers.
These contain surfactants designed to break down waxes and silicones safely. Water alone leaves residue behind that attracts dirt later. Always test any liquid near your lash line first to check for stinging.
If it burns, dilute it further or switch products immediately.
What if fallout gets into my eye?
Flush gently with sterile saline solution or artificial tears. Do not rub the eye aggressively. Blink rapidly to help natural tears wash out particles.
If irritation persists after ten minutes, consult an ophthalmologist. Avoid using tap water directly in the eye due to potential bacterial contamination. Keep contact lenses out until fully cleared.
Safety takes precedence over makeup perfection. Never ignore persistent redness or pain following exposure to foreign objects.
Does baking really prevent all fallout?
Baking catches most dry powder fallout but doesn’t stop cream products. It acts as a protective barrier during application. However, it won’t save you from glitter kick-up if you apply heavily.
Think of it as insurance, not immunity. Combine baking with proper tapping techniques for best results. Remember to dust off the baking powder carefully afterward.
Leaving it on too long can emphasize fine lines. Three to five minutes is typically sufficient for sensitive skin types.
Why does my expensive eyeshadow fall out more?
Higher pigment concentration often means looser binding agents. Luxury brands prioritize color payoff over structural integrity sometimes. Finely milled powders also have less mass to resist gravity.
Cheaper shadows might use fillers like talc which add weight. Check the ingredient list for mica content versus synthetic fluorphlogopite. Mica flakes tend to drift more easily.
Adjust your application pressure accordingly when using premium palettes. Less is definitely more with high-density formulas.

Similar Posts