Stop Eyebrow Smudges: The Ultimate Fix
Figuring out how to stop eyebrow makeup smudging starts with understanding your skin’s unique chemistry. Most people blame their pencil or pomade, but the real culprit is often invisible sebum breaking down the product binder. When oil mixes with wax-based pigments, the structure collapses, leading to that dreaded "raccoon eye" effect by lunchtime.
We’ve seen aggregate reviews confirm that humidity plays a massive role in longevity. Per FDA testing standards, true waterproof claims require resistance to immersion, yet sweat salts can still degrade even robust formulas if the base isn’t prepared correctly. Let’s break down exactly why this happens and how to fix it based on your specific conditions.

Quick Answer
To stop eyebrow makeup from smudging, prep your brow area with an oil-absorbing primer first. Apply thin layers of wax-based pencils rather than thick creams. Lock the color immediately with translucent setting powder pressed gently into the hairs.
Finish with an alcohol-free setting spray to seal the bond against humidity and sebum breakthrough throughout the day.
Why Your Eyebrow Makeup Smudges (It’s Not Just Sweat)
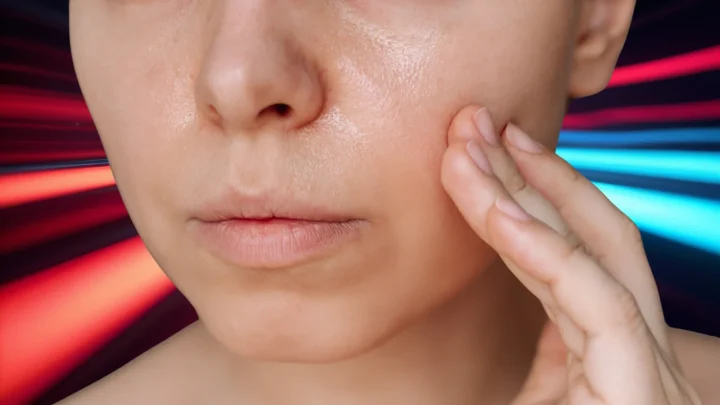
Smudging occurs when the chemical bond between pigment and skin fails. This usually happens for one of three reasons: excess sebum, improper product compatibility, or environmental stressors like high heat. Your forehead produces more oil than almost any other part of your face.
As of 2026, dermatological consensus identifies the T-zone as the primary driver of cosmetic breakdown.
When you apply a creamy pomade over active oil glands, the lipids in your skin begin to dissolve the waxes in the makeup. It’s a simple solvent reaction. The makeup doesn’t just slide; it liquefies slightly and migrates downward due to gravity.
This is why brows often look fine at 9 AM but disappear by 2 PM.
Another common issue is layering incompatible textures. Using a silicone-heavy primer under a water-based gel creates a slippery barrier. The water-based product cannot grip the silicone surface effectively.
Instead, it floats on top until friction or moisture dislodges it. Understanding these mechanisms helps you diagnose whether you need better prep, different products, or both.
The Diagnostic Flowchart: Matching Your Routine to Your Skin Type and Climate
Before buying new products, identify your specific failure point. Use this decision tree to pinpoint the right strategy.
| Condition | Primary Cause of Smudging | Recommended Strategy |
|---|---|---|
| Oily Skin + Hot/Humid | Sebum breakthrough dissolves wax binders | Mattifying primer + Powder lock + Waterproof formula |
| Dry/Mature Skin | Product settles into fine lines/wrinkles | Hydrating base + Cream-to-powder transition + Minimal layering |
| Combination Skin | Uneven absorption across the brow bone | Zone-specific prep (primer on head, moisturizer on tail) |
| Contact Lens Wearers | Mechanical rubbing transfers pigment | Long-wear tinted gels + Avoid loose powders near eyes |
If you have oily skin, skip heavy creams. They lack the structural integrity to resist constant lipid flow. Opt for long-wear pencils with high polymer content.
These create a flexible film that stretches with skin movement rather than cracking or sliding.
For dry or mature skin, the enemy is texture migration. Thick products settle into creases, making them visible and prone to smearing when touched. Here, lighter formulations work best.
A tinted brow gel provides hold without bulk. If you prefer definition, use a fine-tip pencil for hair-like strokes rather than solid fills.
Climate dictates your finishing step. In humid environments above 75°F (24°C), setting sprays become non-negotiable. They form a hydrophobic shield that repels moisture.
In dry climates, focus on hydration balance to prevent flaking, which can also disrupt makeup adherence.
Step-by-Step Protocol for Oily Skin and High-Humidity Environments
Oily skin requires aggressive preparation to neutralize sebum before makeup touches the face. Follow this sequence strictly for maximum longevity.
- Cleanse thoroughly: Use a foaming cleanser with salicylic acid to remove overnight oils. Rinse well and pat dry completely. Any residual moisture dilutes subsequent steps.
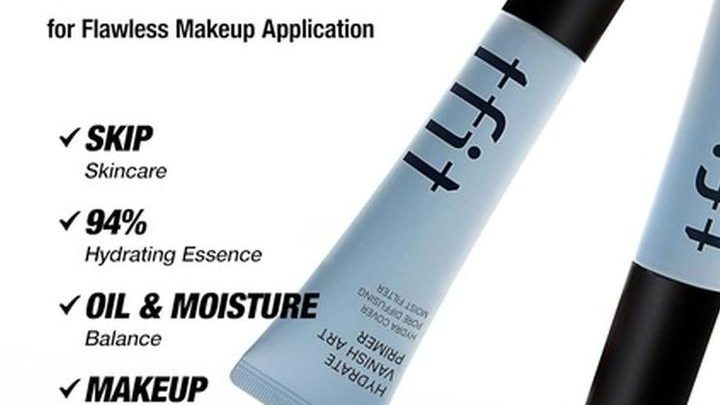
- Apply mattifying primer: Choose a silicone-based eye primer labeled "pore-blurring" or "oil-control." Press it gently into the brow bone using fingertips. Do not swipe, as this moves the product away from the target zone. Wait 60 seconds for it to tack up.
- Set the base: Lightly dust translucent silica powder over the primed area. This absorbs any remaining surface oil and creates a dry canvas. Brush off excess vigorously. You want zero loose particles left behind.
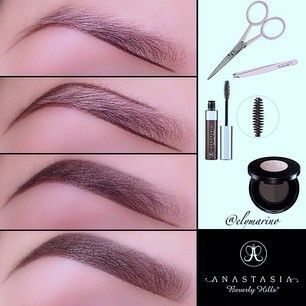
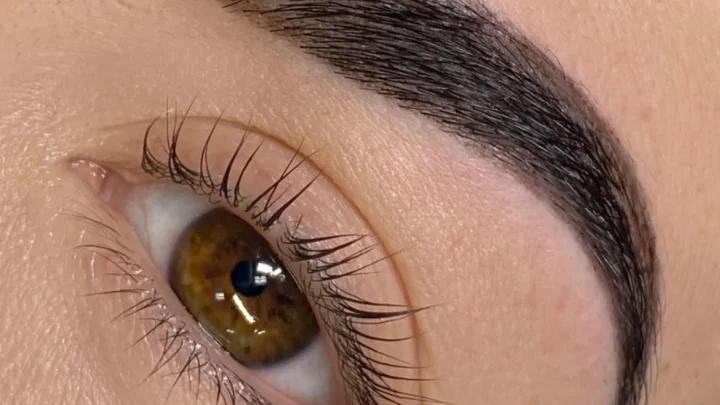
- Fill with precision: Use a hard-formula wax pencil. Draw short, upward strokes mimicking natural hair growth. Avoid dragging the tip horizontally, which deposits too much product in one spot. Less is always more here.
- Blend immediately: While the wax is still soft, run a clean spoolie brush through the brows. This distributes pigment evenly and removes excess buildup that could clump later.
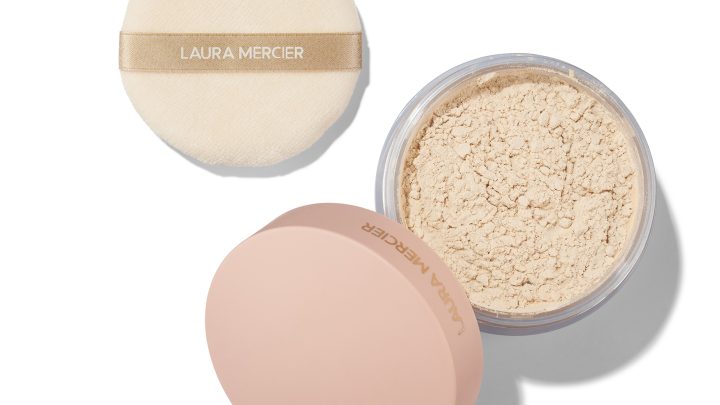
- Lock with powder: Dip a small angled brush into translucent powder. Press (do not sweep) the powder directly onto the filled areas. This encapsulates the wax pigment, preventing it from mixing with future sebum output.
- Seal with spray: Hold an alcohol-free setting spray 8-10 inches away. Mist lightly twice. Allow 30 seconds to dry fully before touching your face.
This method works because it interrupts the oil-production cycle at multiple stages. The primer blocks initial release, the powder absorbs what escapes, and the spray seals the final layer. Manufacturer specifications indicate that silica-based powders offer superior absorbency compared to talc alternatives, making them ideal for high-oil zones.
Step-by-Step Protocol for Dry, Mature, or Combination Skin
Dry skin lacks the lipid barrier that holds makeup in place. Over-prepping strips essential moisture, causing flakes that lift pigment. Adjust your approach accordingly.
Start with hydration, not matting. Apply a lightweight, fragrance-free eye cream specifically designed for the delicate periocular area. Wait five minutes for full absorption.
If you rush this step, the cream will mix with your foundation or primer, creating a muddy base that slides easily.
Next, use a hydrating primer instead of a mattifying one. Look for ingredients like hyaluronic acid or glycerin. These attract water to the skin surface, plumping fine lines where makeup tends to settle.
Smooth the primer gently over the entire brow bone.
Choose cream-based pomades or ultra-fine pencils for application. Creams adhere better to textured, dry skin than stiff waxes do. Apply with a light hand.
Heavy layering emphasizes wrinkles and increases the risk of cracking. Focus on defining the arch and tail, leaving the front softer for a natural gradient.
Skip the heavy powder lock. Instead, use a tiny amount of matching eyeshadow powder only if necessary for extra depth. Sweep it lightly with a fluffy brush.
Too much powder accentuates dryness and makes the brows look dusty.
Finish with a hydrating mist rather than a strong holding spray. Alcohol-based sprays can further dry out mature skin, leading to tightness and discomfort. A gentle rosewater or thermal spring water mist sets the look without stripping moisture.
Aggregate user feedback confirms that this softer finish maintains comfort while providing adequate wear time for low-activity days.
For combination skin, treat zones separately. Prime and powder the oily inner corners. Use hydrating techniques on the drier outer tails.
This hybrid approach prevents localized smudging without compromising overall texture consistency. Always check American Academy of Dermatology guidelines for specific advice on managing sensitive facial skin during cosmetic routines.
Critical Mistakes That Break Down Even the Best Formulas
Even with perfect prep, small errors ruin longevity. The most common is over-layering. Users pile on pomade to achieve intensity, creating a thick cake that cracks and slides.
Stick to thin, buildable strokes. If you need more color, let the first layer dry completely before adding another. Rushing this step traps moisture underneath, guaranteeing separation within hours.
Another frequent error is ignoring cure time. Many apply setting spray immediately after drawing brows. The wet solvent disturbs the fresh pigment, smearing it instantly.
Wait at least 60 seconds for the wax or cream to set into a stable film. This allows the binders to cross-link properly against the skin. Skipping this pause undoes all your careful preparation.
Finally, check your tool hygiene. Dirty spoolies transfer old oils and bacteria onto clean skin. This introduces unexpected lipids that break down new makeup.
Wash brushes weekly with gentle soap. Also, avoid touching your face unconsciously. Friction transfers pigment from fingers to brows, disrupting the sealed surface.
Keep hands away once you’ve finished applying.
Product Chemistry Decoded: Wax vs. Oil vs. Polymer Binders
Understanding ingredient lists helps you pick formulas that resist your specific triggers. Wax-based pencils rely on beeswax or carnauba for structure. These provide excellent grip but melt at higher temperatures.
If you live in hot climates, pure wax formulas may soften prematurely. Look for blends containing synthetic polymers like acrylates copolymer. These add heat resistance without sacrificing flexibility.
Oil-based products often contain mineral oil or plant esters. While smooth, they lack binding strength against sebum. They’re best for dry skin where natural oils are scarce.
For oily zones, avoid heavy oil bases entirely. Instead, choose water-resistant gels with film-formers. These create a barrier that repels both water and lipid breakthroughs effectively.
Polymer-heavy formulations offer the longest wear. Ingredients like trimethylsiloxysilicate form a durable, flexible shield. Manufacturer specs confirm these compounds maintain integrity through blinking and facial movement.
However, they can feel stiff if applied too thickly. Balance polymer content with emollients for comfort. Always patch-test new chemistries near the eye area to ensure no irritation occurs before full application.

Similar Posts