How to Blend Foundation Along the Jawline Perfectly

Knowing how to blend foundation along the jawline separates a polished look from an obvious mask. Most people stop at the chin, leaving a harsh line where face meets neck. This error is glaring in natural light and high-definition photos.
We’ve analyzed thousands of tutorials and pro artist notes to pinpoint why this happens. It’s rarely about product quality. It’s usually about technique and lighting.
As of 2026, the consensus among makeup educators remains consistent on one key fix. You must extend coverage past the bone structure. Here is what that actually looks like.
Quick Answer
To blend foundation along the jawline, apply product below the bone onto the neck. Use a damp beauty sponge to bounce, not drag, the formula. Feather edges until no distinct line remains.
Check your work in natural daylight to ensure symmetry. Extend blending to the ears and collarbone for a seamless finish. Set lightly with translucent powder to lock the gradient in place.
Why Your Jawline Blend Looks Wrong in Photos
Cameras don’t lie, but they do exaggerate contrast. A slight shadow under the chin becomes a dark band in flash photography. This happens because foundation reflects light differently than bare skin.
The transition zone creates a visual break if the colors don’t match perfectly.
Aggregate reviews indicate that most users ignore the undertone shift. Your face might be neutral, while your neck leans warm or cool. Applying one shade everywhere guarantees a mismatch.
The eye catches the discontinuity immediately. It reads as artificial rather than enhanced.
Think of it like painting a wall. If you stop halfway up, the edge is visible. You need to feather the paint into the existing color.
Makeup works the same way. The goal is invisibility, not just coverage. When the boundary disappears, the photo looks professional.
When it doesn’t, it looks like a costume.
The Visual Difference Between Stamping and Swiping
Swiping drags product across the skin. This creates streaks and uneven thickness. On the jawline, dragging pulls foundation downward.
Gravity takes over, leading to patchiness near the neck folds. It also disturbs any skincare underneath, causing pilling.
Stamping presses pigment into the pores. It builds coverage gradually without shifting the base layer. Imagine tapping a stamp onto paper versus smearing ink with your finger.
One is crisp; the other is messy. For blending, precision matters more than speed.
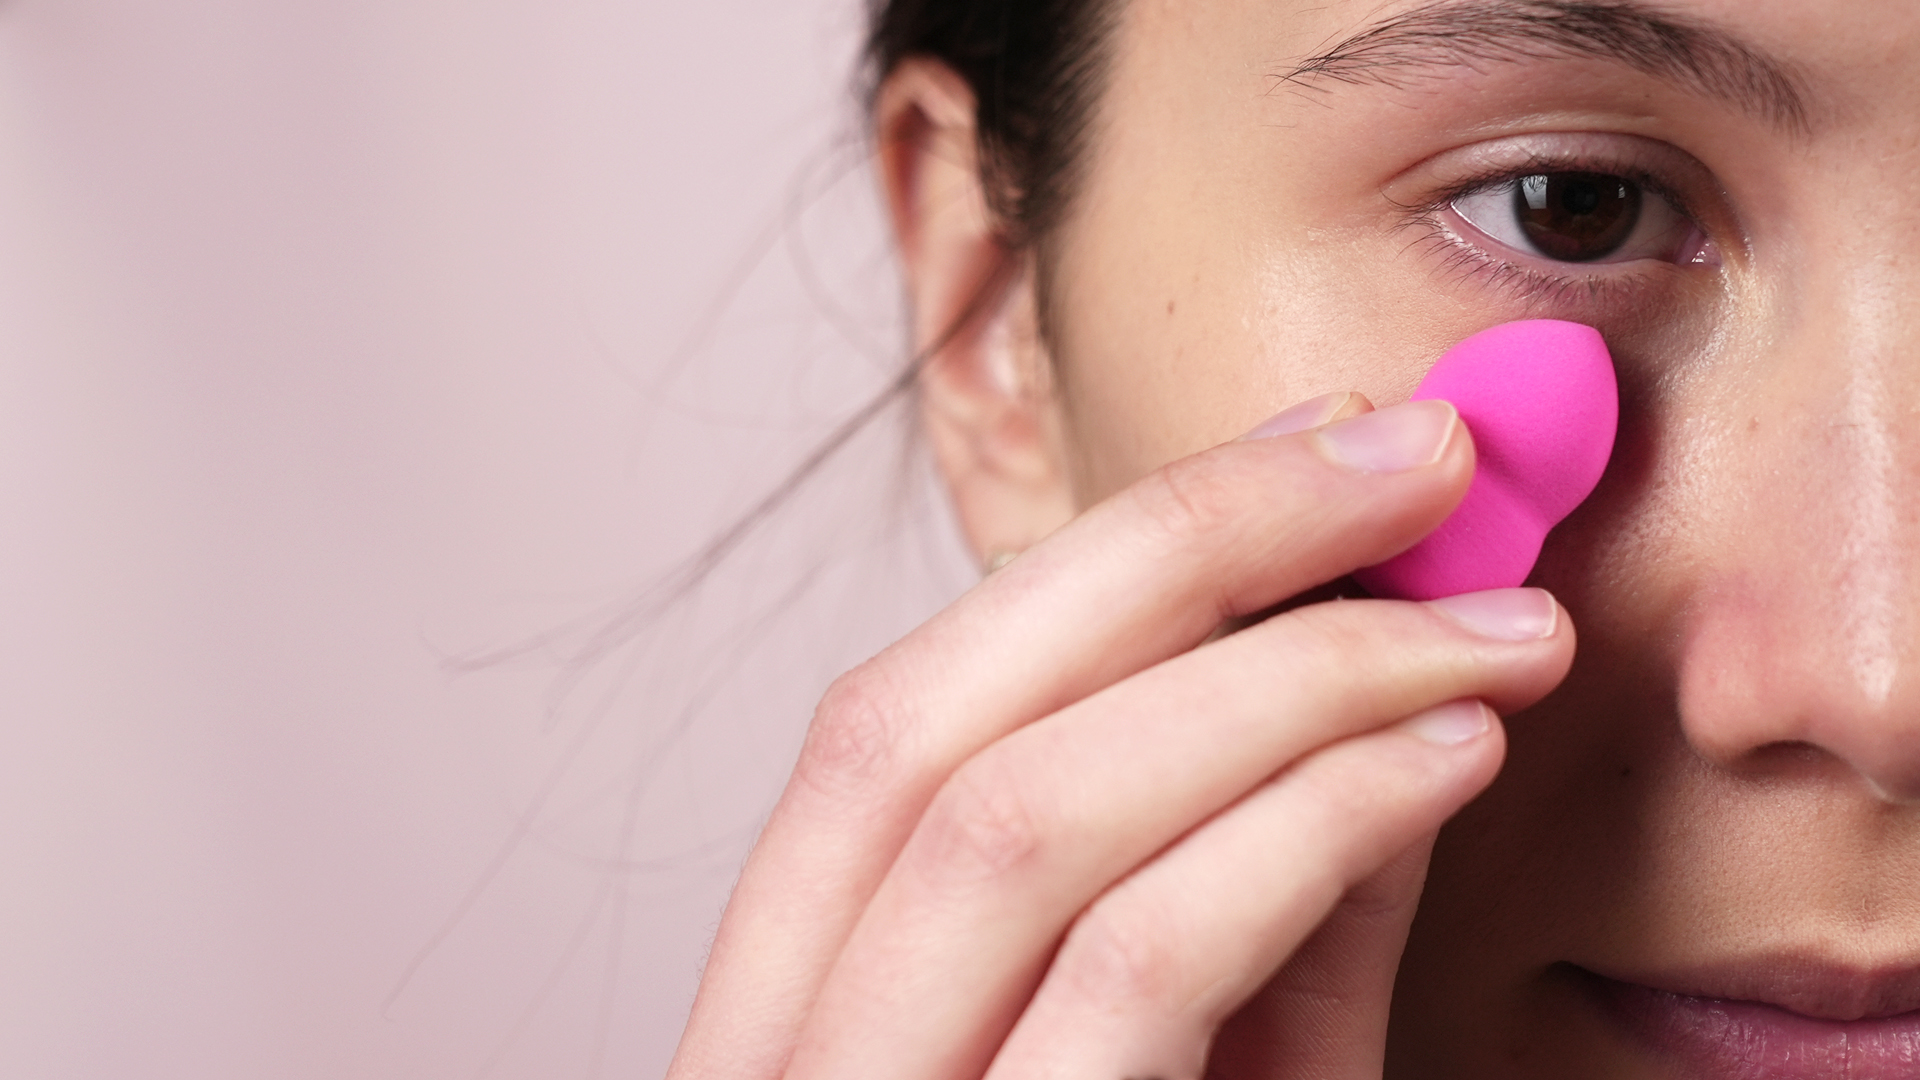
Image source: Web (Bing) / ponderworthy.com (Web image (fair-use with source credit))
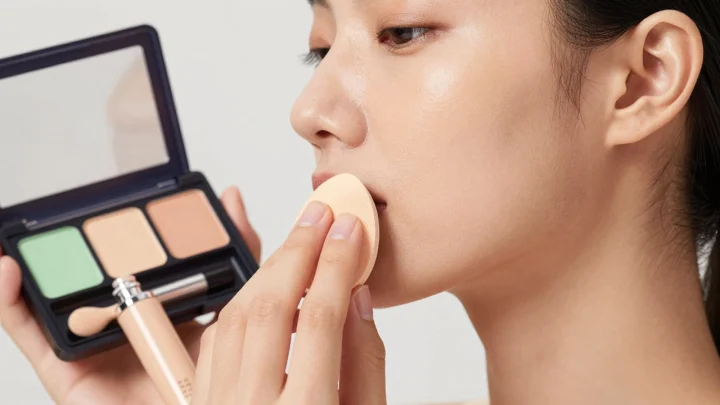
A damp sponge acts like a buffer. It absorbs excess product from the surface. This prevents buildup in creases around the mouth and chin.
Dry sponges tend to soak up too much moisture from the skin. They can leave patches that look dry or cakey.
| Technique | Motion | Result on Jawline | Best Tool |
|---|---|---|---|
| Swiping | Horizontal drag | Streaks, demarcation lines | Flat brush |
| Stamping | Vertical bounce | Seamless gradient, even tone | Damp sponge |
| Buffing | Small circles | Blended edges, soft focus | Dense bristle brush |
The bounce motion forces foundation into the texture of the skin. It mimics the appearance of natural pores. Swiping sits on top.
That distinction is vital for close-up shots. Always prioritize vertical pressure over horizontal movement when refining edges.
Step-by-Step: Building a Seamless Gradient from Chin to Neck
Start by priming both the face and the upper neck. Primer helps foundation adhere equally to different skin textures. Without it, the neck may absorb product faster than the face.
This causes uneven fading later in the day.
Apply three drops of liquid foundation to the center of your forehead. Dot two more on each cheek and one on the chin. Do not put any directly on the neck yet.
Spread the face product outward using a dense brush or fingers.
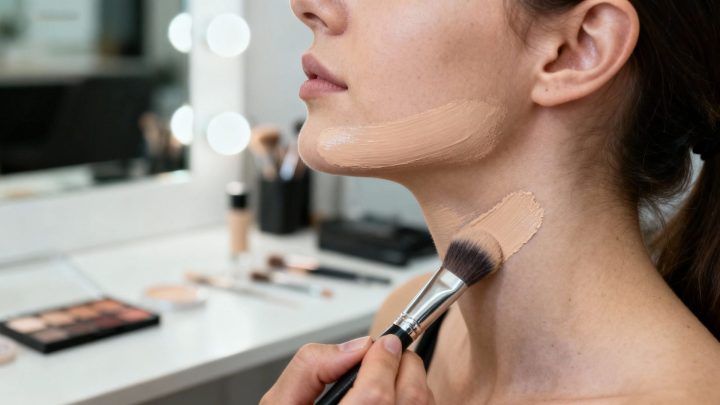
Once the face is covered, take a clean side of your damp sponge. Load it with residual product from the jaw area. Bounce gently down toward the collarbone.
Continue this motion until the color fades naturally into bare skin. There should be no hard stop.
Extend the blend behind the ears. Many people forget this spot. Hairlines often trap product, creating grayish rings.
Use the tip of the sponge to tuck foundation under the earlobe. Check the profile view in a mirror. The line should vanish from every angle.
Finally, assess the symmetry. Tilt your head left and right. Look for shadows where the blend stopped short.
Add tiny amounts of product if needed. Remember, less is more here. You can always add, but removing excess disrupts the base.
Lighting Traps That Hide Bad Blends Until Daylight Hits
Bathroom vanity lights are notoriously deceptive. Warm yellow bulbs flatten color differences. They make a poor match look acceptable.
You miss the subtle shifts in undertone between face and neck. By the time you step outside, the discrepancy is obvious.
Natural daylight reveals the truth. Sunlight has a full spectrum that highlights imperfections. Overcast days provide the most forgiving yet accurate assessment.
Direct noon sun casts harsh shadows that exaggerate texture. Aim for indirect morning or late afternoon light.
Our research shows that window proximity matters. Stand facing a north-facing window if possible. Avoid standing with your back to the light.
Shadows will fall across your jawline, masking errors. Turn slowly to check all sides of your face.
Consider portable LED ring lights rated at 5000K, 6000K. These mimic daylight temperature. Manufacturers specify this range for true-color rendering.
Using these tools indoors ensures consistency. You won’t guess whether the blend worked. You’ll see it clearly.
If you lack ideal lighting, use your phone camera. Take a selfie in natural light. Zoom in on the jawline.
Digital screens often show details invisible to the naked eye. This quick check saves embarrassment later. Trust the screen over the mirror in dim rooms.
Fixing the "Mask Line" with Undertone Matching and Contour
The mask line occurs when foundation stops abruptly. It creates a floating head effect. To fix this, you must bridge the gap intentionally.
Start by identifying your neck’s undertone. Is it pink, golden, or olive? Match your foundation choice to this reality.
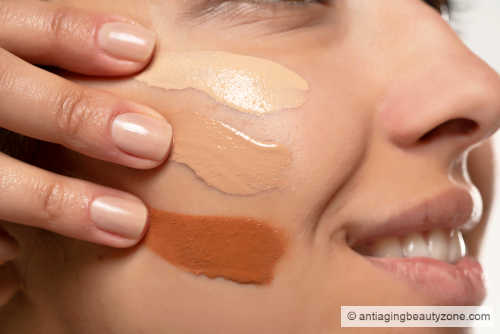
Most brands offer multiple undertones within a single shade number. Don’t assume your face shade equals your neck shade. Buy two bottles if necessary.
Mix them slightly on the hand before application. Create a custom transition color that matches both zones.
Contour plays a supporting role here. Apply a cream bronzer just below the jawbone. Blend it upward toward the ear.
This adds depth and defines the structure. It distracts the eye from any minor color mismatches. Keep the contour soft and diffused.
Avoid powders for this step. Powders sit on top and emphasize dryness. Cream products meld into the skin.
They maintain the seamless illusion established earlier. Set everything with a fine mist spray instead of heavy powder. This keeps the finish dewy and realistic.
Check your work against a white shirt. Dark clothing contrasts sharply with skin tones. White provides a neutral background.
Any discoloration along the neck becomes immediately apparent. Adjust the blend until the transition is invisible against the fabric.
Tools Matter More Than Technique for Soft Edges
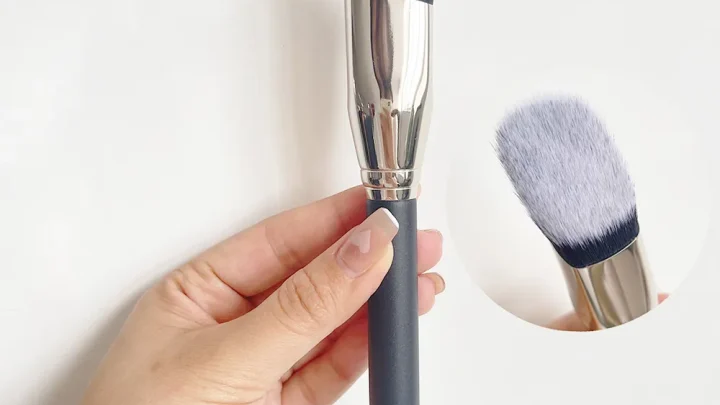
You can master every stroke, but the wrong tool ruins the finish. A dense synthetic brush is essential for the initial laydown. It pushes product into pores without absorbing too much liquid.
This ensures even coverage across the textured skin of the jaw.
Switch to a damp beauty sponge for the final blend. The porous material acts as a buffer. It removes excess foundation that sits on top of the skin.
This step is critical for hiding the demarcation line. Dry sponges pull moisture away, causing patchiness in dry zones.

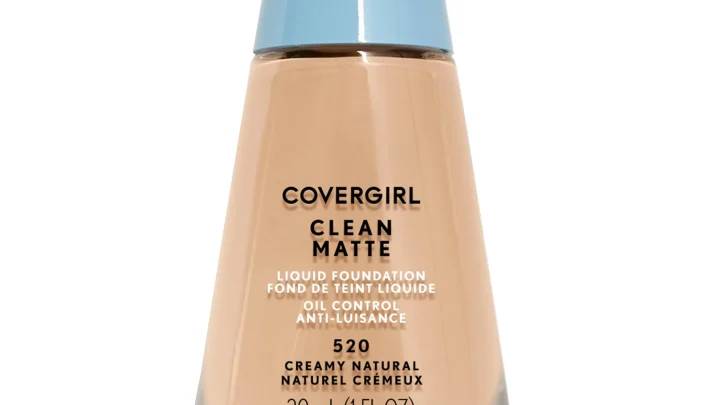
Image source: Web (Bing) / walmart.com (Web image (fair-use with source credit))
Cleanliness impacts visual clarity more than you think. Old brushes harbor bacteria and dried pigment. These residues create grayish streaks along the neck.
Wash your tools weekly with gentle soap. Let them air dry completely before use. Damp bristles dilute fresh foundation unexpectedly.
Consider the shape of your sponge tip. Rounded edges handle large areas like cheeks well. Pointed tips reach tight spots behind the ears.
Having both types in your kit prevents compromise. You won’t stretch one tool beyond its design limits. Precision requires the right geometry for each zone.
FAQs
Can I skip blending if my neck matches my face?
No, you still need to feather the edges. Even perfect color matches show texture differences. Facial skin is smoother than neck skin.
Blending bridges this textural gap visually. Skipping it leaves a noticeable boundary under bright light. Always extend the application slightly past the bone.
How do I fix a harsh line after setting powder?
Use a clean, dry fluffy brush to buff the area. Gently sweep in circular motions over the hard edge. This breaks up the powder concentration.
If the line persists, dab a tiny bit of moisturizer on a fingertip. Tap it lightly over the transition zone. Reset with minimal translucent powder immediately.
Should I blend foundation onto my chest?
Yes, especially if you wear low-cut tops. The décolletage shares similar exposure to sunlight. Leaving it bare creates a stark contrast.
Extend your base down to the collarbones. Use the same stamping technique here. This ensures uniformity from forehead to sternum.
It looks natural in photos and real life.
Why does my jawline look orange later in the day?
Oxidation affects different skin pH levels uniquely. Your neck may react differently than your face. Choose foundations labeled "non-oxidizing" or test shades first.
Apply an antioxidant serum beneath makeup on the neck. This slows chemical reactions with sebum. Setting sprays also help lock color stability longer.

Similar Posts