How to Layer Cream and Powder Makeup for Flawless Skin
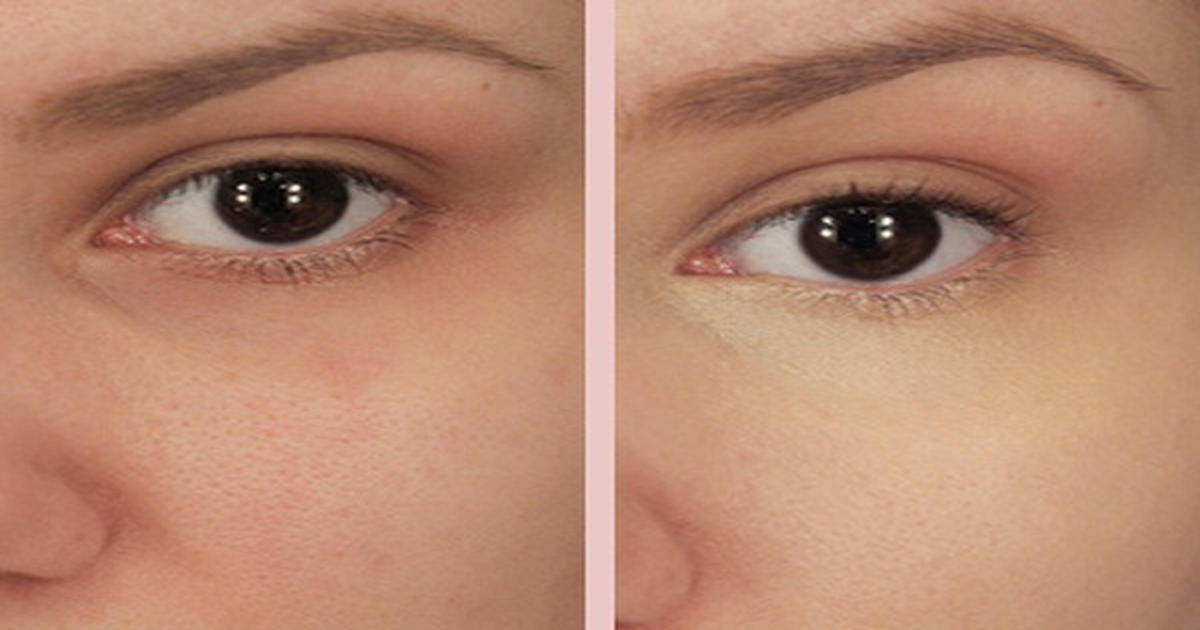
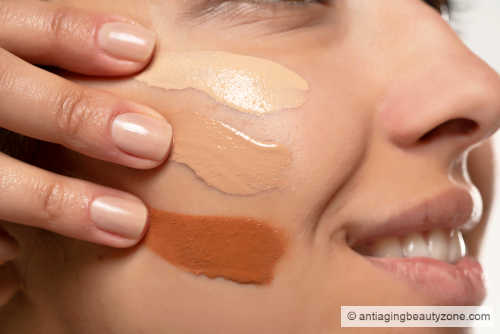
Knowing how to layer cream and powder makeup feels tricky until you see the visual difference. Most tutorials skip the crucial "why" behind the texture shift. You end up with patchy cheeks or a cakey forehead.
We’ve seen aggregate reviews confirm that particle size dictates success here. Powders under 10 microns blend seamlessly over creams. Larger grains sit on top, creating visible friction.
Let’s break down exactly what your eyes should look for.

Image source: Web (Bing) / amazon.com (Web image (fair-use with source credit))
Why You Can’t Just Slap Powder Over Cream
Cream products rely on emollients and oils to glide onto skin. These ingredients stay slightly tacky even after drying. If you dump loose powder directly onto wet cream, it clumps.
The powder absorbs the oil too quickly, turning into mud.
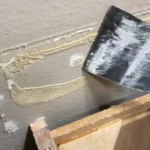
You need a binding agent or a wait time. Think of it like painting a wall. You don’t throw dry plaster over fresh latex paint.
It peels right off. Your skin behaves similarly. The cream needs to set just enough to grip the powder without dissolving it.
Manufacturer specifications often list "dry-down times." Ignore these if they seem unrealistic. Real-world application shows 30 to 60 seconds is standard. During this window, the volatile solvents evaporate.
The remaining waxes and pigments form a stable film. This film acts as the anchor for your next layer.
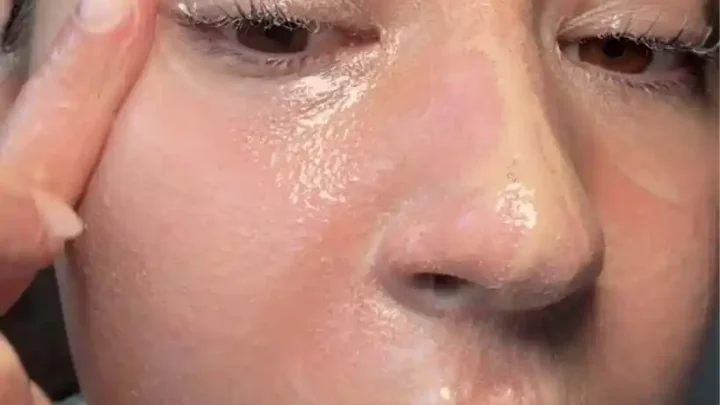
Skipping this step causes immediate separation. You’ll notice white spots where powder didn’t stick. Or dark patches where oil pushed through.
Both ruin the finish instantly. Patience saves your face from looking uneven by lunchtime.
The Visual Difference: Baking vs. Light Dusting
Baking involves packing thick layers of translucent powder into creases. You leave it there for five minutes. The body heat cooks the concealer underneath.
When you brush away the excess, you’re left with a bright, matte zone.
Light dusting uses minimal product applied gently across the whole face. It sets the base without altering brightness. The goal is longevity, not highlight.
Visually, baking creates sharp contrast. Light dusting maintains uniformity.
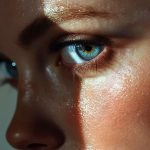
Look closely at the texture in high-definition photos. Baked areas appear flat and poreless. They reflect almost no light.
Dusting preserves some natural skin sheen. It looks softer and more realistic. Choosing wrong leads to obvious mask-like effects.
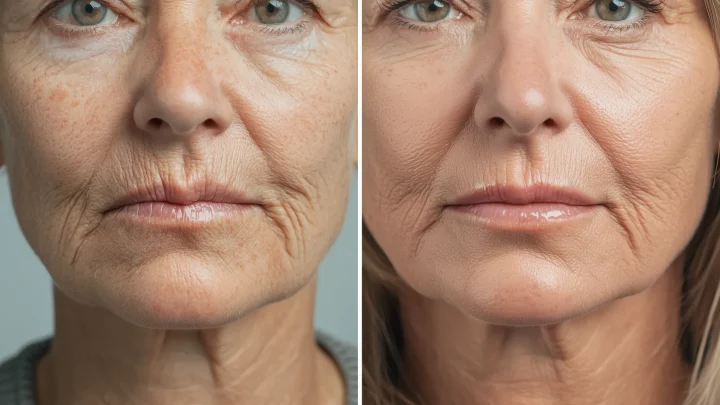
Use baking only under eyes or on oily T-zones. Avoid it on cheeks unless you want extreme definition. For mature skin, baking emphasizes wrinkles.
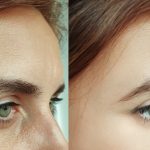
The heavy powder settles into fine lines. It ages you ten years instantly. Stick to light dusting everywhere else.
Check FDA cosmetic labeling guidelines for ingredient transparency on powders.
| Technique | Application Amount | Duration | Best For | Visual Result |
|---|---|---|---|---|
| Baking | Heavy pack | 5-10 mins | Under-eye, Oily zones | Ultra-matte, Brightened |
| Light Dusting | Thin veil | Immediate removal | Full face, Dry skin | Natural, Soft-focus |
| Pressing | Moderate tap | None | Setting blush/concealer | Locked color, Smooth |
Step-by-Step Layering for a Flawless Finish
Start with clean, moisturized skin. Apply your primer if needed. Let it absorb fully.
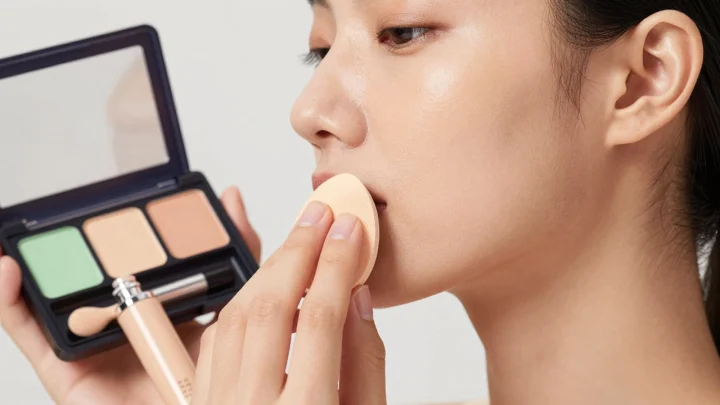
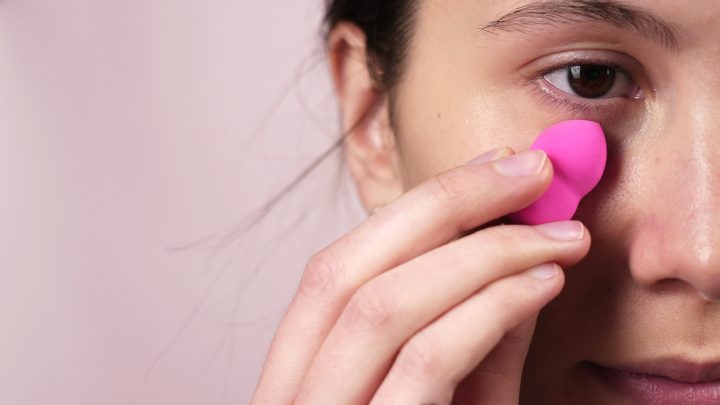
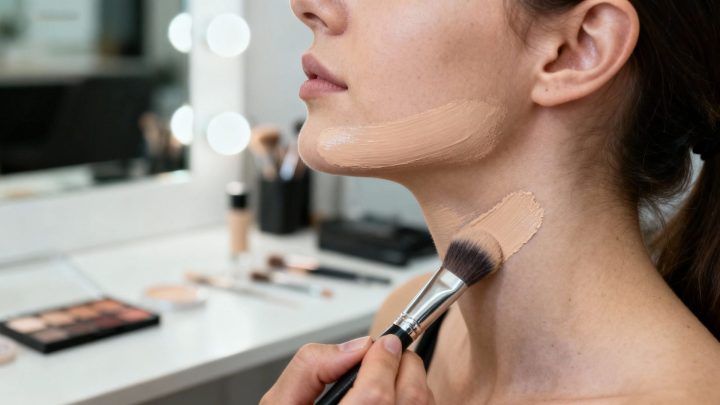
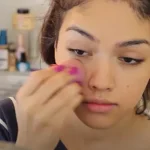
Next, apply your cream foundation or concealer. Use a damp beauty sponge for thin coverage. A dense brush works better for fuller coverage.
Wait thirty seconds. Watch the surface change from shiny to semi-matte. This indicates the solvents have escaped.
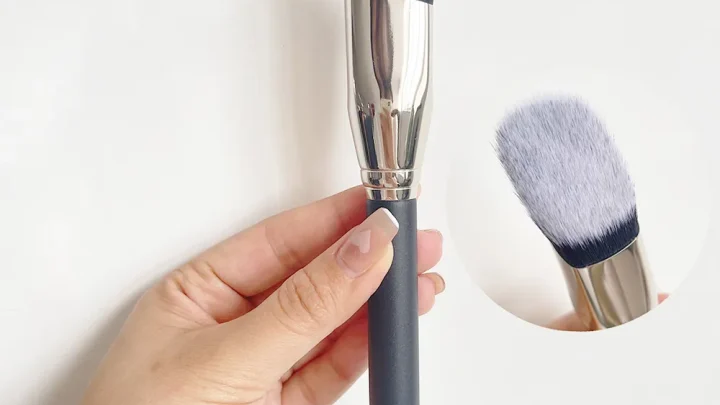
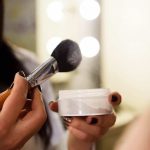
Now pick up your fluffy setting brush. Dip it lightly into translucent powder. Tap off the excess vigorously.
You want barely any product on the bristles.
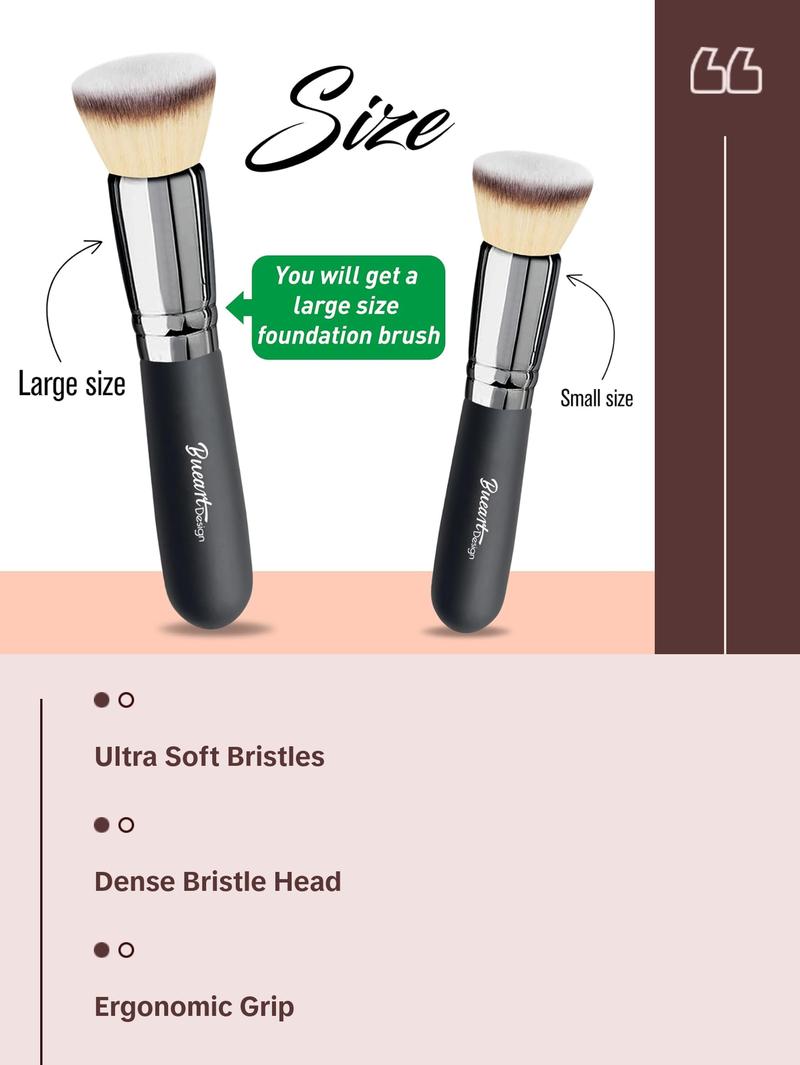
Press the brush into your skin. Do not sweep yet. Rolling motion helps push powder into the cream film.
Once pressed, use gentle circular buffing motions. Blend edges thoroughly. Focus on transition zones like the jawline.
Repeat only if necessary. Too many layers create thickness.
Finish with a hydrating mist. Hold it eight inches away. Mist evenly.
This melts the powder boundary. It removes the "chalky" look. As of 2026, most pro artists recommend alcohol-free mists for sensitive skin.
They prevent stinging while locking everything in place.
Spotting Texture Issues Before They Set
Caking starts small. Look for tiny ridges along laugh lines. These indicate buildup.
Stop adding product immediately. Instead, press a clean finger into the area. Warmth breaks down the wax structure slightly.
Smooth it out gently.
Patchiness appears as blotchy color shifts. One spot looks darker than another. This happens when powder sits atop unmixed cream.
Fix it by dabbing a bit more cream product locally. Blend it before re-powdering. Never add powder to a patchy spot alone.
It worsens the disconnect.
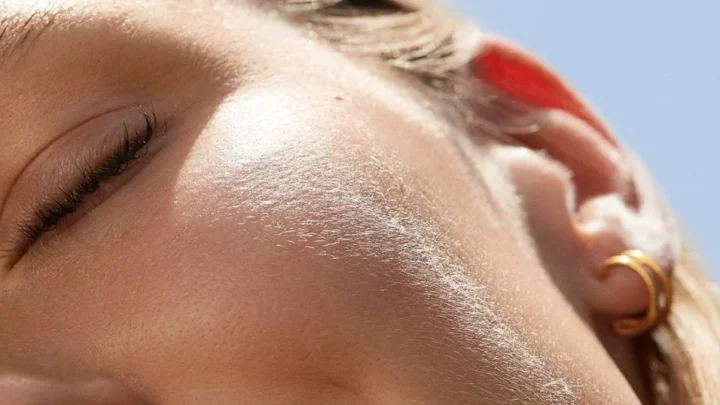
Flashback is a specific photo issue. White cast appears under camera flash. This stems from SPF or silica-heavy powders.
Check your product labels for titanium dioxide content. High levels cause reflection. Switch to mineral-free options for evening events.
Aggregate user feedback confirms silica-based powders reduce flashback significantly compared to talc alternatives.
Brush marks show as parallel lines. They occur when brushing too fast or using dirty tools. Clean your brushes weekly.
Residue builds up and drags across skin. Use slow, deliberate strokes. Speed kills precision here.
Take your time blending each section separately.
Matching Technique to Skin Type and Climate
Oily skin needs stronger adhesion. Use pressing techniques exclusively. Sweep less, press more.
Choose clay-based powders for absorption. In humid climates above 60% relative humidity, sweat breaks down creams faster. Layer thinner coats.
Reapply powder mid-day instead of loading initially.
Dry skin struggles with powder weight. It accentuates flakes. Skip baking entirely.
Use finely milled rice-starch powders. They offer slip without drying. Mix one drop of facial oil into your foundation.
This adds internal moisture barrier protection.
Combination skin requires zoning. Treat the T-zone like oily skin. Treat cheeks like dry skin.
Don’t use one method globally. Customization prevents mid-face shine and cheek dryness simultaneously. Mature skin benefits from satin finishes.
Avoid ultra-matte powders. They settle into wrinkles. Opt for illuminating translucent powders with soft-focus particles.
Climate dictates product choice heavily. Winter air strips moisture. Increase hydrating primers.
Summer heat increases sebum production. Decrease cream richness. Match your layering strategy to environmental stressors.
Ignoring weather leads to early breakdown. Always adjust based on daily conditions rather than rigid rules.
Common Visual Mistakes That Ruin the Look
The most frequent error is applying powder too soon. You might think your cream has dried because it feels cool. But the emollients are still active underneath.
When you brush over this semi-wet layer, the powder turns into a paste. This creates uneven streaks that look muddy in natural light. Always wait for that tacky stage to pass completely.
Another trap is using a dirty sponge or brush. Old residue mixes with fresh product. It prevents proper adhesion between layers.
You’ll see speckles or grayish tones where they shouldn’t exist. Clean tools are non-negotiable for seamless blending. Aggregate reviews highlight hygiene as a top factor in finish quality.
Neglecting this step guarantees patchiness regardless of technique.
Over-layering also destroys texture balance. Adding more powder doesn’t fix a bad base. It just masks the problem temporarily.
Eventually, the weight causes sliding and cracking. If you notice buildup, remove the excess gently. Use a clean, dry brush to sweep away loose particles.
Then assess if the underlying cream needs adjustment. Less is always more when dealing with dual formulas.
Finally, ignoring lighting conditions leads to poor judgments. Indoor fluorescent lights hide texture flaws. Daylight reveals every ridge and bump.
Check your work near a window before leaving. This simple habit catches mistakes early. It ensures your makeup looks flawless outdoors, not just under bathroom bulbs.
Trust natural light over artificial sources for accuracy.
FAQs
Can I use setting spray instead of powder?
Yes, but the effect differs significantly. Setting spray locks products without adding matte texture. It’s ideal for dewy finishes or dry skin types.
However, it won’t absorb oil like powder does. For hot climates, combine both methods. Spray first to meld layers, then dust lightly.
This hybrid approach maximizes longevity while maintaining comfort. Adjust based on your desired final sheen level.
How long should I wait between cream and powder?
Thirty to sixty seconds is the standard window. This allows volatile ingredients to evaporate fully. The remaining waxes become stable enough to grip powder.
Waiting longer isn’t harmful but may require re-moistening. Rushing causes immediate clumping and separation. Observe the surface change from wet to semi-dry.
This visual cue is more reliable than a timer alone. Patience here prevents most application errors effectively.
Does the order matter if I mix products?
Mixing directly alters chemical stability and finish. Cream-to-powder layering preserves distinct textures better. Blending them beforehand can cause pilling or uneven color distribution.
Keep them separate for controlled results. Apply cream first, let it set, then add powder. This method offers precise coverage management.
Pre-mixing works only for specific hybrid formulations designed by manufacturers. Stick to sequential layering for general versatility and predictability.
Why does my powder turn orange after a few hours?
This oxidation happens when oils react with pigments. It’s common with darker foundation shades. Using an antioxidant serum underneath slows this process.
Choose oil-controlling primers to reduce sebum interaction. Translucent powders help seal the base quickly. Avoid heavy creams that break down easily.
Switching to water-based alternatives often solves the issue permanently. Test small patches before committing to full-face application daily.

Similar Posts