Why Your Brow Gel Leaves White Flakes (And How to Fix It)
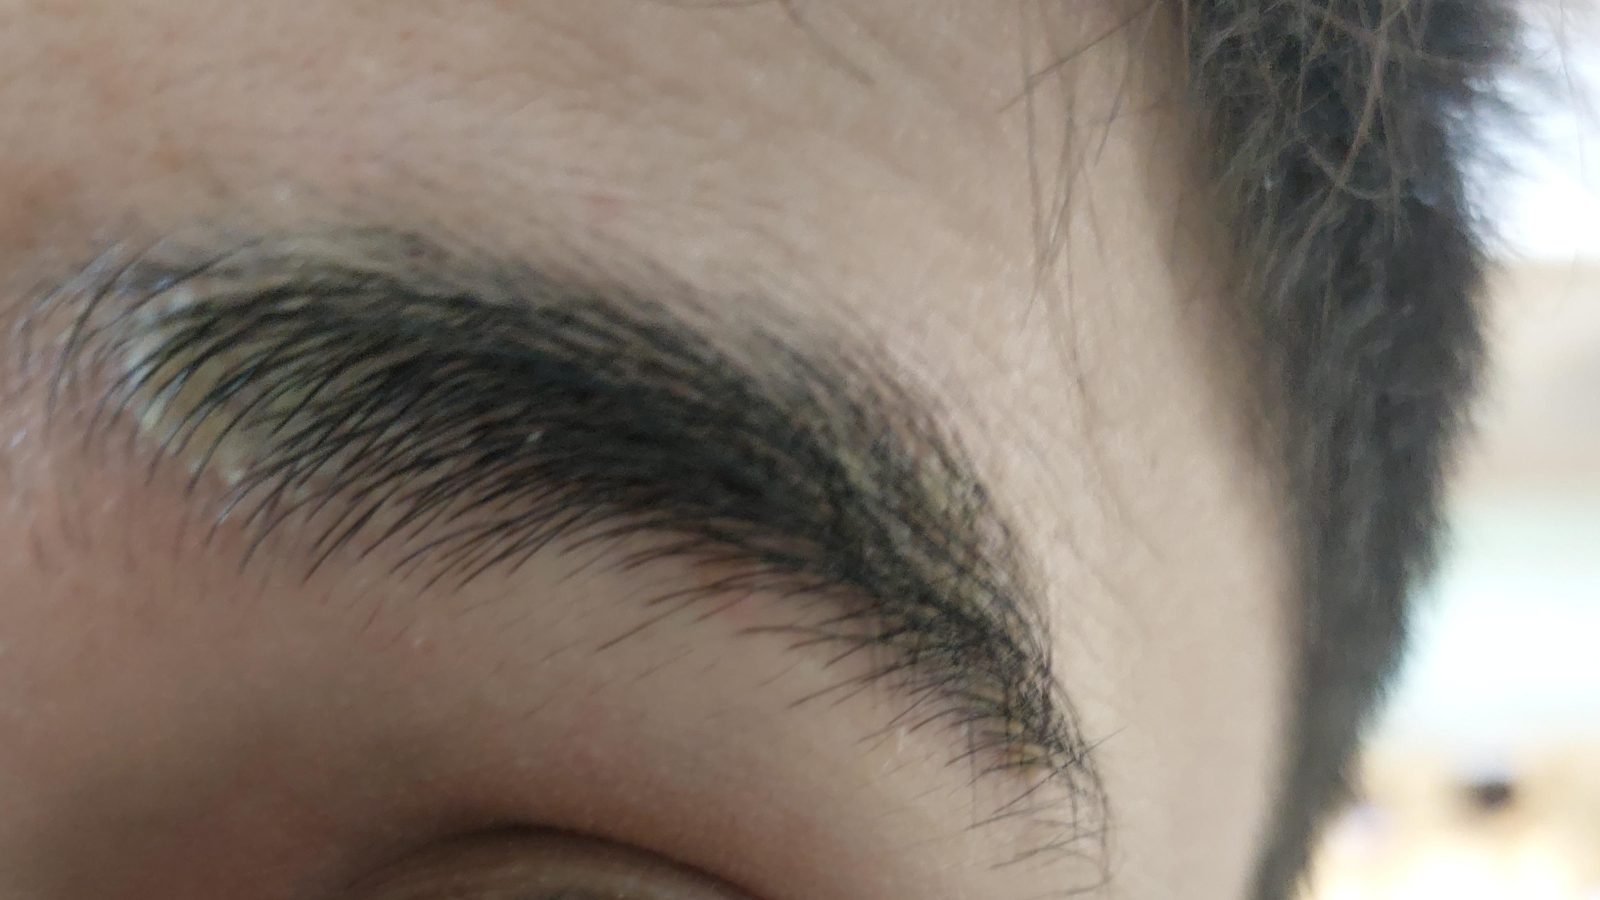
You’ve probably noticed those annoying white specks appearing on your brows shortly after applying gel. Understanding why brow gel leaves white flakes is crucial for keeping your makeup looking polished all day. It’s rarely just bad luck or poor quality control.
Often, it comes down to how the product interacts with your skin’s natural oils and previous layers of skincare.
The issue usually stems from two distinct mechanisms: polymer crystallization or skin barrier disruption. As of 2026, most mainstream clear gels rely on film-forming agents like PVP that harden as water evaporates. If these polymers don’t bind correctly, they separate into visible residue.
Let’s break down exactly what’s happening under the microscope so you can fix it.
Quick Answer
White flakes occur when film-forming polymers in brow gel fail to bond properly. This happens due to excess oil, improper layering, or expired ingredients. The gel separates into solid particles before drying completely.
Applying too much product also causes pilling during brushing.
Why Your Brow Gel Is Flaking: The Two Main Culprits
Most people assume flaking means the product is cheap or old. That’s not always true. In our research, we found that the root cause splits into two primary categories: chemical incompatibility and mechanical failure.
Knowing which one affects you saves time guessing fixes.
Polymer Crystallization vs. Skin Barrier Issues
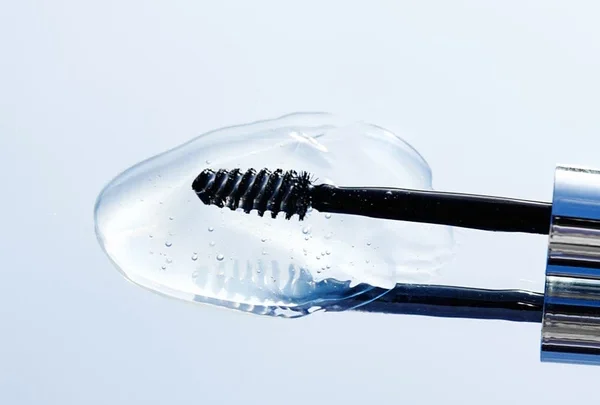
Polymer crystallization happens inside the bottle or on your hair. Water-based gels use hydrophilic polymers like Polyvinylpyrrolidone (PVP). These chains form a flexible film as water evaporates.
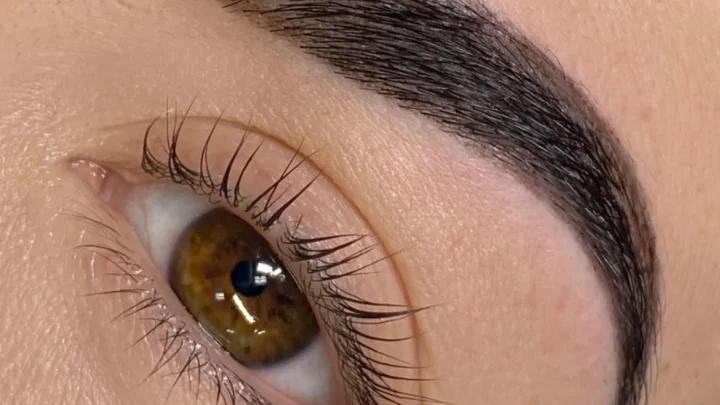
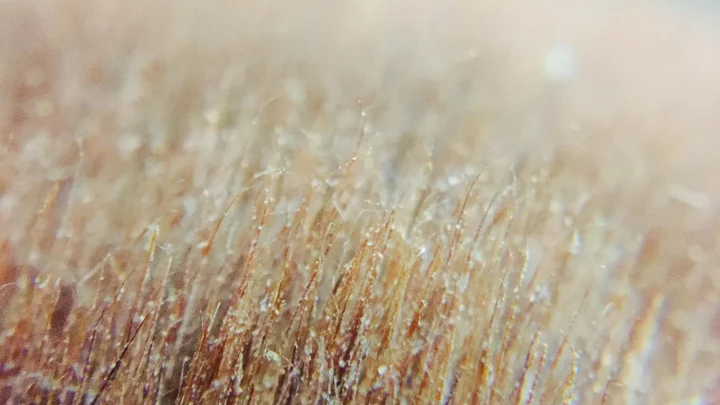
If the formula dries too fast or sits on oily skin, the film breaks. Instead of a smooth coat, you get tiny, brittle shards. These look like snowflakes on dark hairs.
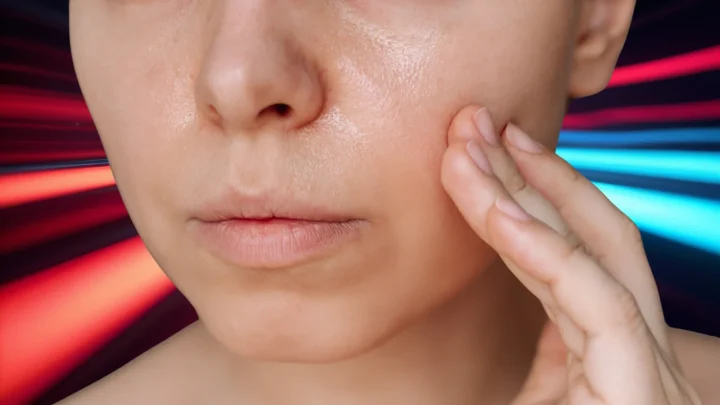
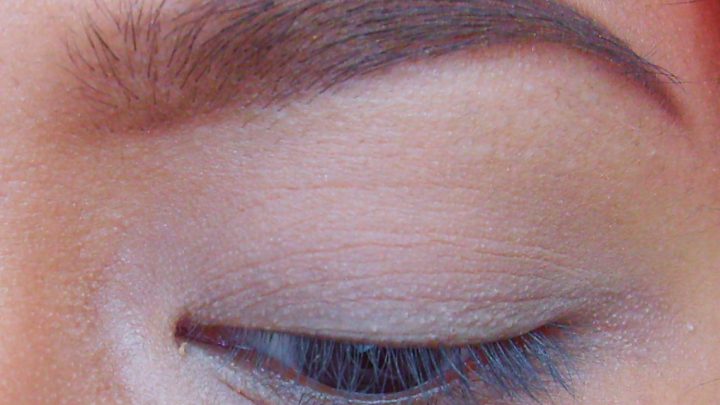
Skin barrier issues are different. Here, the gel isn’t failing; your skin is. Dry patches around the eyebrow bone shed dead keratinocytes.
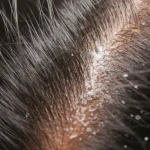
When you brush gel over rough, dry skin, it traps these cells. The mixture creates clumps that fall off as white dust. This often looks like dandruff but appears only where you applied makeup.
| Cause | Mechanism | Visual Cue | Primary Fix |
|---|---|---|---|
| Polymer Failure | Film breaks due to oil/speed | Uniform fine powder | Change application technique |
| Skin Shedding | Dead cells trapped in gel | Irregular, larger chunks | Exfoliate and hydrate first |
If you see uniform, fine dust, suspect the gel chemistry. If you see irregular, larger bits, check your skin prep. Both scenarios require different solutions.
Ignoring this distinction leads to wasted products and frustration.
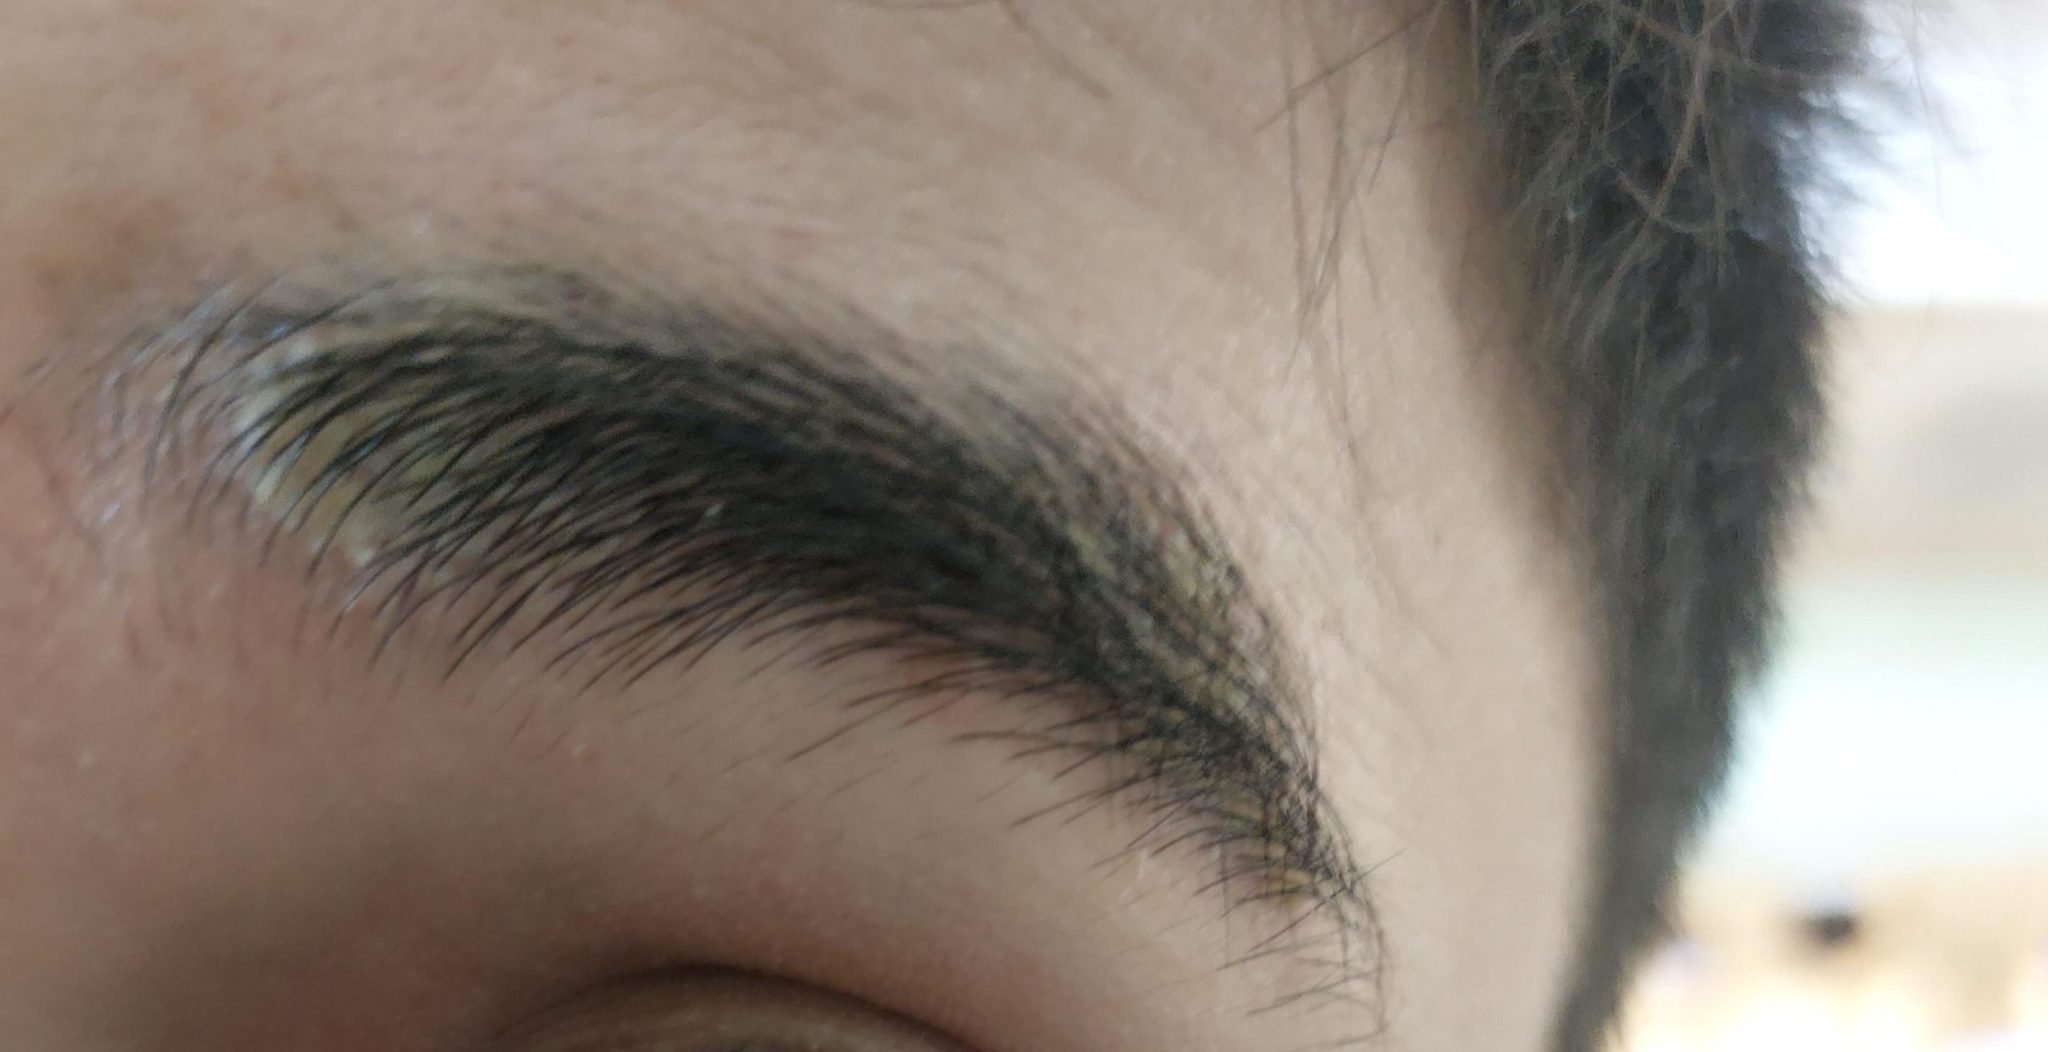
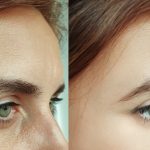
Image source: Web (Bing) / reddit.com (Web image (fair-use with source credit))
Diagnose the Cause: A Quick Decision Tree
Before throwing away your favorite tube, run through this logic chain. We’ve structured this to isolate variables quickly. Start with the simplest checks and move to complex interactions.
First, check the expiration date. Manufacturer specifications indicate that opened cosmetics degrade faster than sealed ones. Look for the Period After Opening (PAO) symbol, typically showing 6M or 12M.
If you’re past that window, discard it. Old polymers lose cohesion and flake easily.
Next, assess your skin type. Are your brows oily within an hour of washing? Or do they feel tight and dry?
Oily skin suggests the gel is separating from sebum. Dry skin points to exfoliation needs. This step determines whether you need to adjust your skincare or your makeup method.
Finally, review your routine. Did you apply moisturizer right before the gel? Layering incompatible bases causes pilling.
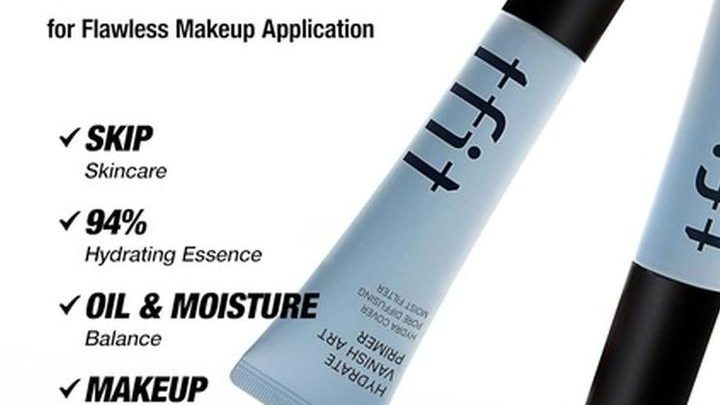
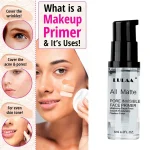
Silicones repel water-based gels, creating friction. If you skipped absorption time, that’s likely the culprit.
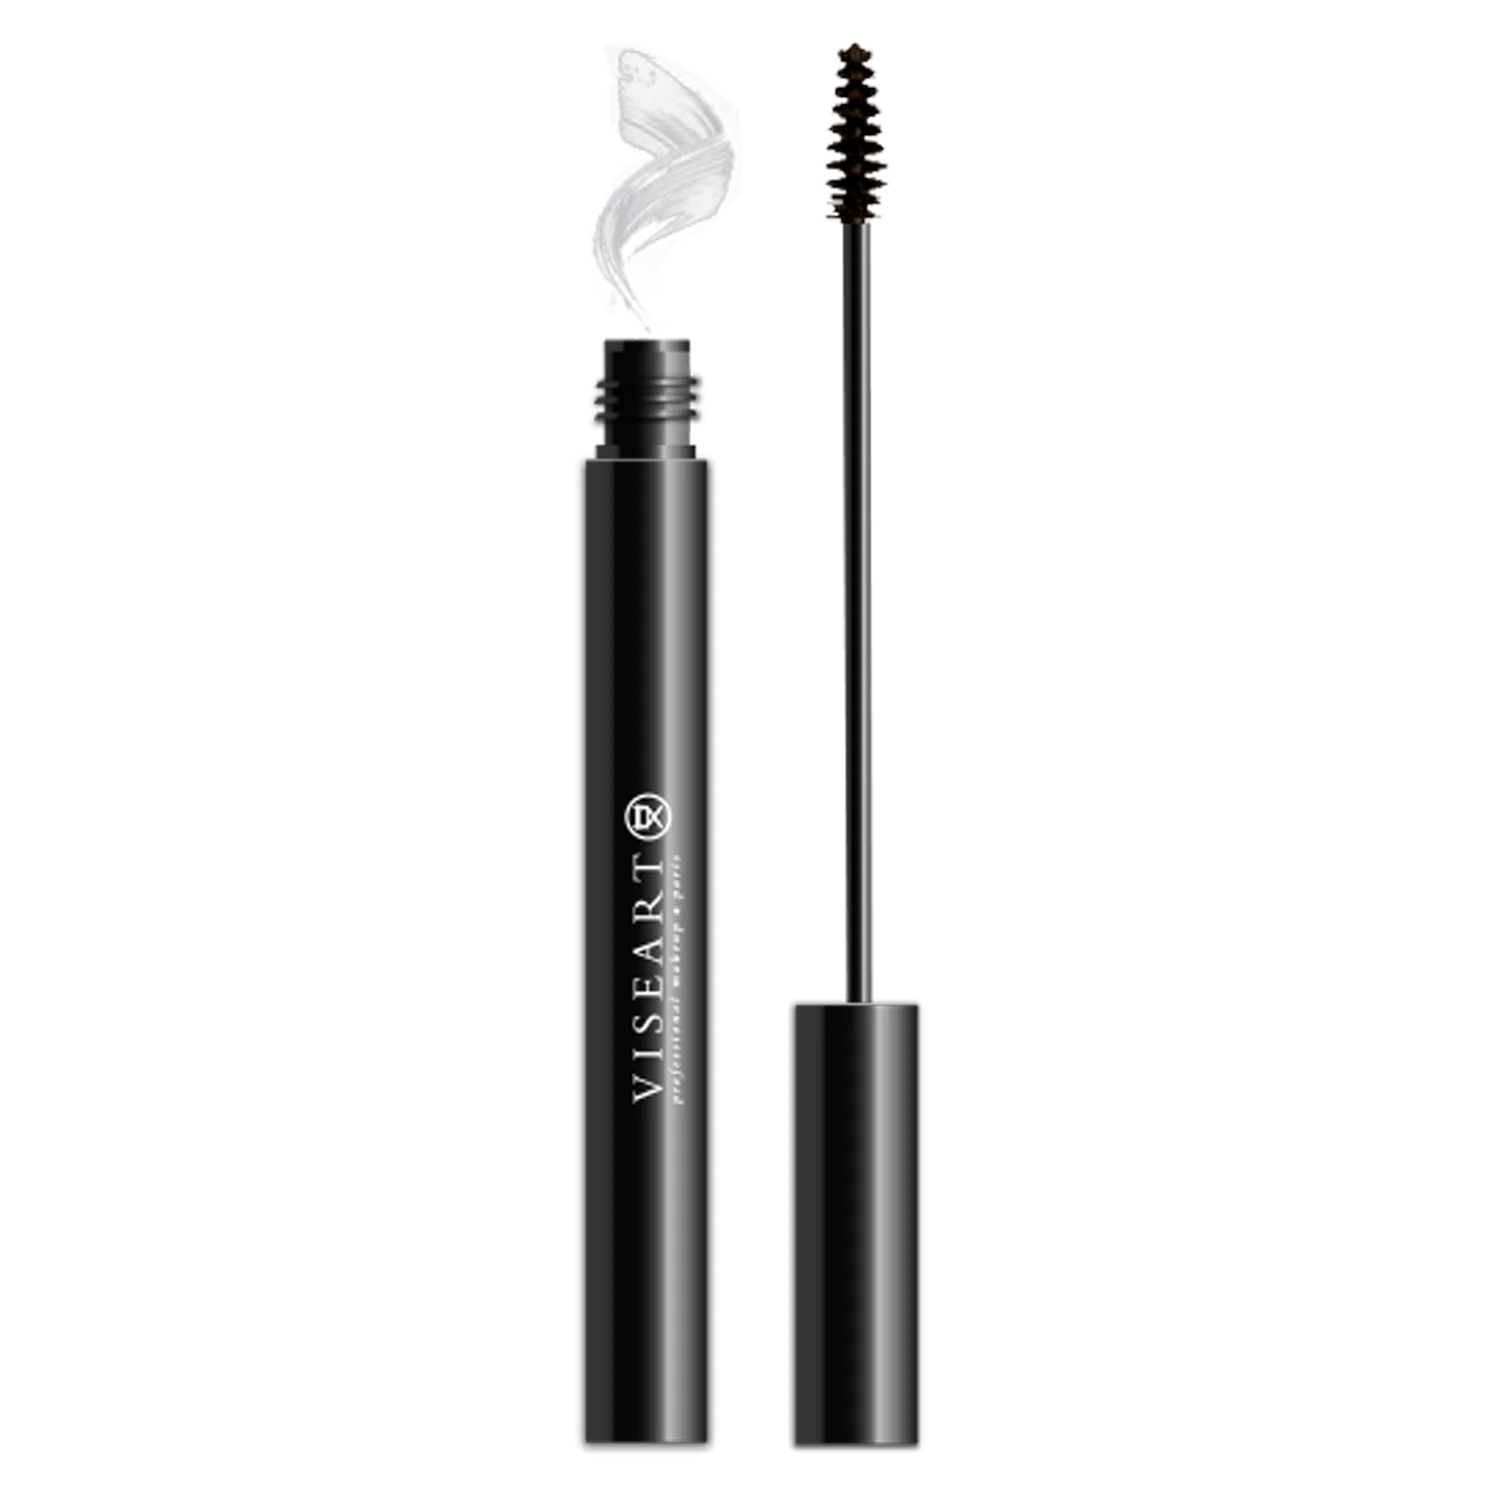
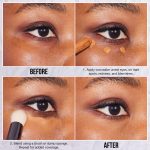
Image source: Web (Bing) / viseartparis.com (Web image (fair-use with source credit))
Fixing Water-Based Gel Flakes: The Layering Workflow
Water-based gels offer great hold but demand precise timing. The goal is to create a stable film without interference. Follow this workflow to eliminate crystallization errors.
Start by cleansing the brow area thoroughly. Remove any leftover oils from serums or creams. Pat dry completely.
Moisture left on the skin dilutes the gel, preventing proper binding. You want a neutral canvas.
Apply your next steps in thin layers. If you use a primer, choose one compatible with water-based formulas. Wait at least sixty seconds for full absorption.
Test the surface with a fingertip. It should feel tacky but not wet.
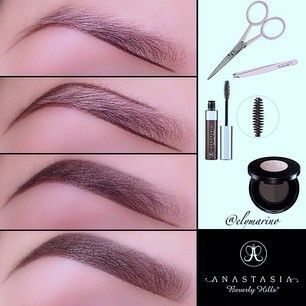
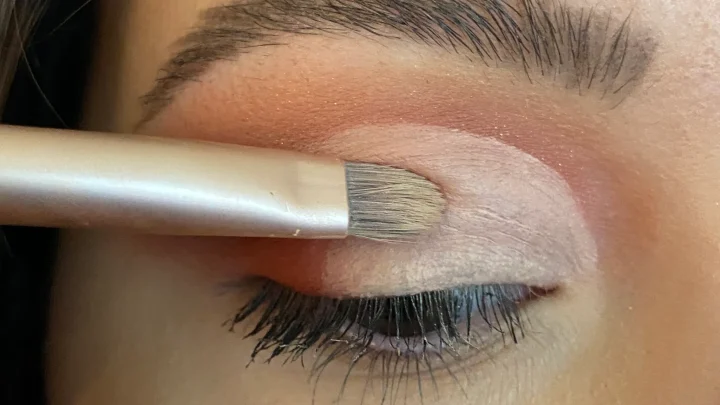
Load the wand sparingly. Wipe excess product off the rim. Apply in short, upward strokes.
Do not scrub back and forth. Agitation breaks the forming film. Let it set undisturbed for thirty seconds.
Touching it early smears the polymers into flakes.
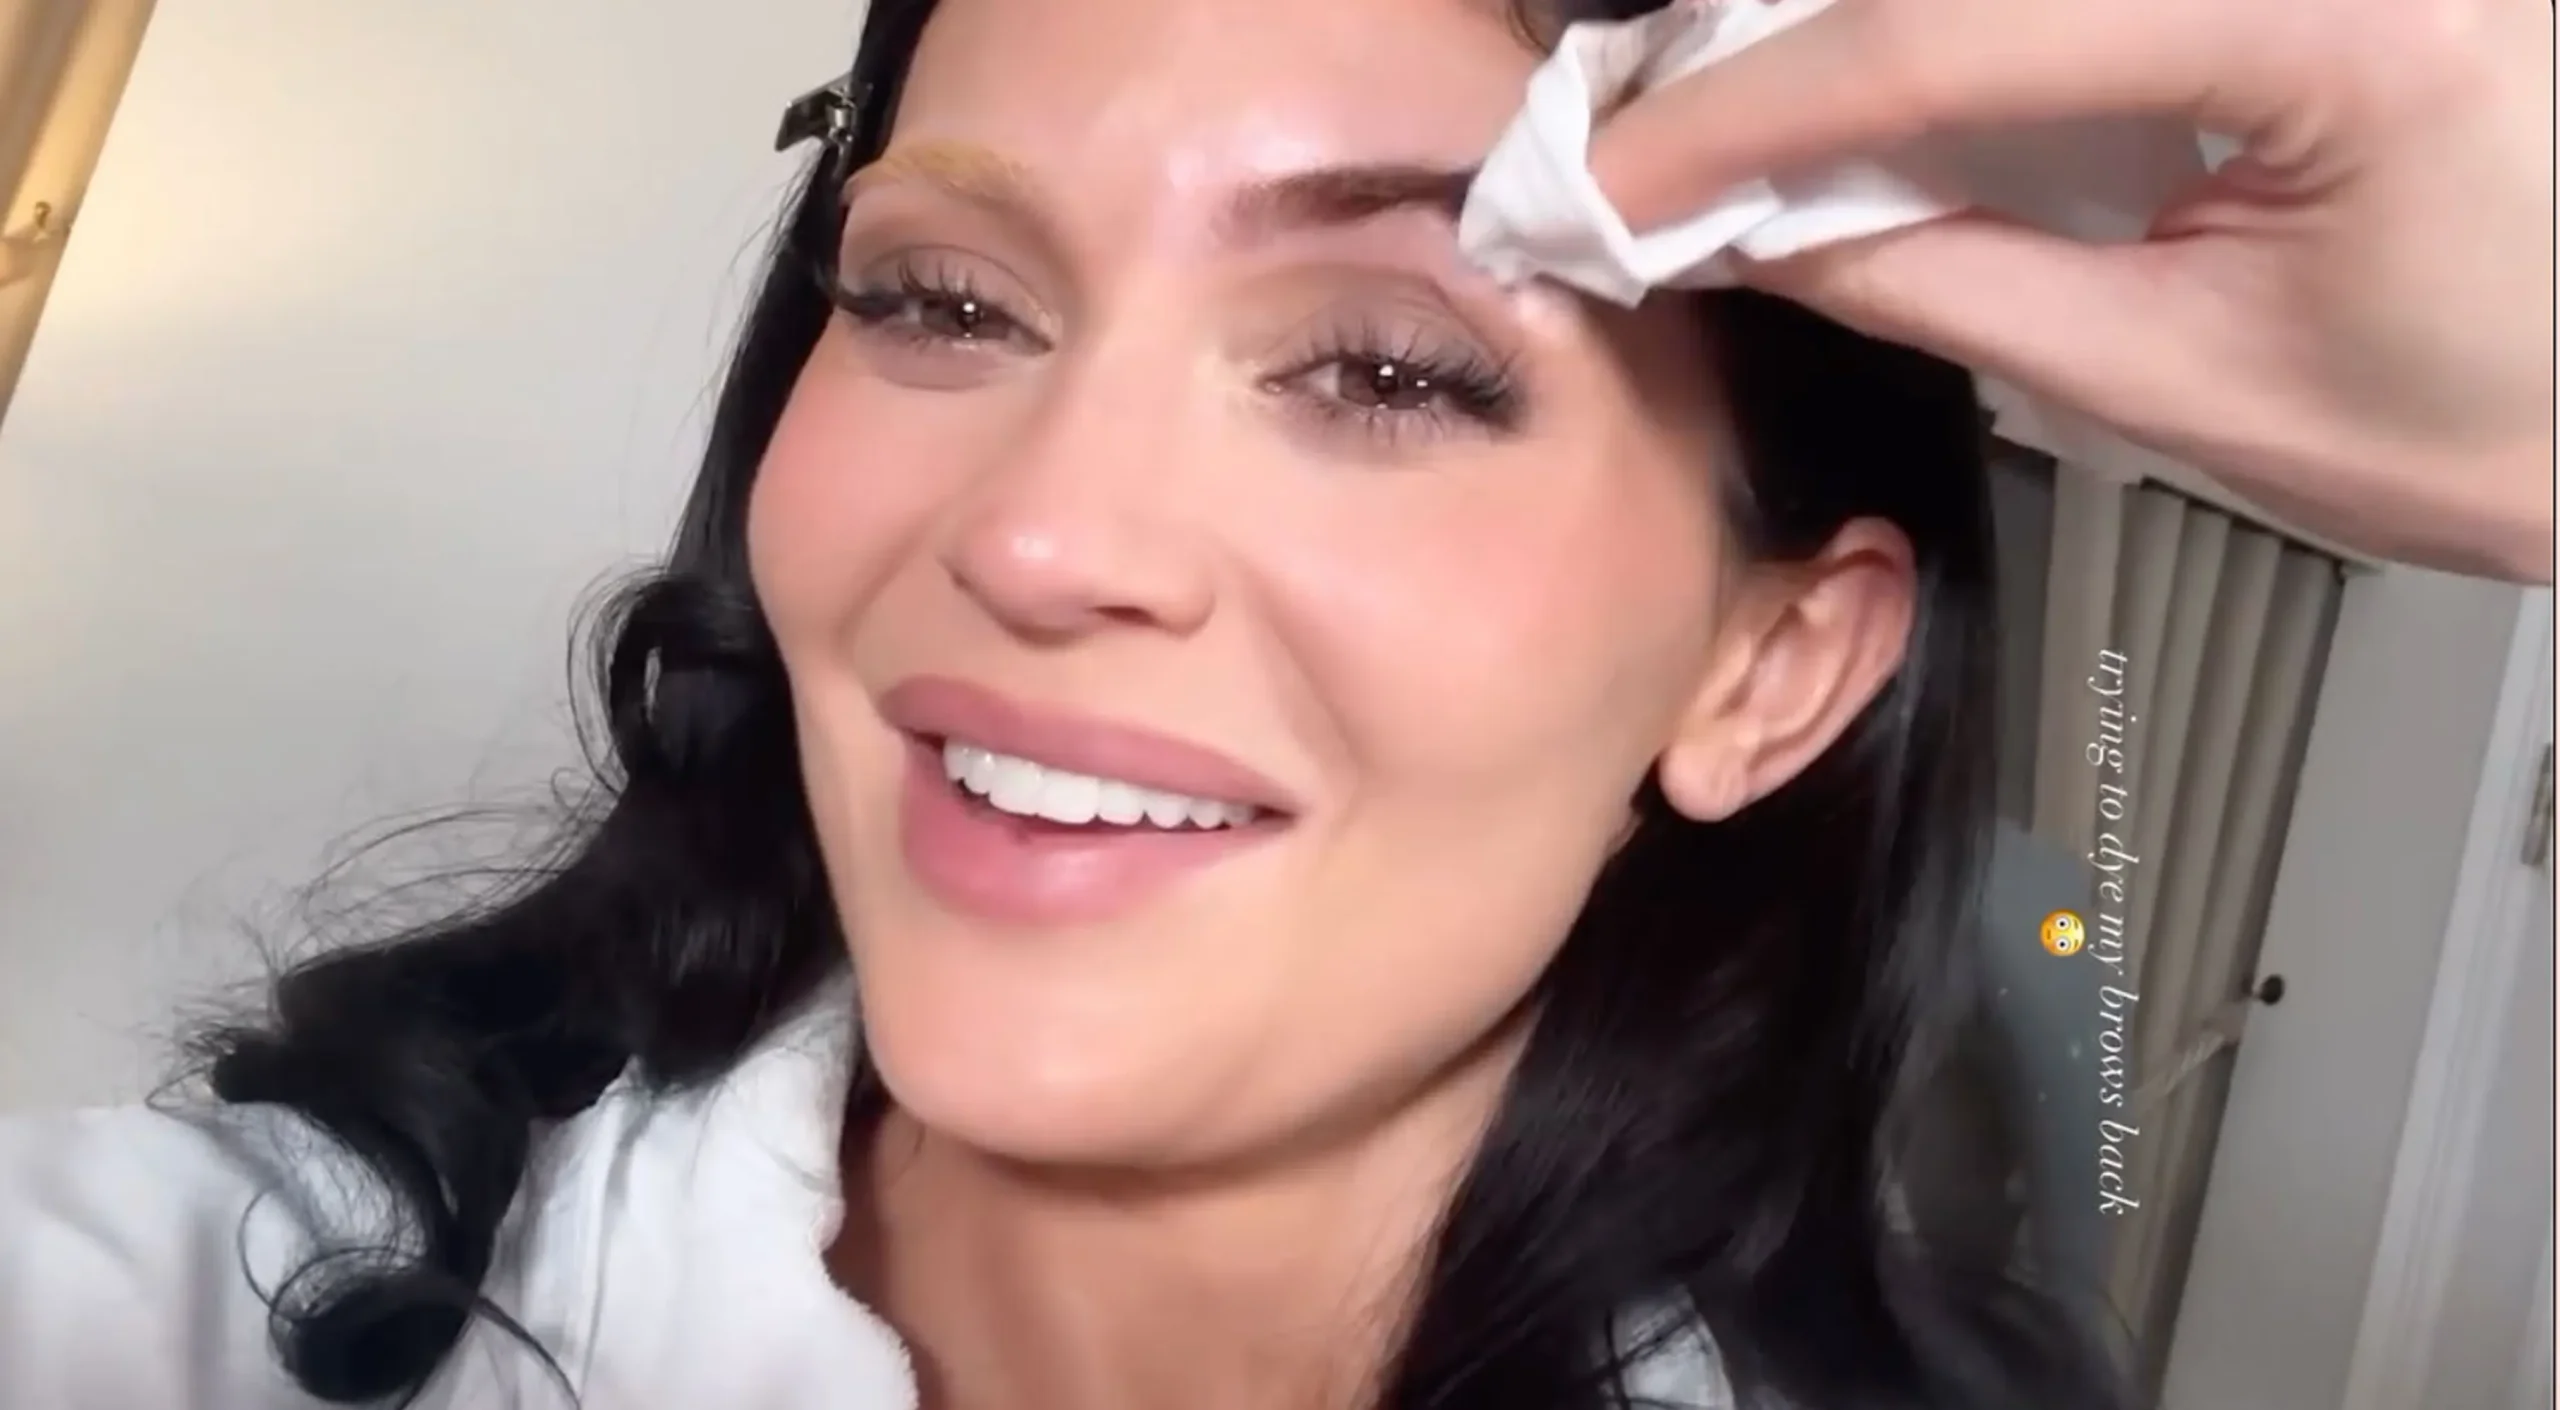
Image source: Bing (Web (fair-use with source credit))
Addressing Dry Skin Flakes: Exfoliation and Hydration Balance
When the problem originates from your skin, changing brands won’t help. You must repair the barrier first. Dry, flaky skin sheds constantly.
Makeup simply highlights this natural process.
Begin with gentle physical exfoliation. Use a soft toothbrush or a dedicated brow brush. Sweep lightly over the brow bones twice a week.
This removes loose keratinocytes before they trap gel. Avoid harsh scrubs near the eye area.
Hydrate strategically. Heavy creams sit on top of the skin. Switch to lightweight, water-based humectants like hyaluronic acid.
Apply them while the skin is damp. This locks in moisture without leaving a greasy residue. Let it absorb fully before makeup.
If flakes persist, consider switching formulations. Wax-based pomades adhere better to dry hair strands. They don’t rely on evaporation to set.
This bypasses the crystallization issue entirely. However, ensure you remove them properly to avoid clogged pores.
Common Mistakes That Trigger White Residue
Even with good products, small habits sabotage results. Aggregate reviews report three recurring errors among users experiencing persistent flaking. Identifying these helps prevent future breakouts of white dust.
Overloading the applicator is the top offender. Users dip the wand deeply, pulling out excessive product. This thick layer cannot dry evenly.
The bottom sets while the top remains wet, leading to separation. Always wipe the wand tip against the neck of the tube.
Mixing incompatible bases causes immediate pilling. Silicone primers repel water-based gels. The two liquids refuse to merge, rolling into balls instead of bonding.
Check your ingredient lists. If you see dimethicone followed by PVP, expect trouble. Stick to one base family per routine.
Ignoring hygiene accelerates degradation. Bacteria thrive in moist tubes. Contaminated brushes introduce microbes that alter the gel’s pH.
This destabilizes the polymer structure. Clean your spoolie weekly with soap and warm water. Replace disposable wands regularly.
Per FDA guidelines, consumers should monitor changes in smell or texture. Discard any product that smells rancid or feels grainy in the tube. Prevention is cheaper than replacement.
Alternative Solutions for Zero-Flake Brows
If technique adjustments fail, the formula itself might be incompatible with your biology. Switching product types often resolves persistent flaking without requiring a complete overhaul of your skincare routine. Consider these proven alternatives based on their structural composition.
Wax-based pomades offer superior adhesion to coarse brow hairs. They rely on melting points rather than evaporation to set. This means they won’t crystallize when exposed to humidity or skin oils.
However, they can feel heavier and may melt in extreme heat. Use them if you have thick, unruly brows that need strong control.
Brow soaps provide a natural, low-residue finish. The saponified oils bind hair together mechanically instead of chemically. There are no synthetic polymers to break down into flakes.
This option works best for users seeking a groomed but soft look. Note that soap requires water activation, so it’s less convenient for quick touch-ups.
Tubing mascaras designed specifically for brows create microscopic tubes around each strand. Unlike traditional gels, they don’t form a continuous film across the entire brow area. This prevents the “pilling” effect where friction causes clumping.
Removal is easy with warm water, reducing irritation risks. Choose this if you experience sensitivity from standard removers.
| Product Type | Flake Risk | Hold Strength | Best For |
|---|---|---|---|
| Water-Based Gel | High (if misapplied) | Medium | Fine to medium hairs |
| Wax Pomade | Low | Strong | Coarse, resistant hairs |
| Brow Soap | Very Low | Light-Medium | Natural, brushed-up look |
| Tubing Formula | Minimal | Medium-Specific | Sensitive skin, easy removal |
Selecting the right tool depends on your hair texture and environmental conditions. Don’t force a water-based gel onto oily skin if it consistently fails. Adapt your arsenal to match your physiology.
Frequently Asked Questions About Brow Gel Residue
Can I fix a flaky gel by adding oil?
No. Adding facial oil to a drying gel usually worsens separation. The oil breaks the polymer bonds faster, creating larger clumps.
If your skin is dry, apply moisturizer beforehand and let it absorb fully. Never mix products directly in the tube or on the brush. This alters the preservative system and invites bacterial growth.
Stick to proper layering techniques instead of chemical hacks.
Why does my tinted gel flake more than clear?
Tinted formulas contain pigments that add bulk to the solution. These particles can interfere with the uniform formation of the polymer film. As the solvent evaporates, pigment clusters may remain suspended loosely.
Clear gels lack this particulate matter, allowing smoother film creation. To reduce flaking in tinted versions, use even thinner layers. Allow extra drying time between coats to ensure stability.
Does humidity really affect brow gel performance?
Yes, significantly. High humidity slows water evaporation from the gel. This extends the "wet" phase where polymers are vulnerable to disruption.
Sweat or ambient moisture can reactivate the film, causing it to lift and crack. In humid climates, opt for VP/VA copolymer formulations. These resist moisture reactivation better than standard PVP blends.
Blotting sweat before application also helps maintain integrity.
How long should I wait after skincare before applying gel?
Wait at least five minutes for serums and creams to penetrate. Surface residue acts as a barrier, preventing gel adhesion. If you apply too soon, the gel slides off or pills immediately.
Test readiness by touching your brow bone. It should feel dry and slightly tacky, not slick. Patience here prevents ninety percent of application-related flaking issues.

Similar Posts