How to Pick the Perfect Eyebrow Pencil Shade
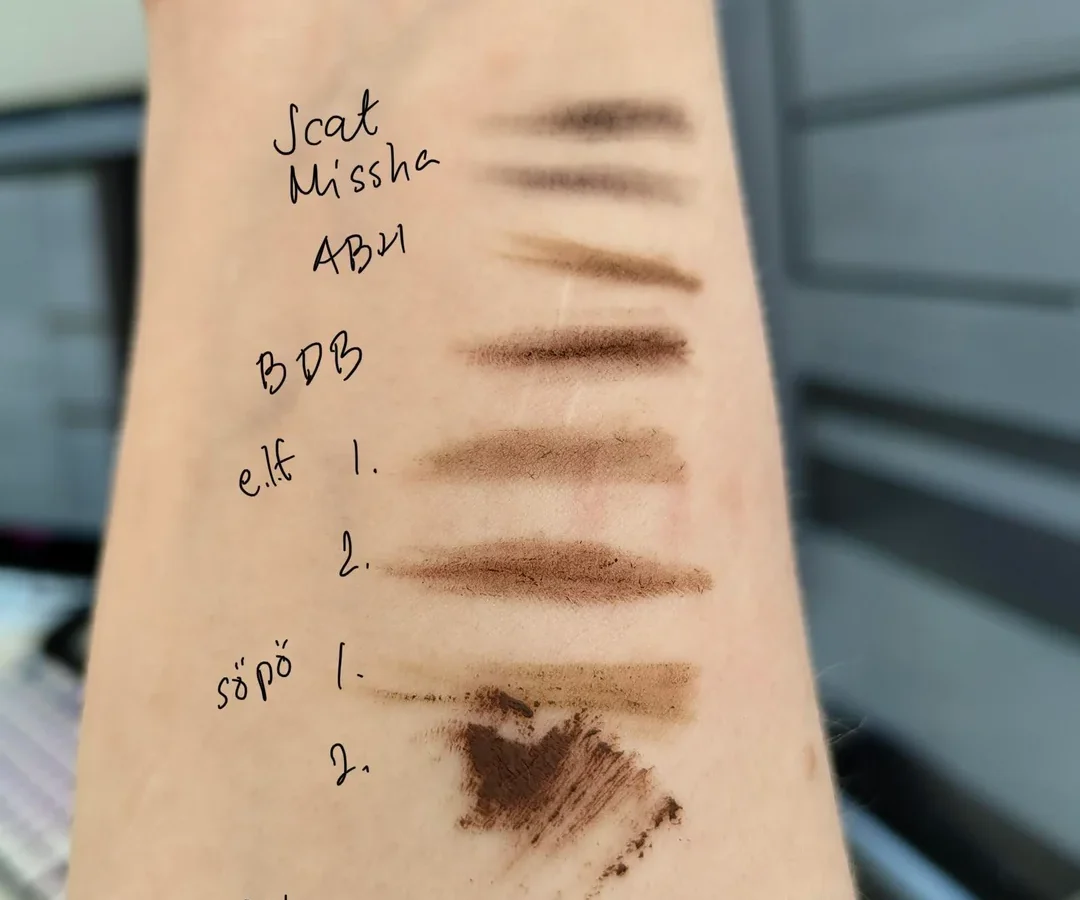
Figuring out how to choose an eyebrow pencil shade often feels like guesswork. Most people grab the closest match to their hair and hope for the best. That’s usually where things go wrong, leading to brows that look drawn-on or harsh against your face.
The real trick lies in balancing three specific variables: your natural hair depth, your skin undertone, and the desired finish. As of 2026, professional makeup artists still rely on this triad rather than rigid brand charts. Getting these details right transforms a simple grooming step into facial framing.
Let’s break down the logic so you never pick the wrong tube again.
Quick Answer
To choose the right eyebrow pencil shade, identify your hair's dominant color level first. Next, determine your skin's undertone as cool, warm, or neutral. Select a pencil one shade lighter than your darkest hair strand for a natural look.
If you have gray hairs, mix taupe with ash tones. Always swatch under natural light before buying. Avoid matching root color exactly to prevent harshness.
This method ensures soft, defined brows that complement your features without looking artificial or overly stark.
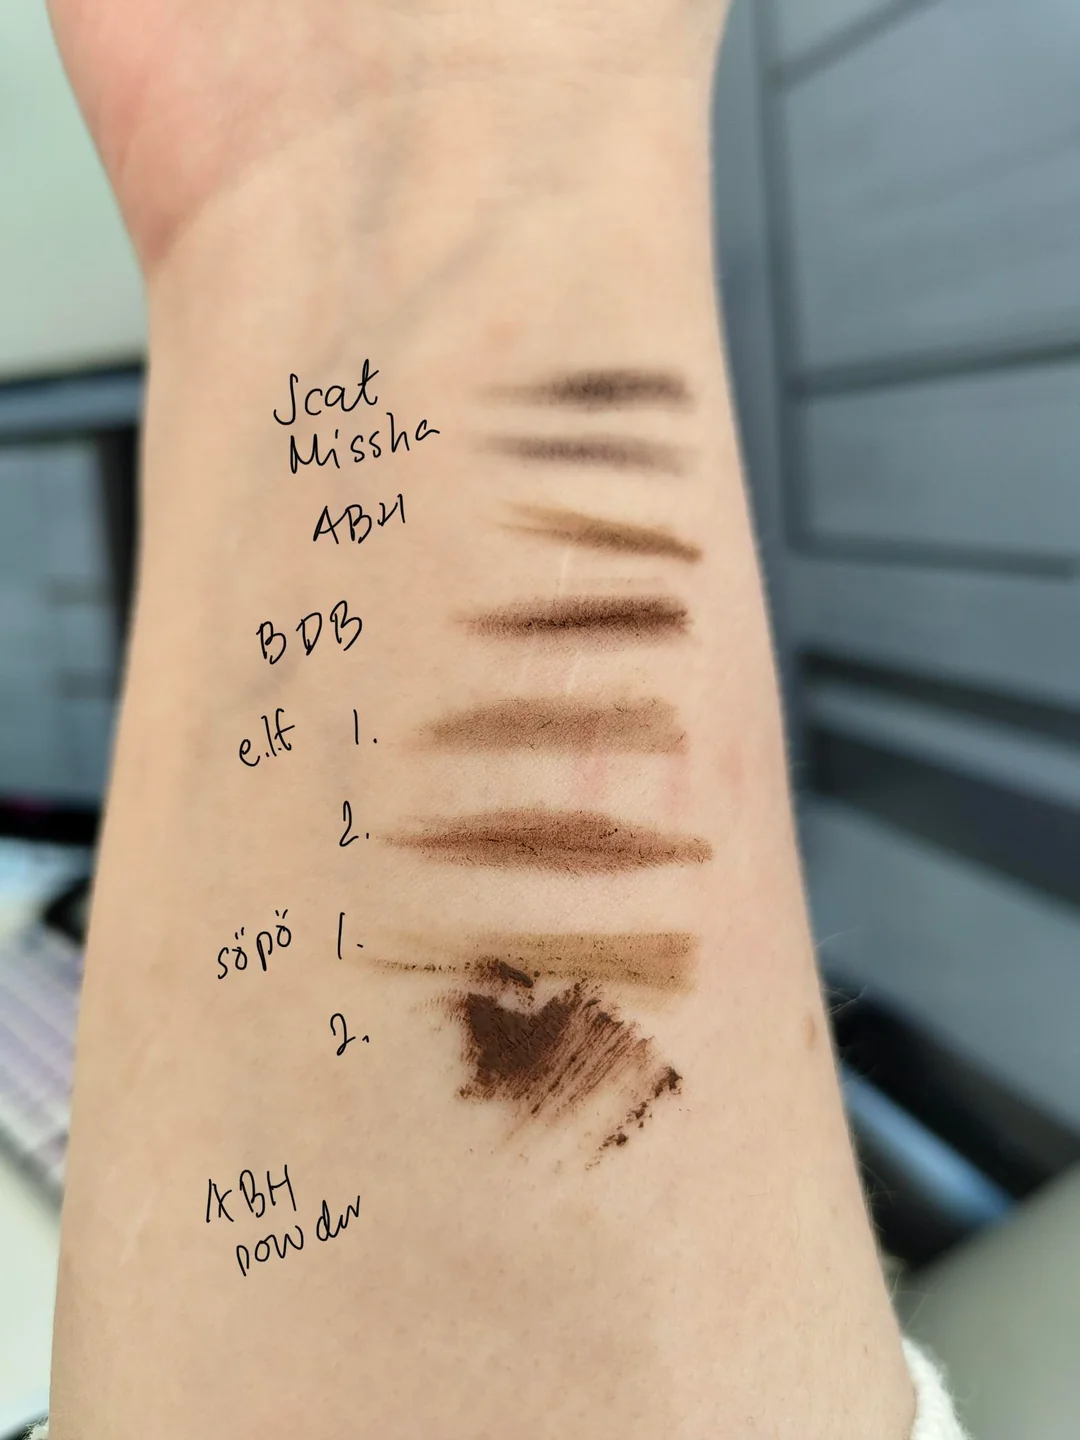
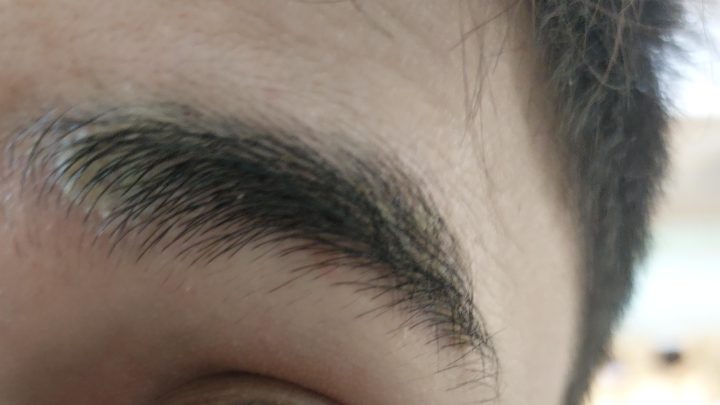
Image source: Web (Bing) / reddit.com (Web image (fair-use with source credit))
Stop Matching Your Roots: The Real Logic Behind Brow Shade Selection
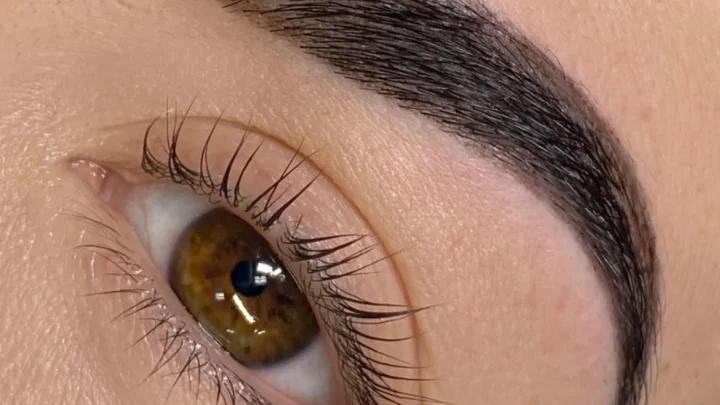
Most shoppers make the critical error of picking a pencil that matches their root hair color perfectly. This creates a flat, two-dimensional look that reads as "drawn on." Natural brows rarely consist of a single uniform pigment. They contain variations in tone from the inner corner to the tail.
Instead of matching the roots, aim for the average color of your mid-lengths and ends. These areas are typically lighter due to sun exposure and processing. Using a slightly lighter shade mimics this natural gradient.
It adds dimension without overwhelming the delicate skin around the eyes.
Consider the contrast ratio between your hair and skin. High-contrast individuals (dark hair, pale skin) need softer brow definitions to avoid looking severe. Low-contrast individuals (light hair, fair skin) benefit from a touch more definition to frame the face.
The goal is harmony, not exact replication.
If you have highlights, ignore the brightest strands entirely. Focus on the base color that appears most frequently across the brow area. A pencil matched to blonde highlights will vanish on someone with dark brown bases.
Conversely, a dark pencil on platinum blonde looks jarring. Find the middle ground that bridges your primary hair color and your secondary tones.
This approach prevents the "Sharpie" effect. It allows the pigment to sit subtly within the hair shafts. You’ll notice immediate improvement in realism when you stop chasing an exact hex code match.
Remember, eyebrows are meant to frame, not dominate.
Identify Your Undertone Before You Pick a Pencil
Hair color tells you the depth, but undertone dictates the hue. Ignoring this leads to orange or muddy-looking brows. Cool undertones pair with ash-based pencils.
Warm undertones suit golden or reddish-brown shades. Neutral undertones can handle both, making taupe a safe default.
How do you find your undertone? Look at the veins on your inner wrist. Blue or purple veins suggest a cool undertone.
Greenish veins indicate warmth. If you see a mix, you’re likely neutral. Another quick check involves jewelry.
Silver flatters cool tones, while gold enhances warm ones.
| Vein Color | Jewelry Match | Recommended Pencil Base |
|---|---|---|
| Blue/Purple | Silver | Ash Brown, Cool Taupe |
| Green | Gold | Golden Brown, Chestnut |
| Mixed/Unclear | Both | Neutral Taupe, Soft Beige |
Misidentifying this variable causes significant issues. A warm-toned person using an ash pencil may look washed out. The gray cast clashes with yellow skin hues.
Similarly, a cool-toned user applying a coppery brown will appear sallow. The mismatch draws attention away from the eyes.
Manufacturer specifications confirm that pigments interact differently with various skin chemistries. Iron oxides behave uniquely depending on pH levels and oil production. Testing swatches on your jawline reveals these interactions instantly.
Don’t rely solely on arm swatches, as chest skin differs from facial skin.
For those with olive complexions, true neutrals are rare. Olive skin often pulls green or yellow. In these cases, a muted taupe works better than bright browns.
It avoids emphasizing the green cast. Always prioritize subtlety over saturation when dealing with tricky undertones.
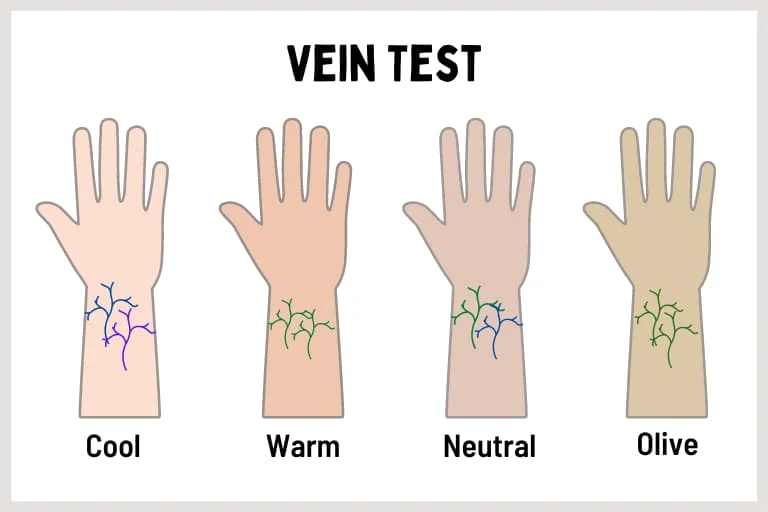
Image source: Bing (Web (fair-use with source credit))
Match Depth to Hair Color, Not Just Tone
Once you know your undertone, dial in the darkness level. Use the standard hair color scale ranging from Level 1 (Black) to Level 10 (Platinum Blonde). Your brow pencil should generally align with Levels 4 through 7 for most natural looks.
Going darker than your hair tends to age the face prematurely.
Dark-haired individuals (Levels 1, 3) shouldn’t use jet-black pencils unless they have very high contrast features. Instead, opt for deep charcoal or espresso brown. These shades provide definition without the harshness of pure black.
Black pigment absorbs light differently than hair does, creating an unnatural void.
Medium brown hair (Levels 4, 6) offers the widest range of options. Chocolate, hazel, and soft brown all work well here. Choose based on whether your hair leans red or gold.
Reddish hair pairs with chestnut pencils. Golden hair suits honey or caramel tones.
Blonde hair (Levels 7, 10) requires careful handling. Pure blondes should avoid beige, which disappears on fair skin. Opt for ash blonde or light taupe instead.
These colors mimic the subtle shadow of fine hair. Darker blondes can handle medium brown if it’s diluted properly.
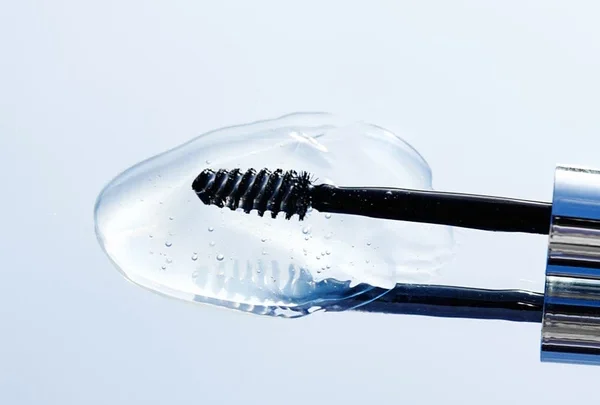
Aggregate reviews report that many users struggle with fading. Lighter pencils oxidize faster on oily skin. To combat this, set your brows with a clear gel.
This locks the pigment in place longer. It also maintains the integrity of the chosen depth throughout the day.
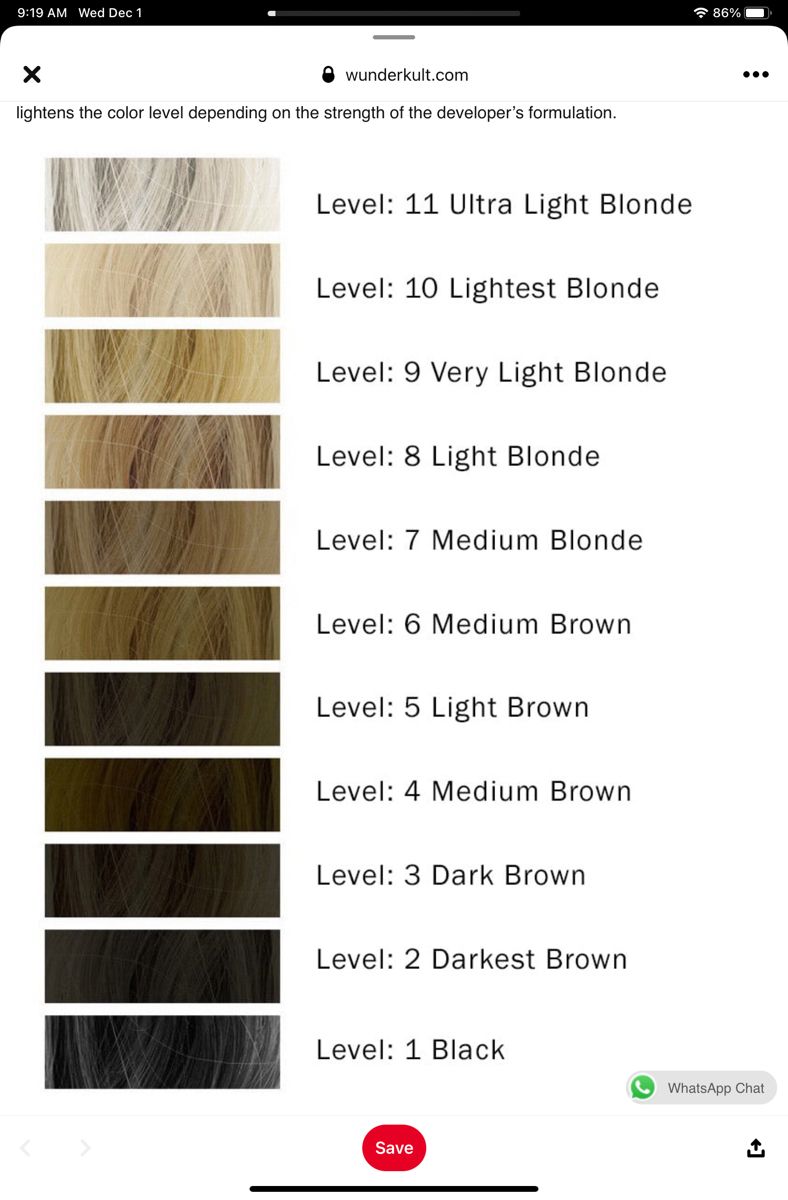
Image source: Web (Bing) / pinterest.com (Web image (fair-use with source credit))
Adjust for Gray, Silver, or Multi-Tonal Hair
Gray and white hair presents unique challenges. Standard brown pencils look muddy against silver strands. You need cooler, lighter tones to blend seamlessly.
Ash gray, pewter, or icy taupe are ideal choices. These shades mirror the lack of pigment in the hair itself.
If you have salt-and-pepper brows, don’t try to cover everything uniformly. Layering is key. Start with a light ash base to fill gaps.
Then, use a slightly darker taupe to define the arch. This technique recreates the natural variation found in aging hair.
Multi-tonal hair, such as balayage or ombre styles, complicates selection further. Ignore the tips and focus on the regrowth zone near the brow bone. This area represents your current baseline.
However, consider the overall impression. If your ends are much lighter, soften your brow definition accordingly.
For fully white brows, a translucent powder or clear gel might suffice. Adding color can sometimes look dirty on mature skin. If you must add pigment, choose a sheer, milky-white or pale lavender tint.
These counteract yellowing without adding heavy weight.
Professional guidelines from organizations like the American Academy of Dermatology suggest caution with heavy pigments on sensitive, aged skin. Thinner epidermis absorbs chemicals differently. Stick to hypoallergenic formulas.
Test any new product behind the ear first to ensure no reaction occurs.
Test Swatches Under Natural Light (And Why Store Lighting Lies)
Store lighting deceives almost everyone. Fluorescent bulbs cast a blue-green hue that distorts color perception. What looks perfect in the aisle often appears orange or gray outdoors.
Never buy a brow pencil based solely on indoor display lights.
Find a window with indirect sunlight. Hold the pencil tip near your bare brow bone. Do not apply yet.
Observe how the pigment interacts with your skin tone in daylight. It should disappear into the background slightly, not stand out aggressively.
If possible, ask for a tester. Swipe a small amount on your hand. Wait thirty seconds for oxidation to occur.
Many creams shift color as they dry. This brief wait reveals the true final shade.
Compare the swatch against your actual eyebrow hairs. Pull a few stray hairs if necessary. Lay them next to the mark.
The colors should harmonize. If the pencil looks distinctly different from your natural hair, keep shopping.
Digital screens vary wildly too. Phone cameras adjust white balance automatically. Trust your eyes in physical space over camera previews.
Bring a friend if unsure. Second opinions catch mismatches that fatigue hides.
Remember that weather affects visibility. Cloudy days mute colors. Sunny days enhance them.
Aim for consistency across conditions. A versatile shade performs well in both environments. This reliability saves money by preventing duplicate purchases.
Common Mistakes That Result in "Sharpie Brows"
Why do brows suddenly look like permanent marker stains? Usually, it’s because you picked a shade that was too dark or too cool for your skin tone. This creates harsh contrast against natural hair.
It also fails to blend with the surrounding complexion.
Another frequent error is applying pressure incorrectly. Pressing hard deposits excessive pigment in one spot. This leads to clumping and uneven color distribution.
Light, feathery strokes are essential for realistic results. Always start with less product than you think you need. You can always build up intensity gradually.
Ignoring oxidation is another trap. Many wax-based pencils darken slightly as they settle on the skin. If you match the wet swatch exactly, the dry result will be too intense.
Account for this shift by choosing a shade half a level lighter. This ensures the final look remains soft and natural throughout the day.
Finally, skipping primer causes patchiness. Oily skin breaks down pigment quickly. Dry skin absorbs it unevenly.
A light coat of concealer or brow primer creates a uniform canvas. This helps the pencil glide smoothly. It also extends wear time significantly.
Without this step, even the perfect shade looks messy within hours.
Quick Reference: Finding Your Perfect Shade Combo
How do you simplify the selection process? Use this decision matrix to pinpoint your ideal match based on primary variables. We’ve distilled the complex interplay of depth and undertone into actionable pairs.
Save this table for your next shopping trip.
| Hair Color Level | Skin Undertone | Recommended Pencil Shade | Avoid These Shades |
|---|---|---|---|
| Black (Level 1-2) | Cool | Deep Charcoal, Espresso | Jet Black, Warm Brown |
| Dark Brown (Level 3-4) | Neutral/Cool | Soft Black, Taupe Brown | Copper, Bright Red-Brown |
| Medium Brown (Level 5-6) | Warm | Chestnut, Golden Brown | Ash Gray, Icy Blonde |
| Light Brown/Dirty Blonde (Level 7) | Neutral | Muted Taupe, Honey | Stark White, Neon Orange |
| Blonde (Level 8-9) | Cool | Ash Blonde, Silver Gray | Yellow Beige, Dark Brown |
| Platinum (Level 10) | Any | Pale Taupe, Translucent | Any Pigmented Brown |
Start by identifying your dominant hair level. Then cross-reference with your undertone from the earlier section. This grid eliminates guesswork.
It prevents the common pitfall of buying trendy shades that don’t suit your biology.
For example, if you have medium brown hair but cool undertones, ignore the "golden" options. Stick to taupe or ash-brown variants. The mismatch would otherwise make your face look sallow.
Conversely, warm-toned brunettes should steer clear of gray-heavy pencils. Those will wash out their natural radiance.
Remember that multi-tonal hair requires flexibility. If you have both highlights and lowlights, choose the middle ground. A universal taupe often works best here.
It bridges the gap between light and dark strands without committing to either extreme. Test this combination under daylight before purchasing. Your eyes will thank you for the precision.

Similar Posts