How to Remove Brow Makeup Gently Without Damage
Knowing how to remove brow makeup gently protects your natural hair and prevents premature aging. Most people scrub too hard, thinking friction equals cleanliness. It doesn't.
Aggressive wiping damages the delicate skin around the eyes and causes brow hairs to fall out permanently.
We’ve seen that using the right solvent reduces mechanical stress significantly. The American Academy of Dermatology recommends lukewarm water and gentle surfactants for sensitive areas. As of 2026, the focus remains on barrier preservation over deep cleaning.
Let’s break down exactly what you need to do based on your specific situation.
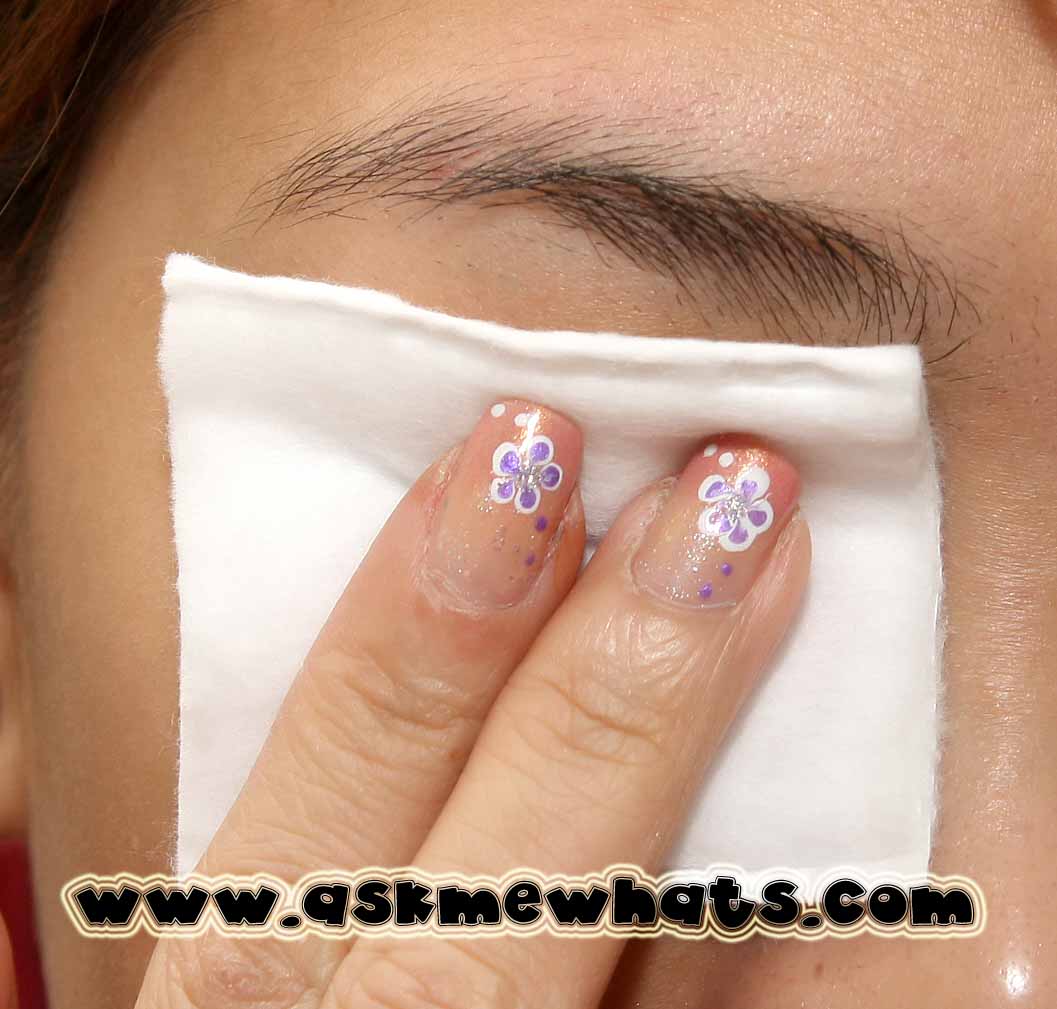
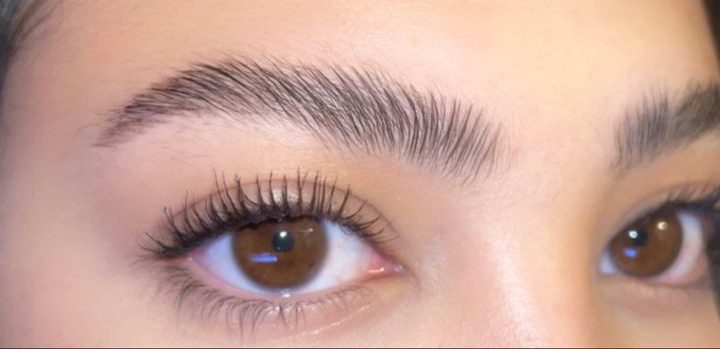
Image source: Web (Bing) / askmewhats.com (Web image (fair-use with source credit))
Quick Answer
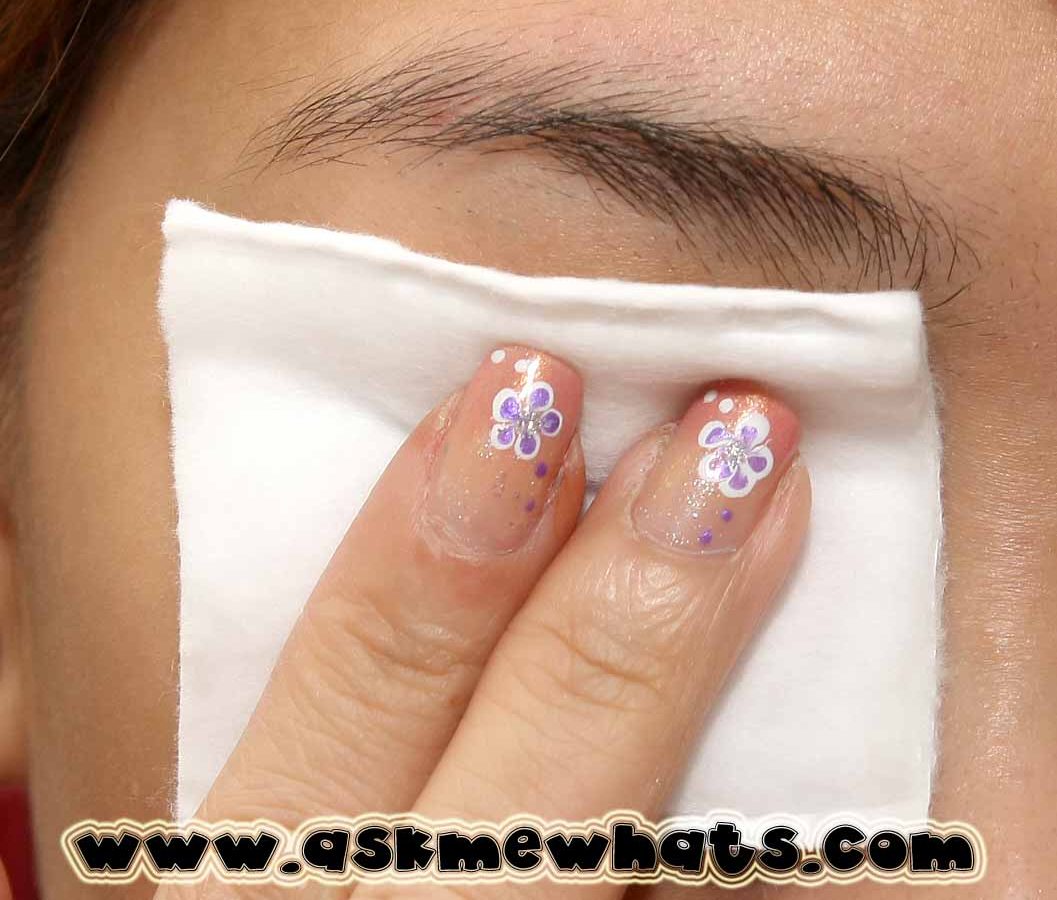
To remove brow makeup gently, soak a cotton pad in oil-based cleanser or micellar water. Press it against your brows for thirty seconds. Do not rub.
Wipe downward along the hair growth pattern. Rinse with lukewarm water. Pat dry carefully.
Repeat if necessary. This method dissolves pigment without breaking fragile brow hairs or irritating sensitive eyelid skin.
Identify Your Brow Makeup Type and Skin Condition
The correct removal strategy depends entirely on three variables: product formulation, skin sensitivity, and hair status. Using a generic approach often leads to irritation or incomplete cleansing. We categorize these scenarios to help you pick the right path immediately.
If you wear standard powder or pencil fillers, a lightweight micellar water works best. These formulas use mild surfactants like decyl glucoside to lift pigment without heavy oils. However, if you have eczema or rosacea, even mild surfactants can sting.
In those cases, switch to a fragrance-free cream cleanser applied with fingers.
Waterproof gels and pomades require lipid-rich solvents. Water alone cannot break down waxes and silicones. You must use an oil-based remover containing jojoba or squalane.
These ingredients dissolve the bond holding the color to the hair shaft. Skipping this step forces you to scrub harder, which increases breakage risk.
For semi-permanent microblading, the rules change drastically. During the first ten days post-procedure, you must avoid direct contact with most removers. Stick to sterile saline solution or specialized aftercare wipes provided by your technician.
After healing, use only non-oil-based, alcohol-free cleansers to prevent fading the tattoo pigment prematurely.
| Scenario | Recommended Remover Type | Key Constraint |
|---|---|---|
| Standard Powder/Pencil | Micellar Water (Alcohol-Free) | Avoid vigorous rubbing |
| Waterproof Gel/Pomade | Oil-Based Cleanser (Jojoba/Squalane) | Needs 30-second dwell time |
| Sensitive/Eczema Skin | Fragrance-Free Cream Cleanser | Patch test behind ear first |
| Healed Microblading | Gentle, Non-Oil Surfactant Wash | Prevents pigment degradation |
| Fresh Microblading (<10 Days) | Sterile Saline Only | No topical products allowed |
Choosing the wrong vehicle for your pigment is the most common error we observe. Always match the solvent chemistry to the makeup type before touching your face.
The Universal "Press-and-Hold" Technique for All Formulas
Friction is the enemy of healthy brows. Mechanical abrasion strips away lipids and snaps keratin bonds in hair strands. The press-and-hold method eliminates this risk by relying on chemical dissolution rather than physical force.
This technique applies whether you use oils, creams, or waters.
Start by saturating your chosen applicator completely. A dry pad creates drag. Ensure the material feels heavy with liquid but isn't dripping onto your cheeks.
Place the saturated pad directly over your eyebrow arch. Hold it steady for fifteen to thirty seconds. This allows the solvent to penetrate the makeup layers and loosen their grip on the hair.
After the wait time, slide the pad outward in one smooth motion. Follow the direction of hair growth. Never wipe back and forth.
Back-and-forth motions create shear stress that pulls hairs from the follicle. If residue remains, re-saturate the pad and repeat the hold. Do not increase pressure.
Increase time instead.
This method respects the epidermal barrier. By minimizing contact time and pressure, you reduce transepidermal water loss. Aggregate reviews indicate that users who adopt this technique report less redness and fewer shed hairs within two weeks.
It requires patience, but the payoff is denser, healthier-looking brows over time. Remember, the goal is to let the chemistry do the work, not your elbows.
Specialized Workflows: Regular, Waterproof, and Semi-Permanent
Once you know the basic technique, apply it specifically to your product type. Each category demands slight adjustments to ensure complete removal without damage. Here is how to handle the three most common scenarios effectively.
For regular brow pencils and powders, speed matters less than precision. Use a micellar water on a soft cotton round. Swipe once across the entire brow.
Check for streaks. If you see gray lines, spot-clean with a damp corner of the same pad. Avoid going over clean areas repeatedly.
Over-cleansing dries out the skin beneath the brows, leading to flaking.
Waterproof formulas need a dual-phase approach. First, apply an oil-based cleanser directly to dry brows. Massage gently with fingertips for ten seconds to break down waxes.
Then, add a small amount of warm water to emulsify the oil into a milky consistency. Rinse thoroughly. This ensures no oily residue clogs pores near the brow bone.
Manufacturer specs confirm that emulsification helps lift stubborn pigments more efficiently than single-step washing.
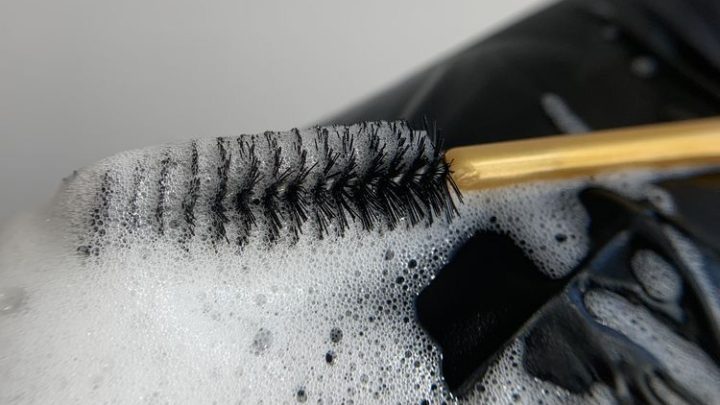
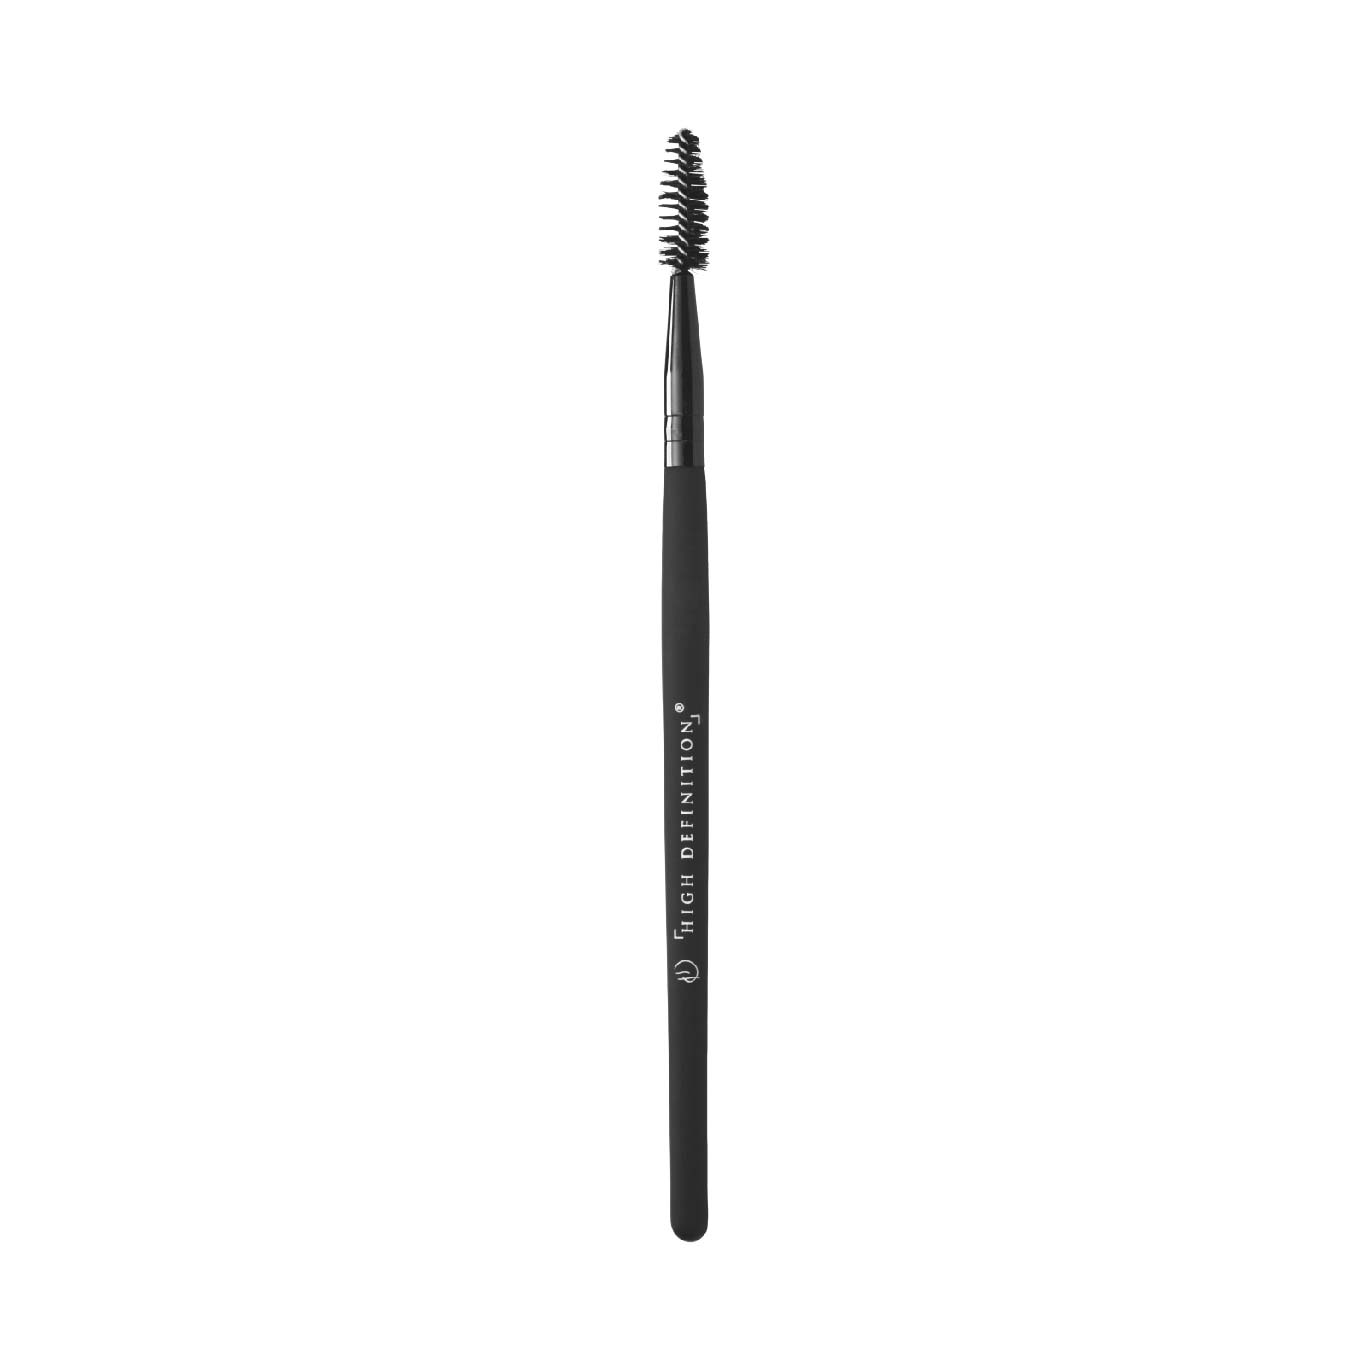
Semi-permanent makeup requires extreme caution. For healed microblading, use a sulfate-free gel cleanser. Apply with a spoolie brush dipped in the solution.
Brush through the hairs to dislodge debris trapped between strokes. Rinse with cool water. Hot water opens pores and can leach ink.
Always pat dry with a clean towel. Never rub the treated area. Consistency here preserves the shape and color longevity of your procedure.
Tool Selection: Cotton Pads, Spoolies, and Reusable Rounds
Your choice of applicator impacts both hygiene and physical trauma. Disposable cotton pads are convenient but can shed lint into wet makeup, creating mess. Reusable bamboo rounds offer better absorption and sustainability.
They provide a softer surface that glides easily over delicate skin. Choose high-quality, thick rounds to prevent tearing during use.
Spoolie brushes play a crucial role in detailed cleaning. Unlike pads, they reach individual hair shafts. Select a brush with synthetic, ultra-soft bristles.
Natural boar bristles can harbor bacteria if not cleaned properly. Synthetic options rinse easily and maintain shape. Dip the spoolie in your remover solution.
Gently comb through the brows. This action lifts pigment from the base of the hair where pads often miss spots.
Avoid using rough washcloths or paper towels. Their texture acts like sandpaper on thin eyelid skin. If you prefer cloths, choose microfiber.
It traps particles effectively without scratching. Always keep tools separate from facial cleansing items to prevent cross-contamination. Replace disposable pads daily.
Wash reusable tools weekly with hot water and antibacterial soap. Clean tools prevent folliculitis, a common issue caused by bacterial buildup in hair follicles. Proper tool maintenance extends the life of your brows and your skin health.
Common Mistakes That Cause Shedding, Irritation, or Infection
Even with the right products, bad habits ruin results. The most frequent error is rushing the process. People want quick fixes.
They scrub aggressively to save time. This causes immediate hair traction alopecia. Once a follicle is damaged, regrowth slows or stops.
Always prioritize the thirty-second hold rule. Patience saves your eyebrows.
Another mistake is using hot water. Heat dilates blood vessels and strips natural oils. It also makes waterproof makeup stickier initially.
Lukewarm water is ideal. It opens pores slightly without causing inflammation. Test the temperature on your wrist before applying it to your face.
If it feels warm, it is too hot for delicate eye areas.
Ignoring patch tests leads to allergic reactions. New products contain preservatives and fragrances that may irritate sensitive skin. Apply a small amount behind your ear or on your inner arm.
Wait twenty-four hours. If redness occurs, discard the product. Do not assume "natural" means safe.
Essential oils like lavender or tea tree can cause contact dermatitis in concentrated forms.
Finally, skipping moisturizer after cleansing leaves the skin vulnerable. Removing makeup disrupts the acid mantle. Without replenishment, bacteria invade easier.
Always follow up with a bland, fragrance-free moisturizer or brow serum. This seals in hydration and protects the barrier. Neglecting this step invites breakouts and dryness around the brow arch.
Post-Care Routine: Restoring Barrier Function and Hair Health
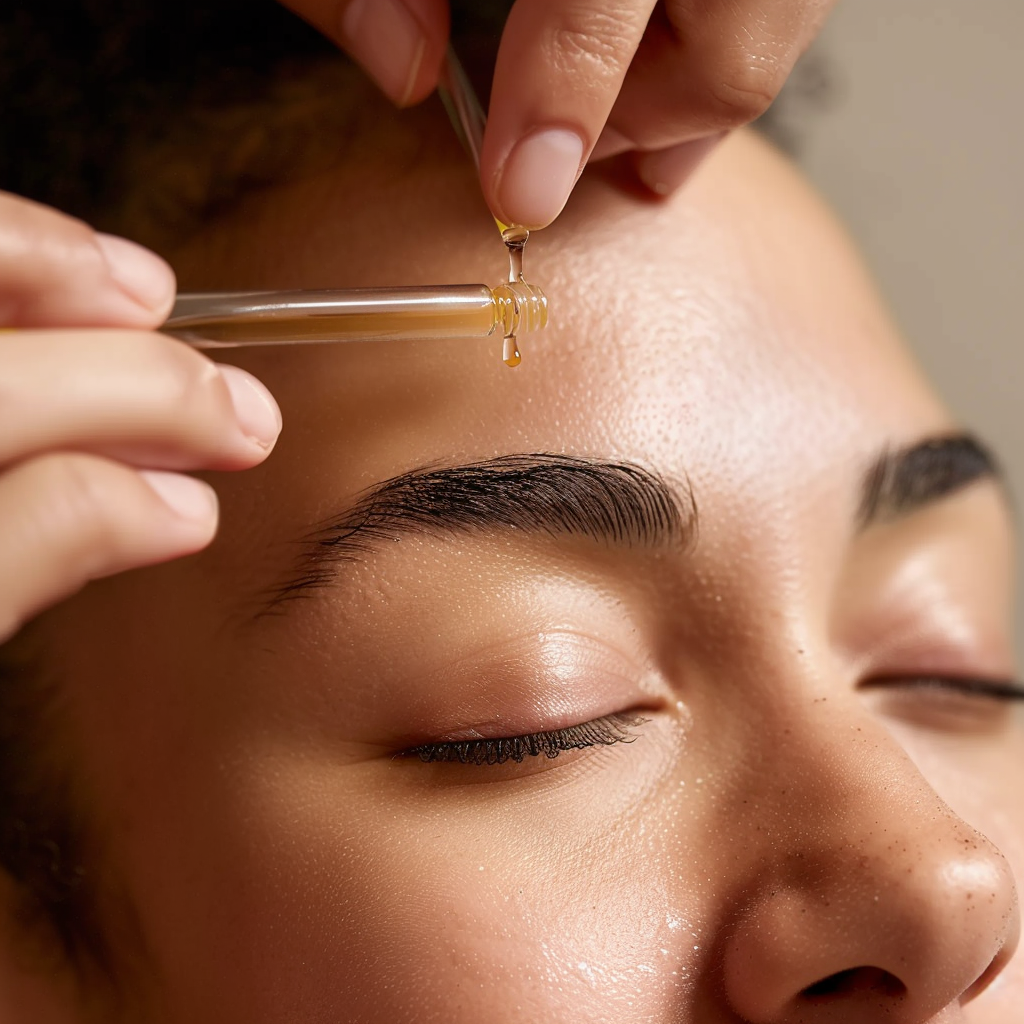
Cleansing strips natural lipids, leaving the skin vulnerable. You must replenish moisture immediately after drying your brows. Apply a fragrance-free brow serum or pure jojoba oil while the skin is still slightly damp.
This locks in hydration and supports keratin strength.
Skip heavy creams near the lash line. They can migrate into the eyes and cause milia or styes. Instead, use a lightweight, non-comedogenic formula designed for delicate areas.
Look for ingredients like hyaluronic acid or panthenol. These soothe irritation without clogging pores.
Consistency matters more than intensity here. Daily post-care prevents chronic dryness and brittleness. Over time, you’ll notice fewer broken hairs and smoother texture.
If you experience persistent redness or itching, pause active serums. Switch to plain petroleum jelly until the barrier heals. Then reintroduce products slowly.
Protecting the microbiome is just as vital as protecting the hair shaft itself.
Frequently Asked Questions About Gentle Brow Removal
Can I use baby oil to remove brow makeup?
No. Baby oil is mineral-based and highly comedogenic. It often clogs pores around the brow bone, leading to acne.
Stick to plant-derived oils like squalane or jojoba. These mimic natural sebum and rinse away cleanly without residue buildup.
How do I remove waterproof mascara from my lower lashes safely?
Soak a cotton swab in micellar water. Hold it against the lashes for twenty seconds. Gently swipe downward.
Avoid dragging the swab horizontally across the eye. This prevents tugging on sensitive lid skin. Rinse thoroughly with lukewarm water afterward to remove any remaining film.
Is it okay to skip cleansing if I only wore powder?
Yes, but only occasionally. Powders sit loosely on the hair and skin. However, daily accumulation mixes with sebum and dirt.
This creates a breeding ground for bacteria. Use a gentle toner on a pad to wipe away dust if you’re tired. But deep clean at least every other night.
Why does my brow area sting when I use micellar water?
Some formulations contain alcohol or strong preservatives. These irritate compromised skin barriers. Switch to an alcohol-free, hypoallergenic version labeled for sensitive eyes.
Patch test behind your ear first. If stinging persists, try a cream cleanser instead. It offers less chemical exposure during contact.

Similar Posts