How to Apply Lipstick on Flaky Lips Without Cracking
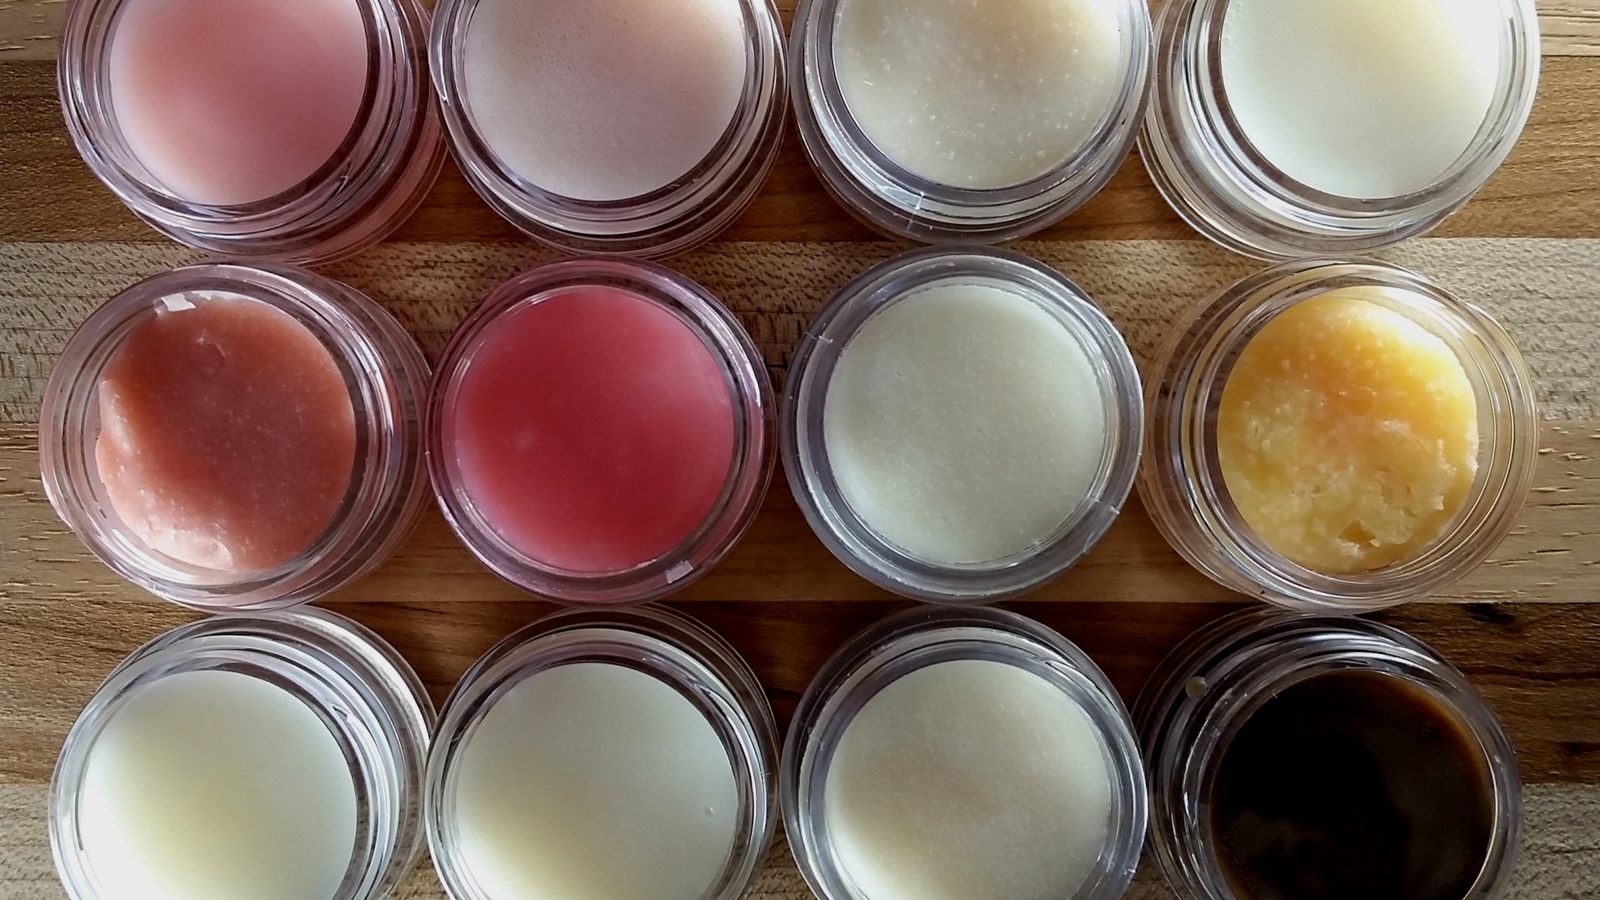
Figuring out how to apply lipstick on flaky lips feels impossible when your mouth looks like cracked desert earth. You don't need harsh scrubs or expensive treatments to fix this instantly. The secret lies in respecting your skin barrier and choosing the right formula for your specific condition.
Most people make it worse by exfoliating too aggressively before makeup. Aggregate reviews report that skipping proper hydration leads to patchy, uncomfortable wear. We’ve found that tailoring your prep to the severity of dryness changes everything.
Let’s break down exactly what to do based on your current lip state.
Quick Answer
To apply lipstick on flaky lips, first assess if your skin is intact or cracked. If intact, gently exfoliate with a soft cloth. Apply a thick occlusive balm and wait five minutes.
Blot excess oil before applying a creamy or satin lipstick. Avoid matte formulas entirely if you have active peeling. Use a lip brush for precise, thin layers.
Seal with a clear gloss if needed. Never scrub open wounds. This method prevents clinging and ensures smooth coverage without pain.
Diagnose Your Lip Condition Before You Touch a Brush
Stop. Look in the mirror. Are your lips just dry, or are they actively peeling?
This distinction dictates your entire routine. Treating mild dryness like severe damage wastes time. Treating severe damage like mild dryness causes pain and bleeding.
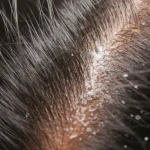
Mild dryness presents as tight skin with small, white flakes. These flakes sit on the surface but haven’t broken the skin barrier underneath. You might feel roughness, but there’s no raw pink flesh visible.
In this case, gentle preparation works wonders. You can safely remove those top layers to create a smooth canvas.
Active peeling or cracking means the barrier is compromised. You’ll see raw, red patches where skin has torn away. It might sting when you smile or eat spicy food.
Here, exfoliation is forbidden. Scrubbing these areas tears healthy tissue and delays healing. Your goal shifts from smoothing to protecting.
You must seal the cracks rather than buff them away.
| Condition | Visual Signs | Sensation | Action Required |
|---|---|---|---|
| Mild Dryness | White flakes, rough texture | Tightness, slight itch | Gentle exfoliation + Hydration |
| Active Peeling | Raw red patches, fissures | Stinging, sensitivity | No exfoliation + Barrier repair |
| Chronic Cheilitis | Persistent scaling, swelling | Pain, burning | Dermatologist consult + Medical care |
If you suspect chronic issues like angular cheilitis, skip the makeup tutorial. See a doctor. Per American Academy of Dermatology guidelines, persistent scaling often signals fungal or bacterial infections needing treatment.
Don’t mask medical symptoms with cosmetics. For temporary weather-related dryness, proceed with the appropriate branch below. Correct diagnosis saves your lips from further trauma.

The Prep Phase: Hydration Layers That Actually Stick
Hydration isn’t just slapping on chapstick. It’s about layering water and oil correctly. Most balms fail because they lack occlusives to trap moisture.
You need a humectant to pull water in, then an occlusive to lock it down.
Start with clean, damp lips. Pat them dry slightly so they’re moist, not wet. Apply a thin layer of hyaluronic acid serum or pure glycerin mixed with water.
This draws moisture into the upper epidermis. Wait thirty seconds. Then, apply a heavy occlusive balm containing petrolatum, beeswax, or lanolin.
This combination creates a flexible barrier. It plumps fine lines and softens flakes without feeling greasy. Manufacturer specifications indicate that petroleum jelly seals 98% of transepidermal water loss (TEWL).
That’s massive compared to plant oils alone. Let this mixture sit for at least five minutes. Ideally, ten.
While you wait, do other parts of your makeup. This downtime allows the balm to penetrate deeply. Rushing this step leaves a slick surface.
Lipstick slides off or pools in creases. After the wait, take a single-ply tissue. Gently press it against your lips.
Do not rub. Rubbing disrupts the softened skin cells.
Blotting removes excess shine and loose debris. You want a tacky, hydrated base, not a slippery one. This textured grip helps subsequent layers adhere evenly.
If you skipped blotting, your lipstick will slide. If you rubbed, you’ll tear fresh skin. Precision matters here.
Your lips are now primed for color.
Choosing the Right Formula for Textured Lips
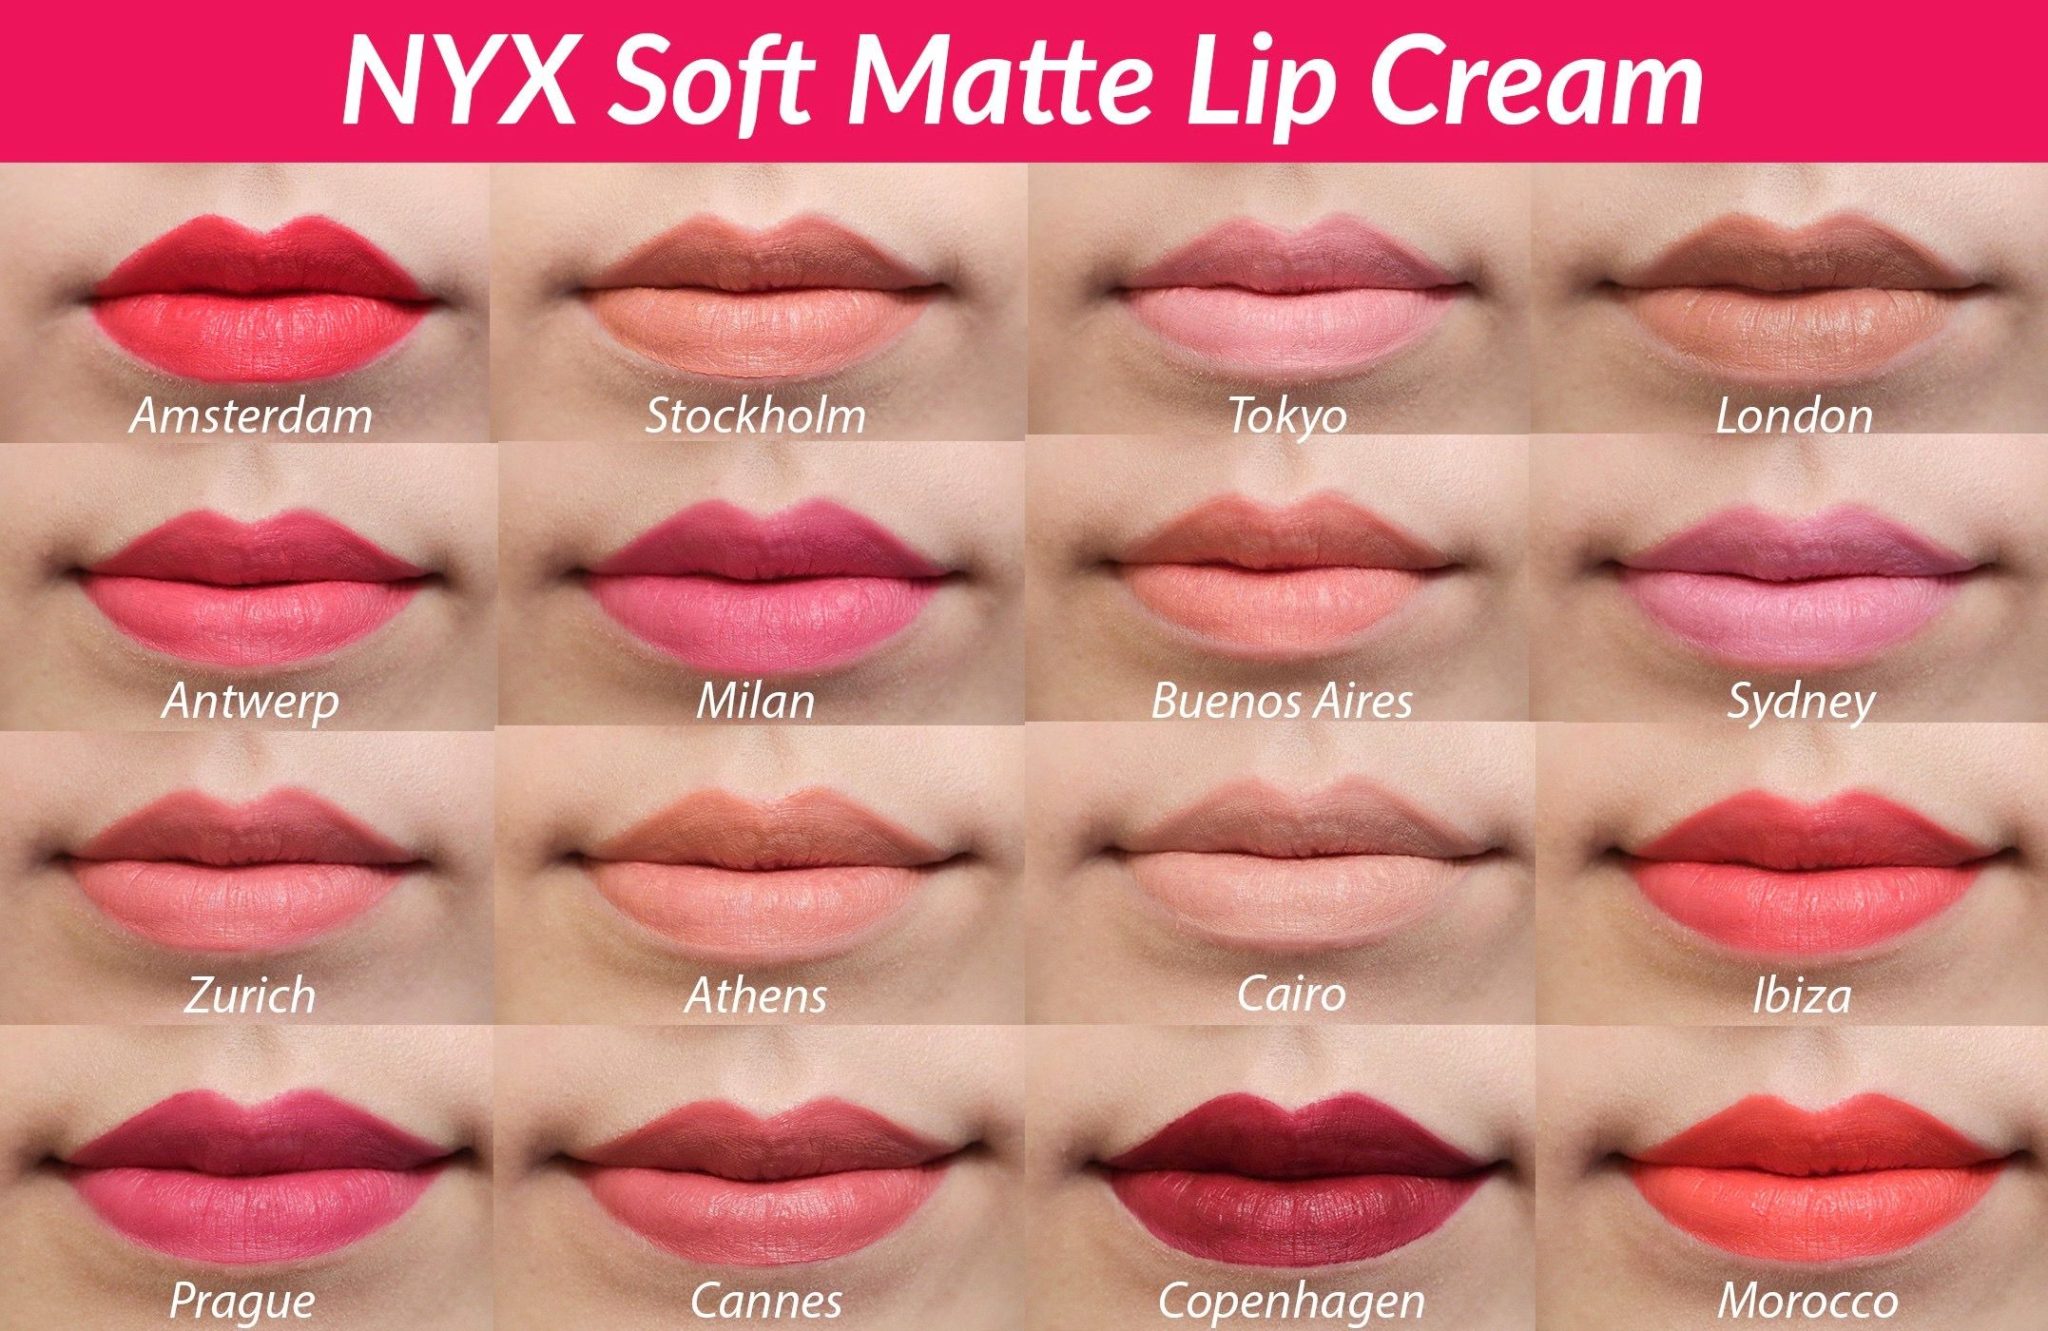
Not all lipsticks behave the same on dry mouths. Matte liquid formulas are the enemy here. They contain high pigment loads and volatile solvents that evaporate quickly.
As they dry, they shrink. On flaky lips, this shrinkage pulls dead skin upward. The result is emphasized texture and cracking within hours.
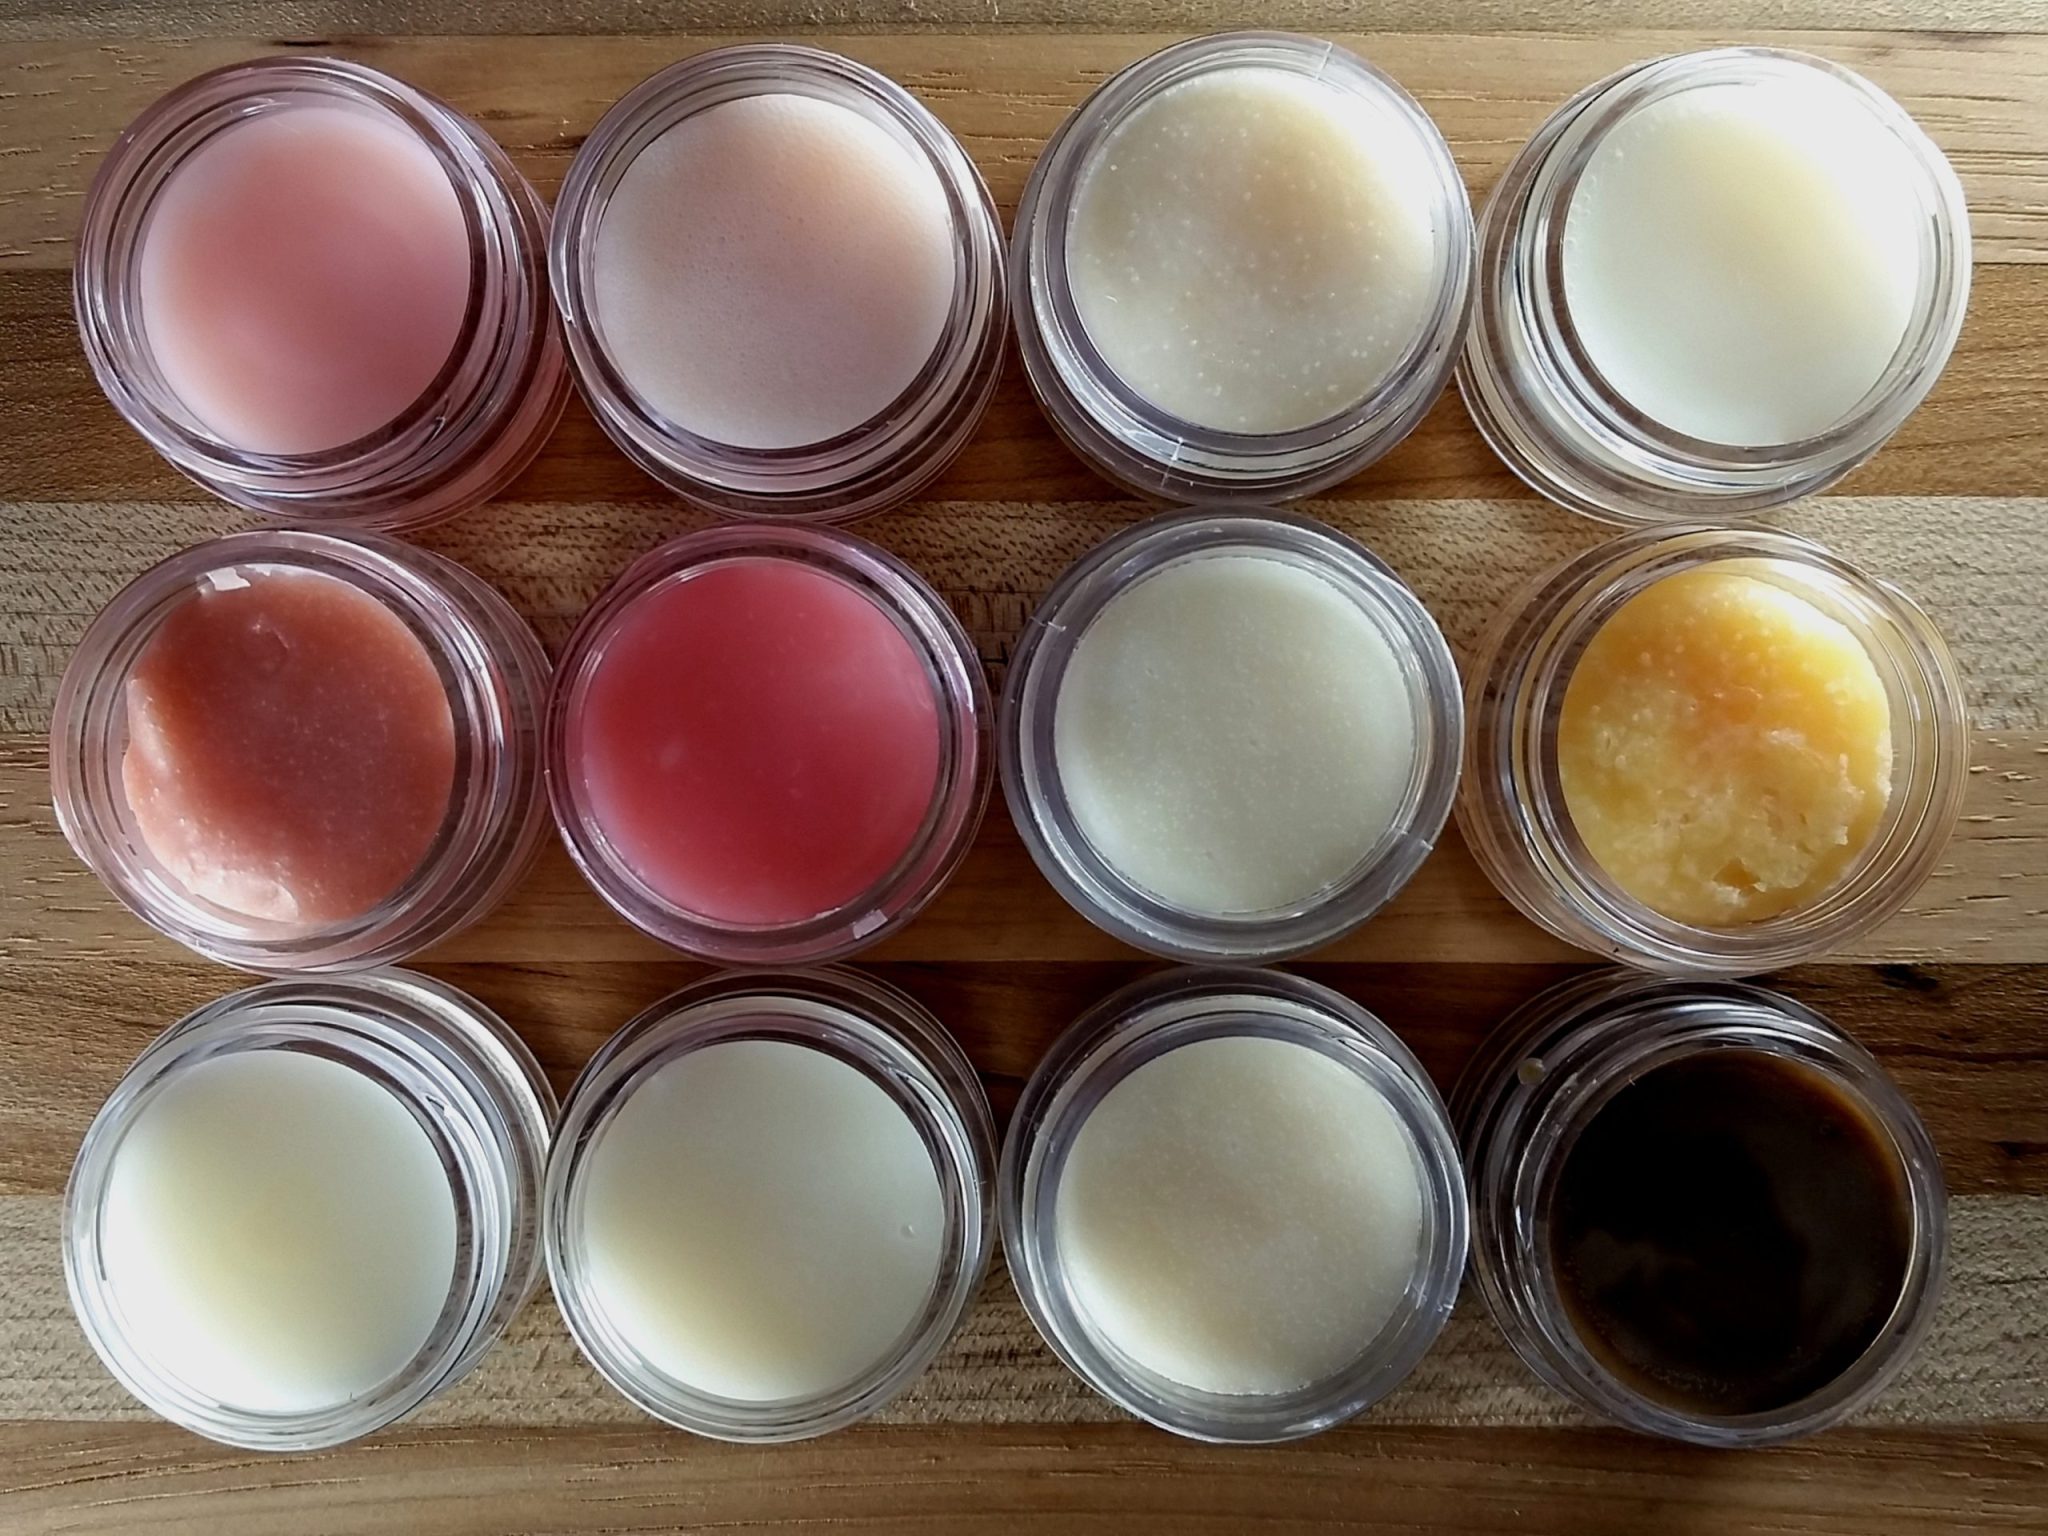
Cream and satin finishes are your best friends. They contain higher oil contents that remain flexible. This flexibility moves with your mouth instead of splitting.
Look for terms like "moisturizing," "sheer," or "balm-infused." These formulations deposit color while conditioning.
Sheer tints offer another advantage. Because they aren’t opaque, they don’t highlight every imperfection. A bold matte red screams "look at my flakes." A translucent berry tint blends naturally.
It adds life without demanding perfection. Glosses also work well, but only over prepared lips. Unprepared gloss sticks to hair and dust.
Consider the application tool too. Direct bullet application drags across uneven surfaces. It catches on edges of flakes.
A synthetic bristle brush distributes product more evenly. It presses color into the skin rather than swiping over it. This reduces friction and minimizes disturbance to fragile areas.
Avoid long-wear transfer-proof stains unless absolutely necessary. These require alcohol-based removers. Alcohol dries out lips instantly.
Removing them often strips the very barrier you built. Stick to removable creams. You can always reapply after eating.
Comfort outweighs longevity when dealing with compromised skin. Choose kindness for your mouth.
Step-by-Step Application Techniques by Severity Level
Your method changes based on the diagnosis from earlier. Follow the specific workflow for your condition. Mixing these steps ruins results.
Stay disciplined.
Workflow A: For Flaky but Intact Skin (Exfoliate & Prime)
- Soft Exfoliation: Dampen a washcloth with warm water. Add a drop of mild facial cleanser. Gently massage lips in circular motions for ten seconds. Rinse thoroughly. This removes loose scales without cutting skin. Sugar scrubs are too abrasive; skip them.
- Deep Hydration: Apply your humectant-occlusive mix as described previously. Wait five minutes. Blot gently.
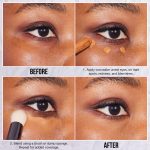
- Prime (Optional): If using a dark color, dab a tiny amount of concealer on the center. Blend outward. This evens out discoloration from old blood vessels or bruising.
- First Coat: Load a lip brush lightly. Start from the center of the bottom lip. Stroke outward toward corners. Repeat on top. Thin layers prevent clumping.
- Set and Rebuild: Press lips together once. Blot again. Apply a second thin coat. Focus on any remaining rough spots. This builds opacity gradually.
Workflow B: For Cracked or Healing Lips (Skip Exfoliation, Seal Only)
- No Scrubbing: Wash lips with lukewarm water only. No soap near cracks. Pat dry with a soft towel.
- Medical Grade Balm: Use a plain petrolatum ointment or zinc oxide cream. Avoid fragrances or menthol. These irritate open wounds. Apply generously.
- Wait Longer: Allow twenty minutes for absorption. The thicker barrier needs time to settle.
- Minimal Color: Skip traditional lipstick. Use a tinted lip balm or sheer gloss. Apply with fingers. Body heat melts the product slightly, helping it glide without dragging.
- Spot Cover: If you must wear color, use a tiny bit of foundation on a brush. Dot it only on healed areas. Leave cracks bare. Makeup on open wounds invites infection.
Both workflows prioritize gentleness. Aggressive techniques fail here. Patience yields better aesthetics.
Remember, less is more when texture is an issue.
Common Mistakes That Make Flakiness Worse
Even with good intentions, certain habits sabotage your efforts. Recognize these traps early. Breaking them improves both comfort and appearance.
Over-exfoliation tops the list. Many users scrub daily hoping for permanent smoothness. This destroys the lipid barrier.
Your skin responds by producing more keratin. Paradoxically, lips become flakier. Limit physical exfoliation to once a week max.
Daily chemical exfoliants (like lactic acid toners) are safer but still risky on mucous membranes. Stop immediately if stinging occurs.
Ignoring internal hydration is another error. Drinking eight glasses of water won’t magically fix external dryness overnight. However, chronic dehydration worsens skin elasticity.
Electrolyte imbalances affect cellular water retention. Drink consistently throughout the day. Don’t chug liters right before makeup.
It doesn’t help acute surface dryness.
Using alcohol-based removers forces you to strip your lips repeatedly. Acetone and ethanol dissolve natural oils. This creates a vicious cycle.
Dry lips lead to more makeup use, leading to more stripping. Switch to oil-based cleansers or micellar water. Massage gently.
Wipe softly. Never scrape.
Finally, forgetting SPF accelerates damage. UV rays break down collagen and elastin in delicate lip tissue. Sunburnt lips peel severely weeks later.
Wear a tinted lip balm with SPF 30+ during the day. Even in winter, snow reflects UV light. Protection prevents future flare-ups.
Consistency beats intensity in skincare routines.
Expert Tips for Long-Wear Without the Crackles
How do you keep color on lips that refuse to hold it? The answer lies in strategic blotting and tool selection. Standard application methods fail on textured surfaces because they rely on even skin tension.
Flaky lips create micro-gaps where pigment pools or vanishes. You must adapt your technique to bridge these gaps without adding bulk.
Use a small, flat synthetic brush instead of the lipstick bullet. This gives you control over pressure and placement. Load the brush lightly.
Dab the product onto the center of your lower lip first. Then, press outward toward the corners. Avoid dragging the bristles across dry patches.
Dragging lifts dead skin cells and ruins the smooth finish we worked hard to achieve.
Blotting is critical for longevity. After the first thin layer, press a single-ply tissue between your lips. Do not wipe.
Just absorb excess oil. This sets the base coat. Apply a second thin layer only where needed.
This two-step process creates a flexible film that moves with your mouth. It prevents the cracking typical of heavy, single-layer applications.
Consider setting the look with a translucent powder if you’re wearing matte shades. Dust a tiny amount over a tissue placed on your lips. This locks in pigment without drying out the underlying balm layer.
It’s a pro trick from stage makeup artists dealing with extreme conditions. As of 2026, this method remains effective for keeping satin finishes intact during long events.
Finally, carry a travel-sized occlusive balm. Reapply only after eating or drinking. Never layer lipstick over food residue.
Cleanse gently with micellar water first. Then re-balm and re-color. This maintenance routine extends wear time significantly.
It also protects your barrier from repeated friction damage throughout the day. Consistency here beats intensity later.
Frequently Asked Questions
Can I use sugar scrub on flaky lips before makeup?
No, avoid physical scrubs like sugar or salt immediately before applying lipstick. These granules are too harsh for delicate mucous membranes. They cause micro-tears that worsen inflammation and peeling.
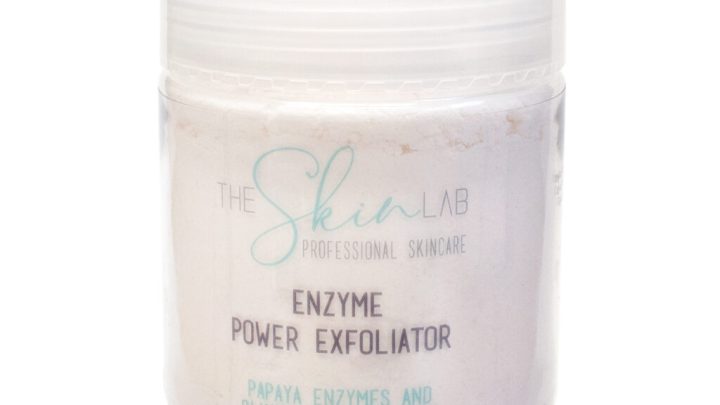
Instead, use a warm, damp washcloth for gentle mechanical exfoliation. Or opt for enzymatic powders designed for sensitive skin. Wait at least twenty-four hours after any exfoliation before attempting full-coverage makeup.
Your barrier needs time to recover its lipid matrix. Rushing this step guarantees patchy, uncomfortable results.
Why does my lipstick crack within an hour of application?
Cracking usually happens due to incompatible formulas or insufficient hydration prep. Matte liquids contain solvents that evaporate quickly, shrinking the film. If your lips lack an occlusive base, the formula pulls moisture from the skin.
This causes immediate tightening and splitting. Switch to cream or satin textures with higher emollient content. Ensure you’ve applied a petrolatum-based balm and waited five minutes before coloring.
Blotting excess oil is also crucial. Too much slip prevents adhesion, leading to sliding and breaking apart.
Is it safe to wear lipstick over open cracks or sores?
Absolutely not. Applying cosmetic pigments to broken skin introduces bacteria and allergens directly into the wound. This increases infection risk and delays healing significantly.
Per FDA guidelines, cosmetics should never be used on infected or inflamed areas. Cover healed areas only. Leave raw patches bare or treat them with medical-grade ointments until closed.
Once the skin regenerates, resume normal makeup routines. Prioritize health over aesthetics when barriers are compromised. Ignoring this warning can lead to persistent cheilitis or secondary infections.
How often should I replace my lip products if I have dry lips?
Replace lipsticks every twelve months, but sooner if texture changes occur. Dryness accelerates oxidation of oils and waxes in the formula. Rancid ingredients irritate sensitive skin further.
Check for separation, odd smells, or gritty textures regularly. Discard any product that feels different upon application. Store items away from heat and sunlight to preserve integrity.
Using expired products exacerbates flakiness rather than solving it. Fresh formulations maintain optimal emollient ratios. This ensures consistent performance and reduces the likelihood of adverse reactions on vulnerable tissue.

Similar Posts