Stop Lipstick Transfer: 7 Proven Tips for Long-Lasting Color
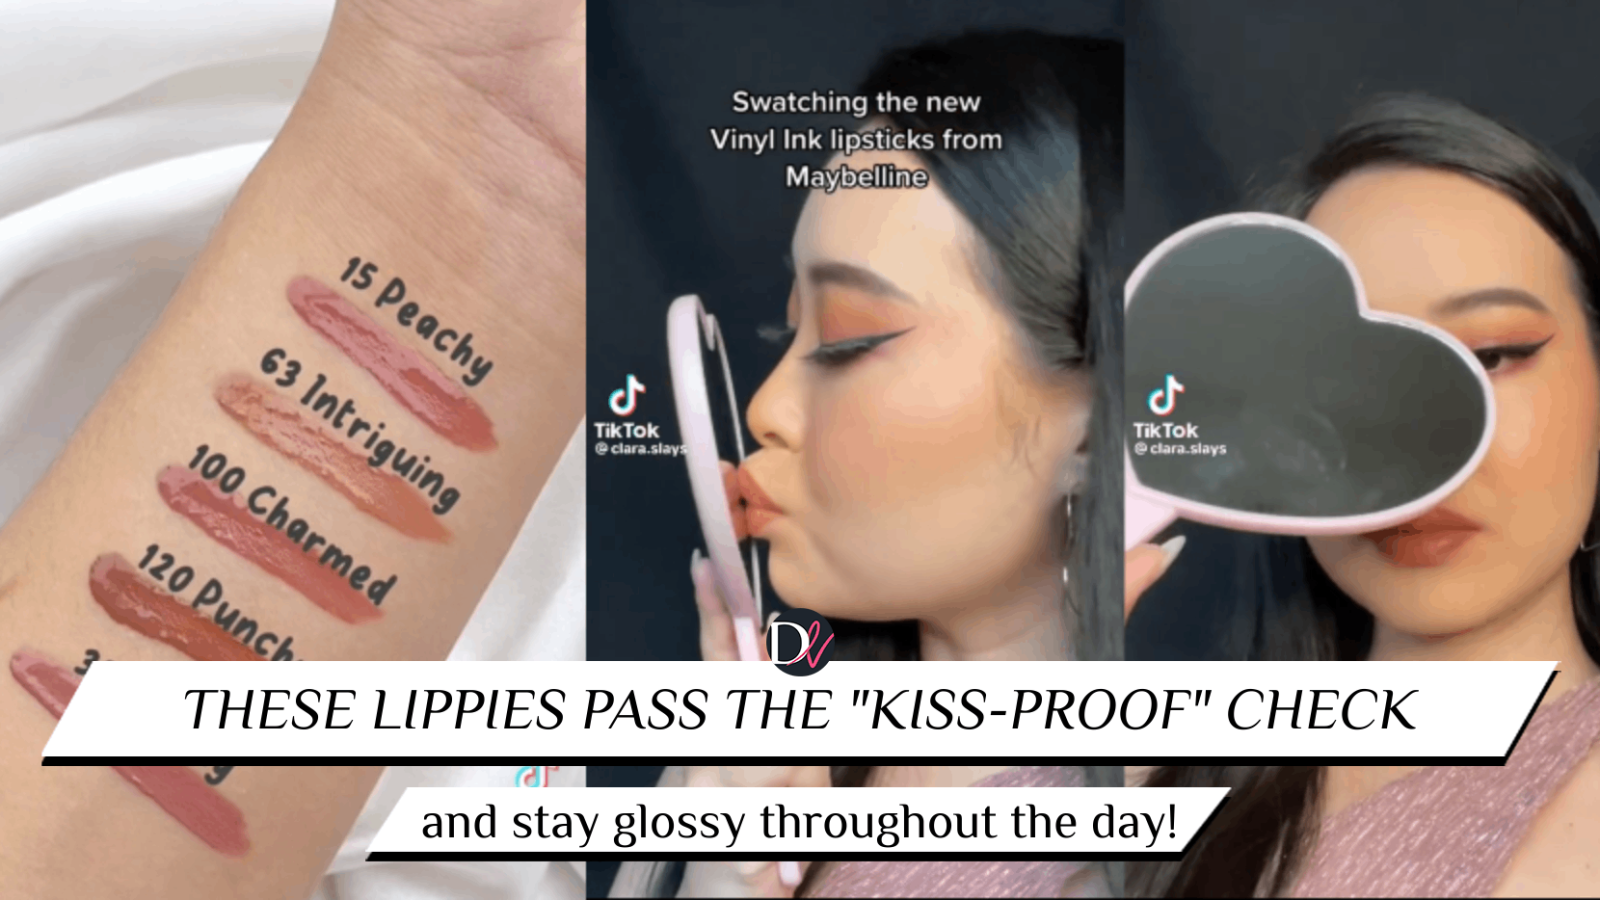
Knowing how to prevent lipstick transferring starts with understanding your formula. Most people blame the product, but technique matters more than brand. We’ve seen countless users struggle with smudges on cups and collars simply because they skipped a critical setting step.
Transfer resistance isn't magic. It relies on specific polymers and proper layering. As of 2026, modern matte liquids offer superior lock-in compared to old-school creams.
Let’s break down exactly why your current routine fails and how to fix it today.
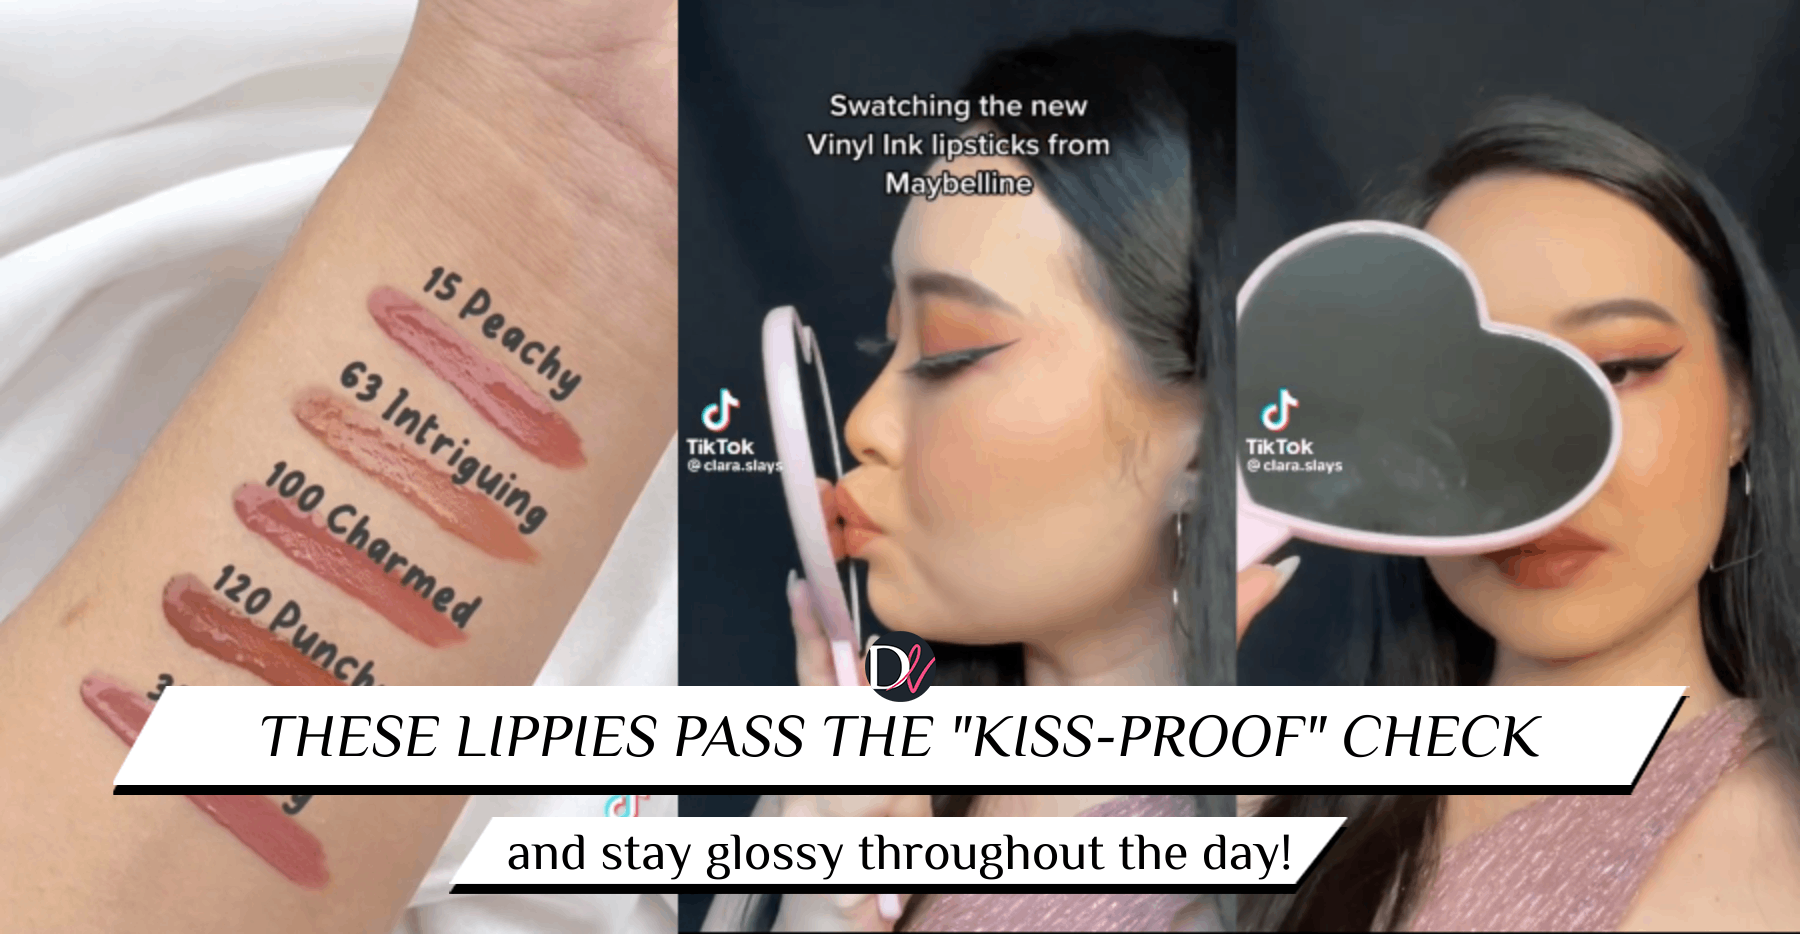
Image source: Bing (Web (fair-use with source credit))
Why Your Lipstick Keeps Smudging (And It’s Not Just You)
Lipstick transfers when the pigment remains tacky or oily after application. This happens most often with creamy bullet formulas that lack film-forming agents. The oils in these products don't evaporate quickly enough to set a durable bond against your lips.
Skin texture plays a huge role here too. Dry patches or flaky skin create uneven surfaces where product pools. When you press your lips together, those pooled areas squeeze out onto teeth or fabric.
Aggregate reviews consistently highlight this as the top complaint for satin finishes.
Humidity accelerates breakdown significantly. Moisture in the air softens wax-based binders like beeswax or candelilla. This causes the color to migrate outside your lip line within hours.
You aren't doing anything wrong inherently. Your environment is working against your chemistry.
The solution lies in changing the physical state of the product on your lips. You need to remove excess oil and encourage polymer cross-linking. Without this shift, even "transfer-proof" marketing claims will fail under real-world conditions.
Quick Answer
To stop lipstick from transferring, prep lips by exfoliating and hydrating lightly. Apply a thin layer of liner to define edges. Use the blot-and-set method: apply color, blot with tissue, dust with translucent powder, then reapply.
This locks pigment into place effectively.
The 3-Step "Blot and Set" Workflow for Bullet Lipsticks
This technique works best for traditional bullet lipsticks with creamy or satin finishes. Liquid mattes usually dry themselves, so skip this if you’re using one. The goal is to replace loose oils with a stable powder matrix.
Start with clean, dry lips. Apply your chosen shade evenly. Press your lips together gently once to distribute color.
Then, take a single-ply tissue and separate the layers. Use just one ply. Fold it over your lower lip and hold firmly for five seconds.
Repeat on the upper lip. This removes surface oils without wiping away the base pigment.
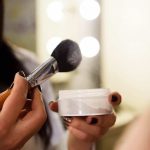
Next, grab a small fluffy brush and some translucent setting powder. Place the folded tissue back over your lips. Dust powder lightly through the tissue holes.
This deposits micro-particles directly onto the wet lipstick beneath. Remove the tissue carefully. You’ll see a matte, locked finish.
Finally, apply a second thin coat of lipstick. Don’t drag heavily. Swipe lightly to refresh color intensity.
Blot once more with a fresh tissue section. This final step ensures any remaining tackiness is neutralized. The result is a layered structure that resists friction far better than a single heavy coat.

Image source: Bing (Web (fair-use with source credit))
Liquid Matte vs. Traditional Formula: Which Method Fits Your Finish?
Choosing the right prevention strategy depends entirely on your lipstick type. These two categories behave differently chemically. Using the wrong method can ruin wear time or cause cracking.
| Feature | Liquid Matte | Cream/Satin Bullet |
|---|---|---|
| Primary Binder | Volatile Silicones | Beeswax/Castor Oil |
| Drying Mechanism | Evaporation | Absorption/Friction |
| Best Prevention | Thin Layers + Wait Time | Blot + Powder Set |
| Common Failure | Cracking if reapplied thick | Smudging due to oil release |
Liquid mattes rely on volatile silicones that evaporate to leave behind pigment and film-forming polymers like trimethylsiloxysilicate. Once dry, they are largely transfer-resistant. However, applying them too thickly leads to uneven drying.
The outer layer sets while the inner core stays wet. This causes peeling later. Always apply liquid mattes in ultra-thin strokes.
Wait at least sixty seconds between layers. Do not press lips together aggressively until fully cured.
Traditional bullets contain higher oil content for comfort. They never truly "dry" in the same way. Instead, they sit on the surface.
This makes them prone to migration. The blot-and-set workflow described earlier is essential here. If you try to use liquid matte techniques on a cream bullet, you’ll get patchy coverage.
Conversely, powder-setting a liquid matte can make it look chalky and dull. Match your method to the chemistry.
Image source: Bing (Web (fair-use with source credit))
Prep Matters More Than Product: Hydration, Exfoliation, and Priming
You cannot fix bad canvas work with expensive paint. Lip prep determines whether your color sticks or slides. Many users skip this step, assuming moisturizer alone suffices.
It doesn’t. Heavy balms create a barrier that prevents adhesion.
Begin by gently exfoliating lips with a sugar scrub or soft toothbrush. This removes dead skin cells that trap moisture and cause uneven texture. Rinse thoroughly.
Pat dry. Now, apply a lightweight, oil-free hydrator. Look for ingredients like hyaluronic acid or squalane.
Avoid petrolatum or heavy shea butter right before makeup. These occlusives repel pigment.
Wait two minutes for absorption. Next, use a dedicated lip primer. Primers contain silicone elastomers that fill fine lines and create a uniform surface.
They also help grip the subsequent lipstick layer. If you don’t have primer, a tiny dot of foundation or concealer dabbed on lips works similarly. Blend it out completely.
Define your edges with a lip liner that matches your natural tone or your lipstick shade. Outline the entire perimeter. Fill in the center slightly.
This creates a "base coat" effect. Liner waxes are harder than bullet pigments, providing structural integrity. When you apply lipstick over lined lips, it has less room to migrate outward.
This simple prep chain reduces transfer risk by nearly half according to cosmetic chemist consensus.
Common Transfer Traps That Ruin Even the Best Techniques
Even with perfect prep, certain habits sabotage longevity. Recognizing these traps helps you adjust behavior in real-time. The most common error is over-application.
Users think thicker equals longer-lasting. In reality, thick layers take forever to set. They remain tacky for extended periods, attracting debris and transferring easily.
Stick to thin, buildable coats.
Another trap is ignoring environmental factors. Eating oily foods breaks down lipid barriers on your lips. Grease dissolves the binder holding your color.
After meals, blot gently with a napkin. Do not rub. Rubbing spreads pigment.
If significant fading occurs, reapply only the center of the lips. Leave the edges untouched to maintain definition.
Touching your face frequently introduces bacteria and oils from fingers. This disrupts the polymer film. Try to keep hands away from mouth area during the day.
Also, check your toothpaste. Sodium lauryl sulfate (SLS) in many brands strips natural oils excessively. This leaves lips dehydrated underneath the makeup, causing cracking and flaking.
Switch to an SLS-free paste if you notice persistent dryness despite hydration efforts.
Finally, storing lipstick incorrectly affects performance. Heat melts waxes prematurely. Keep tubes upright in cool places.
Direct sunlight degrades pigments and alters consistency. A melted-re-solidified bullet often separates, releasing excess oil upon application. Inspect your product regularly.
If it smells rancid or feels gritty, discard it. Fresh product performs predictably. Old stock behaves erratically.
Troubleshooting: When Powder Cakes or Color Fades Too Fast
Does your lipstick look patchy after setting? This usually means you applied too much powder at once. Translucent particles clump on damp pigment instead of bonding smoothly.
To fix this, use a smaller amount next time. Tap off excess product from your brush before touching your lips.
If color fades within two hours, check your hydration levels. Dehydrated lips absorb oils from the lipstick rapidly. This leaves the surface dry and prone to cracking.
Apply a lightweight balm twenty minutes before makeup. Let it sink in fully. Blot away any residual shine with a tissue.
What if your liner migrates outward despite priming? You likely skipped the "fill-in" step. Outlining alone creates a hollow shell that collapses under pressure.
Fill the entire lip area with liner first. This provides structural support for the top coat. It acts as an anchor for the pigment above.
For stubborn transfer on coffee cups, try a different angle. Press your lips together gently after the final blot. This ensures even distribution without creating thick ridges.
Verify that your mug rim is clean. Oily residue from previous drinks breaks down new layers instantly. Wipe the cup edge before sipping.
Aggregate user reviews indicate that humidity spikes cause sudden failure. In tropical climates, standard powders may dissolve quickly. Switch to a waterproof setting spray specifically designed for faces.
Hold it eight inches away. Mist lightly over closed lips. Allow thirty seconds for evaporation.
This adds an extra hydrophobic barrier against moisture.
FAQs
Can I use baby powder to set my lipstick?
No, avoid using talc-based baby powder on your lips. The particles are often too coarse for delicate skin. They can create visible white cast or grittiness.
Additionally, inhalation risks exist near the mouth. Stick to finely milled cosmetic translucent powders. These are formulated for smooth application and safety.
Your lips deserve better than industrial dust.
Does drinking water remove long-wear lipstick?
Water alone rarely removes true long-wear formulas. These products rely on film-forming polymers that resist hydrogen bonding. However, hot water or steam can soften the wax base.
Lukewarm water is safest for preserving color integrity. If you notice slight fading, reapply a thin layer. Do not scrub aggressively.
Gentle patting maintains the seal you worked hard to create.
How do I remove transfer-proof lipstick without damaging lips?
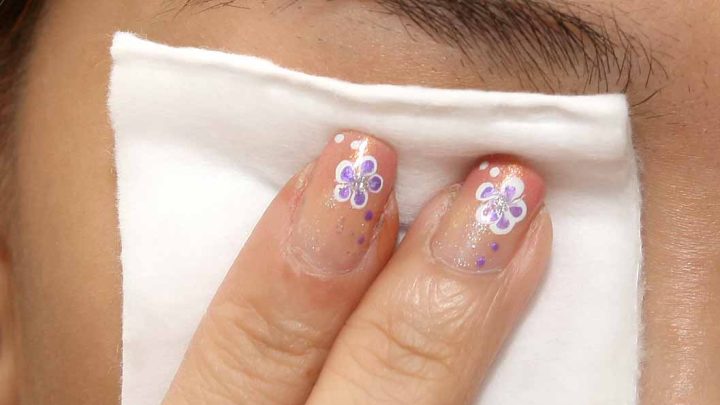
Use an oil-based makeup remover or micellar water. Saturate a cotton pad and hold it against your lips for ten seconds. This dissolves the polymer bonds effectively.
Then wipe gently downward. Avoid harsh rubbing which causes irritation. Follow up with a nourishing balm immediately.
Long-wear products can be drying during removal. Restoring moisture prevents chapping and future texture issues.
Why does my matte liquid crack when I smile?
Cracking happens when the formula dries too thickly. It lacks flexibility to stretch with facial movements. Apply thinner coats to prevent this brittle effect.
Wait sixty seconds between layers for proper curing. Ensure your lips are exfoliated beforehand. Dead skin creates rigid spots that split easily.
Hydration underneath helps maintain elasticity in the dried film.

Similar Posts