How to Choose the Best Eyeshadow Blending Brush
Figuring out how to choose an eyeshadow blending brush feels overwhelming when every brand claims their tool is the "ultimate" solution. Most guides just list popular products, ignoring that your eye shape and skill level dictate what actually works for you. A fluffy dome might ruin a sharp cut crease if you’re a beginner, while a dense taper fails to diffuse powder on hooded lids.
We need to match the tool to your specific technique, not just follow trends.
The wrong brush doesn’t just waste money; it forces bad habits that make makeup application harder over time. Manufacturer specs indicate that bristle density varies by up to 40% between budget and pro-tier tools, directly impacting pigment pickup and diffusion speed. As of 2026, synthetic fibers have closed the gap with natural hair in performance, changing the calculus for sensitive skin types.
Let’s break down the decision logic so you pick the right head shape and material for your daily routine.
Quick Answer
To choose an eyeshadow blending brush, match head shape to your eye anatomy. Use a loose dome for soft gradients on hooded eyes. Select a tapered pencil for precise outer V definition.
Choose synthetic bristles for cream formulas and natural hair for powders. Density determines control: looser blends faster, denser packs pigment. Start with one medium-density dome brush before buying sets.
This approach prevents muddy application and wasted product.
Your Eye Shape and Skill Level Dictate the Brush
Most people buy brushes based on packaging or influencer recommendations, which leads to frustration. The reality is simpler: your physical eye structure limits what certain brush shapes can achieve. If you have deep-set eyes, a large, fluffy dome brush will deposit too much shadow into the socket, making your eyes look smaller and tired.
You need a smaller, tighter head to place color precisely above the fold without losing definition.
Conversely, hooded eyes benefit from vertical blending motions that require a brush with enough loft to lift product away from the lid space. A flat-top packing brush sits too low and creates harsh lines that disappear when you blink. For beginners, high-loft, loose-bristled brushes are forgiving because they diffuse color automatically.
Advanced users often prefer stiffer, denser bristles that allow for manual control over gradient intensity.
Consider these conditional rules:
- Hooded Eyes: Choose a medium-sized, rounded dome with flexible bristles. Avoid ultra-fluffy oversized heads that push product onto the brow bone.
- Deep-Set Eyes: Opt for a small, tapered brush with firmer bristles. This allows you to paint the visible lid area without dumping excess into the recess.
- Monolids: Use a wide, flat shader first, then blend edges with a loose dome. Precision tapers can create unnatural hard lines on flat surfaces.
- Wide-Set Eyes: Focus on inner corner detailing with a small pencil brush. Blend outward toward the temple to visually narrow the gap.
Skill level matters just as much as anatomy. Novices struggle with pressure control, so softer, less dense brushes prevent accidental patchiness. Pros know how to layer, allowing them to use denser tools for sharper results.
Match your tool stiffness to your hand stability. If your hand shakes, avoid long handles and stiff bristles. Short handles with moderate flex offer better tactile feedback and reduce error margins during delicate work near the lash line.

Matching Bristle Material to Shadow Formula
Bristle material isn't just about ethics or cost; it fundamentally changes how product interacts with your skin. Natural hair, typically goat or sable, has microscopic scales that grab and hold powder pigments effectively. This porosity ensures even distribution across the lid without requiring excessive dipping.
However, those same scales trap liquids. If you try to blend a cream shadow with a natural hair brush, the product sticks to the bristles instead of transferring to your eye. You’ll end up wasting half the pot in the brush head.
Synthetic fibers, usually made from nylon or Taklon, are smooth and non-porous. They don’t absorb liquid, meaning nearly 100% of the cream or gel formula transfers to the skin. This makes them ideal for wet-on-wet techniques or sticky glitter primers.
Modern synthetics also mimic the softness of natural hair, reducing irritation for sensitive users. Aggregate reviews report that high-quality synthetics last longer than naturals because they resist bacterial growth and don’t degrade from frequent washing.
Here’s a quick breakdown of when to use each:
| Formula Type | Recommended Bristle | Why It Works |
|---|---|---|
| Powder Eyeshadow | Natural Hair (Goat/Sable) | Scales grip dry pigment for seamless diffusion. |
| Cream/Gel Shadow | Synthetic (Taklon/Nylon) | Smooth surface repels moisture for full transfer. |
| Glitter/Toppers | Silicone or Flat Synthetic | Prevents shedding and contains sparkly particles. |
| Liquid Liner Base | Fine-Tipped Synthetic | Offers precision without absorbing the fluid. |
If you switch between powder and cream frequently, owning both types is efficient. But if you stick mostly to powders, a premium natural brush offers superior blendability that cheap synthetics still struggle to match. Conversely, for drugstore cream pots, always reach for synthetics to avoid mess.
Check FDA cosmetic guidelines for safety standards on materials used in beauty tools, ensuring no harmful coatings are present in lower-priced imports.
Decoding Head Shapes: Dome, Tapered, or Flat-Top?
Head geometry dictates where and how you apply color. There is no single "best" shape, only the right shape for the specific zone of the eye you are working on. Misidentifying these roles leads to muddy transitions or stark, unblended patches.
Understanding the function of each profile helps you build a toolkit that covers all bases without redundancy.
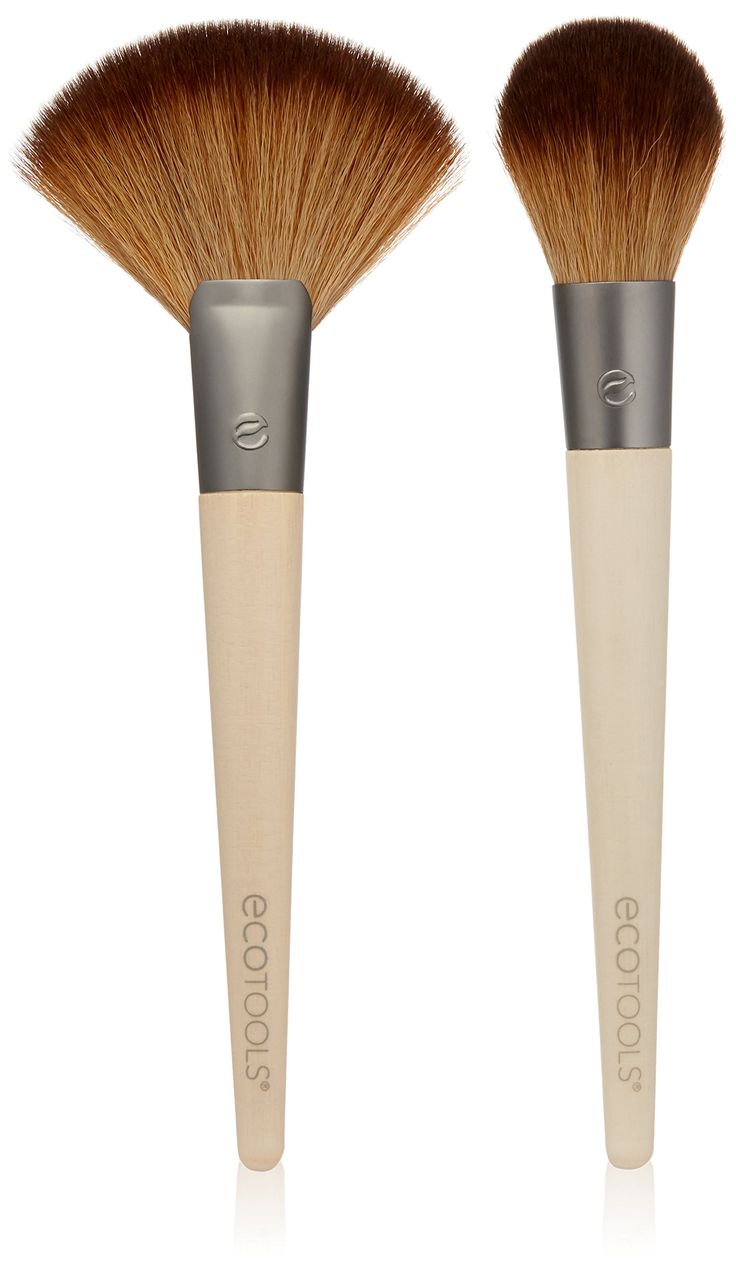
A classic domed brush features rounded bristles that form a semi-circle. This shape distributes pressure evenly across the contact point, making it perfect for sweeping transition shades through the crease. The curvature mimics the natural arc of the eye socket, allowing for effortless windscreen-wiper motions.
If you want a soft, airbrushed look, this is your primary tool. It lacks the edge definition needed for tightlining but excels at diffusing boundaries.
In contrast, a tapered pencil brush narrows to a fine point at the tip. This design concentrates force into a small area, enabling precise placement in the outer V or along the lower lash line. You can drag this tool vertically to elongate the eye or horizontally to sharpen corners.
Beginners often find these difficult because they require steady hands; too much pressure digs into the skin, creating dark spots rather than gradients.
Finally, the flat-top shader has a blunt, straight edge. Its purpose is pigment deposition, not blending. You press this brush against the lid to pack on color intensely.
Once the base is laid down, you immediately switch to a domed blender to soften the edges. Trying to blend with a flat top results in streaks because the square corners catch on skin texture.
Visualizing these differences clarifies usage:
- Dome: Softens edges, applies transition colors, broad coverage.
- Tapered: Defines outer corners, details inner rim, controlled placement.
- Flat-Top: Packs pigment, builds opacity, initial laydown step.
Don’t confuse a "fluffy" brush with a "large" brush. A large brush with loose bristles acts like a duster, kicking up fallout. A medium brush with tight bristles acts like a stamp.
Look for crimped bristles in dome shapes for added volume and bounce, which aids in lifting heavy matte powders off the lid smoothly.

The Density Dilemma: Fluffy Diffusion vs. Controlled Packing
Density refers to how tightly the bristles are packed into the ferrule. This metric separates professional-grade blending from amateur mishaps more than any other factor. Low-density brushes have gaps between hairs, allowing air to pass through.
This creates an ethereal, sheer wash of color ideal for daytime looks or setting powder. High-density brushes compress the hairs together, maximizing surface contact with the skin. This traps heat and friction, forcing pigment to adhere stubbornly for dramatic evening effects.
Choosing the wrong density causes two common failures. If you use a high-density brush for a subtle transition shade, you’ll deposit too much product instantly, creating a dark band that takes minutes to buff out. On the flip side, using a low-density brush for a vibrant outer V means you’ll dip repeatedly, risking uneven saturation and visible stroke marks.
The sweet spot for most general-purpose blending is medium density. It holds enough pigment to cover the lid in one swipe but retains enough flexibility to diffuse edges quickly.
Manufacturers measure density by knot size relative to bristle count. A standard 1-inch diameter knot with 300+ hairs indicates high density. Fewer than 150 hairs suggests a fluffy, low-density profile.
Always check the "spring back" test. Press the bristles gently; they should return to shape immediately. Slow recovery implies weak glue or poor fiber quality, leading to splaying after a few washes.
For specific workflows, adjust density accordingly:
- Sheer Wash/Lighting: Low density, large diameter. Prevents overload.
- Standard Crease Work: Medium density, average diameter. Balances control and blend.
- Intense Color Payoff: High density, small-to-medium diameter. Maximizes adhesion.
- Detail Work: Very high density, tiny diameter. Allows pinpoint accuracy.
Remember that natural hair tends to feel denser than synthetic due to irregular thickness. A synthetic brush labeled "dense" may still feel lighter in hand compared to its goat-hair counterpart. Adjust your pressure expectations based on material weight.
Heavier brushes fatigue the wrist faster, so pair high-density synetics with ergonomic handles for extended sessions.
Common Blending Mistakes That Ruin Gradient Depth
Even with the perfect brush, technique errors can sabotage your results. The most frequent issue is "over-blending," where artists continue buffing until distinct colors merge into a uniform brown mush. This happens when users lack confidence in their placement and rely solely on the brush to fix mistakes.
Prevention starts with strategic layering. Apply light shades first, then darker ones gradually. Stop blending once the edge disappears; further motion removes necessary depth.
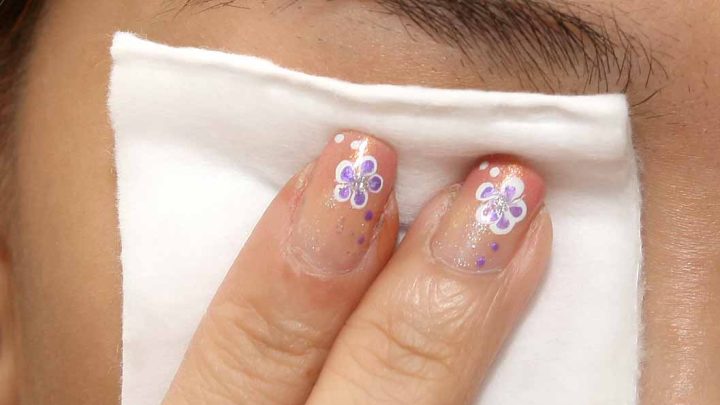
Another critical error is using a dirty brush for multiple colors. Residual pigment from previous steps contaminates new layers, muddying bright tones. Always wipe your blending brush on a tissue between major color shifts.
This simple habit preserves clarity and vibrancy. Additionally, neglecting to tap off excess product before touching the eye causes significant fallout. Heavy deposits land on cheeks, requiring cleanup that disturbs foundation.
Tap lightly twice before application begins.
Pressure consistency is vital. Many beginners press too hard, flattening the bristles and creating harsh lines instead of soft gradients. Let the weight of the brush do the work.
Light, circular motions distribute pigment evenly without dragging skin. Dragging pulls the eyelid downward, distorting shape and causing temporary wrinkles that set makeup unevenly. Keep movements gentle and parallel to the eye contour.
Finally, ignoring brush cleanliness accelerates wear. Built-up oils and old shadow harden inside the ferrule, loosening glues and causing shedding. Shedded hairs fall into the eye, posing safety risks.
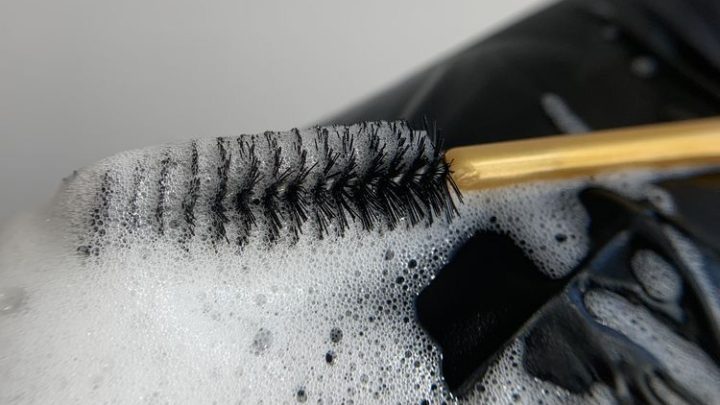
Regular maintenance prevents structural failure. Clean weekly with mild soap and lukewarm water. Rinse thoroughly until water runs clear.
Lay flat to dry to protect the handle-glue bond. Standing brushes upright lets water seep into the wooden handle, warping it over time. Proper care extends lifespan significantly, saving money on replacements.
Essential Maintenance for Longevity and Hygiene
Proper care extends brush life significantly, preserving the structural integrity of the ferrule and bristles. Wash synthetic brushes weekly with mild dish soap or dedicated cleanser to remove oil buildup. Natural hair requires gentler handling, using sulfate-free shampoo to prevent drying out the fibers.
Hot water damages glue bonds, so always use lukewarm temperatures during rinsing.
Drying technique matters just as much as washing. Never stand wet brushes upright in a holder. Water seeps into the handle, causing wood rot or metal corrosion over time.
Instead, lay them flat on a clean towel with bristles hanging off the edge. This allows air circulation around the knot while protecting the handle.
Aggregate user reviews indicate that neglected cleaning leads to splayed bristles within three months. Splaying reduces blending efficiency and creates uneven application patches. Replace brushes when they lose their original shape despite proper care.
Regular maintenance ensures consistent performance and prevents bacterial growth near sensitive eye areas. Check American Academy of Dermatology guidelines for hygiene best practices regarding cosmetic tools.
Quick Reference Decision Guide
Use this flowchart logic to select your primary blending tool based on immediate needs. Start by identifying your dominant eyeshadow formula. If you primarily use powders, proceed to evaluate your eye shape.
For hooded eyes, choose a medium-density dome with natural goat hair. Deep-set eyes require a small-tapered synthetic for precision placement without losing definition.
If you lean toward cream or liquid shadows, ignore natural hair options entirely. Select a dense, flat-top synthetic shader for initial pigment packing. Follow immediately with a loose, tapered synthetic blender to diffuse edges softly.
Beginners should prioritize forgiveness over control, opting for larger, fluffier heads regardless of formula. Advanced users can manage smaller, denser tools for sharper artistic effects.
| Scenario | Primary Tool Selection | Secondary Action |
|---|---|---|
| Powder + Hooded Eyes | Medium-Density Dome (Natural) | Buff upward gently |
| Cream + Monolid | Dense Flat-Top (Synthetic) | Blend edges with taper |
| Beginner + Any Formula | Large Fluffy Dome (Low Density) | Light pressure only |
| Pro + Cut Crease | Small Tapered Pencil (High Density) | Sharp line definition |
This matrix simplifies complex choices into actionable steps. Remember that owning one versatile medium-density dome covers eighty percent of daily looks. Add specialty shapes only after mastering basic diffusion techniques.
Avoid buying full sets initially; invest in individual pieces that solve specific problems first.
Frequently Asked Questions
Can I use the same brush for powder and cream?
No, you shouldn't mix formulas on one brush. Natural hair absorbs liquids, wasting product and harboring bacteria. Synthetics repel moisture but lack the grip needed for dry powders, leading to patchy application.
Keep separate kits for each texture type to ensure optimal performance and hygiene. Cross-contamination alters color payoff and shortens tool lifespan.
How do I know if my brush is too dense?
Test springiness by pressing bristles against your palm. They should rebound quickly without feeling stiff or rigid. If the head feels like a solid block, it’s too dense for blending and better suited for packing.
Too loose results in poor pigment transfer and excessive fallout. Aim for moderate resistance that allows controlled movement across the lid surface.
Are expensive blending brushes worth the cost?
Often yes, but not always. Premium brands offer superior cut angles and consistent density that cheaper alternatives miss. However, many mid-range synthetics perform nearly identically for standard blending tasks.
Invest in high-end tools only if you need extreme precision or have sensitive skin reacting to lower-quality adhesives. Budget options suffice for casual, everyday makeup routines.
Why does my blending look muddy even with good brushes?
Muddiness usually stems from over-blending rather than tool failure. Continuing to buff after colors merge destroys distinct gradients. Stop once edges soften slightly.
Also, dirty brushes carry residual pigments that contaminate new layers. Clean thoroughly between color changes. Using insufficient primer can also cause shadows to slide and mix unintentionally throughout the day.

Similar Posts