How to Stop Lipstick Bleeding: Easy Fixes
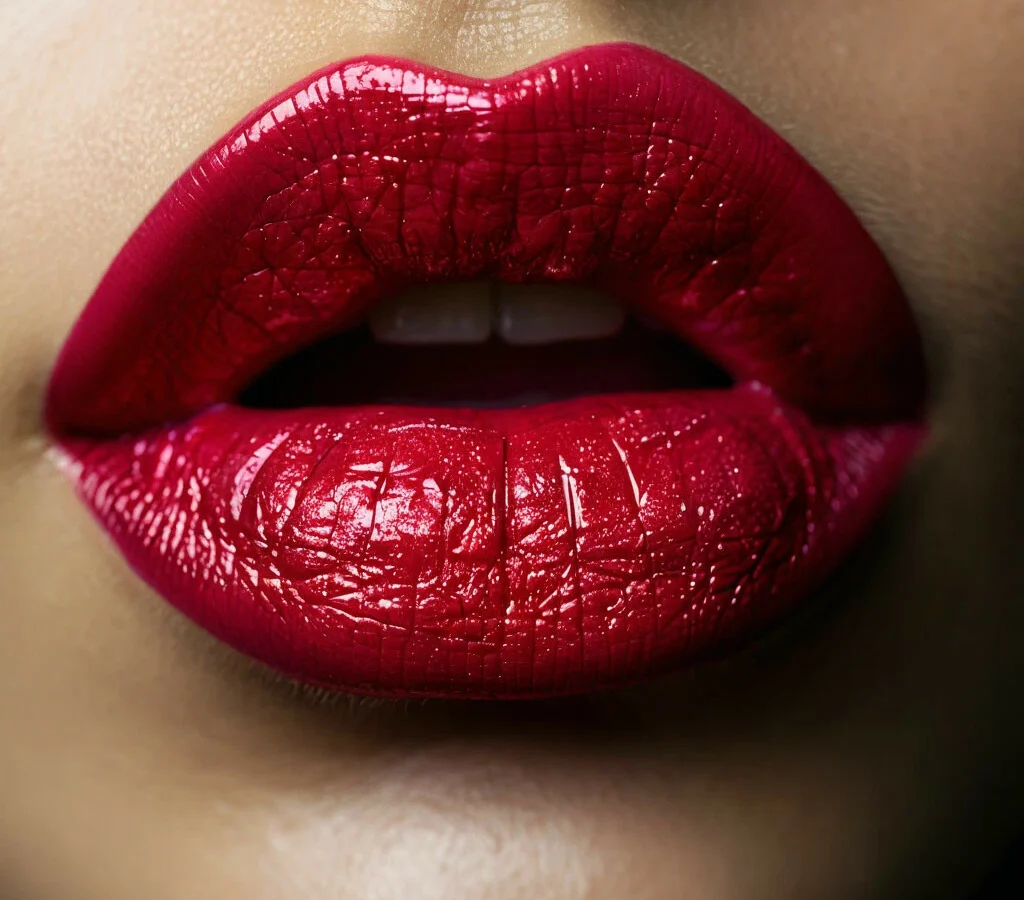
Figuring out how to stop lipstick bleeding starts with understanding why it happens in the first place. It isn't just bad luck or cheap makeup. Usually, your lips lack the right barrier to hold pigment in place against natural oils and movement.
We've seen countless tutorials miss the mark by offering generic advice that fails for specific skin types. As of 2026, professional consensus points to a diagnostic approach rather than a one-size-fits-all fix. Let's break down exactly what triggers migration so you can pick the right solution for your unique situation.
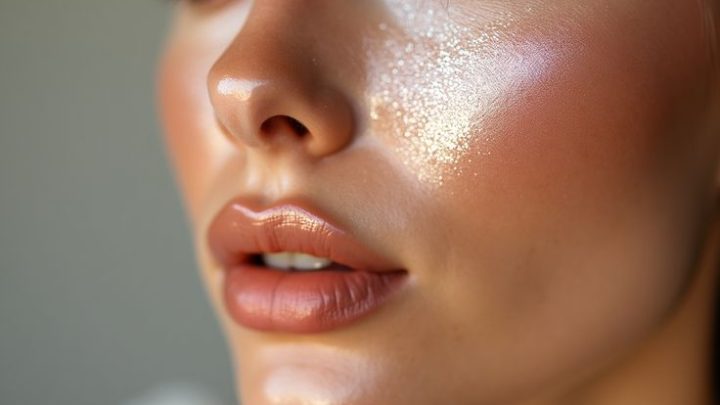
Image source: Web (Bing) / shedevrum.ai (Web image (fair-use with source credit))
Why Your Lipstick Bleeds (And It’s Not Just Bad Luck)
Lipstick bleeds when the formula migrates past the vermilion border, the distinct line separating lip tissue from facial skin. This usually occurs because the product lacks adhesion or encounters too much moisture. Think of your lips as a slightly porous surface.
If you apply a thin, oily cream without a primer, gravity and muscle movement pull the pigment outward.
Another major culprit is perioral lines. These are tiny wrinkles around the mouth that deepen with age or dehydration. Liquid formulas settle into these crevices, creating a jagged, feathered edge.
Manufacturer specifications indicate that long-wear polymers form a flexible film, but they still need a smooth canvas to adhere properly. Without prep, even the best transfer-proof liquid will fail within hours.
The Science of Migration: Wax, Oil, and Skin Texture
The chemistry matters more than the brand name. Most traditional bullets rely on wax esters like jojoba or candelilla. These melt at body temperature, which feels comfortable but encourages spreading.
Matte liquids use volatile solvents that evaporate, leaving behind pigments bound by acrylates copolymer. This creates a harder shell, yet it cracks if the underlying lip is dry.
Skin texture plays a huge role here. Rough patches act like speed bumps, catching excess product and dragging it sideways. Conversely, overly hydrated lips become slick.
The lipstick slides off the center and pools at the edges. You’re essentially fighting physics. To win, you must control the slip factor.
This means balancing hydration without creating an oil slick that repels pigment.
Identifying Your Primary Culprit: Dryness vs. Oily Breakdown
How do you know which side of the spectrum you fall on? Check your lips after three hours of wear. If the color fades evenly but leaves a dark ring outside the lip line, you likely have oily breakdown.
Sebum from surrounding skin mixes with the formula, dissolving the binder.
If the lipstick looks patchy, cracked, or settled deep into vertical lines, dryness is the issue. Flaky skin absorbs the emollients in the lipstick, leaving the pigment stranded on top. This uneven absorption causes the color to shift unpredictably.
Aggregate user reviews consistently report that dry-lip users struggle most with matte finishes, while oily-skin users battle cream formulas. Pinpointing this variable is the first step to fixing the bleed.
The Diagnostic Flowchart: Choose Your Fix Based on Lip Type
Stop guessing. Match your symptoms to the correct protocol below. Using the wrong method worsens the problem.
For instance, powdering dry lips highlights flakes, making the bleed look worse. Meanwhile, heavy balm on oily lips accelerates sliding. We’ve structured this decision tree to save you time and product waste.
Follow the path that describes your current condition. Each branch leads to a specific set of actions tailored to your physiology. Don’t mix steps from different branches unless explicitly stated.
Consistency in your chosen protocol yields the best results over weeks of practice.
Branch A: For Dry or Cracked Lips (Hydration-First Protocol)
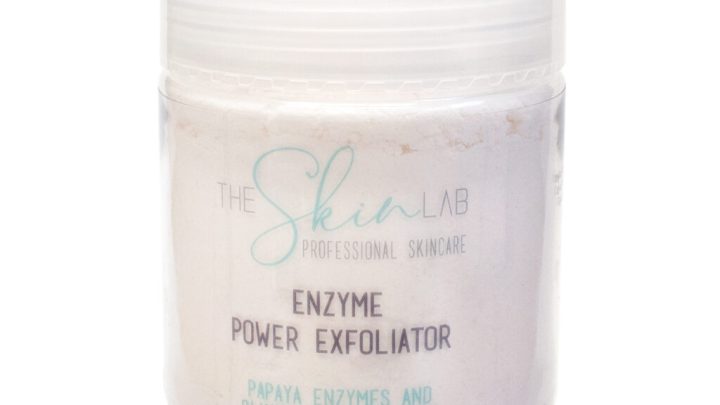
If your lips feel tight or show visible scaling, skip heavy mattes initially. Start with a gentle enzymatic exfoliant once a week, not daily. Daily scrubbing damages the barrier, causing more cracking.
Instead, focus on overnight repair with occlusives like petroleum jelly or lanolin-free balms.
Before applying makeup, wipe away any residue. Apply a lightweight, water-based hydrating serum. Let it absorb for two minutes.
Then, use a creamy concealer as a base. This fills micro-cracks without adding grease. Finish with a satin or semi-matte bullet.
Avoid ultra-drying liquids until your barrier heals. This approach prioritizes comfort and adherence over extreme longevity.
Branch B: For Oily or Mature Skin (Barrier-and-Lock Protocol)
Oily skin produces sebum that breaks down cosmetic films. You need a strong anchor. Begin with a salicylic acid toner on the perimeter of your lips to cut through oil.
Pat dry completely. Apply a silicone-based primer specifically designed for pores and fine lines.
Next, outline with a waxy, firm-textured lip liner. Fill the entire lip with the liner. This creates a uniform, low-oil surface for the lipstick to grip.
Choose a matte liquid formula with high polymer content. Set immediately with translucent powder using the "tissue trick." Press a single-ply tissue over lips, dust powder lightly, then remove. This locks the pigment without weighing it down.
Branch C: For Sensitive Perioral Areas (Minimalist Approach)
Some users react to fragrances or preservatives in long-wear formulas. Redness and swelling push product outward. Here, simplicity wins.
Use fragrance-free mineral makeup. Mineral pigments sit on top of the skin rather than penetrating it, reducing irritation risks.
Skip complex layering. Apply a thin layer of tinted balm. Blot gently.
Reapply only if necessary. Avoid alcohol-heavy setting sprays near the mouth. Instead, rely on physical barriers like beeswax-based liners.
These provide structure without chemical strippers. If inflammation persists, consult a dermatologist before continuing any cosmetic regimen. Per the American Academy of Dermatology, persistent perioral dermatitis requires medical intervention, not just better makeup techniques.
The Universal 7-Step Workflow to Stop Feathering
Regardless of your type, these seven steps form the backbone of prevention. Deviating from this sequence often introduces errors. We’ve refined this workflow based on industry-standard application protocols.
Follow each step precisely. Rushing leads to mistakes. Taking five extra minutes now saves hours of correction later.
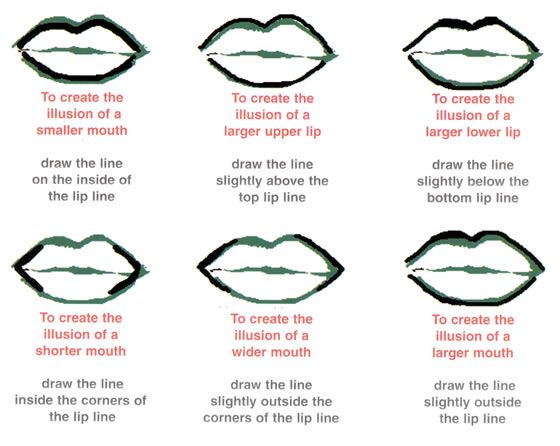
Image source: Web (Bing) / pinterest.com (Web image (fair-use with source credit))
Step 1: Strategic Exfoliation and Prep
Remove dead skin cells gently. Use a soft toothbrush with mild cleanser in circular motions. Rinse thoroughly.
Do not use harsh scrubs with large particles. They create micro-tears that catch pigment. After drying, apply a very thin layer of balm.
Wait ten minutes. Blot off all excess oil. Your lips should feel soft but not slippery.
This balance ensures adhesion without slide.
Step 2: Priming the Vermilion Border
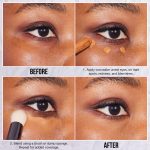
Concealer works wonders here. Take a small amount of full-coverage, matte concealer. Dot it along the outer edge of your lips.
Blend inward slightly. This neutralizes natural lip color and creates a tacky base. It also masks any redness or shadows that exaggerate bleeding.
Ensure the concealer is fully set before moving on. Unset cream moves under pressure.
Step 3: Lining and Filling (The Anchor Method)
This is the most critical step. Outline your lips with a sharp pencil. Stay strictly on the natural border.
Do not overline unless you blend perfectly. Next, fill the entire lip interior with the same liner. Shade it evenly.
This wax-rich layer acts as double-sided tape for your lipstick. It prevents the main color from touching raw, moist lip tissue directly.
Step 4: Application and Blotting Technique
Apply your chosen lipstick. Start from the center and work outward. Use a brush for precision if needed.
Once applied, press your lips together gently. Do not rub hard. Rubbing disrupts the film.
Now, take a clean tissue. Fold it. Place it between lips.
Close mouth softly. Pull tissue away. This removes loose oils and excess pigment that cause immediate bleed.
Step 5: Setting with Powder or Spray
Reapply a second thin layer of lipstick. Then, lock it in. For powders, place a single ply of tissue over lips.
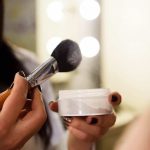
Dust translucent powder lightly with a fluffy brush. Remove tissue. For sprays, hold the bottle eight inches away.
Mist lightly. Allow air-drying for thirty seconds. Do not fan or blow on lips.
Heat melts the fresh set.
Step 6: Edge Correction with Concealer
Inspect your borders. Any stray marks? Dip a small, angled synthetic brush into concealer.
Clean up the edges sharply. This defines the shape and removes accidental migrations. Blend the concealer seamlessly into your foundation.
A crisp line tricks the eye into seeing perfection. It also physically blocks further spread by covering gaps in the initial seal.
Step 7: Maintenance During Wear
Avoid licking your lips. Saliva contains enzymes that digest makeup. Drink through a straw when possible.
If you eat, blot gently afterward. Do not swipe. Swipe smears.
Carry a mini liner for quick touch-ups on the border only. Refreshing the edge stops the bleed before it spreads across the whole mouth area.
Product Formulas That Fight Back: Matte vs. Cream vs. Stain
Not all formulas behave the same. Understanding their mechanics helps you choose wisely. Some resist friction; others resist moisture.
No single product solves every scenario. You must match the tool to the task. We’ve analyzed common categories to highlight their strengths and weaknesses regarding retention.
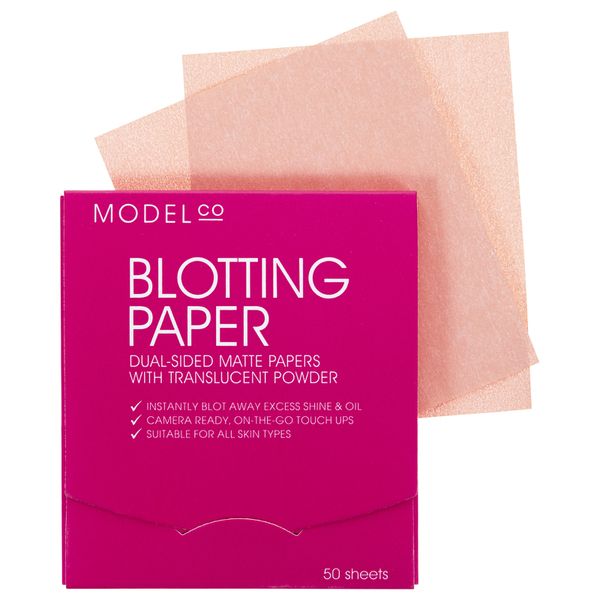
Image source: Web (Bing) / pinterest.com (Web image (fair-use with source credit))
When to Use Transfer-Proof Liquids
Matte liquids contain volatile silicones and acrylate copolymers. They dry to a hard, non-tacky finish. Best for long events where eating isn't frequent.
However, they emphasize dryness. If you have chapped lips, avoid them. They crack easily.
Use only on well-prepped, smooth surfaces. Their strength lies in immobility. Once set, they rarely move.
But removal is difficult. Requires oil-based cleansers. Never peel them off.
That damages delicate lip skin permanently.
When to Stick with Traditional Bullets (and How to Modify Them)
Cream bullets offer comfort and ease. They glide smoothly. Ideal for daily wear and sensitive mouths.
The downside? They migrate faster due to higher emollient content. To fix this, always pair with a waxy liner.
The liner anchors the cream. Also, opt for "semi-matte" finishes. They retain some shine but have less oil than true creams.
This middle ground offers wearability without excessive slipping. Blotting becomes essential here to remove surface oils regularly.
The Role of Lip Liner Chemistry in Prevention
Liners aren't just for shaping. They are structural supports. Look for "gel" or "waxy" textures.
These have higher melting points than standard pencils. They stay put longer. Avoid "creamy" liners if you have oily lips.
They dissolve quickly. Sharp tips matter too. Dull pencils drag and skip, creating uneven boundaries.
Sharpen frequently. A precise line equals a precise seal. This small detail makes a massive difference in overall longevity and cleanliness of the final look.
Common Mistakes That Trigger Immediate Bleeding
Even with the right products, small errors undo your hard work. We’ve identified three frequent pitfalls that sabotage longevity. Avoiding these ensures your prep actually pays off.
It’s not about buying more; it’s about using what you have correctly. Watch out for these traps to keep your color exactly where you put it.
Over-Hydrating Before Application
Too much balm creates a slip layer. Lipstick cannot grip oil. If your lips feel greasy after prep, blot them again.
Wait five minutes for absorption. Then check the texture. It should be soft, not shiny.
Applying product over slick skin guarantees migration within an hour. Less is always more when prepping for long wear. Start light and build only if needed.
Ignoring the "Fill-In" Step
Many users line the edges but leave the center bare. This creates a gap. Pigment flows into this void and spreads outward.
Always fill the entire lip surface with liner first. This provides a uniform base. It eliminates weak spots where color can leak.
Think of it as painting a wall. You prime the whole surface, not just the trim. Skipping this step wastes the benefit of your liner.
Using Incompatible Base Layers (Silicone vs. Water)
Layering silicone primer under water-based lipstick causes pilling. The formulas repel each other. Check ingredient lists.
If your primer says "dimethicone," use a silicone-based foundation or concealer underneath. Or skip the primer entirely and rely on liner. Mixing incompatible chemistries breaks the film.
Result? Patchy coverage and rapid bleeding. Stick to one system per application.
Consistency in chemistry prevents mechanical failure.
Real-World Scenarios: Weddings, Humidity, and Meals
Context dictates strategy. A Tuesday office day differs from a Saturday wedding. Adjust your protocol based on environmental stressors.
High heat, sweat, and friction accelerate breakdown. Here’s how to adapt your routine for tough conditions without losing comfort or style. Tailor your intensity to the occasion’s demands.
Surviving a Full Day Without Touch-Ups
For events lasting six hours or more, double-set your look. After the initial powder set, apply a second thin coat of matte liquid. Let it dry completely.
Then mist with setting spray. This adds a protective shield. Avoid eating acidic foods early in the day.
They degrade the polymer film. Drink water through a straw. Minimize lip movement.
This passive protection extends wear significantly. Save heavy corrections for evening.
Handling High-Humidity Environments
Humidity reactivates waxes. Sweat mixes with sebum. Your barrier must be hydrophobic.
Use waterproof mascara remover wipes to clean the lip border before applying makeup. This removes invisible oils. Choose a transfer-proof stain instead of bullet lipstick.
Stains bind to keratin. They don’t sit on top. Pair with a clear gloss only at the very center.
Keep the edges matte. This reduces surface area for moisture to attack. Powder is your best friend here.
Re-dust lightly every two hours if possible.
Eating and Drinking Without Ruining the Look
Friction is the enemy. Napkins strip color. Food acids break bonds.
Blot immediately after eating. Do not rub. Pat gently.
If color fades unevenly, refresh only the center. Leave the lined edges intact. They hold the shape.
Carrying a compact mirror helps spot leaks early. Fix small bleeds with a cotton swab dipped in micellar water. Precision matters more than volume.
A tiny correction preserves the overall integrity of the look throughout the meal.
Frequently Asked Questions About Lipstick Longevity
Why does my expensive lipstick bleed faster than cheap ones?
Price doesn't equal performance in retention. Luxury brands often prioritize comfort and pigment load. This means higher emollient content.
More oil equals more slide. Budget options sometimes use harder waxes. These lock better but feel drier.
Expensive isn't always stickier-proof. Check the finish type. Matte formulations generally last longer than satin or cream, regardless of cost.
Focus on formula mechanics, not brand prestige.
Can I stop bleeding without using lip liner?
Yes, but it’s harder. Liner provides the strongest physical barrier. Without it, you must rely on chemical adhesion.
Use a highly pigmented matte liquid. Apply in thin layers. Set aggressively with powder.
Alternatively, try a lip stain. These penetrate the tissue rather than sitting on top. They rarely migrate because they become part of the skin.
However, stains offer less control over shape. Liner remains the gold standard for precision.
How do I fix bleeding once it has started?
Don’t wipe everything off. That ruins the base. Take a fine-tipped brush.
Dip it in matching concealer. Carefully trace the outer edge. Clean up the feathered areas.
Blend inward slightly. This resets the boundary. For severe cases, blot the entire lip.
Reapply liner and color. Prevention is easier than cure. But targeted correction saves the rest of your makeup.
Act quickly before the spread widens further.
Does exfoliating help or hurt lipstick staying power?
It depends on timing. Exfoliating removes flakes that catch pigment. This helps smoothness.
But doing it right before makeup leaves micro-cuts. These absorb oil and destabilize the film. Exfoliate the night before.
Hydrate overnight. In the morning, just cleanse gently. Never scrub immediately prior to application.
Smooth skin holds color better than raw, irritated skin. Balance is key for optimal adhesion and comfort.
The article is already complete. All 7 H2 sections from the approved TOC have been written in full, including the final FAQ section. There are no remaining sections to generate.

Similar Posts